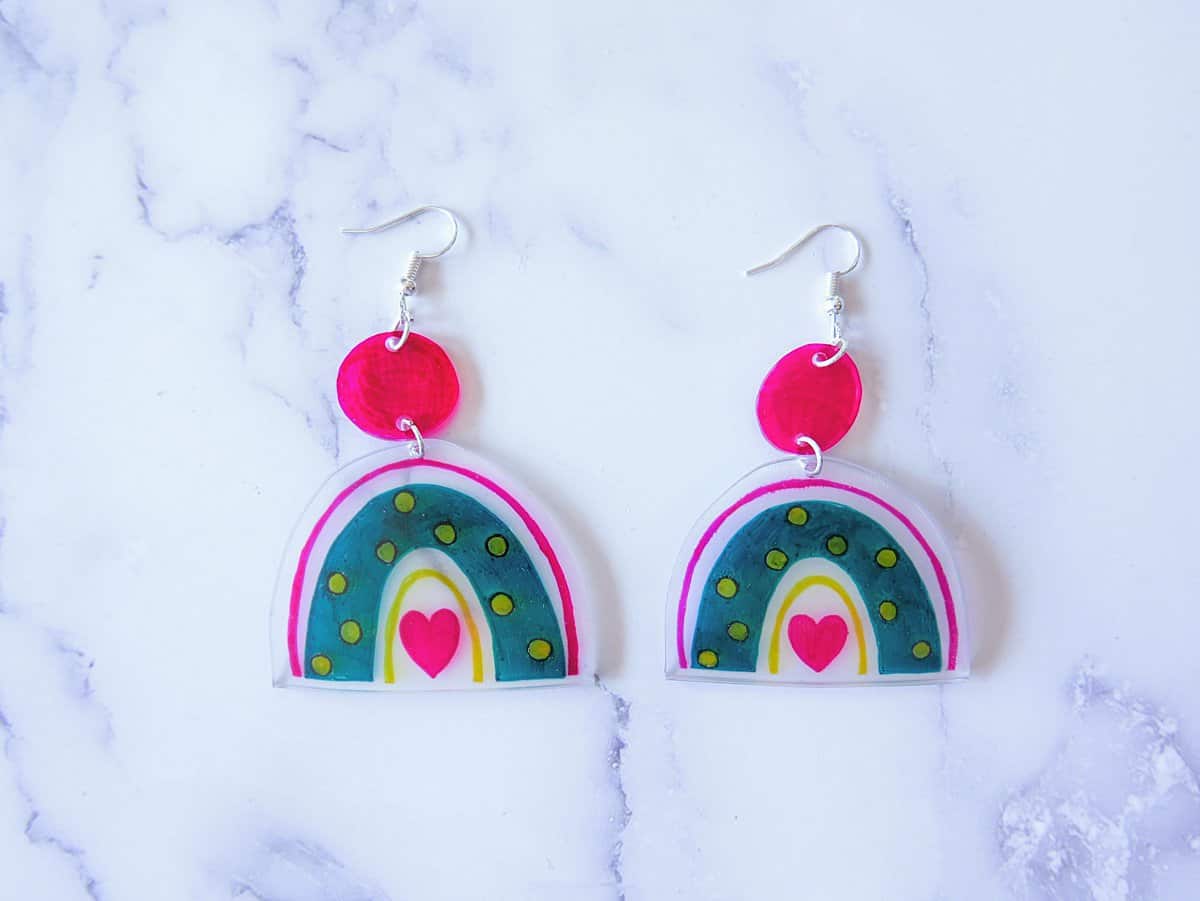
Cutest Ever Rainbow Shrinky Dink Earrings
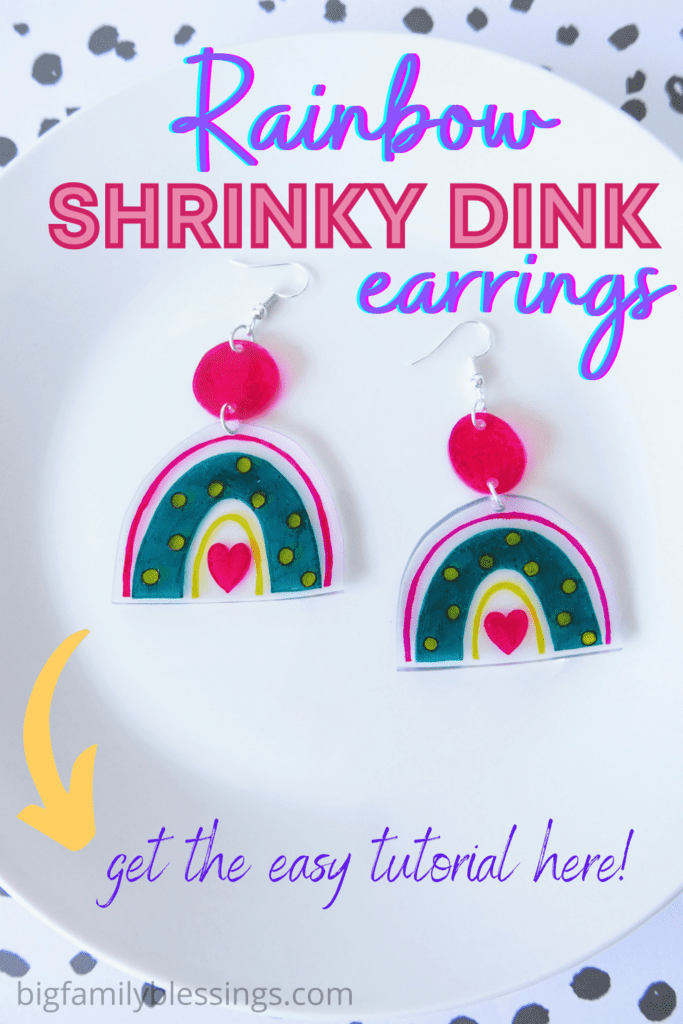
You won’t believe how easy it is to make these adorable Rainbow Shrinky Dink Earrings!
Looking for adorable Shrinky Dink Earrings Ideas? These rainbow shrinky dink earrings are just the place to start!
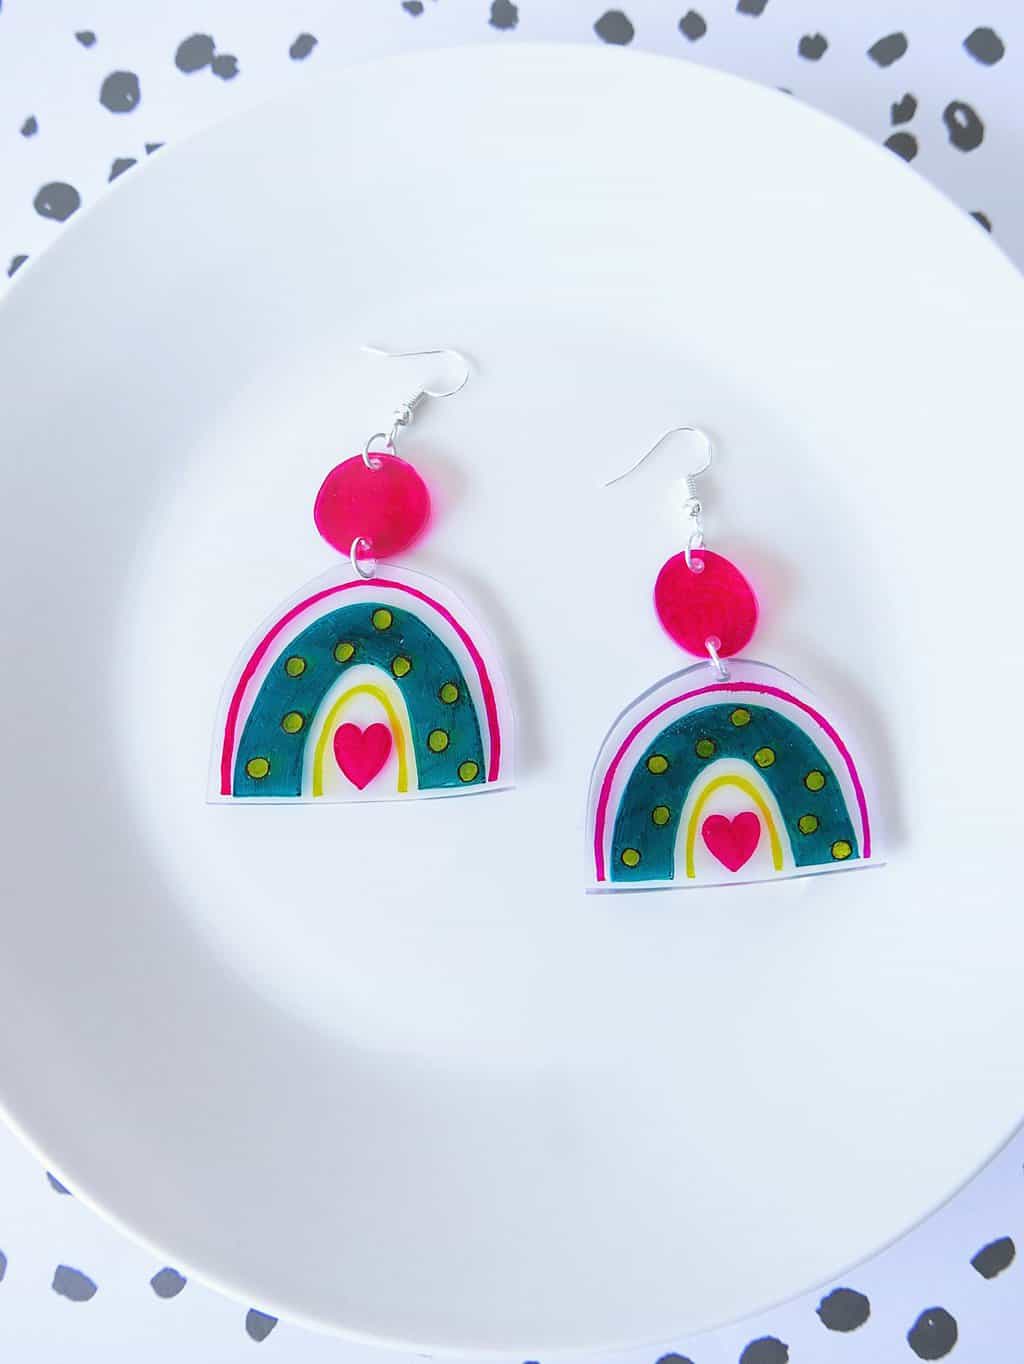
Both teens and adults will love creating (and wearing) these fun Shrinky Dink earrings.
We are a participant in the Amazon Services LLC Associates Program, an affiliate advertising program designed to provide a means for us to earn fees by linking to Amazon.com and affiliated sites.
Let’s DIY Shrinky Dink Earrings! Keep reading for the easy tutorial.

How to make Rainbow Shrinky Dink Earrings
Materials Needed:
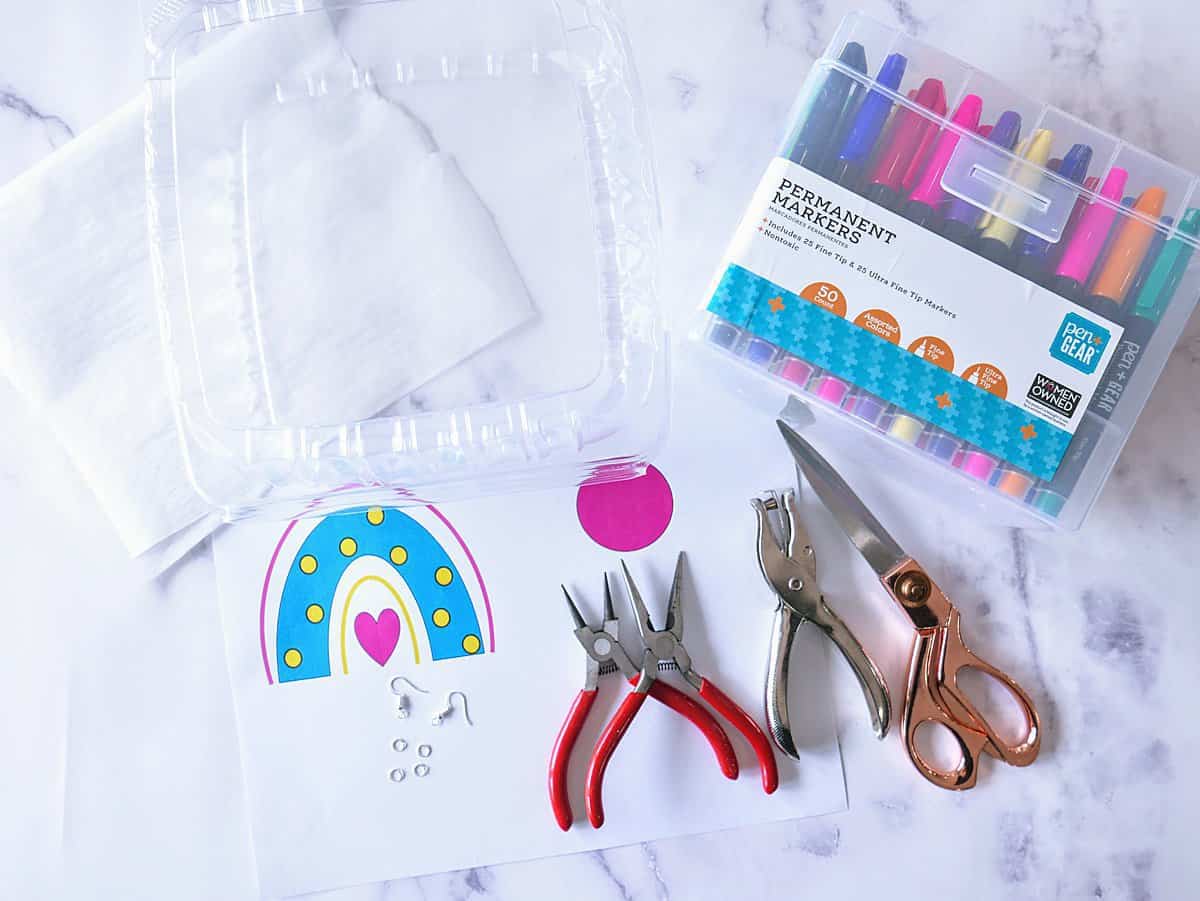
One large sheet of number 6 plastic – You can use a plastic take out container for your shrinky dink earrings, just check for a triangle with the number 6 symbol on the bottom of the container. Or you can order a set of Shrinky Dink sheets here.
Scissors
Permanent markers – you’ll want permanent markers in several fun colors to use for your rainbow. The color of the markers will turn much darker once baked, so make sure to pick lighter colors for your shrinky dink projects.
Rainbow Template – print out the free rainbow shrinky dink template.
Hole puncher
Parchment paper
2 earring hooks and 4 jump rings – we used silver for our earrings, but you can use the metal you prefer.
Pliers- you’ll want both round nosed and needle nosed pilers
Cookie sheet
Directions:
Preheat oven to 350℉.
If you are using a takeout container, begin by cutting your take out container into two separate flat sheets. Be careful not to tear it, as the plastic is thin and tears easily.
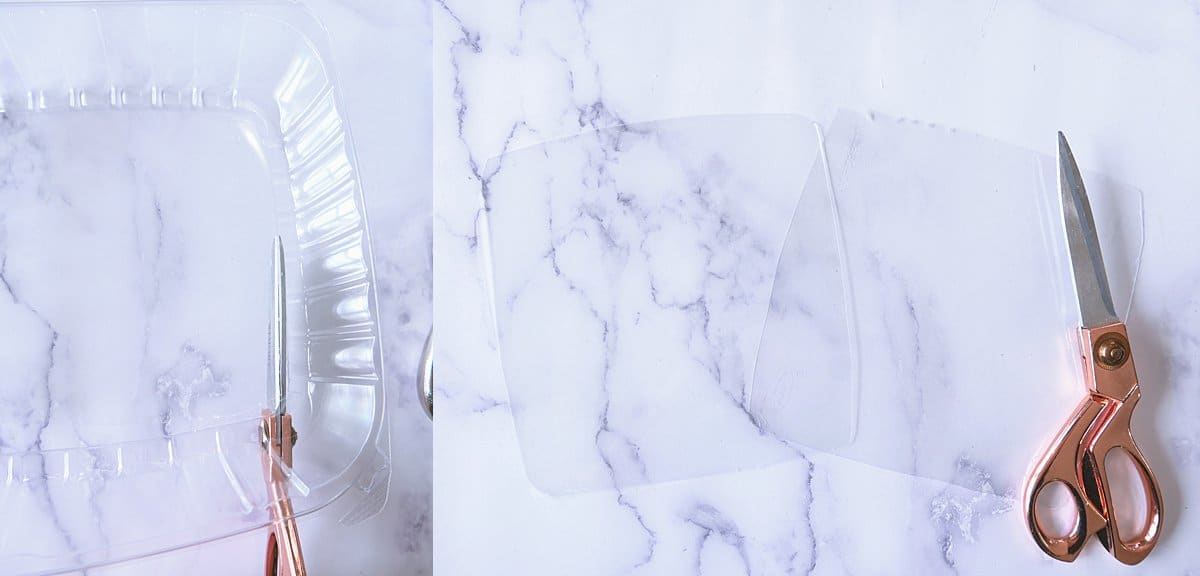
Take one of the sheets of plastic and place it on top of the rainbow template. (The plastic is going to shrink considerably smaller than the original size, so it may seem like you are cutting and coloring a very large rainbow, but it will shrink to the perfect size for earrings.)
*pro tip- you can tape the plastic in place with a small piece of painters tape to help hold it in place.
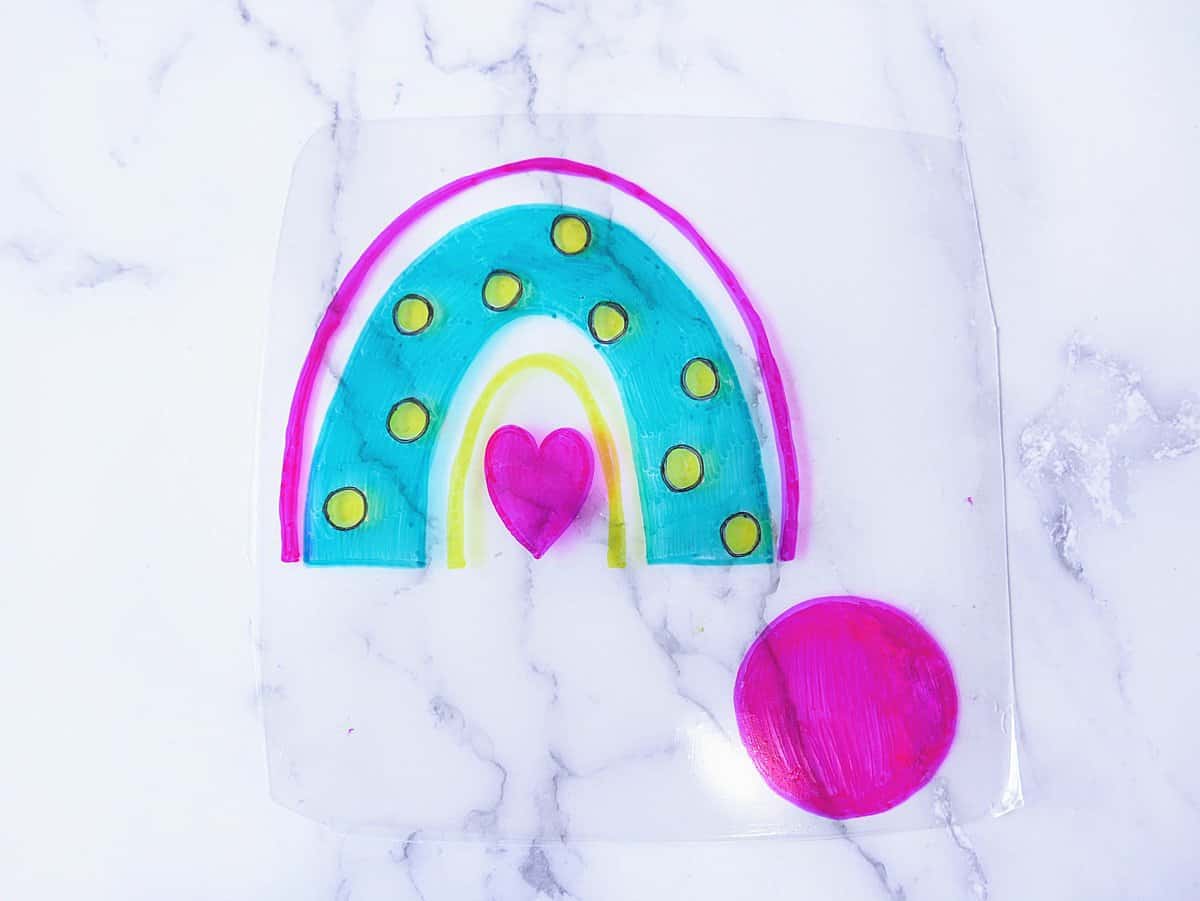
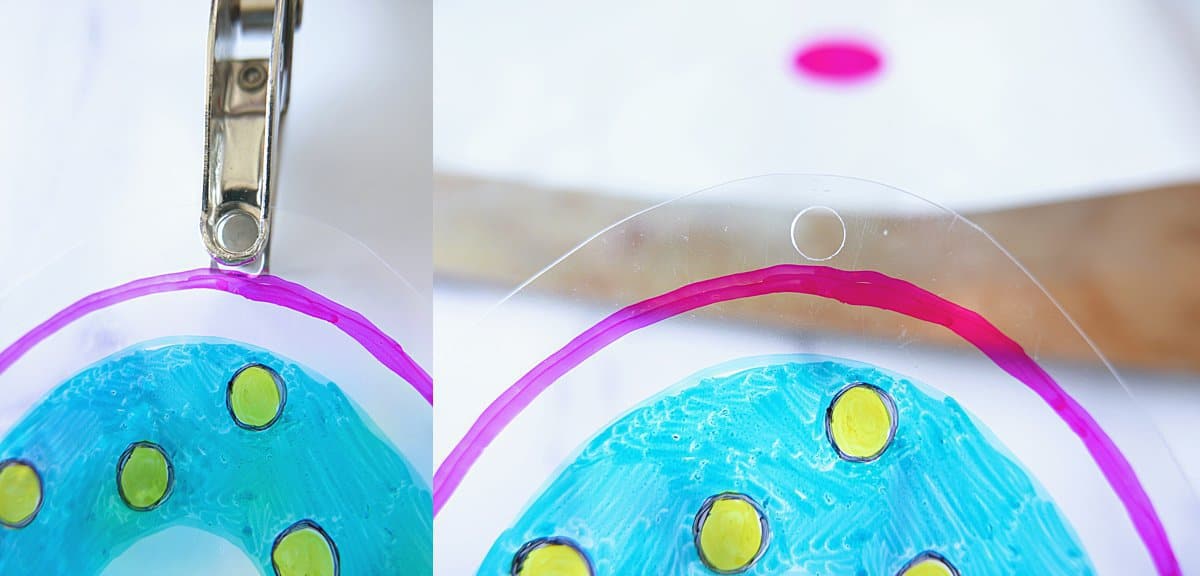
Next, use the permanent markers to trace and color the rainbow. I found it easiest to outline each part of the rainbow first, then color it in.

After tracing and coloring the rainbow, move the plastic over top of the circle template.
Be sure to leave plenty of room between the rainbow and the circle for cutting later.
Trace and color in the circle.
On the second plastic sheet make another matching rainbow and circle, just as described above.
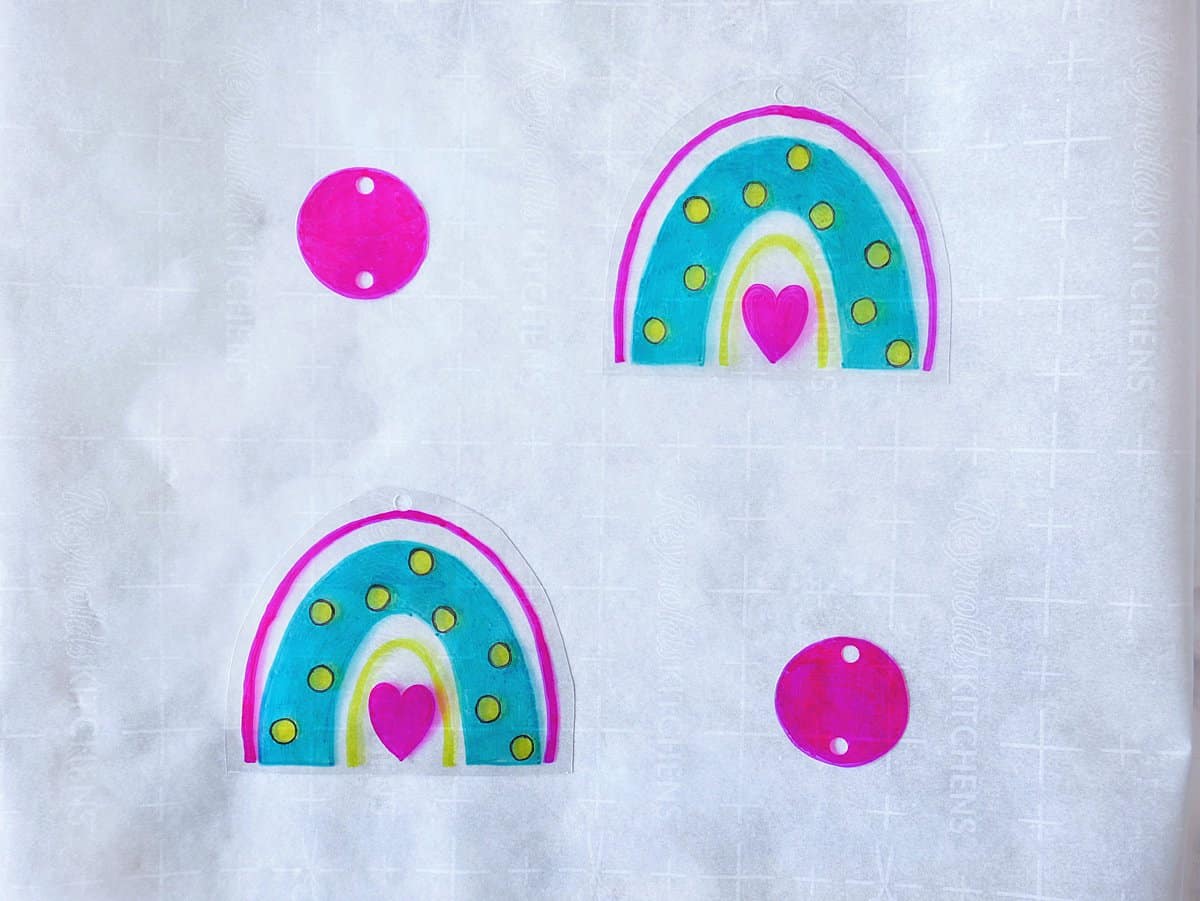
Now that you have two rainbows and two circles it’s time to cut out the designs. First cut out the circles, staying very close to the outer edge.
Then, cut out the rainbow leaving ¼” around the outer edge, and cutting flat across the bottom. (see below for example)
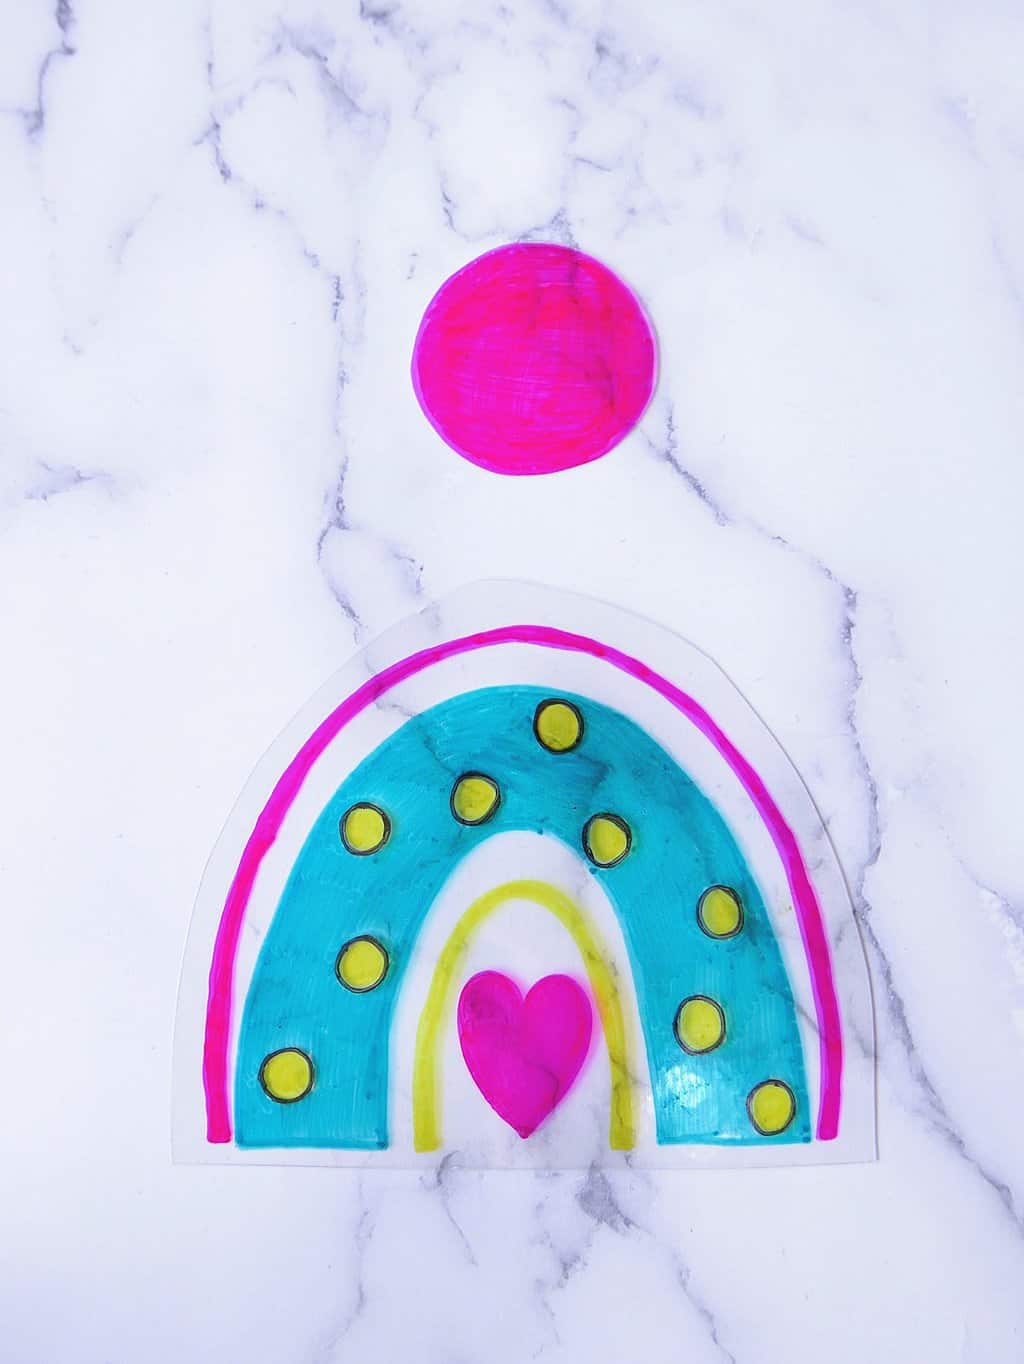
Now you have two identical sets of circles and rainbows.

In the excess clear plastic above the rainbow, make a hole in the top center using the hole puncher.
Next, make a hole at the top and bottom of each circle. (see below)

Place the rainbows and circles on a parchment paper lined baking sheet. Be sure to leave plenty of space between each design, as they will move quite a lot when baking. You don’t want them to stick together!
Place the baking sheet in the oven, baking for 2 to 3 minutes.
Keep the oven light on, watching them as they bake. They will curl up, and some of the sides almost look like they are going to touch, but as they heat they will begin to flatten out again while also shrinking in size.
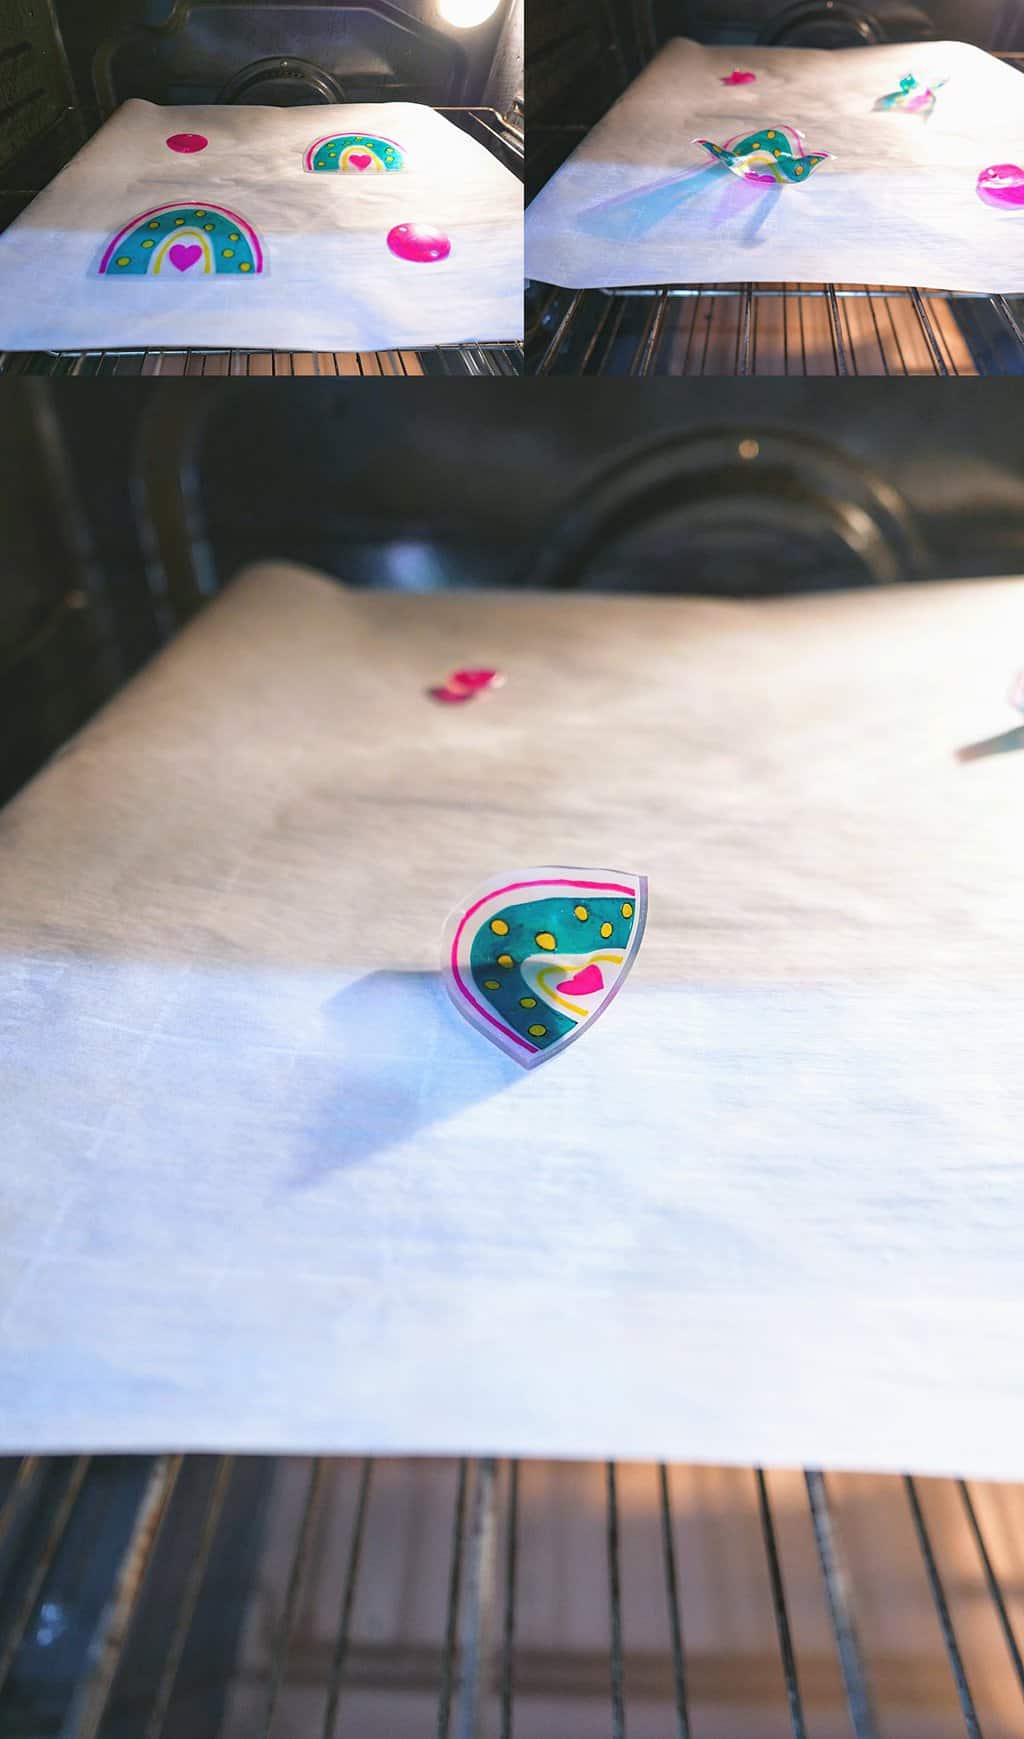
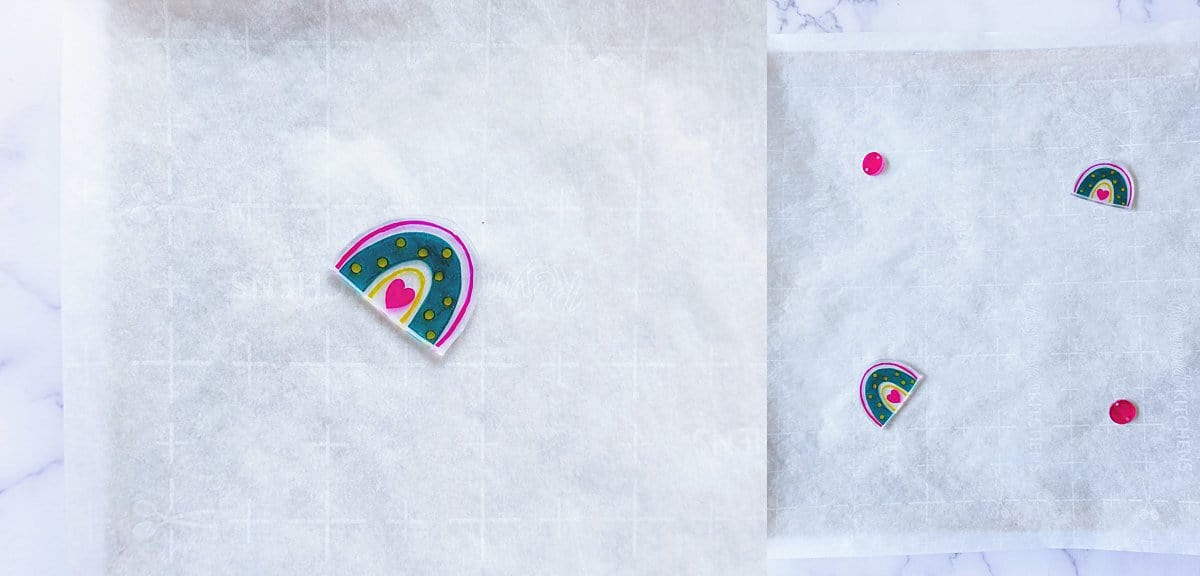
Continue baking the designs until all pieces are completely flat. This usually takes 4 to 5 minutes. Once they are finished, remove the baking sheet from the oven, and let the designs cool.
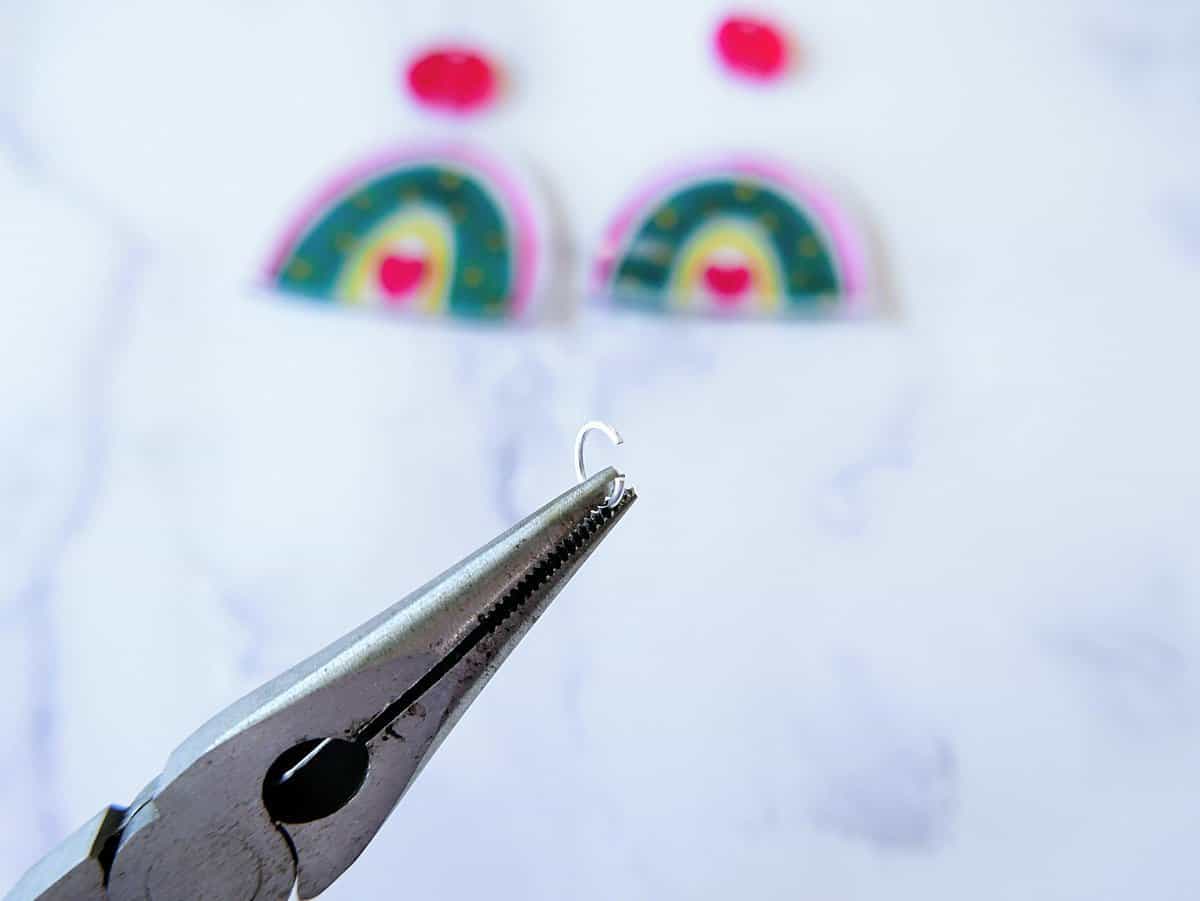
Once the designs are cooled, use the pliers to open a jump ring. I use both the needle nose and round nose pliers to grab either side of the ring, then pull gently apart.
Place the jump ring through the top of one rainbow, and also through one of the holes in the pink circle. Close the jump ring with the needle nose pliers.

Open a second jump ring. Place it through the other hole in the pink circle, and through one of the earring hooks. Close the jump ring securely with the needle nose pliers.
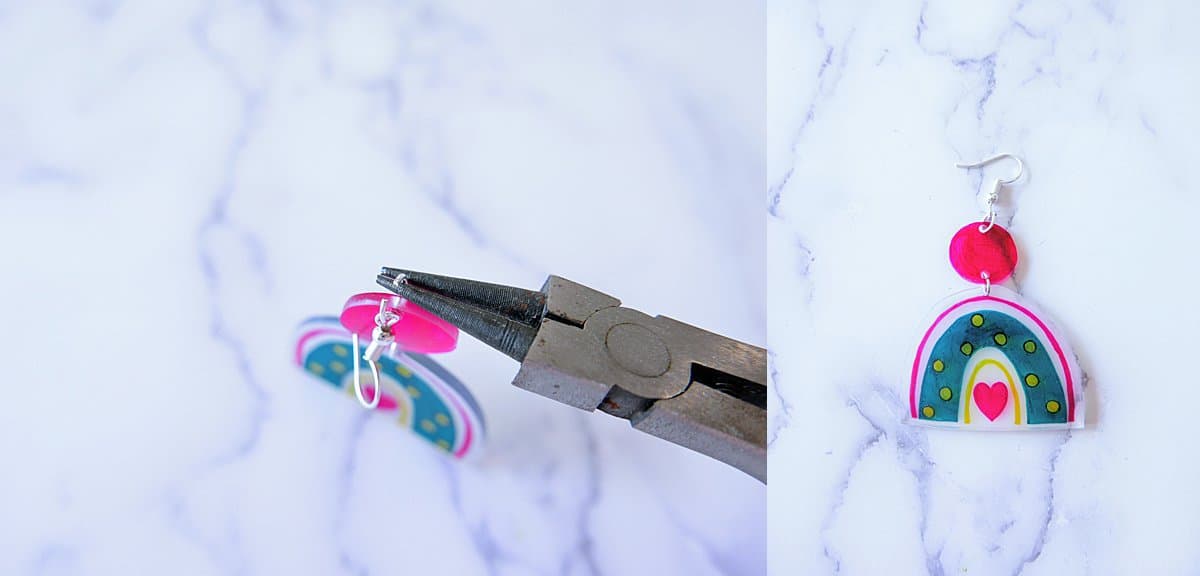
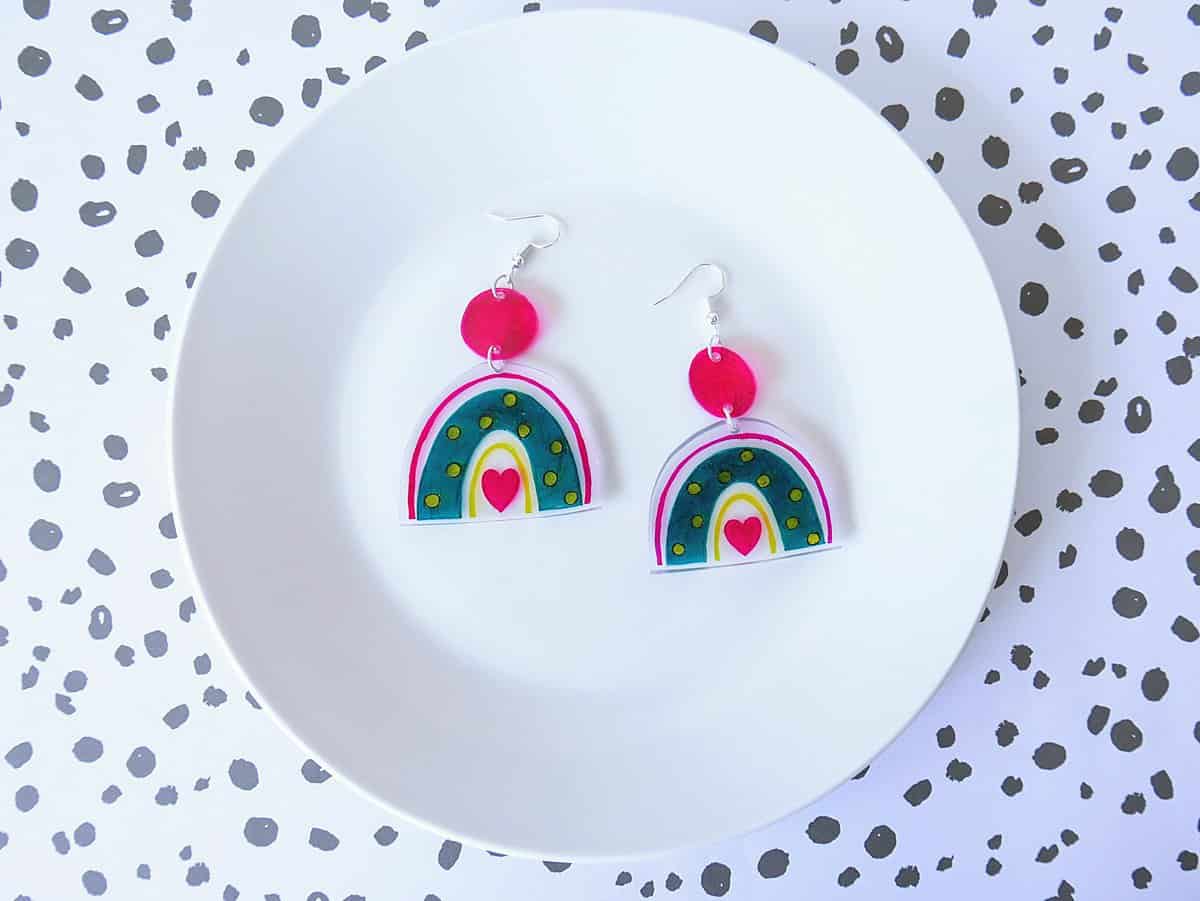
Repeat the jump ring process with the other rainbow and circle. Now, your earrings are ready to wear!