DIY St.Patrick’s Day Garland Craft
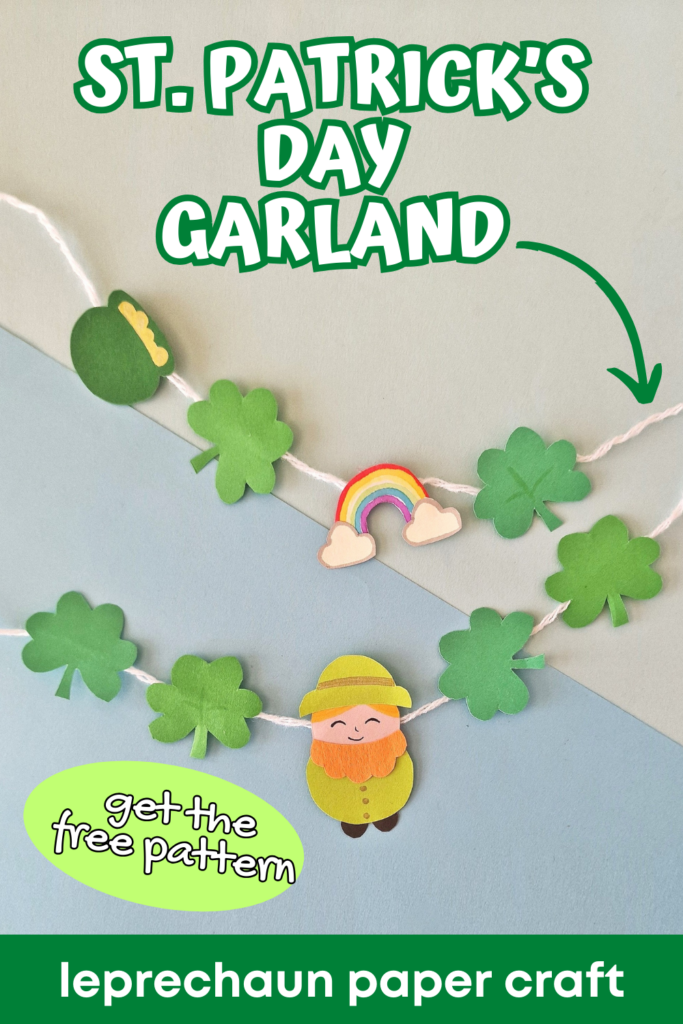
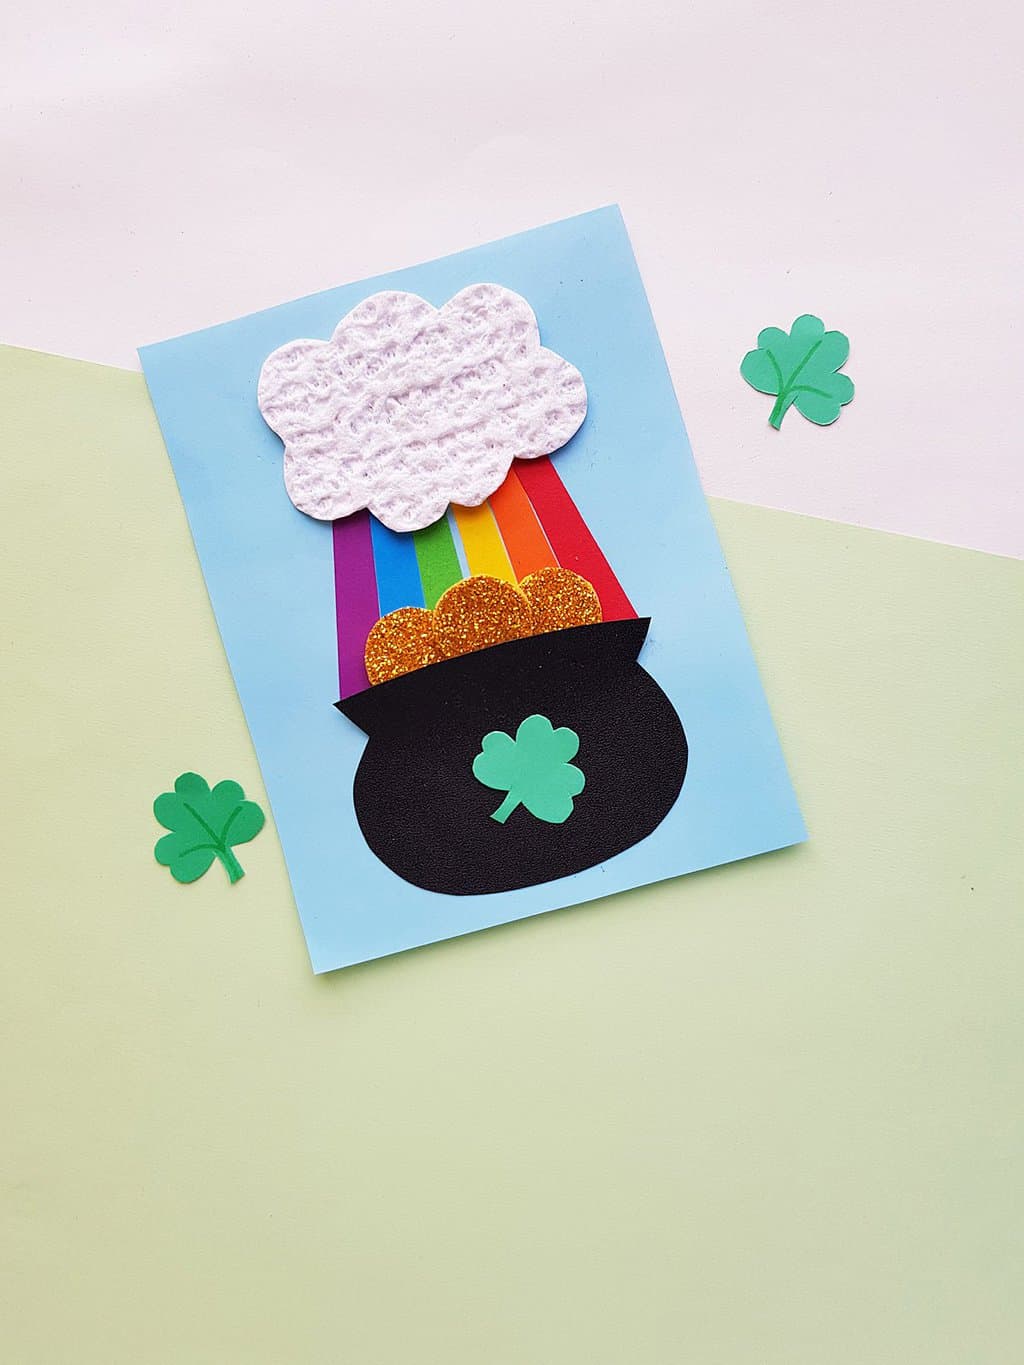
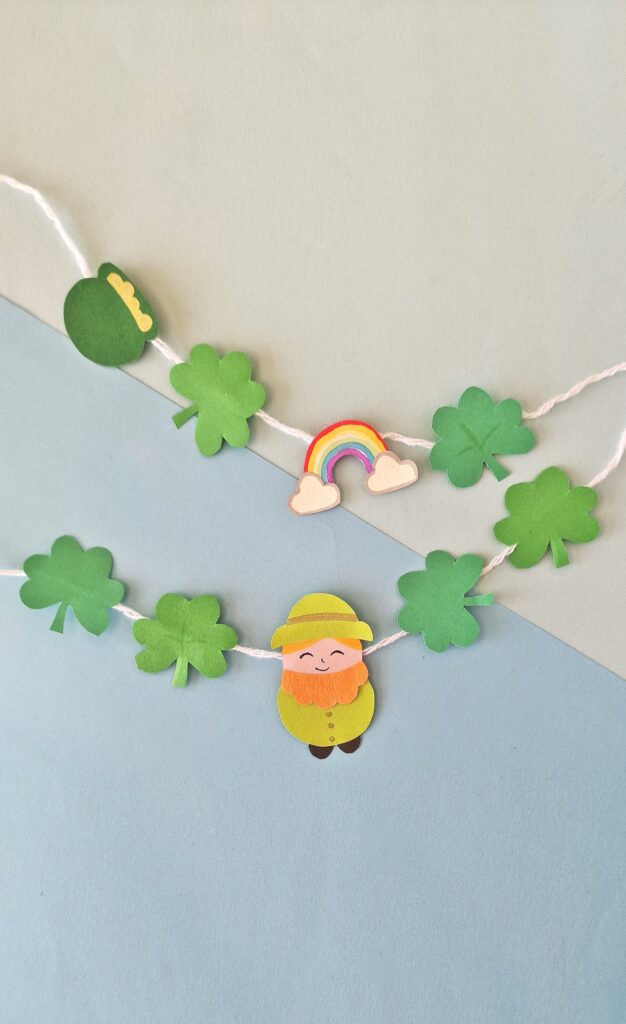
This adorable DIY St. Patrick’s Day Paper Garland is a great St. Patrick’s Day craft for kids of all ages. Decorate with shamrocks, a rainbow, a pot of gold and an adorable leprechaun.

Kids will enjoy creating this fun St. Patty’s Day craft and decorating their bedroom door or headboard.
This DIY Paper Garland is super easy to make thanks to the free printable template.
How to Make a St. Patrick’s Day Garland
List of Supplies:
- Colored craft papers
- Craft glue
- Pencil
- Scissors
- Markers
- Gold marker, gel pen or craft paint
- Template
Instructions:
Download and print out the St. Patrick’s Day Garland template.
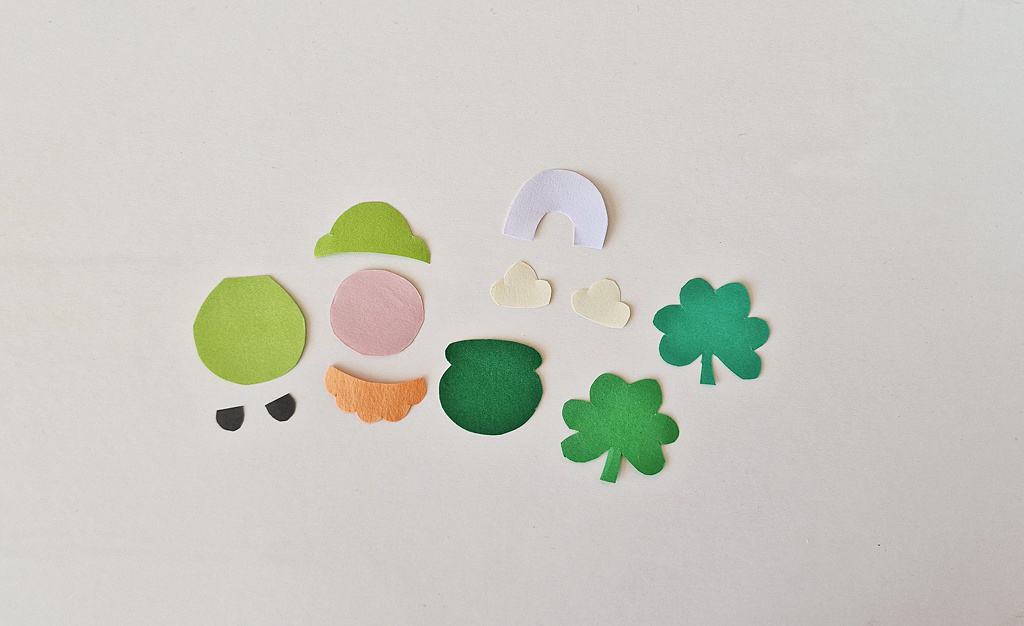
Select different colored craft papers for the St. Patrick’s Day gnome garland.
We’re using different shades of green, yellow and orange for this craft.
The template includes patterns for a leprechaun, shamrock, pot of gold and rainbow.
Trace the template patterns on the selected colored craft papers and cut out the traced patterns.
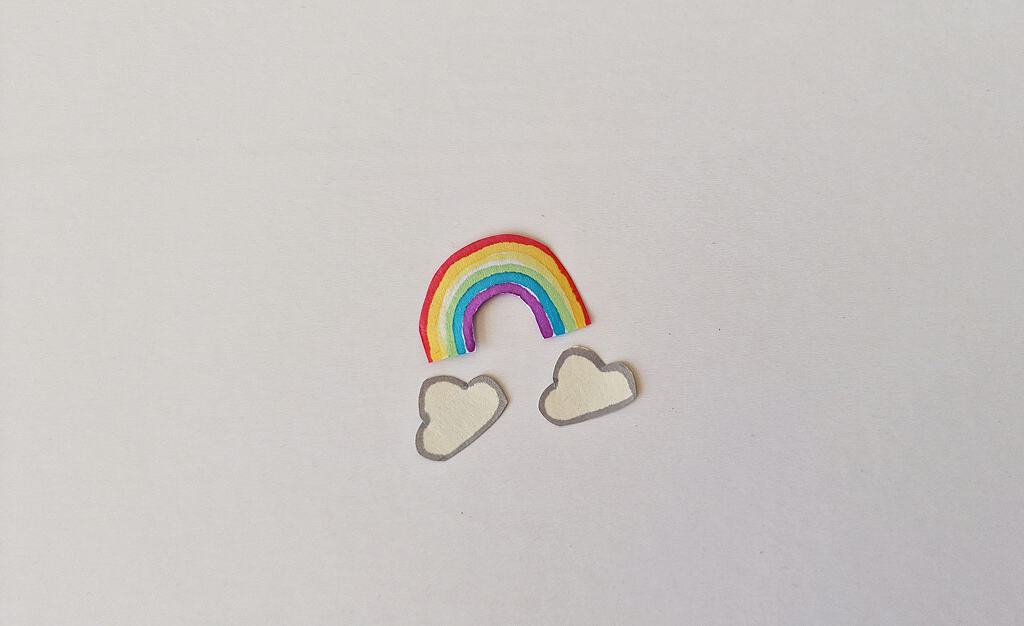
Take the rainbow and cloud cutouts. Use markers to add the rainbow colors to the rainbow base cutout.
Add borders to the cloud cutouts with a marker.
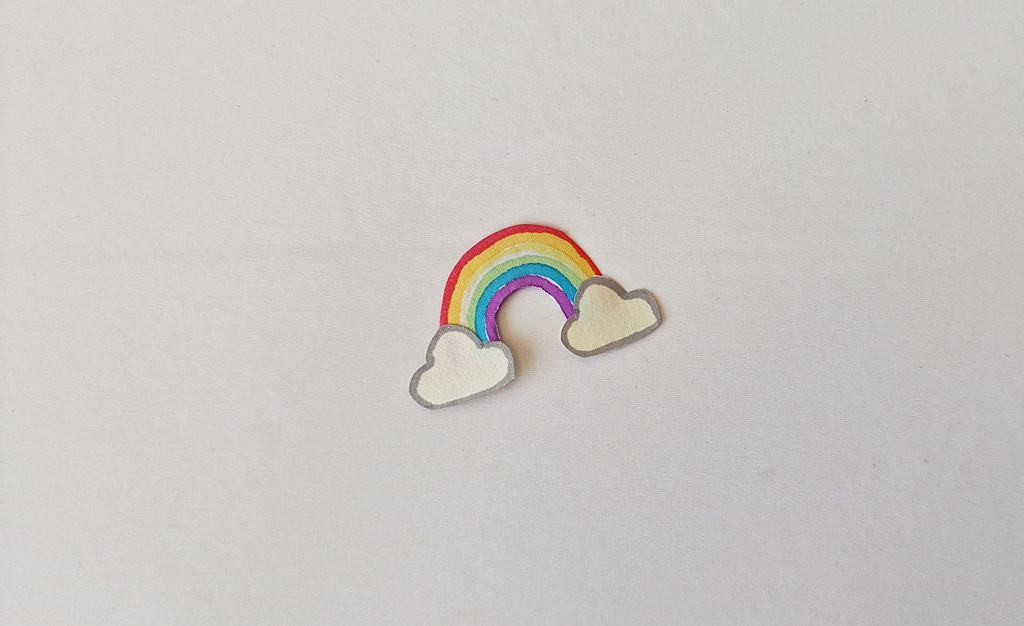
Glue the cloud cutouts on both sides of the rainbow.
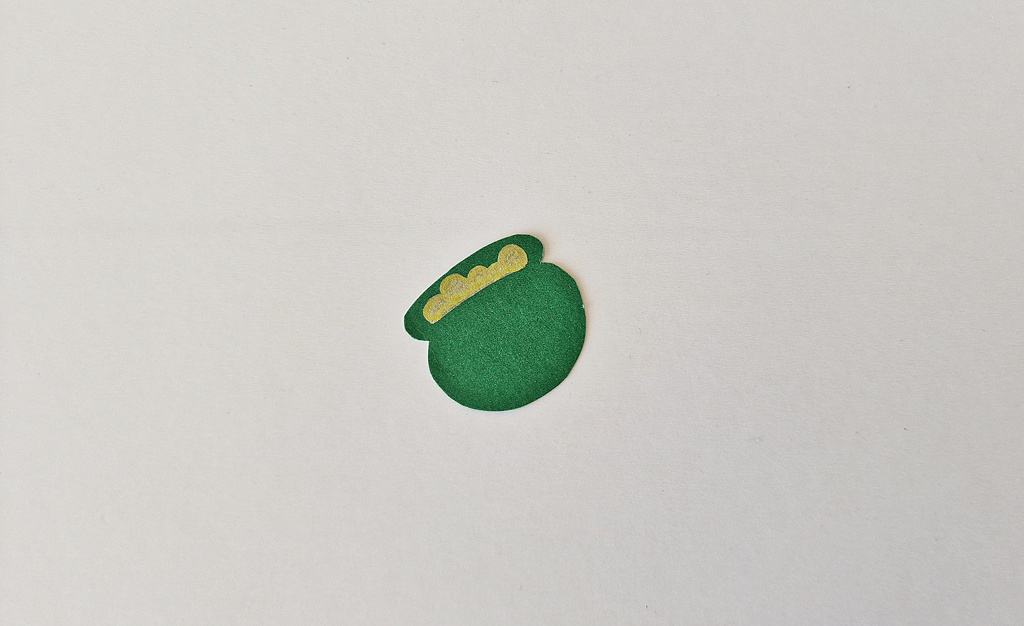
Use a gold marker or craft paint to draw golden coins in the pot of gold.
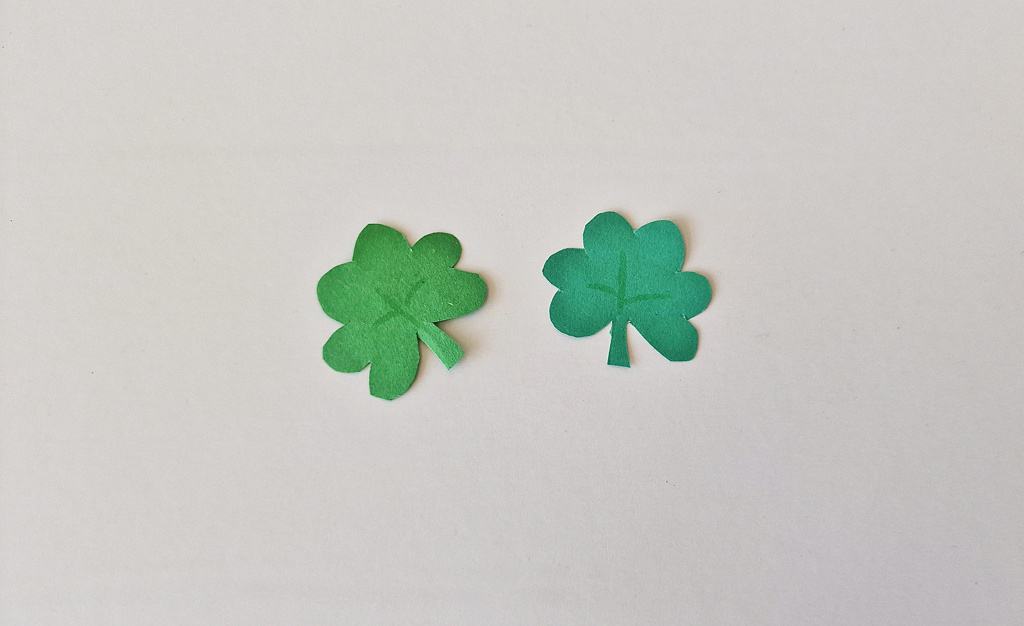
You can use green markers to add patterns to the shamrock cutouts if you want to.
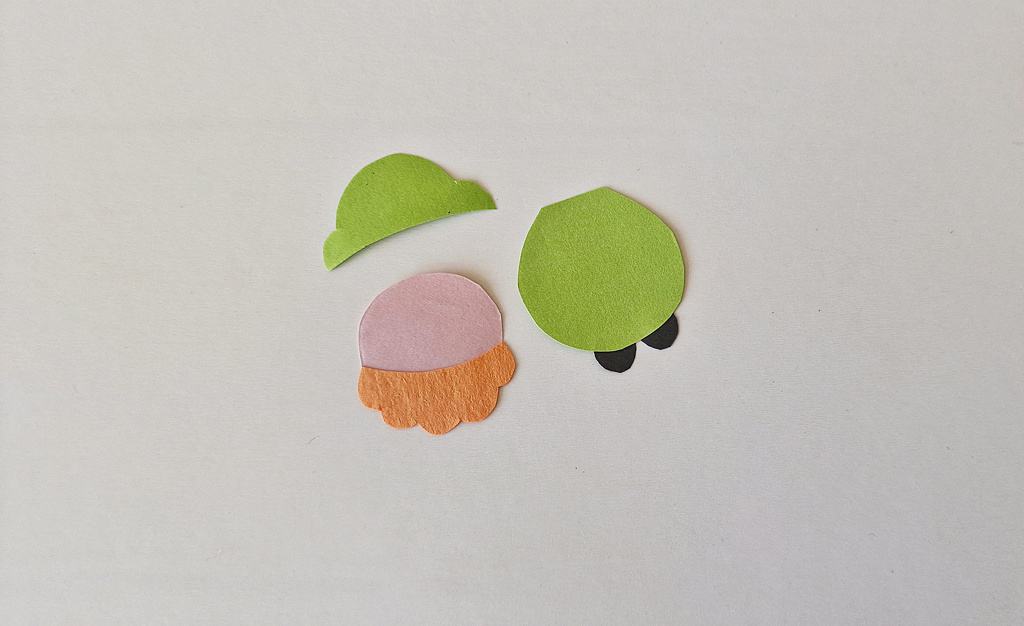
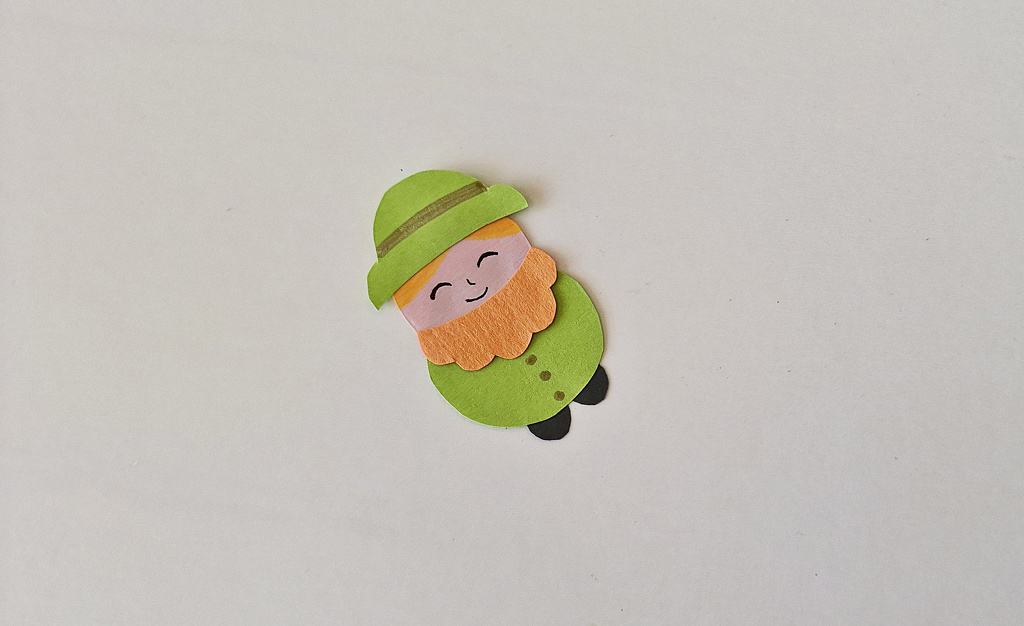
Gather the leprechaun pattern cutouts.
Glue the beard cutout near the bottom edge of the head cutout.
Glue the shoe cutouts along the bottom edge of the body cutout.
Glue the head on the top edge of the body piece and use orange marker to draw the hair on the head.
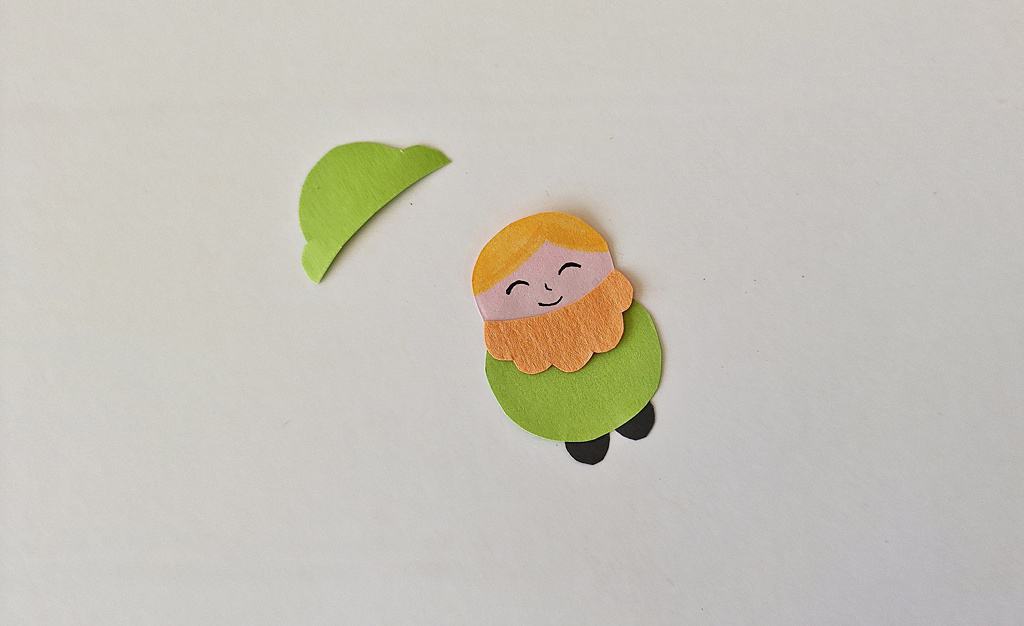
Attach the hat cutout on the top of the head and use a marker to add the hat band on it.
Now, attach all the crafted St. Patrick’s Day items on strings or ribbons to make a St. Patrick’s Day garland with them.