Santa Bookmark Craft
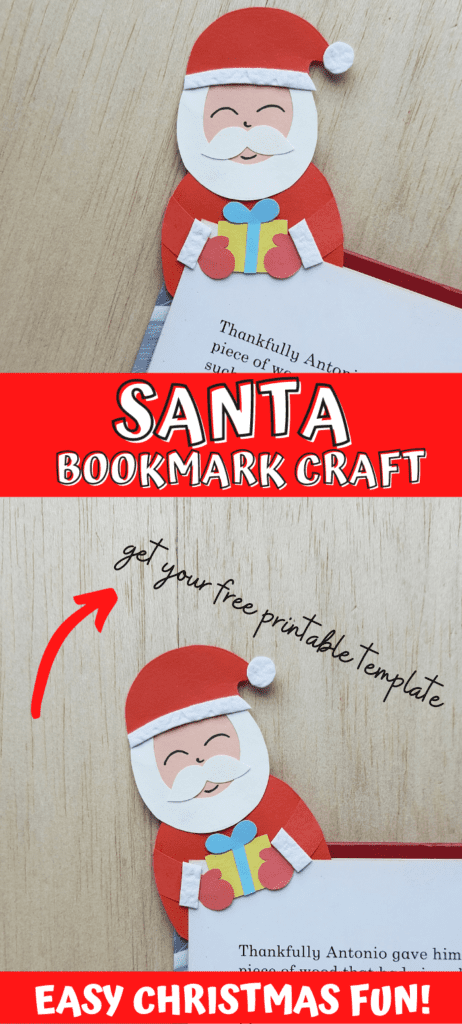
Get ready for all your Christmas time reading with this super cute DIY Santa Bookmark.
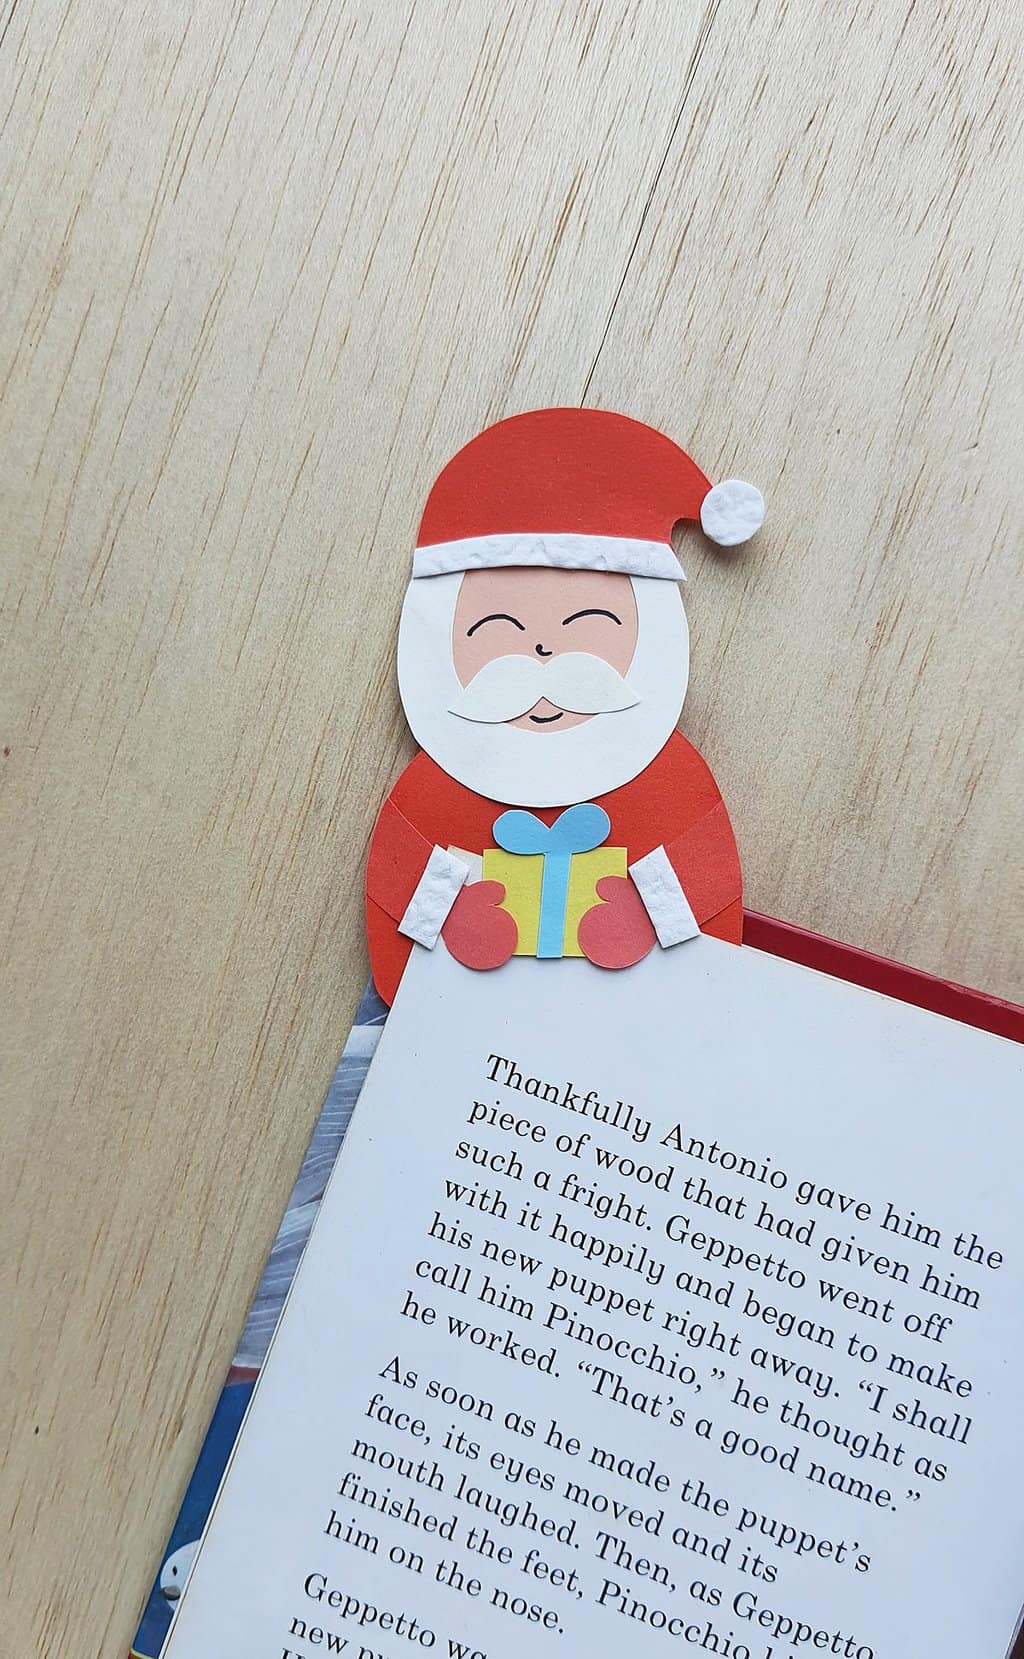
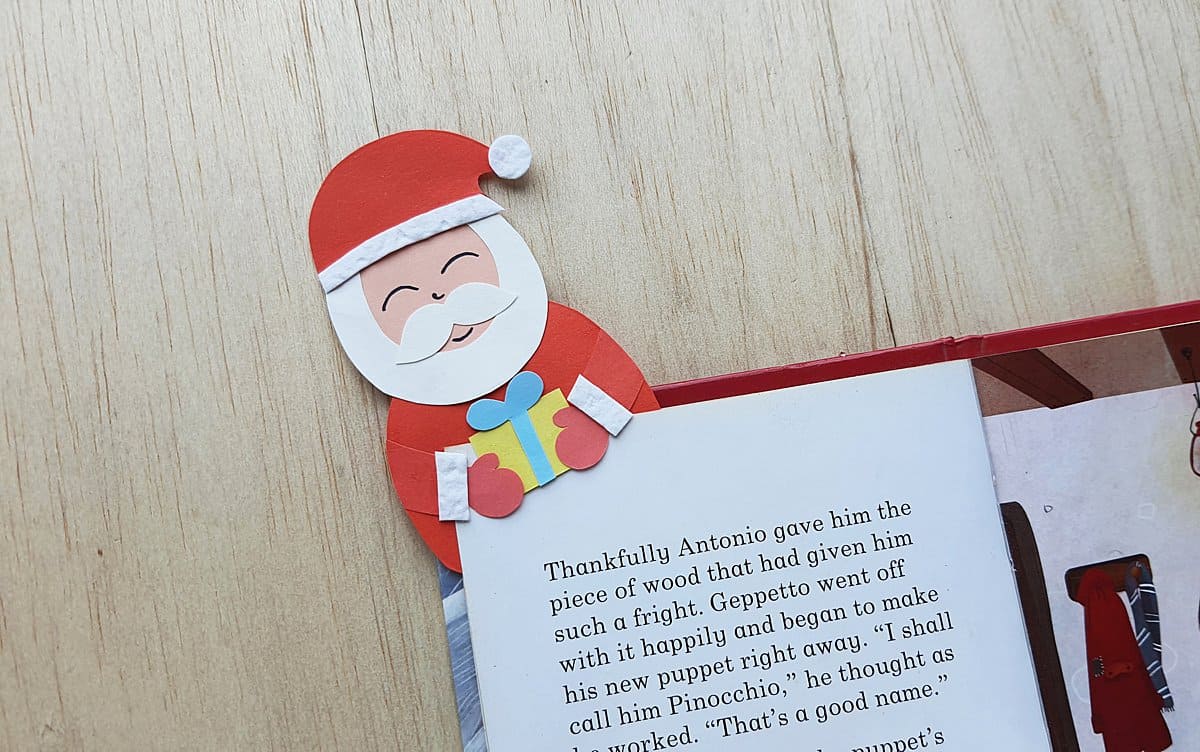
All done reading? Santa will hug your page so you know where to begin reading next time you sit down.
How to make a Santa Hug Bookmark
Supplies:
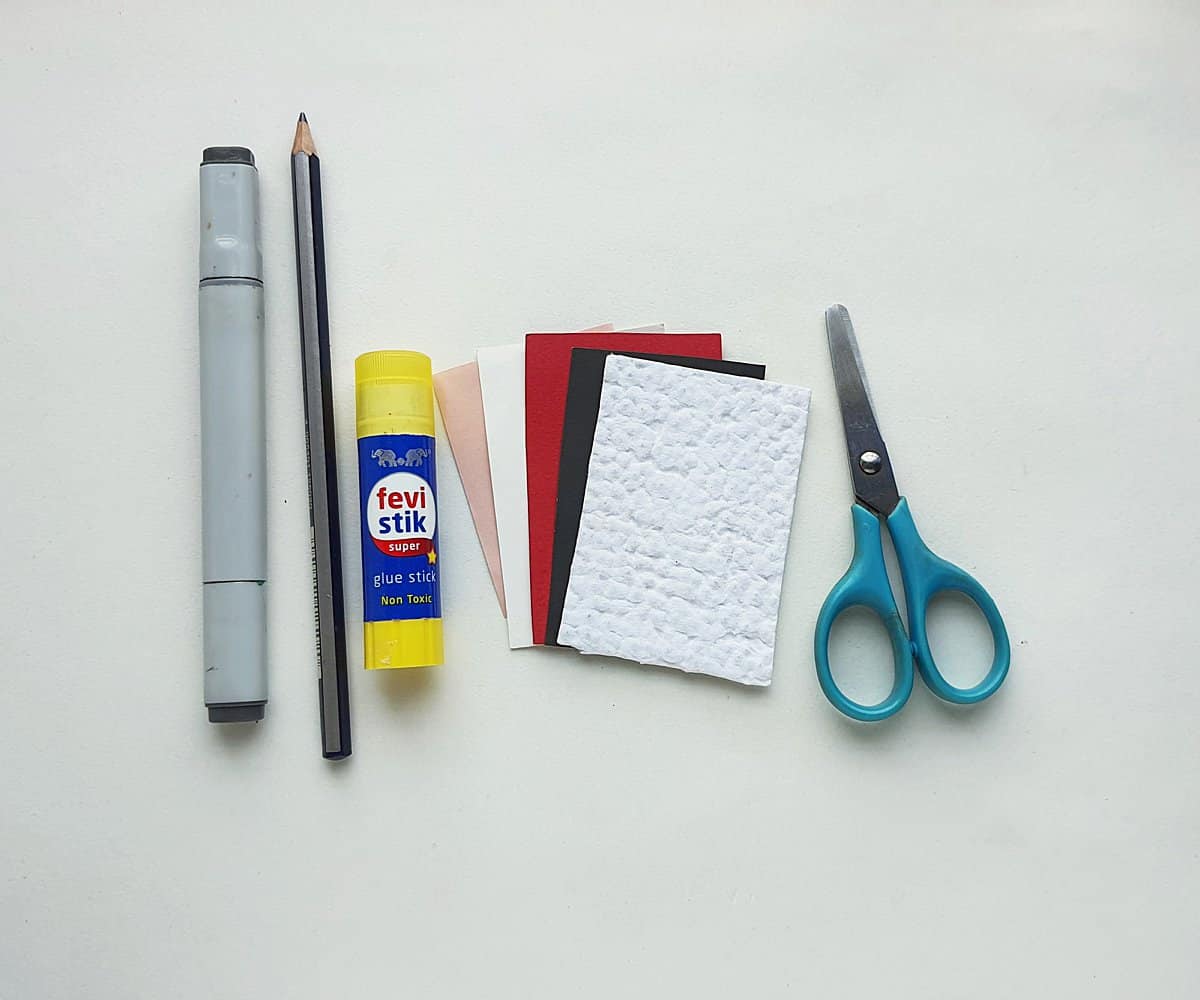
- Colored craft papers
- White embossed paper (optional)
- Craft glue
- Black gel pen
- Pencil
- Scissors
- Template
Instructions:
Print out the Santa bookmark template and cut out all the pattern pieces.
Choose colored papers for your Santa bookmark. You’ll need red, white, black and a skin color. You can also use white embossed paper for the details on Santa’s hat, but if you don’t have embossed paper on hand, plain white paper will work fine.
Trace and cut out the pieces for Santa using the template patterns.

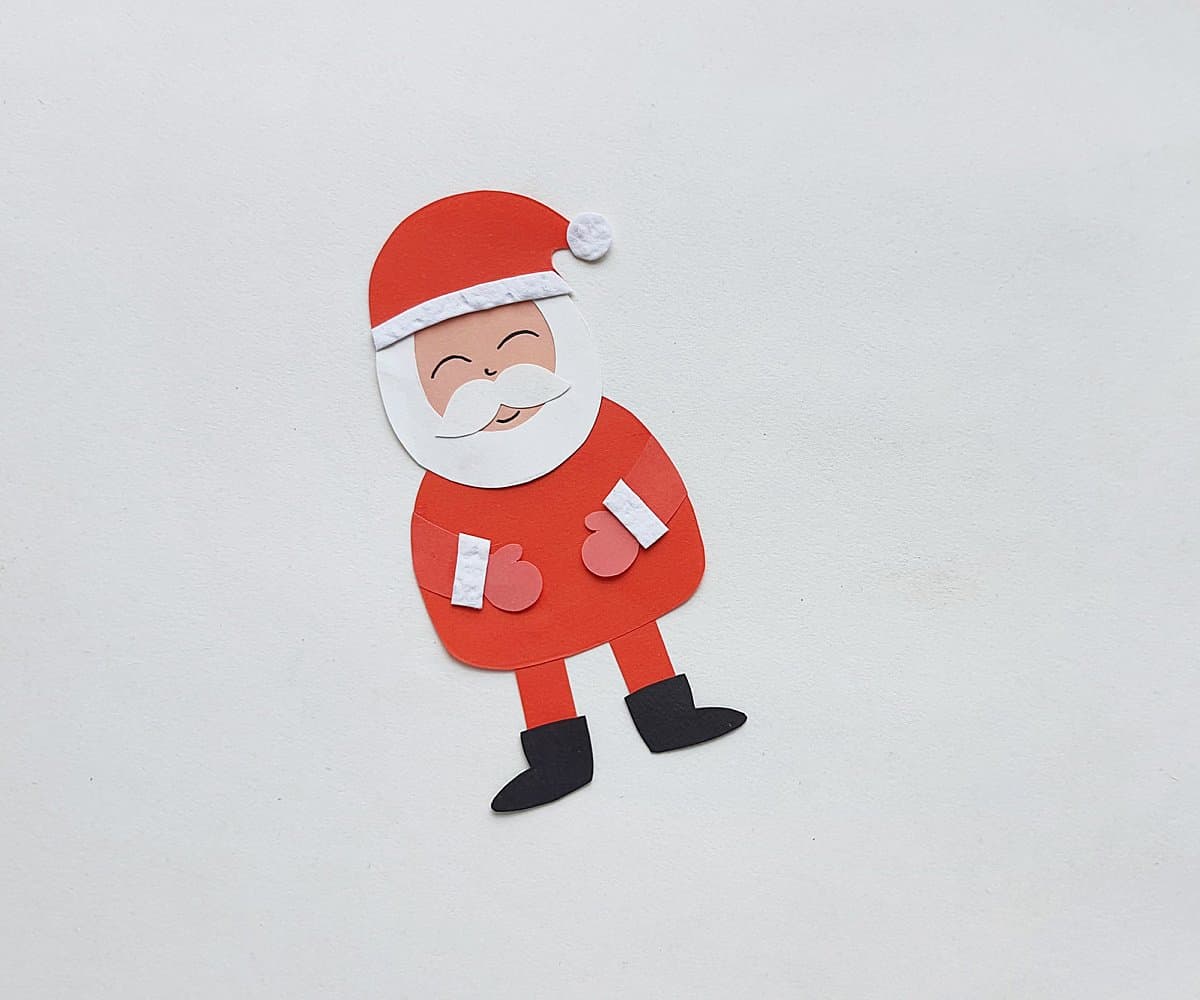
Glue the shoes on the bottom of each leg.
Glue the pompom (small round circle) to the tip of the hat, and also glue the small, long paper strip on the bottom of the hat.
Glue the cuffs on the end of each sleeve.

Glue the beard and the mustache pieces onto Santa’s face.

Glue the hat on top of Santa’s head.

Glue the gloves onto the end of the sleeves.
Glue the legs on the bottom of Santa’s body.

Glue Santa’s head on top of his body.

Apply a small stripe of glue on the edge of Santa’s body for his arm as shown below. You don’t want to glue the whole arm down, so that Santa can ‘hug’ a book page.
Glue both arms on in this way. (see below for glue position and arm placement)

Now, use scissors to trim any excess arm as shown below.
Use a black gel pen or marker to draw the eyes, nose and mouth of the Santa Bookmark.
To use the Santa as a bookmark, simply slide a page between his body and his arms.