
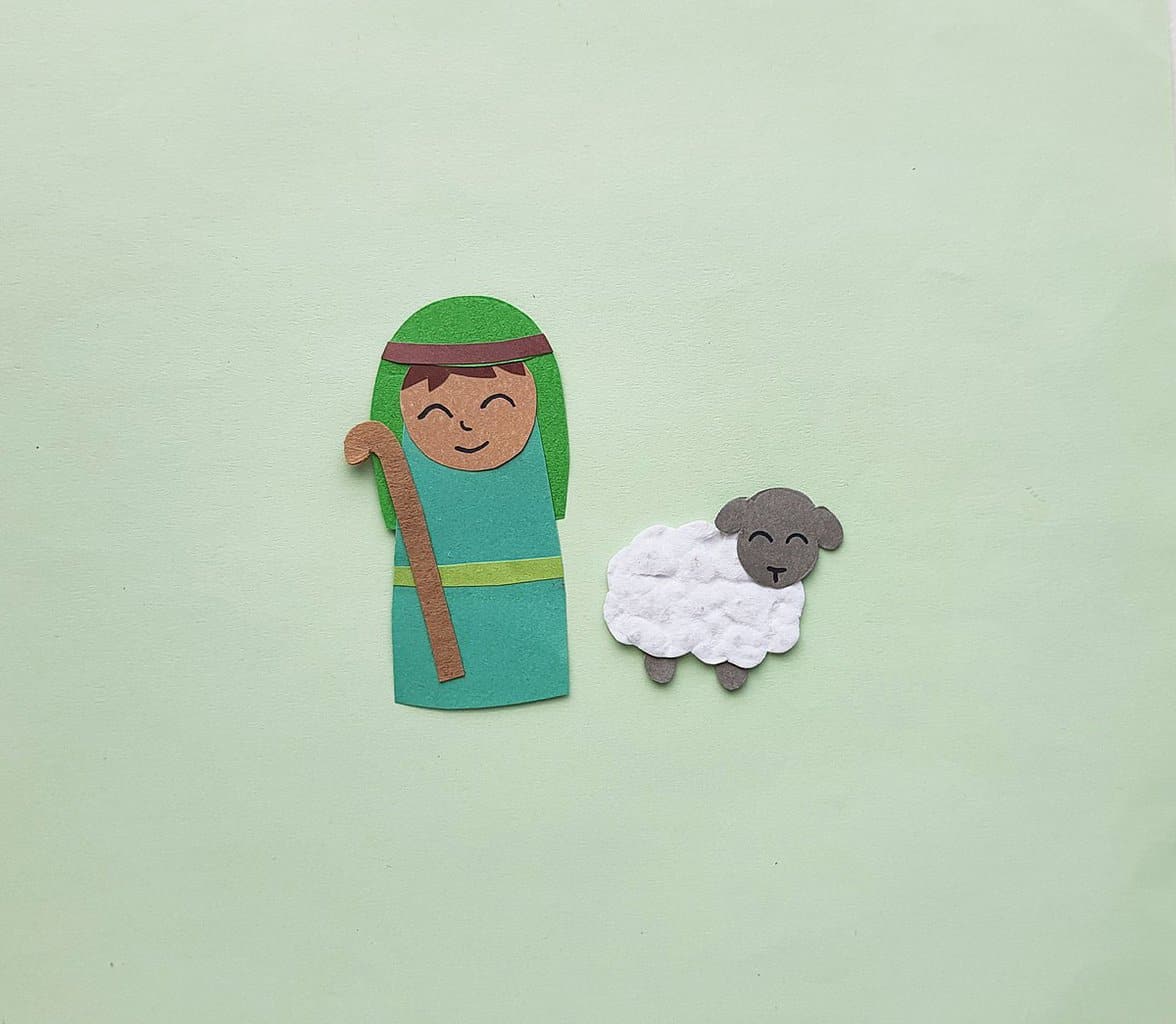
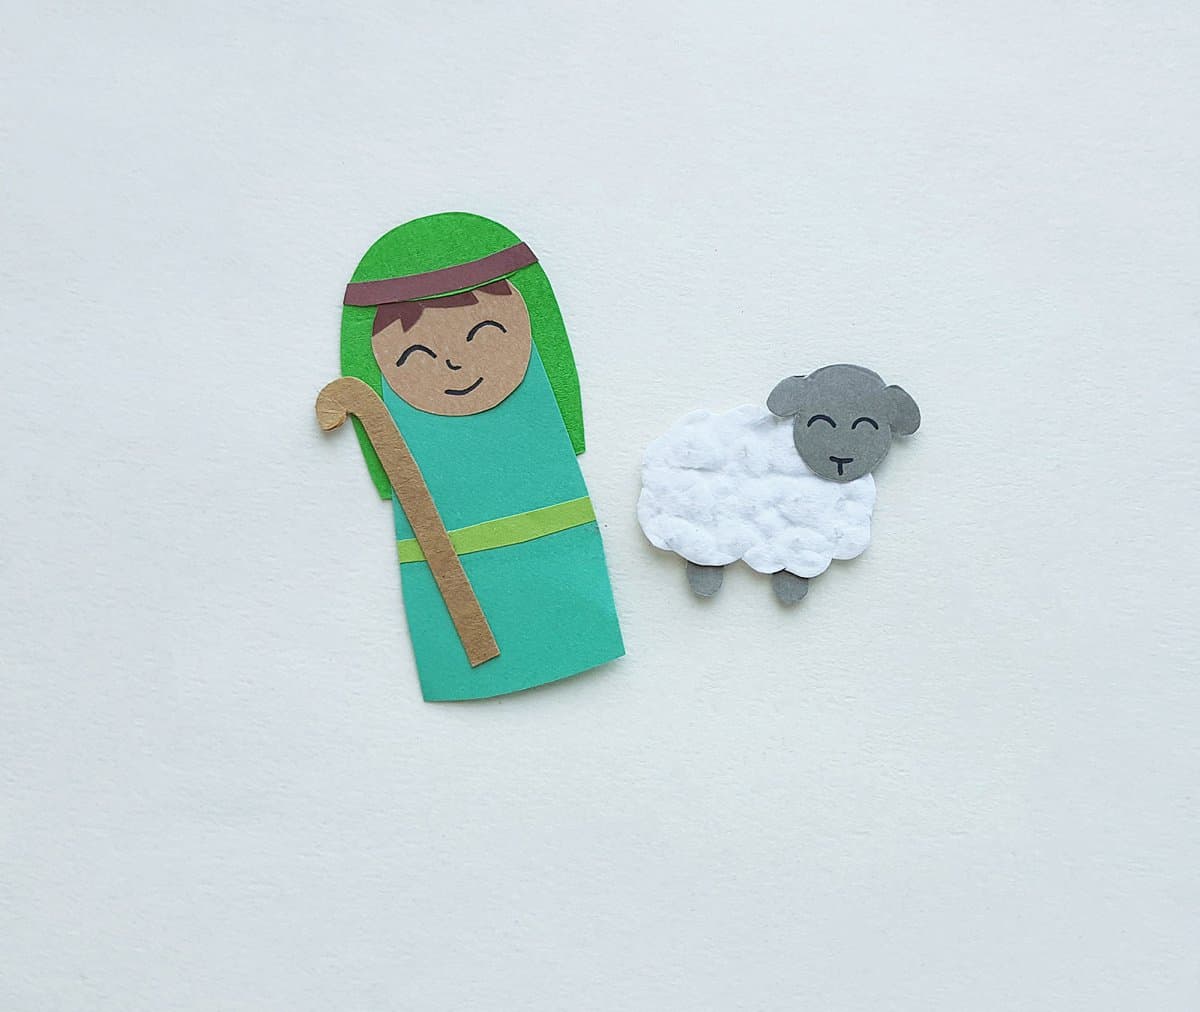
Shepherd and Sheep Craft
Shepherd and Sheep Craft Directions
Supplies:

- Colored craft papers
- White embossed paper
- Craft glue
- Markers
- Pencil
- Scissors
- Template
Directions:
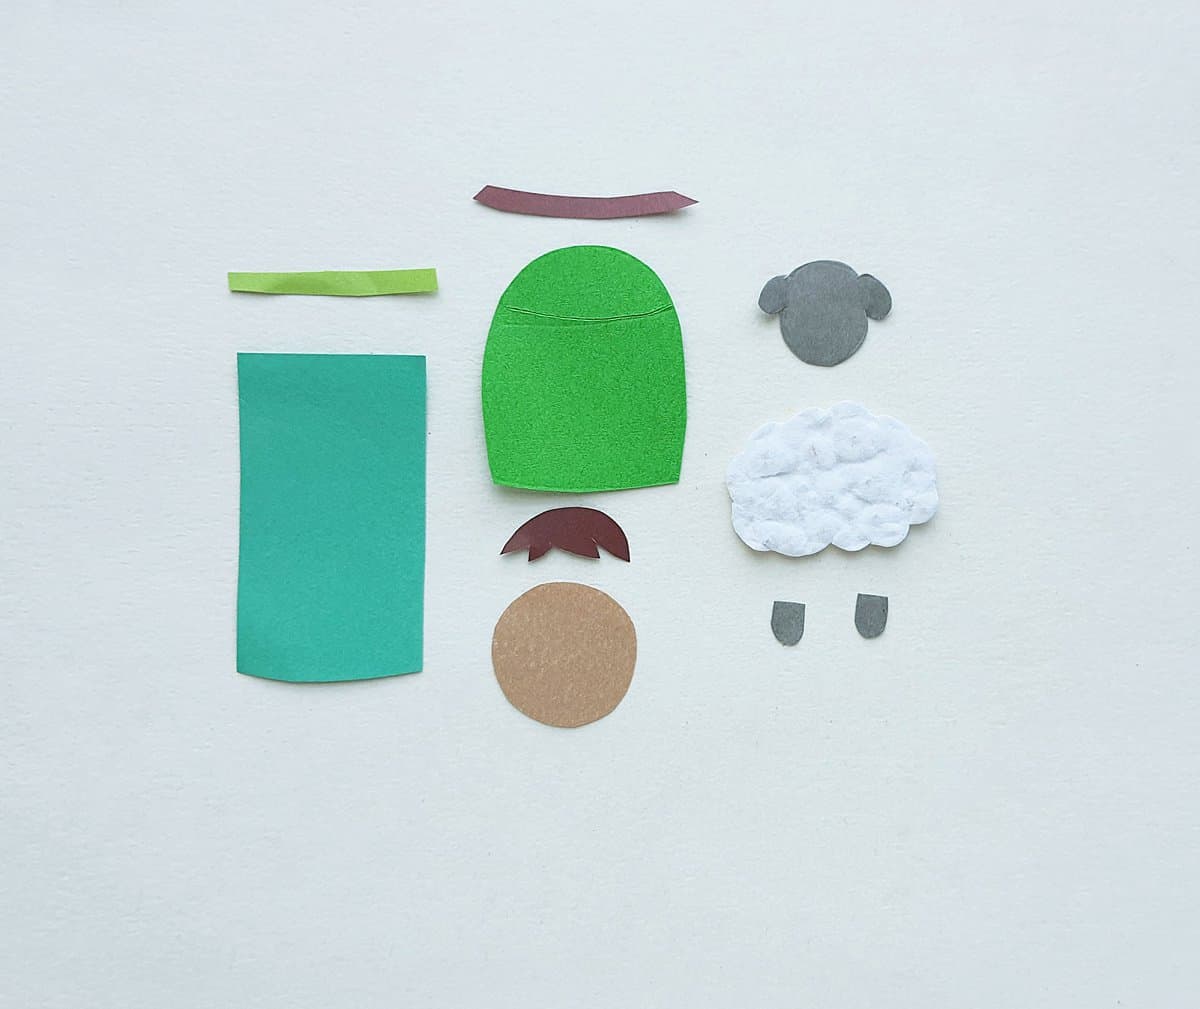
Print out the template and cut out all of the template pieces.
Choose colored craft papers for the shepherd figure, white embossed paper and grey or black paper for the sheep.
Trace the template patterns on the chosen craft papers and cut them out nicely.
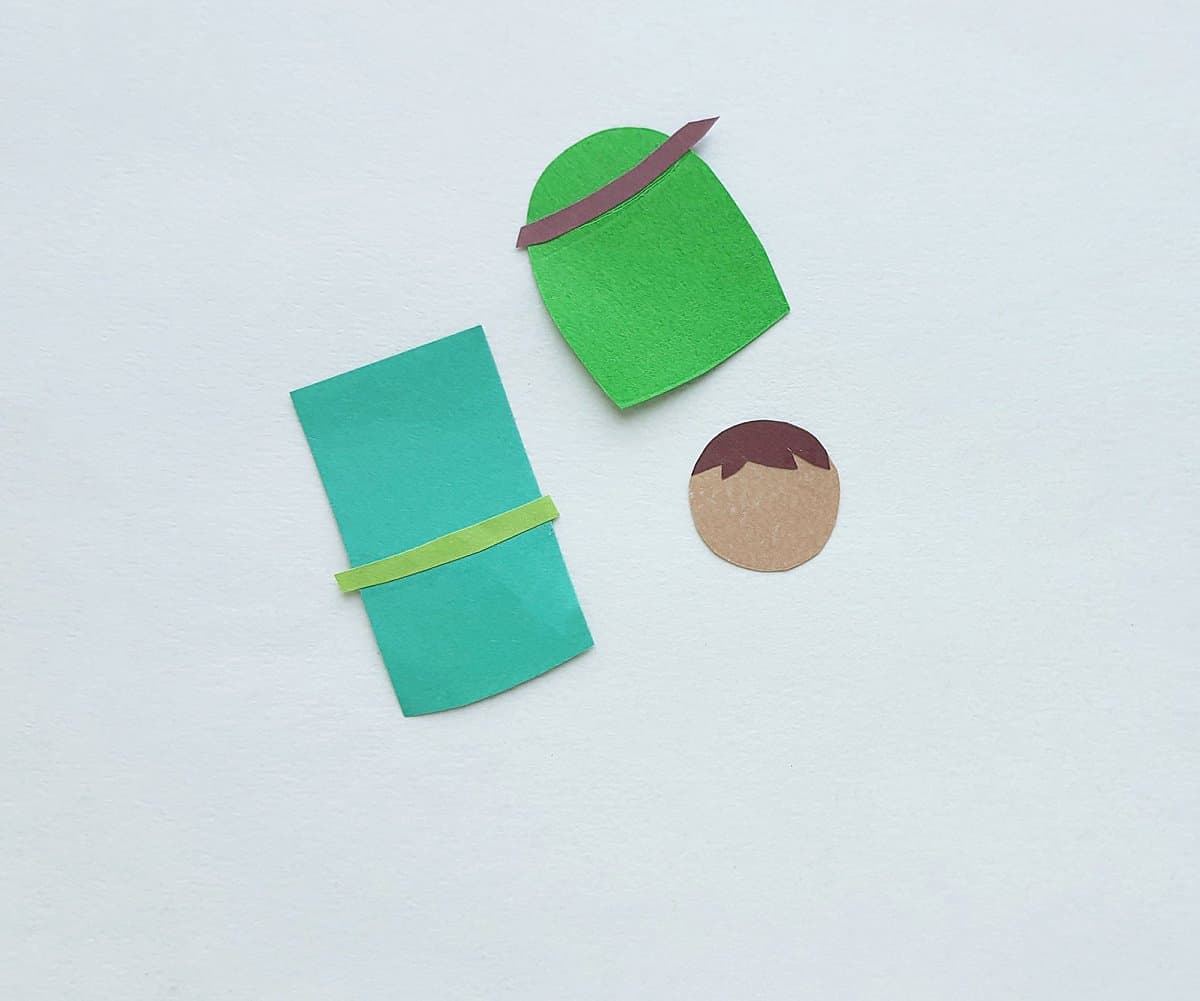
Cut a slit along the yellow marked line on the head-scarf pattern.
Glue the sheep’s head on the right side of the sheep’s body cutout and then glue the two leg cutouts on the bottom of the body piece.

To make the shepherd, glue the headband strip along the top of the head-scarf pieces’s slit. Attach the other strip along the middle part of the sheperd’s clothes.
Glue the hair piece on the top of the head piece.
Insert the top side of the head piece under the slit of the head-scarf and then glue the head and scarf pieces together.
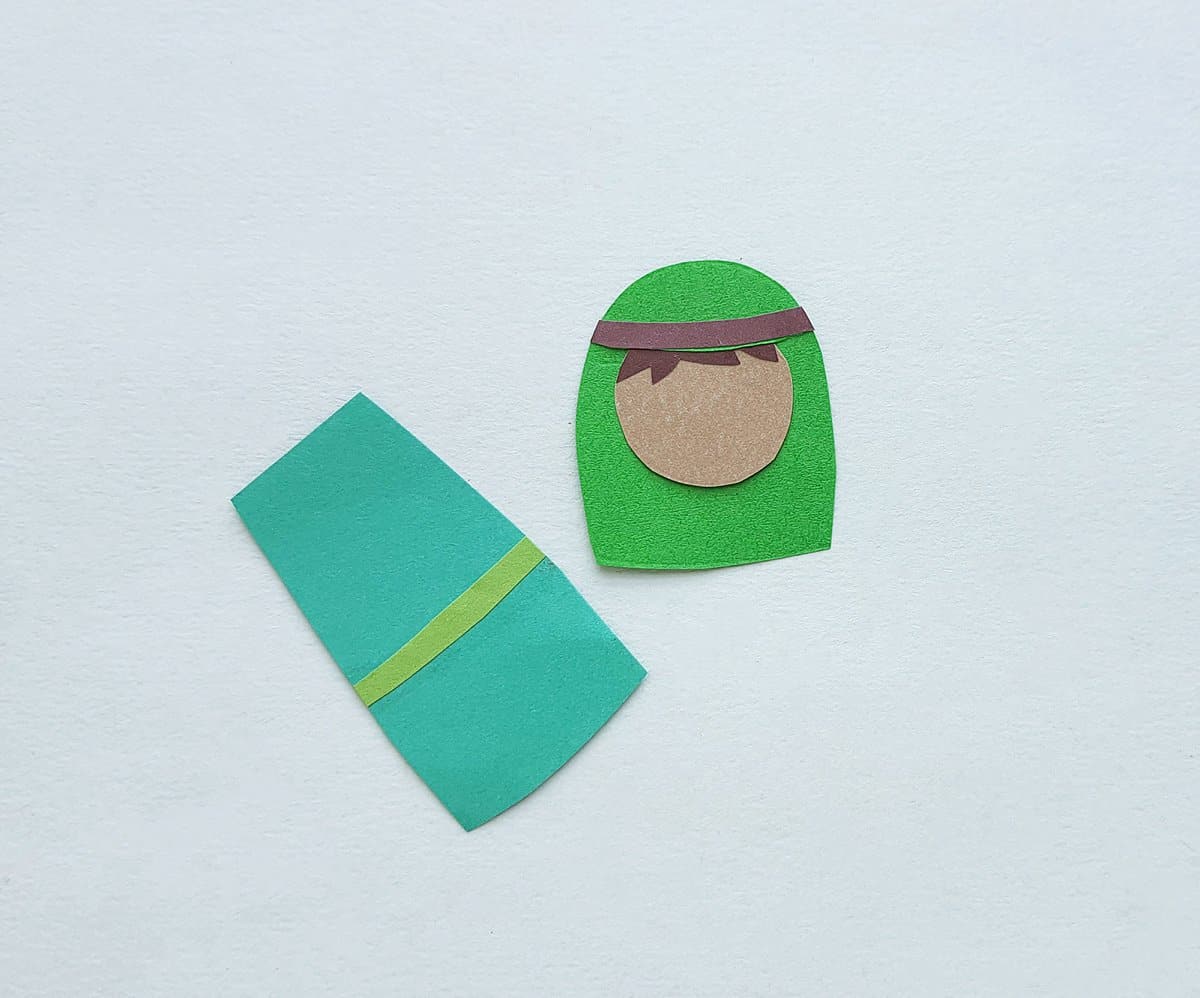
Attach the head on the top of the clothes but keep the scarf on the back side of the Sheperd’s clothes.

Glue the staff on one side of the shepherd figure. Use a marker to draw the eyes, nose and mouth of the Sheperd.
Get this adorable craft and the rest of the Nativity Scene DIY templates and instructions!


