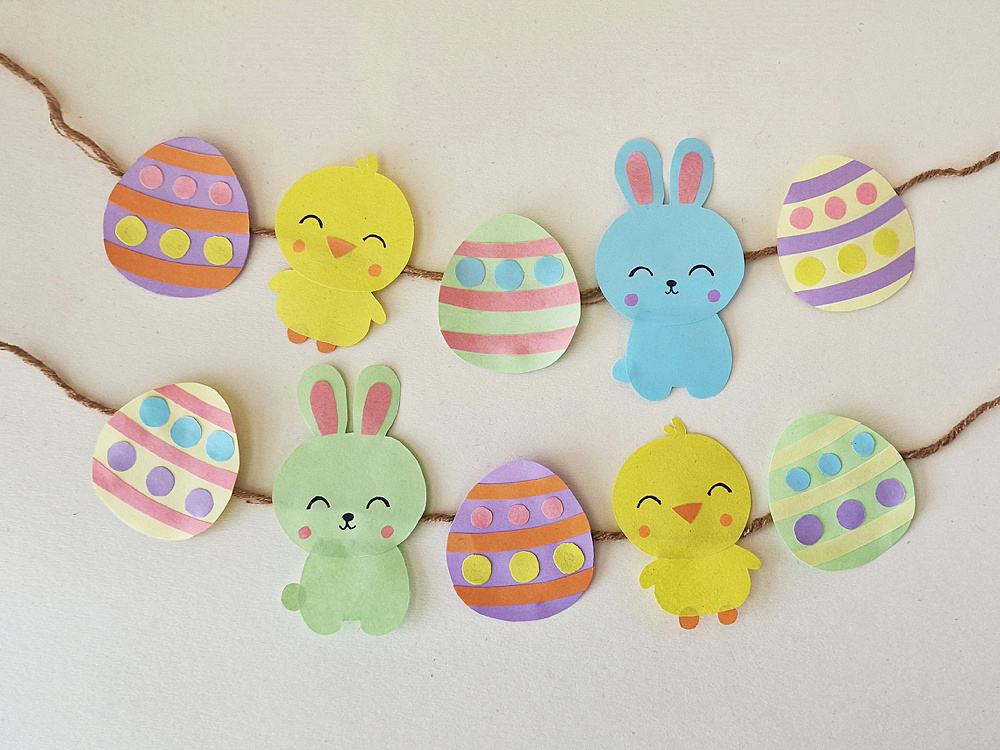
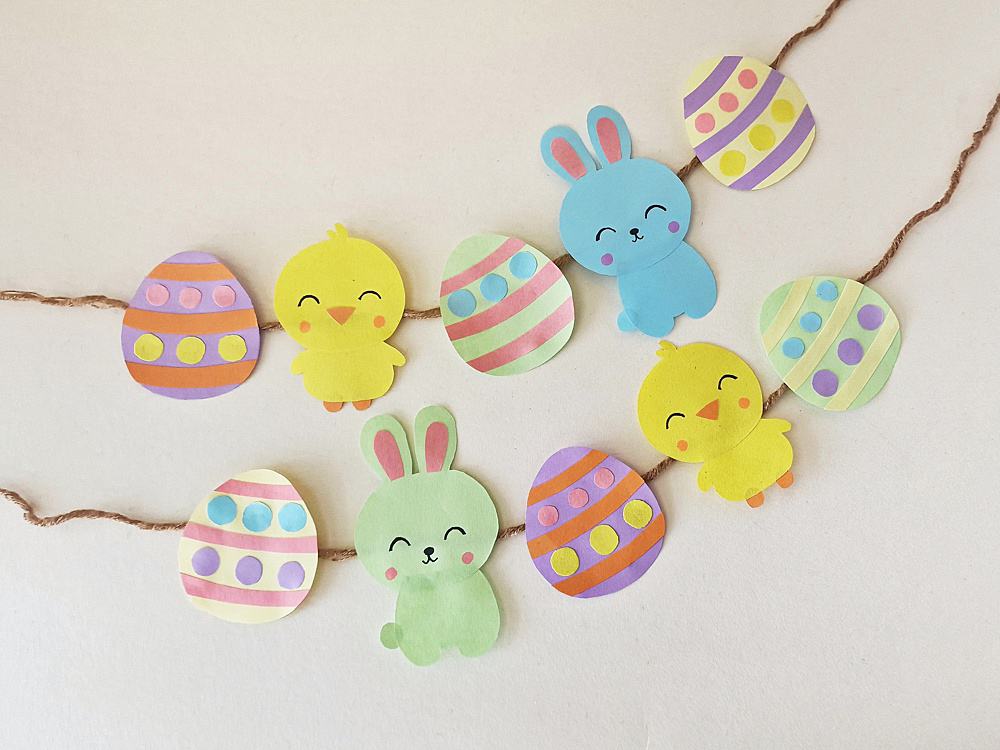
DIY Paper Garland for Easter

This adorable DIY Easter Paper Garland is a great Easter craft for kids of all ages. Decorate for the season with bunnies, a chicks, and Easter eggs.
Kids will enjoy creating this fun Easter craft and decorating their bedroom door or headboard.
This DIY Paper Garland is super easy to make thanks to the free printable template and instructions below.
How to Make a DIY Garland for Easter
List of Supplies:
- Colored craft papers
- Craft glue
- Pencil
- Markers
- String or ribbon
- A pair of scissors
- Template
Instructions:
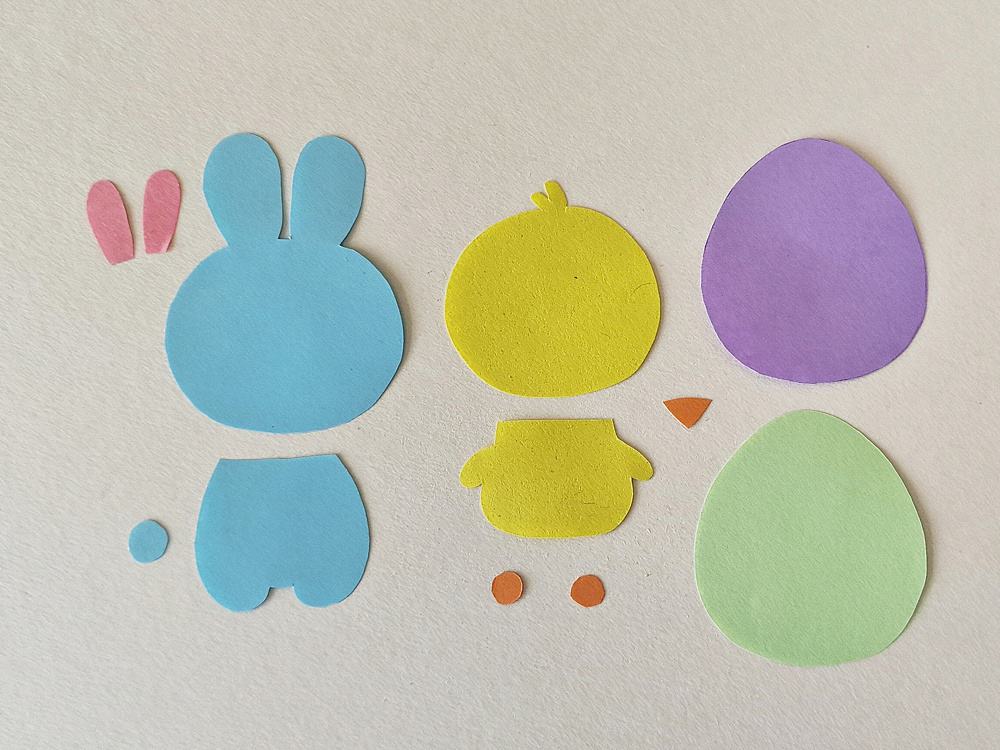
Download and print out the Easter garland template. Cut out the pattern pieces.
Select colored craft papers for the garland.
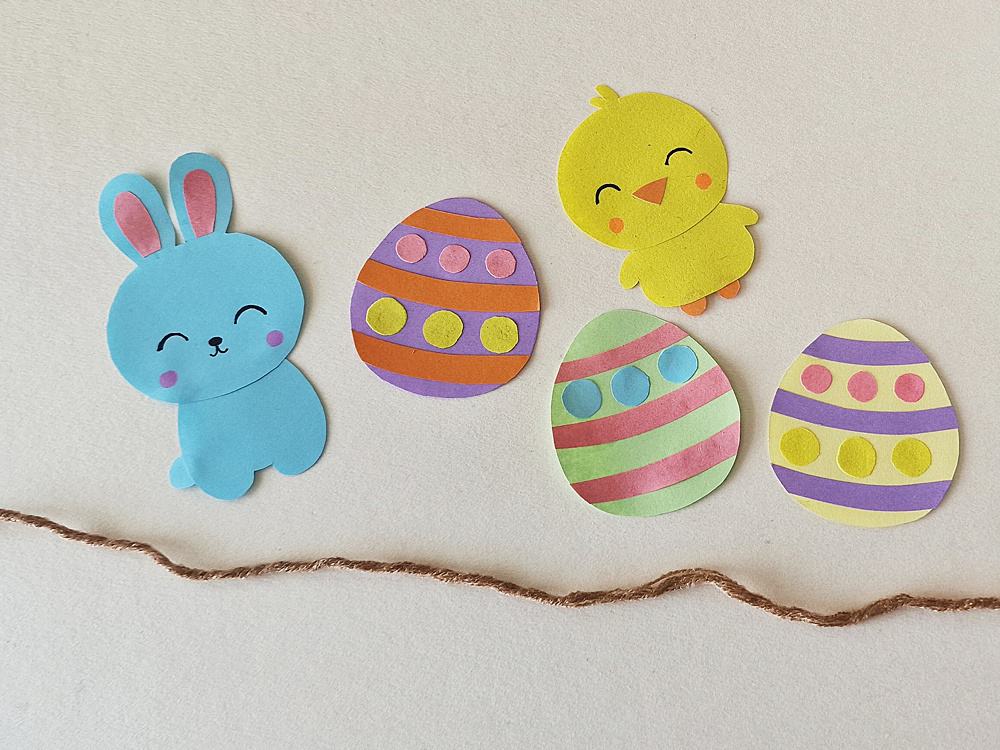
The template includes patterns for Easter egg, bunny and chick.
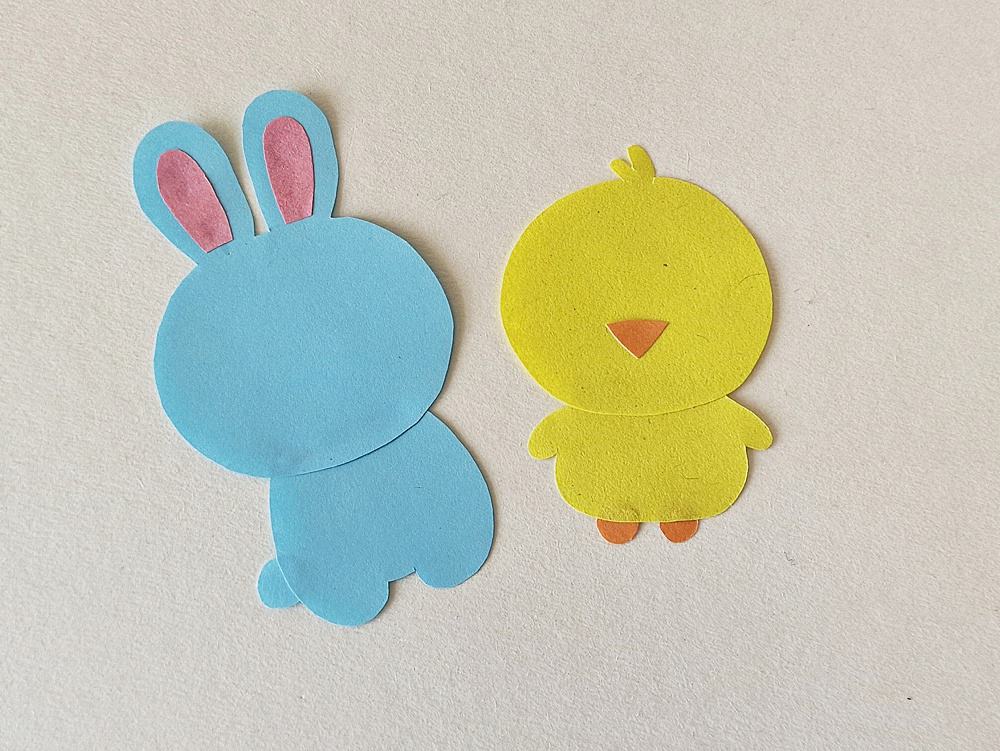
Trace the patterns on the selected colored craft papers and cut them out nicely using a pair of scissors.
Glue the inner ear cutouts on the bunny’s head. Glue the tail cutout on the side edge of the bunny’s body
Glue the beak on the chick’s head and the feet cutouts on the chick’s body.
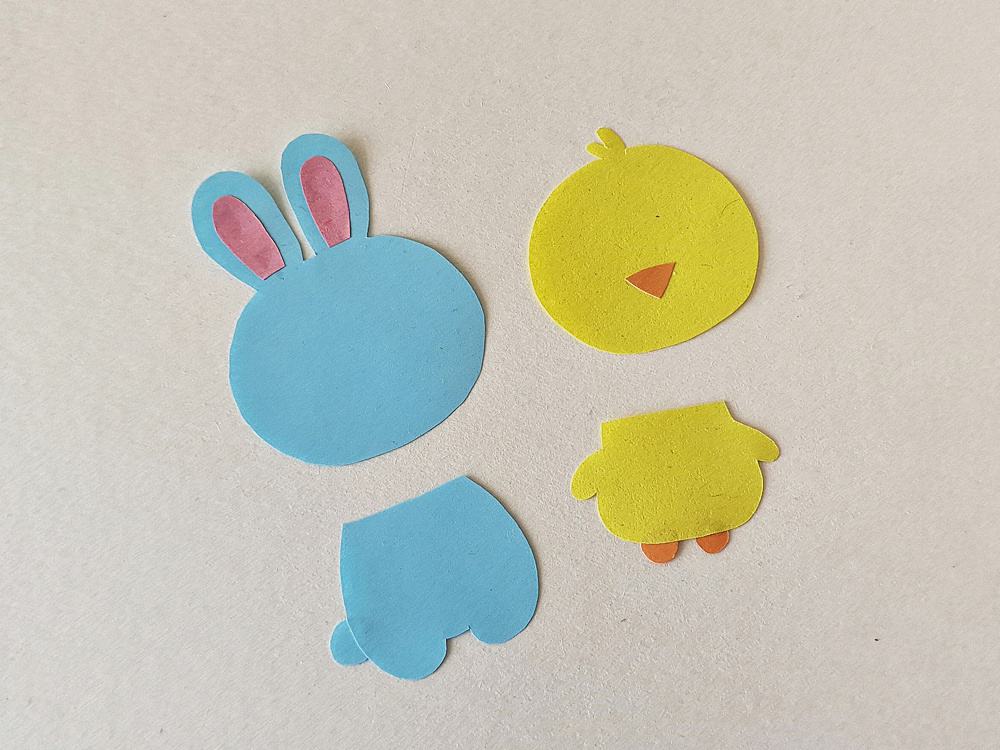
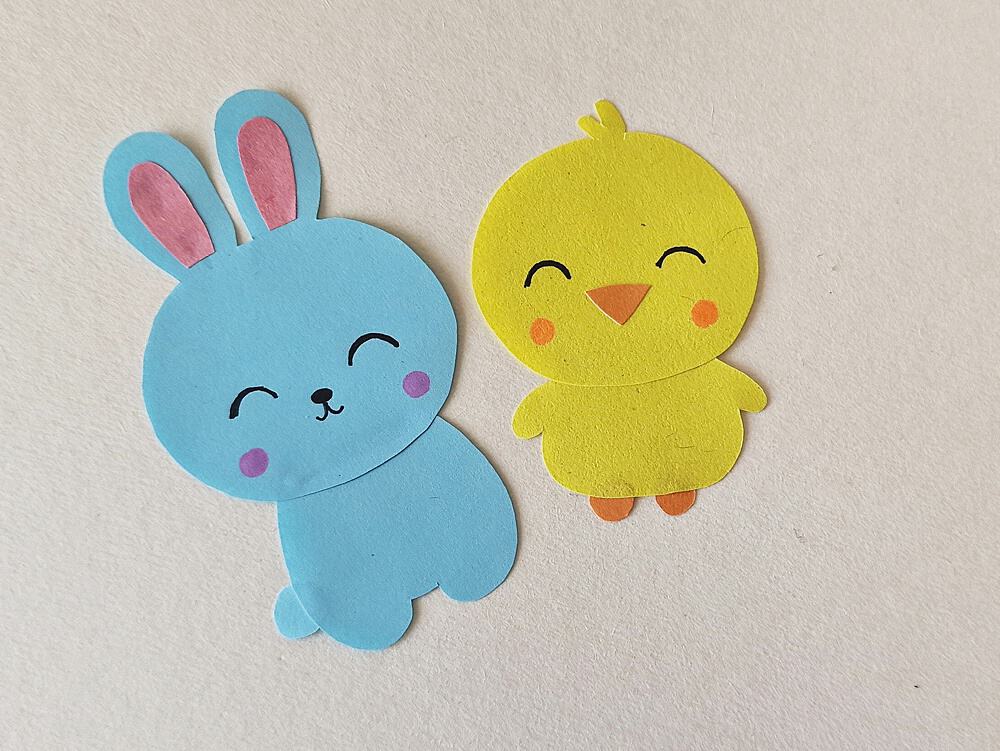
Glue the bunny and chick heads onto their bodies.
Use markers to draw the face and the cheeks on the bunny and chick.
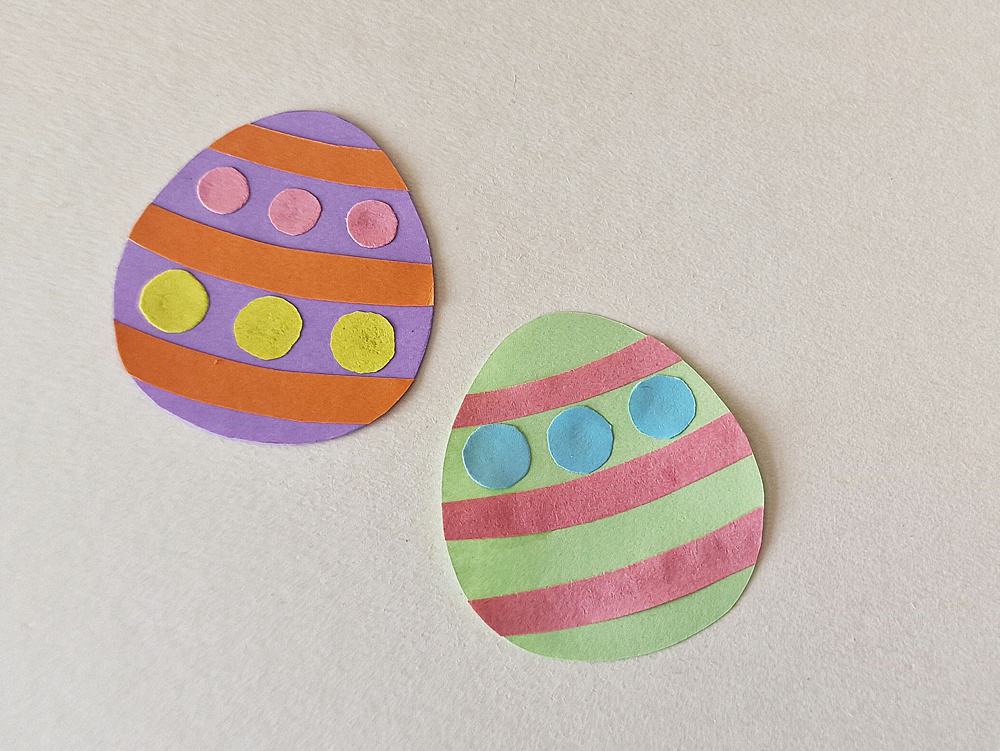
Gather the Easter egg papers.
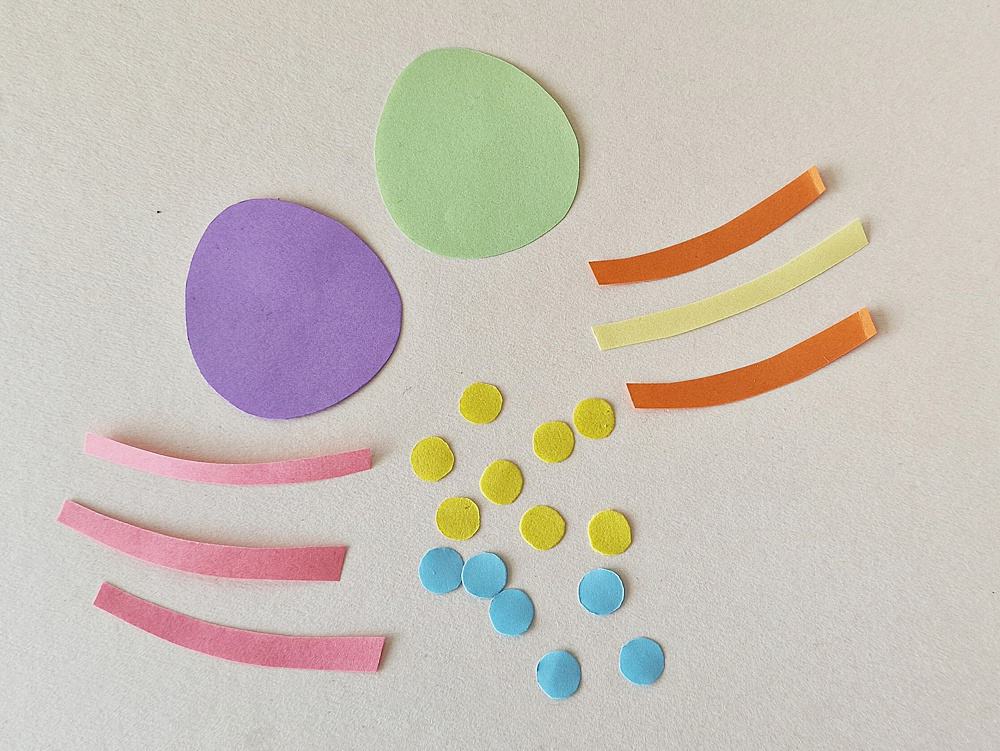
Glue the stripes on the eggs.
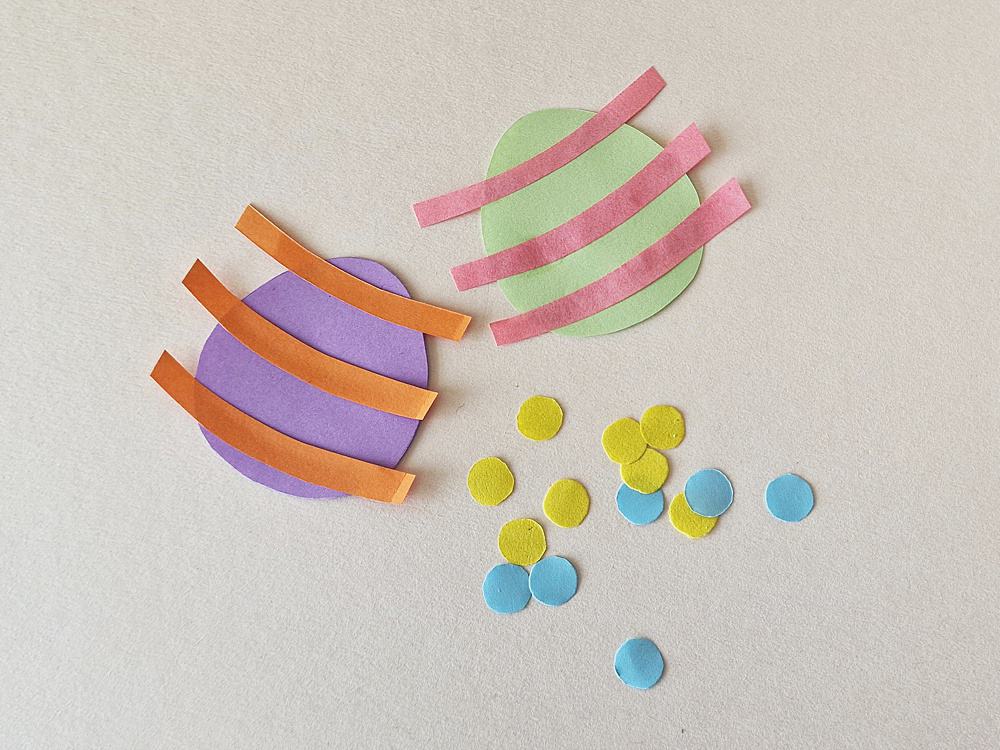
Glue the small circle cutouts on the eggs, between the stripes.
Use scissors to trim the extra length off of the stripes.
Make as many bunnies, chicks and eggs as you would like for your garland.
Select a long string or ribbon for the garland.
Glue or tape the garland string or ribbon to the back of all of the easter themed items. Spacing them out as you wish.
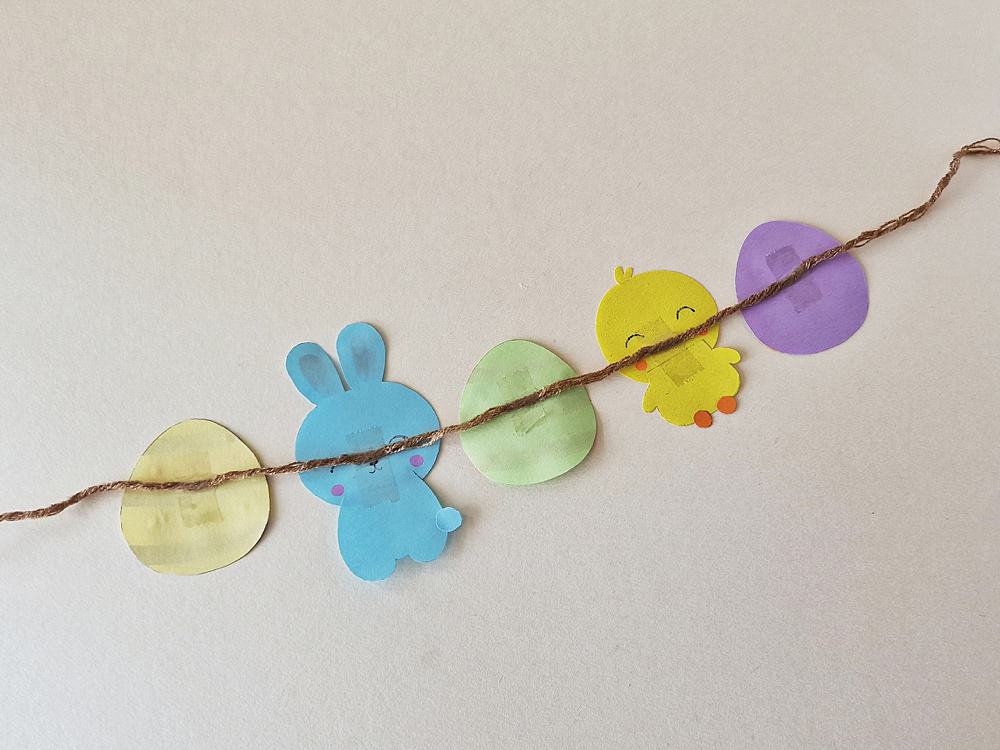
Allow the glue to dry and then carefully turn the garland to the right side.
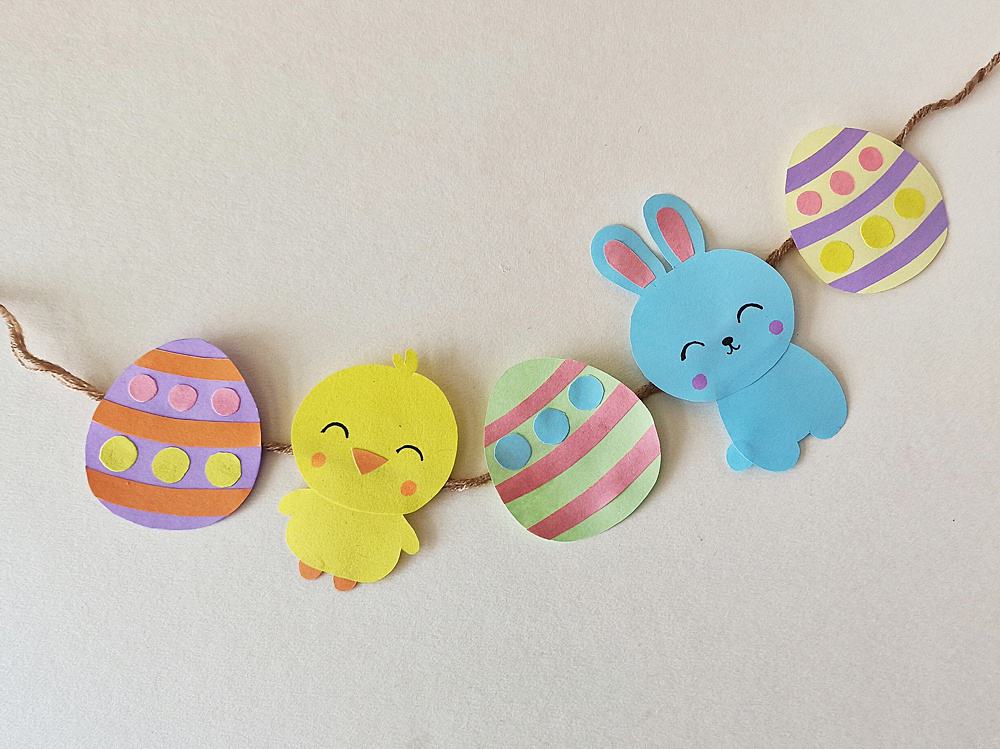
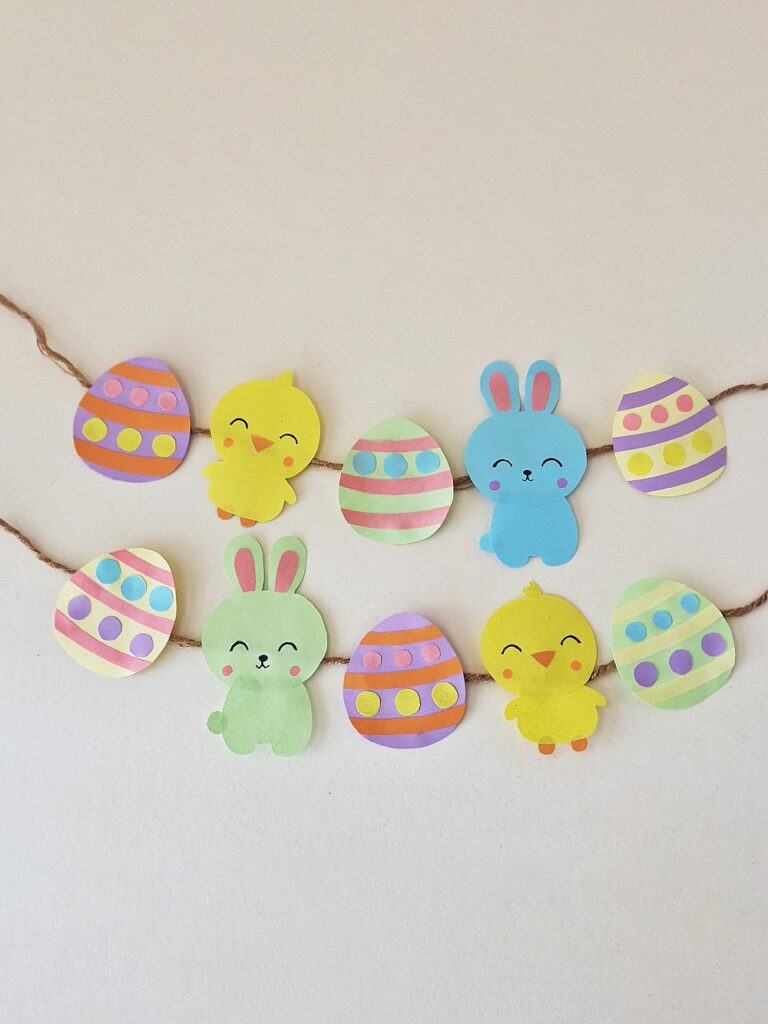
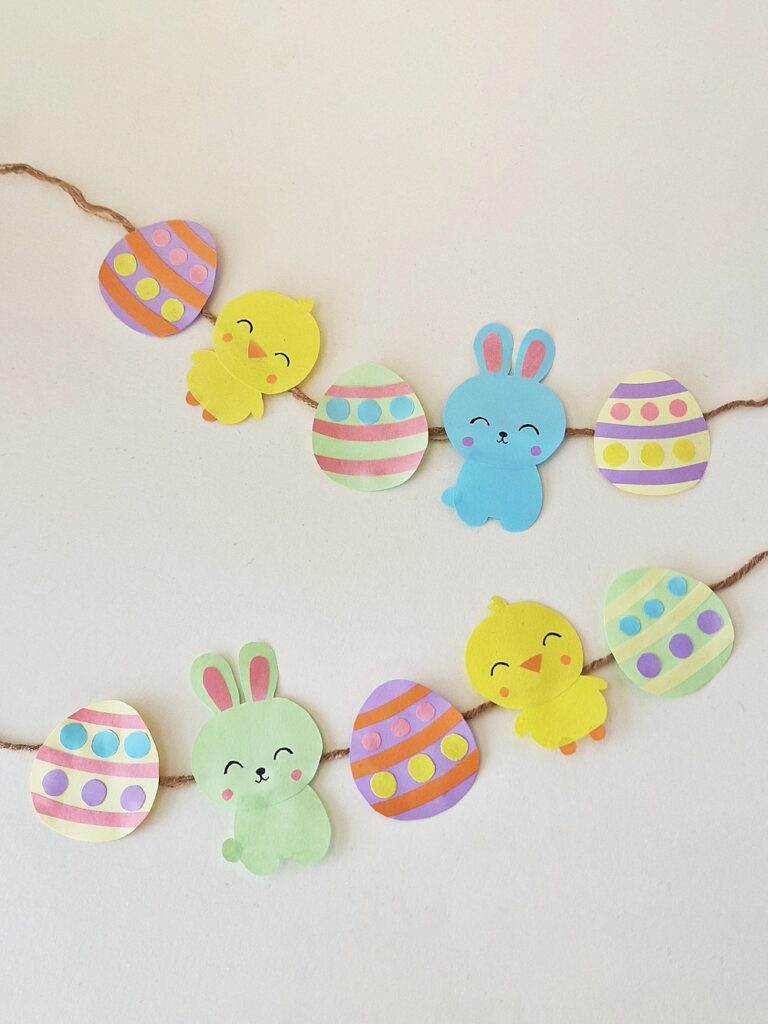
Make as many lines of garland as you’d like to decorate your space for Easter.
Use different colored craft papers to make a fun festive Easter garland!