DIY Wire Bunny Bookmarks
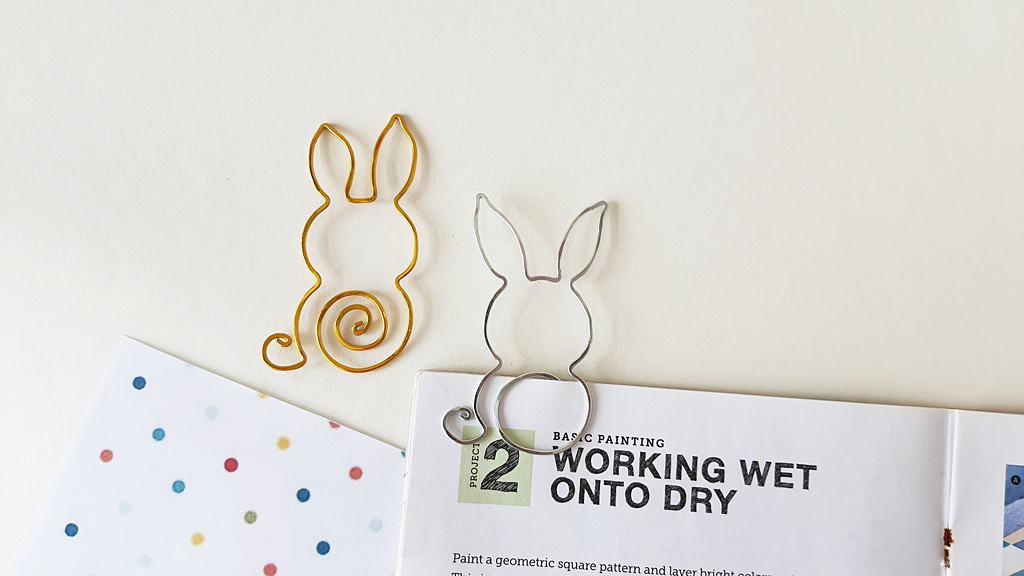
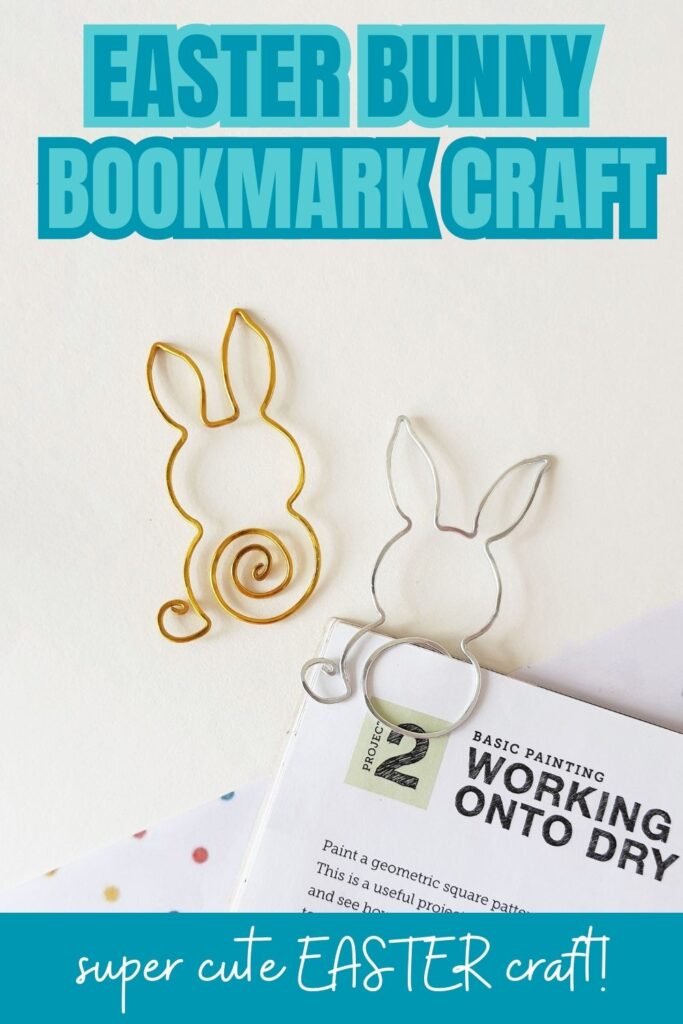
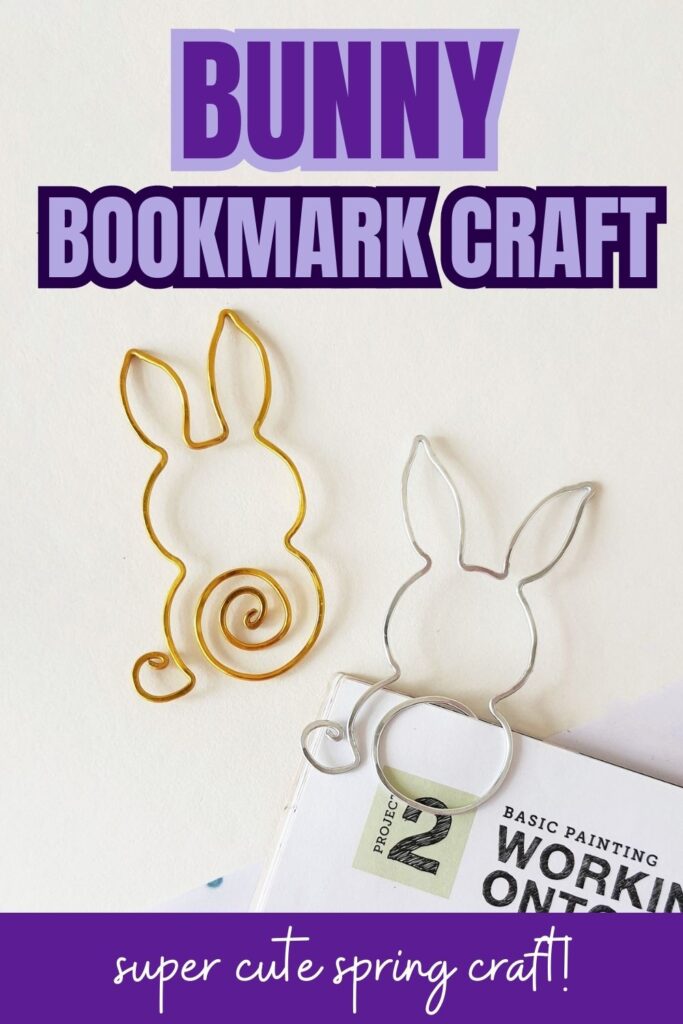
This super cute DIY wire bunny bookmark is a great craft for the bunny lovers in your life!
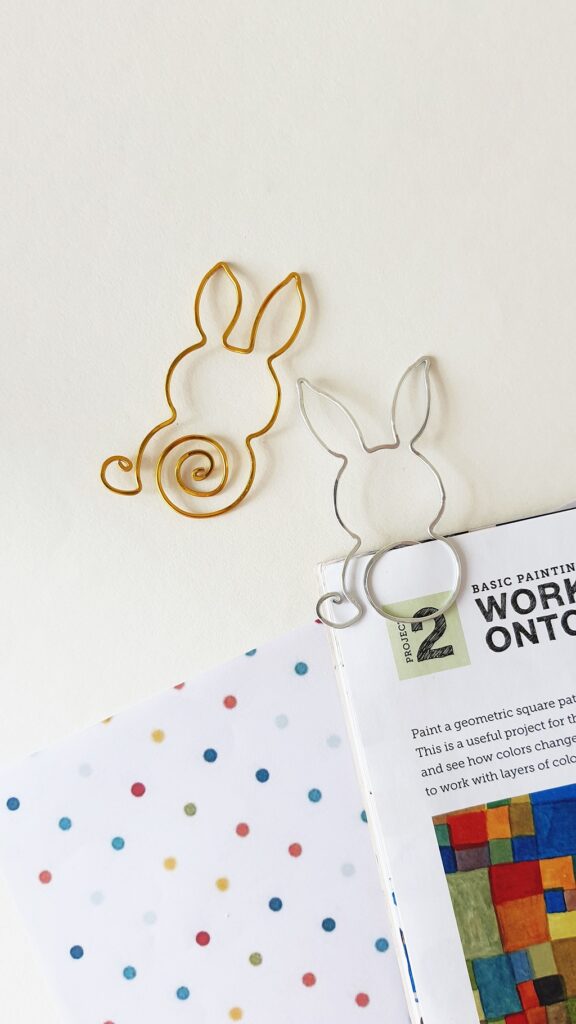
These adorable bunny bookmarks make a great spring craft, or Easter craft to make with older kids and teens.
If your teens enjoy crafting, here are some of the cutest Easter crafts that teens will love creating!
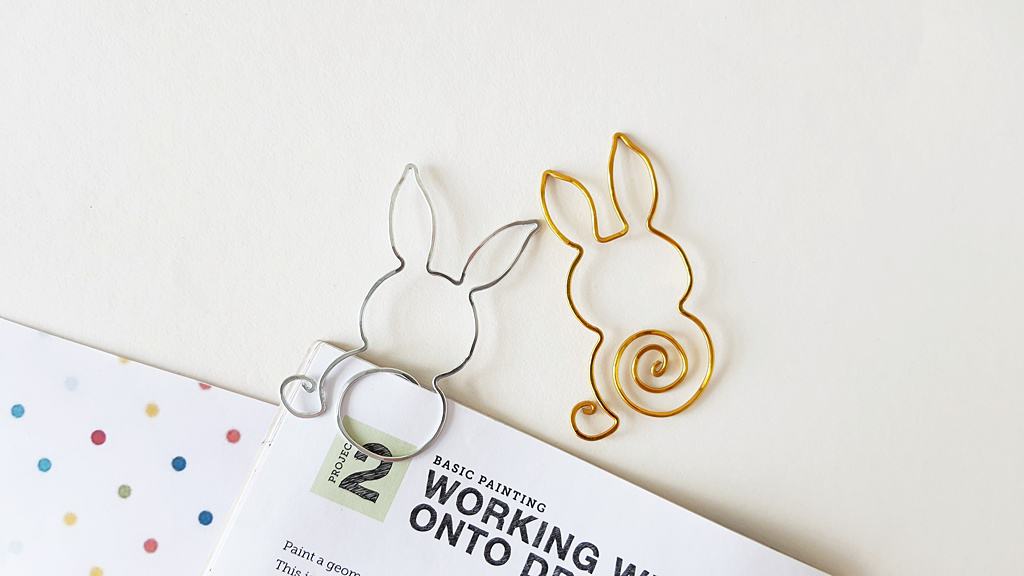
How to make a DIY Wire Bookmark
List of Supplies:
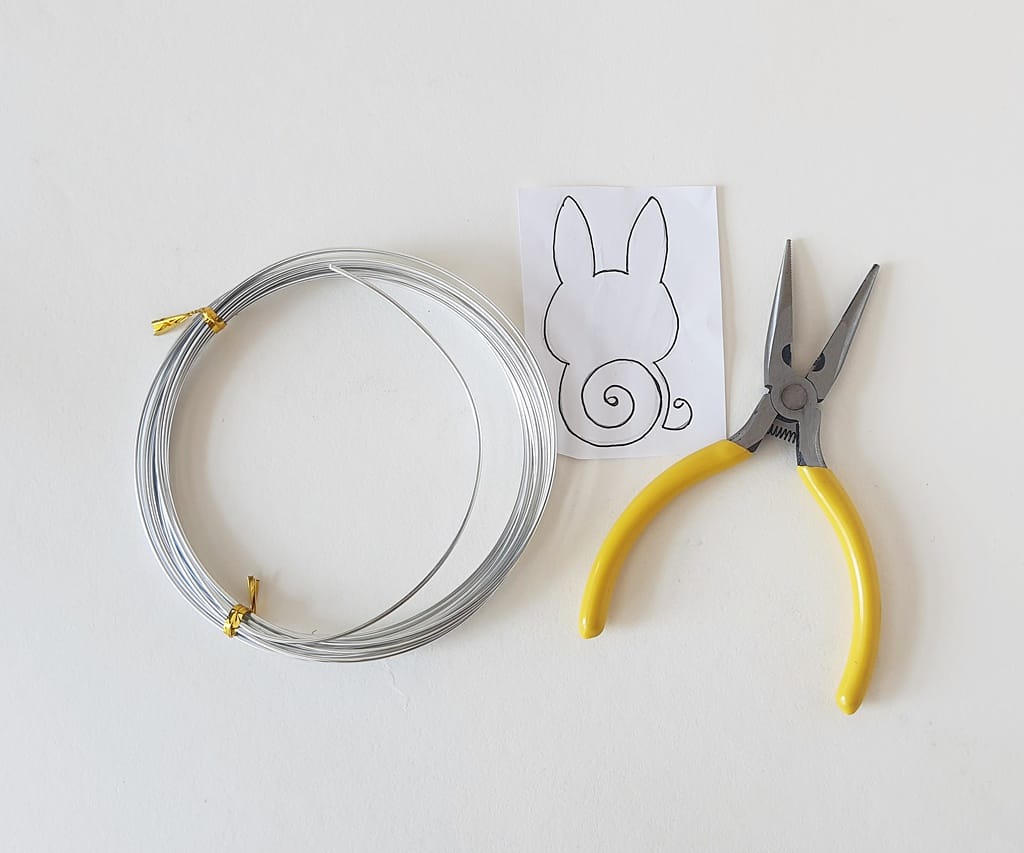
- Craft wire – 18 gauge to 20 gauge
- Craft pliers
- Bunny template
Instructions:
Download and print out the bunny template.
Take the wire bundle and start from the open end without cutting the wire from the bundle.
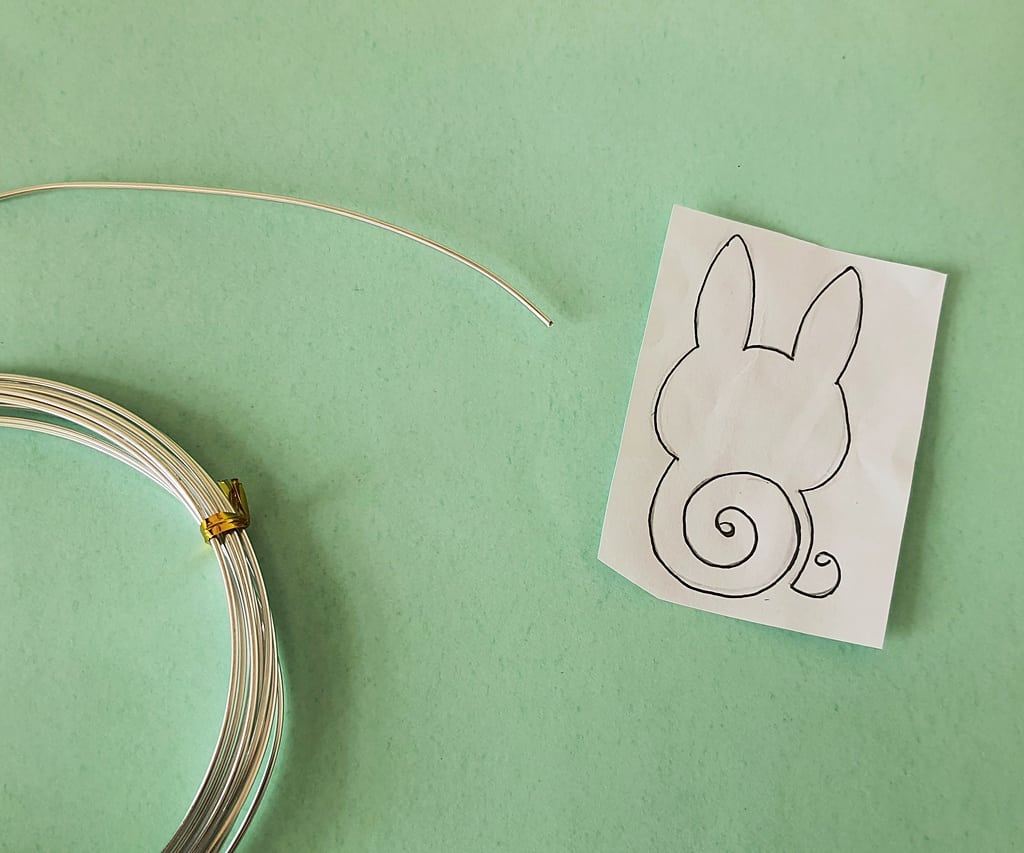
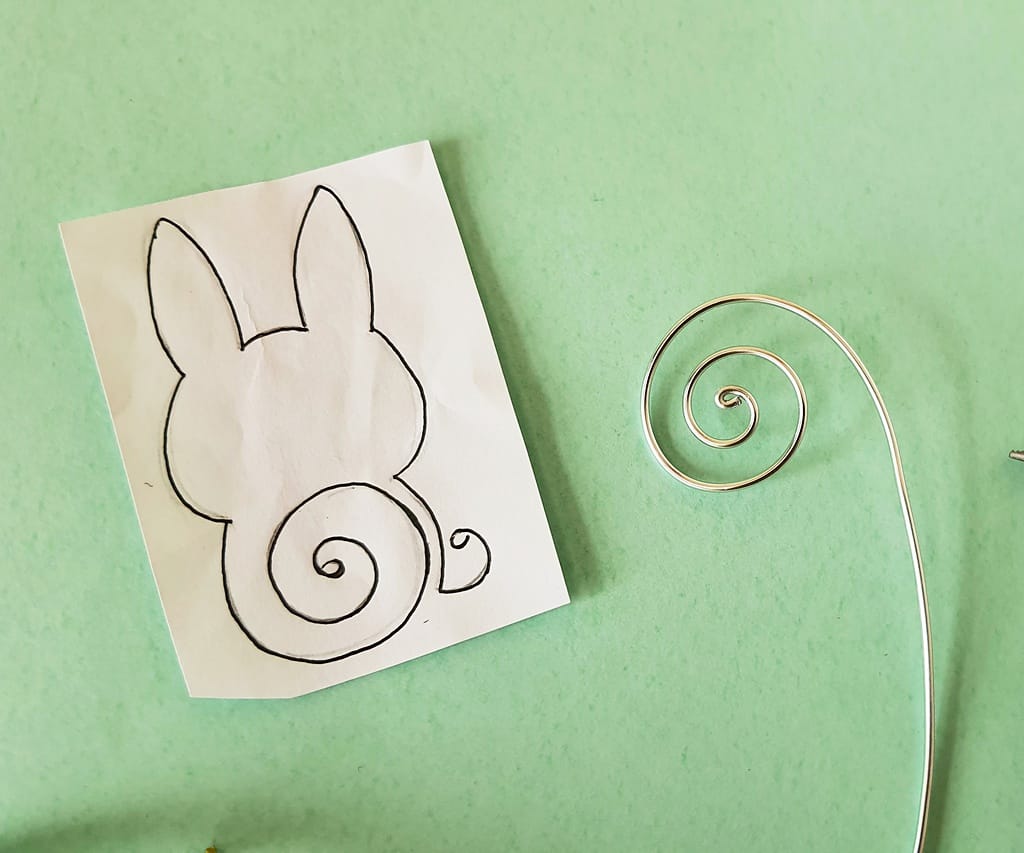
Start by making a loop at the open end by using the smallest part of the looping pliers.
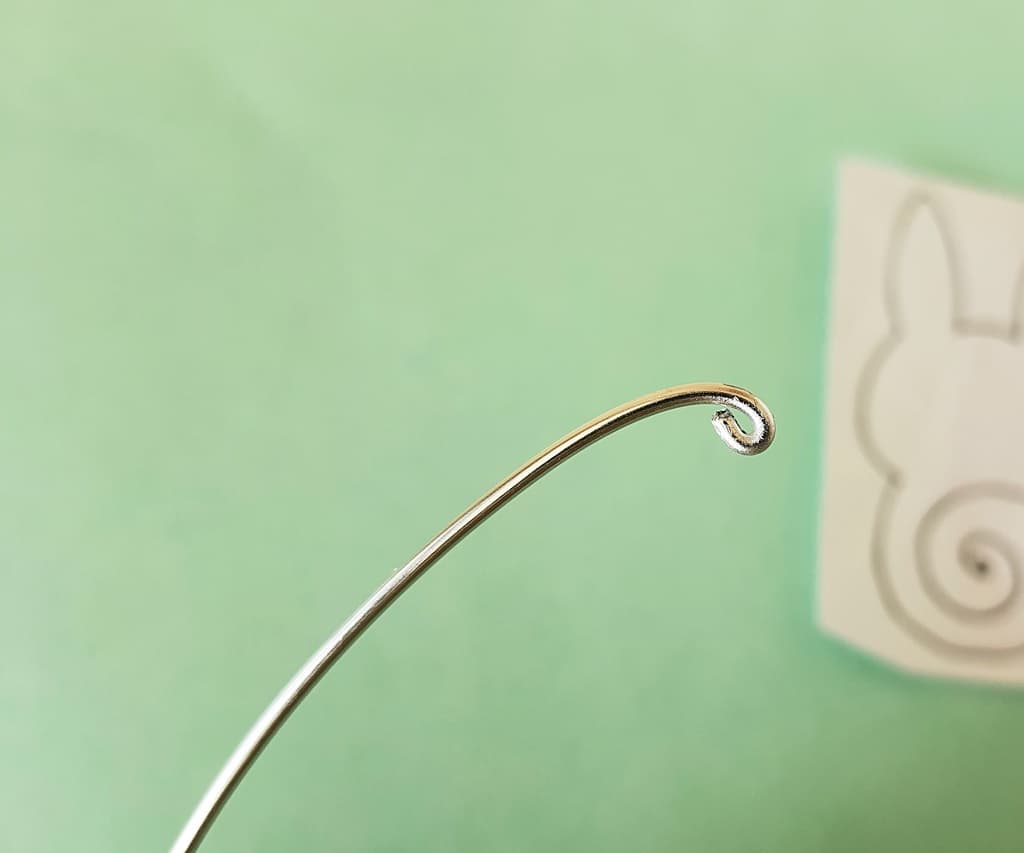
Circle the wire around the loop 2 or 3 times, or simply follow the printed outline. This will create a twirl pattern.
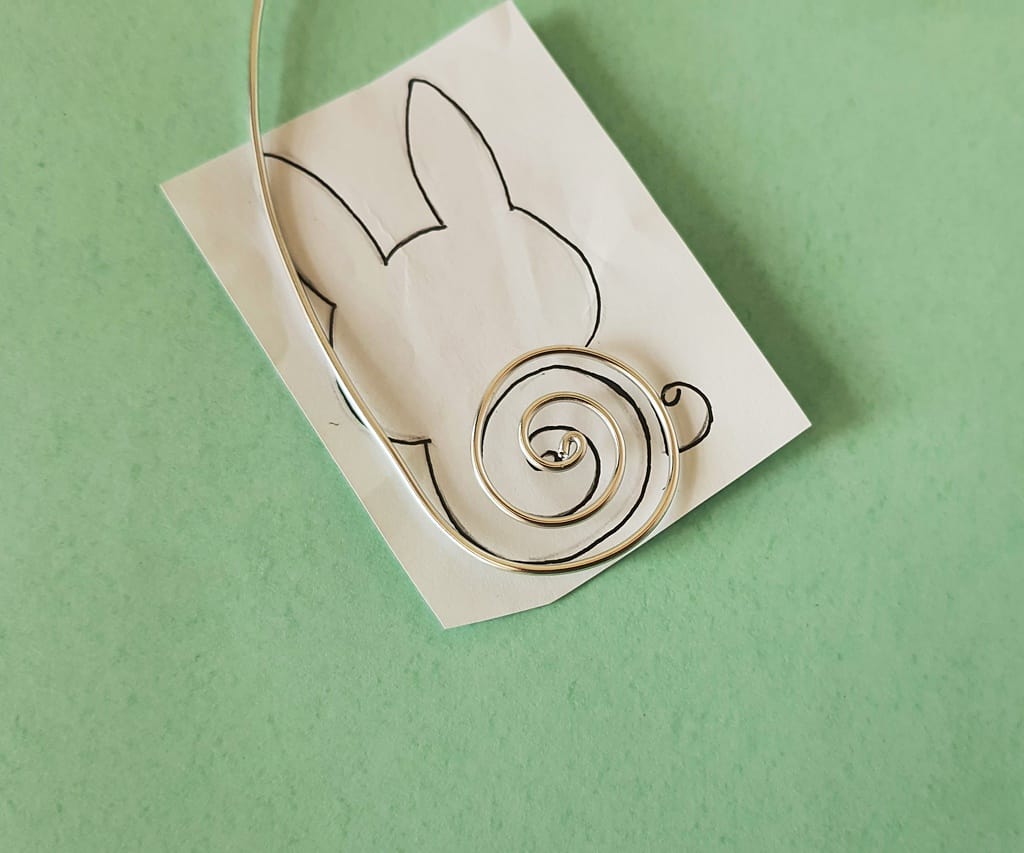
Place the twirl part on the twirl part of the printed bunny template to check if the size is correct.
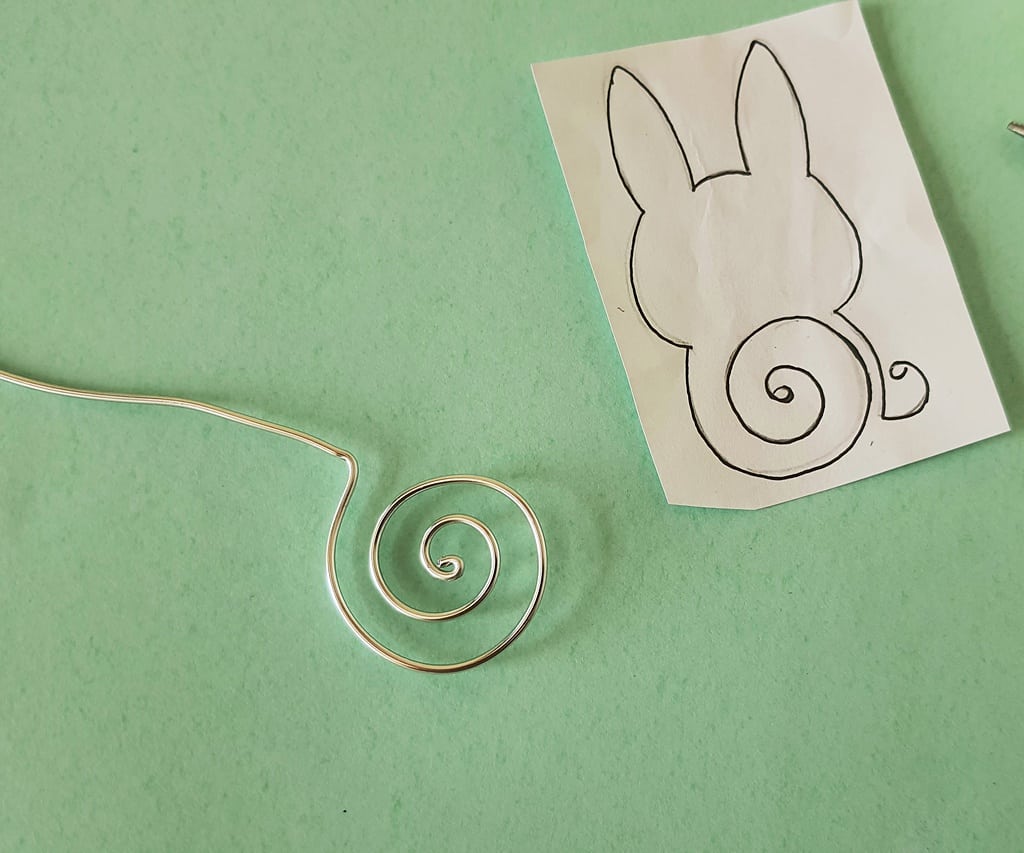
Use flat nose pliers to bend the left bottom side to start creating the head.
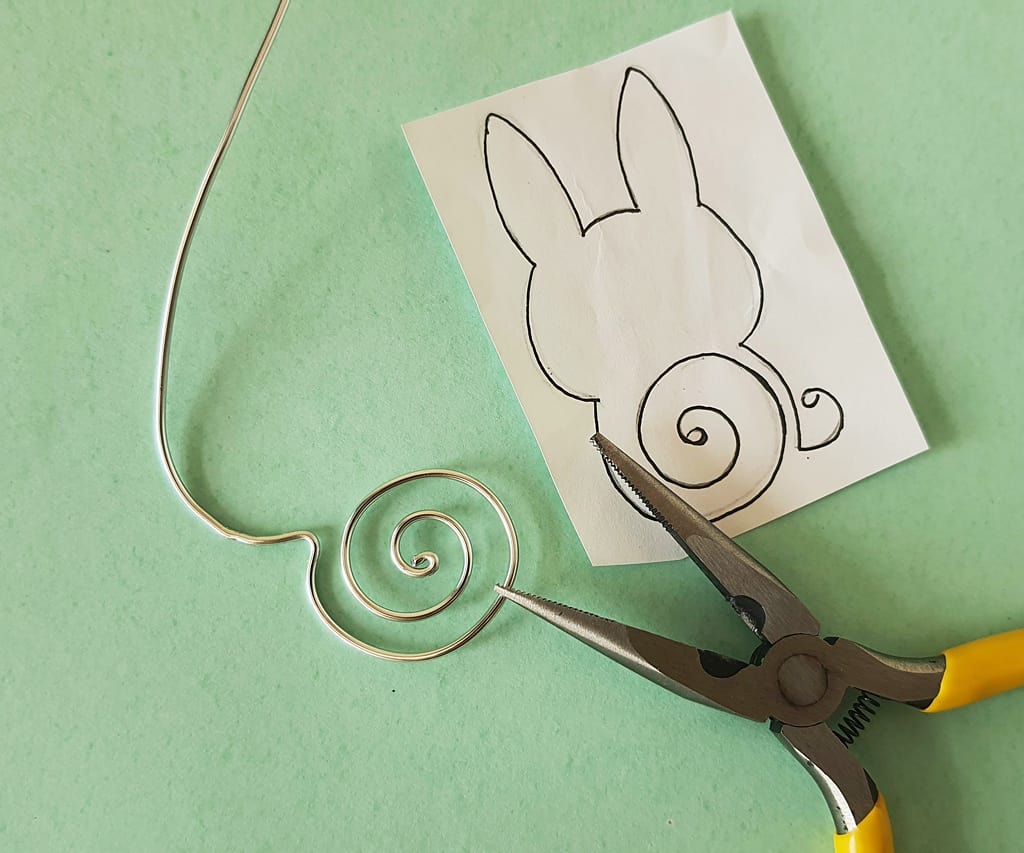
Bend the left side of the head along the printed outline.
Use flat nose pliers to bend bottom left side of the left ear.
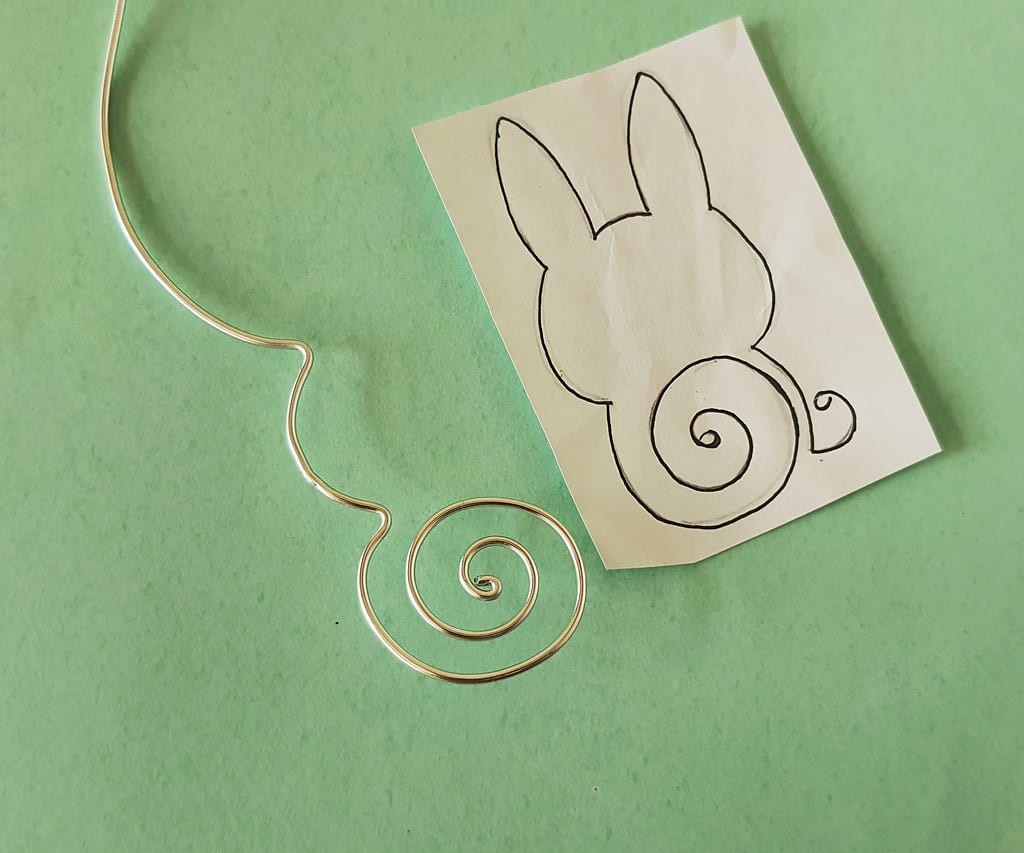
Bend and squeeze the tip of the left ear with the help of the left ear on the bunny template.
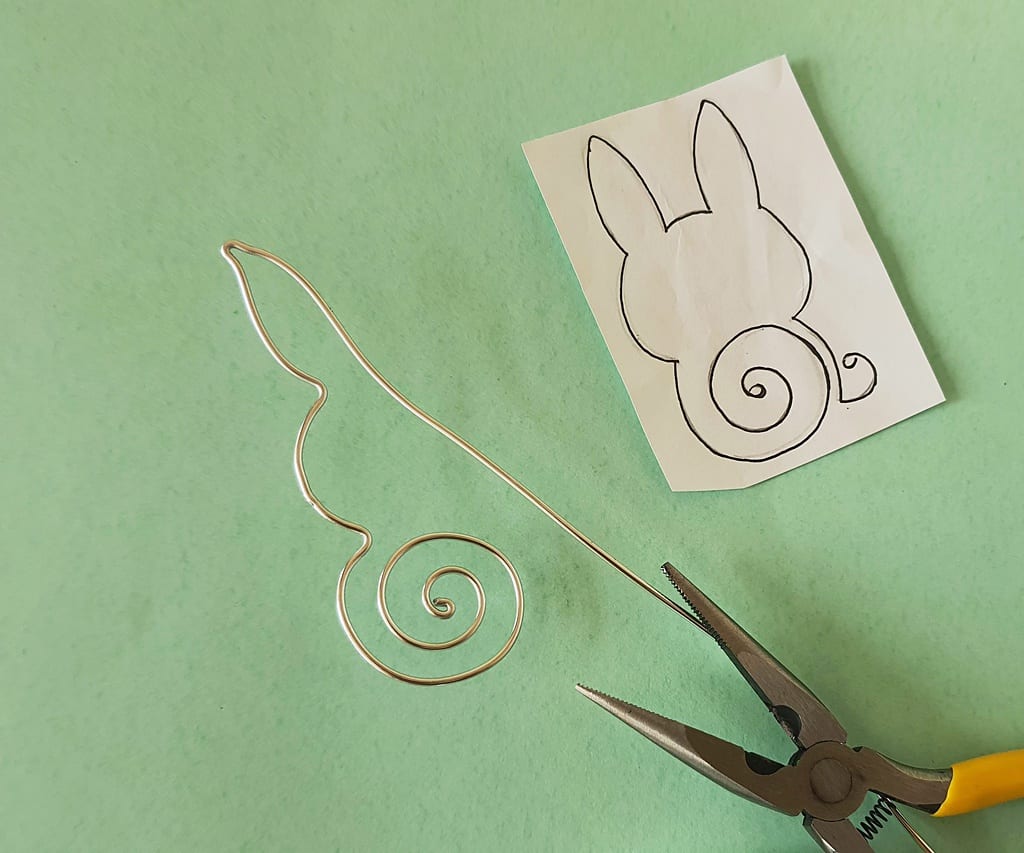
Form the right ear of the wire bunny by following the printed outline.
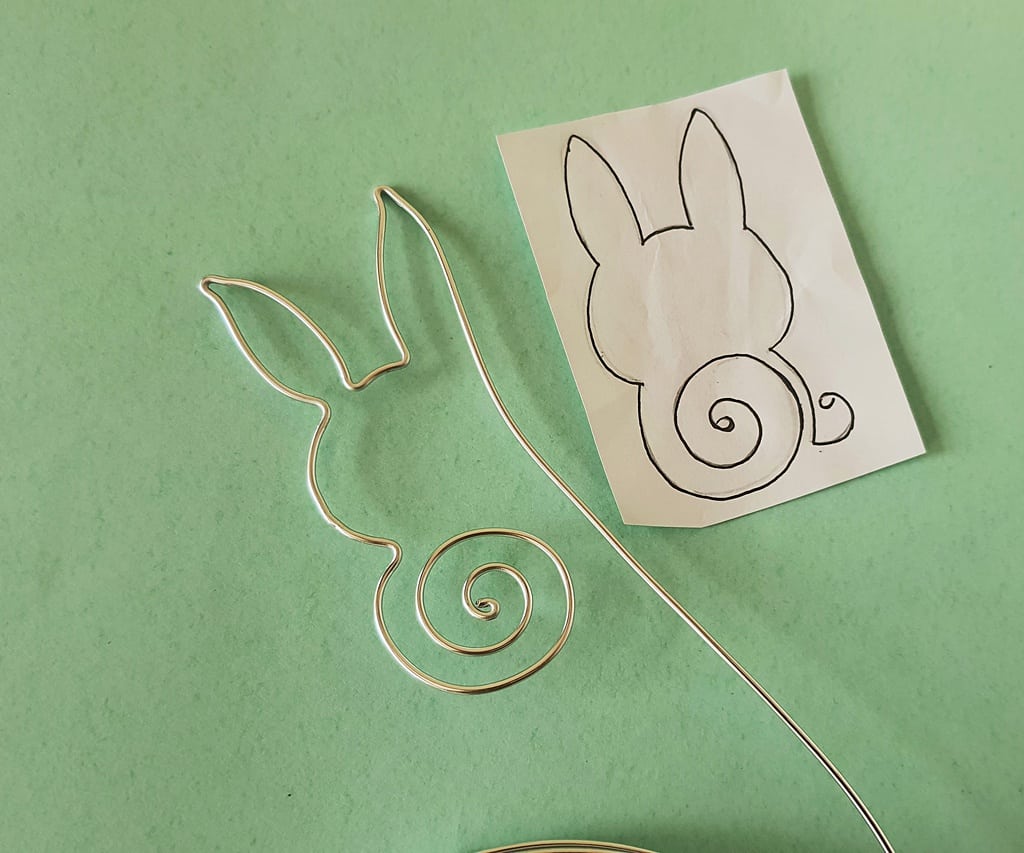
Bend the right side of the head.
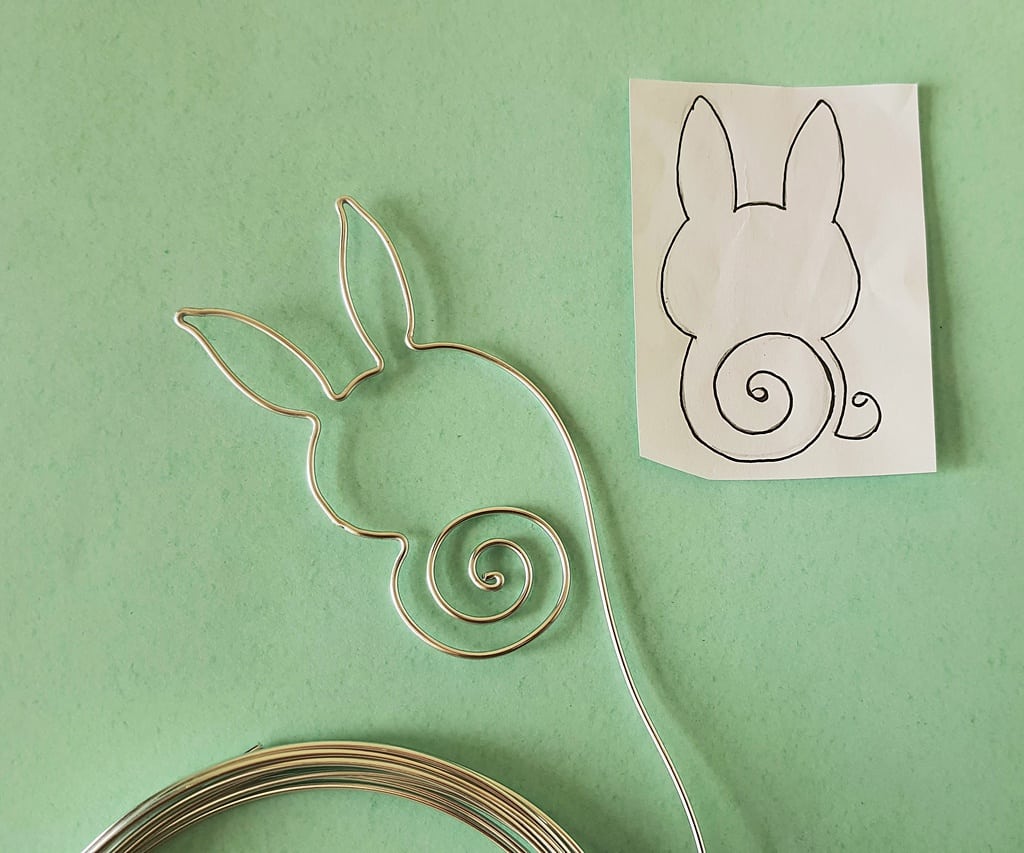
Draw the wire all the way down the right side and measuring an amount of wire required to form the tail of the wire bunny using the printed template as a guideline.
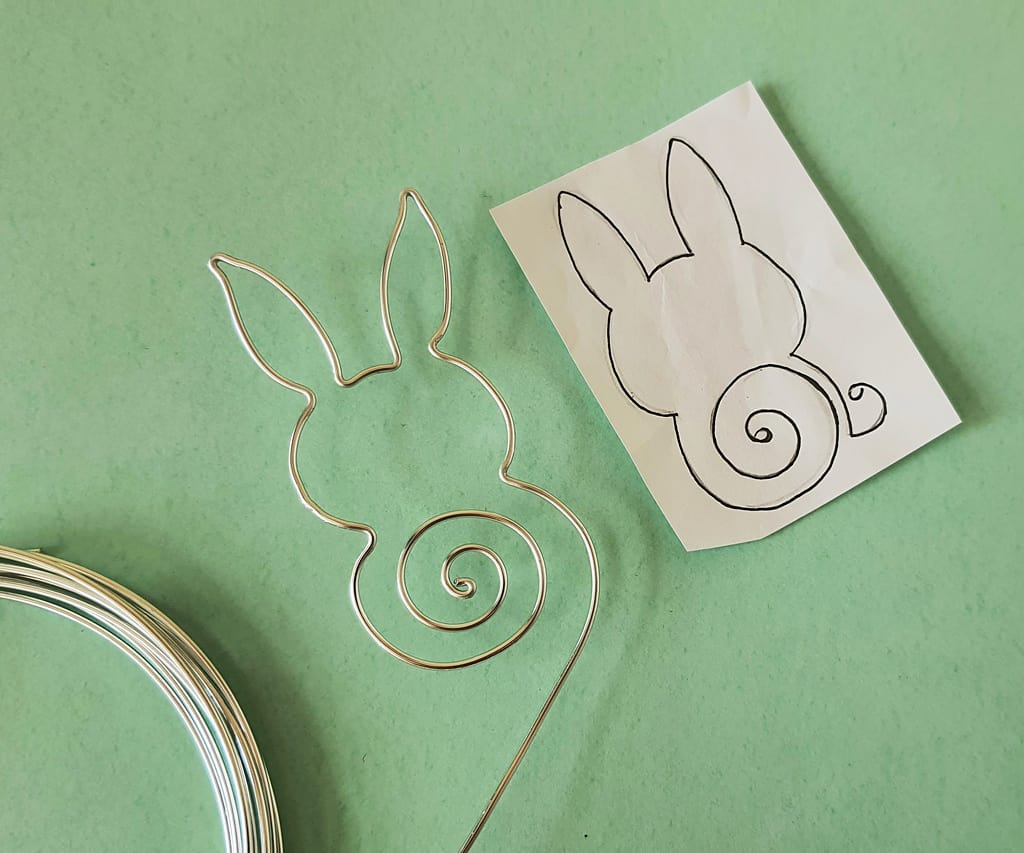
Bend the bottom side of the tail and draw the wire upwards.
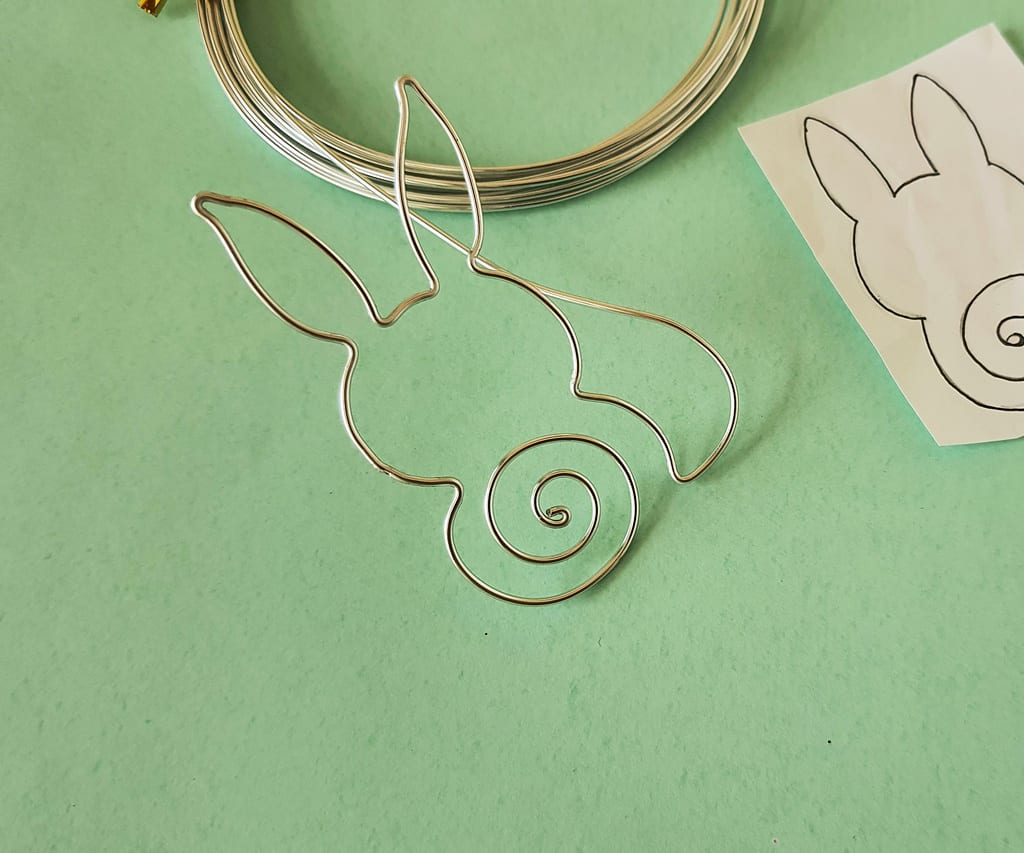
Cut off extra wire by keeping a little extra wire for the tail.
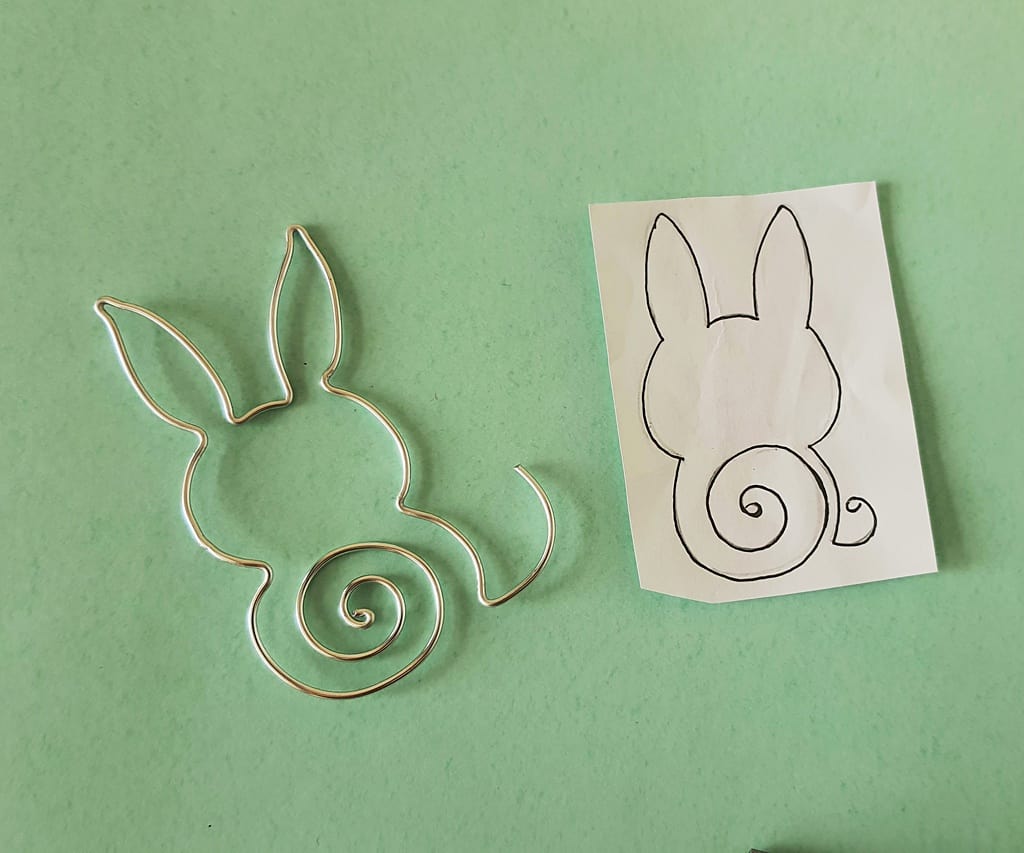
Create a small loop at the open end of the tail part.
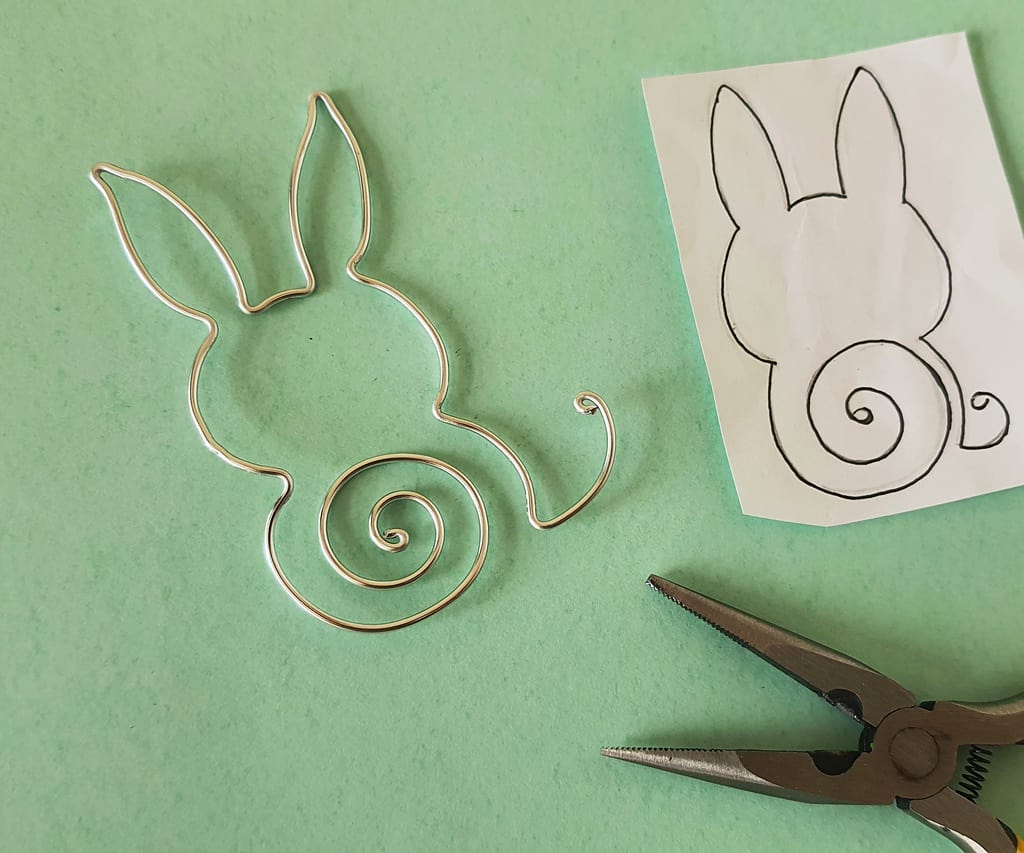
Bend the wire along the wire tail outline.
Adjust the wire bunny pattern with your hands until you like the way it looks, using the template as a guide.
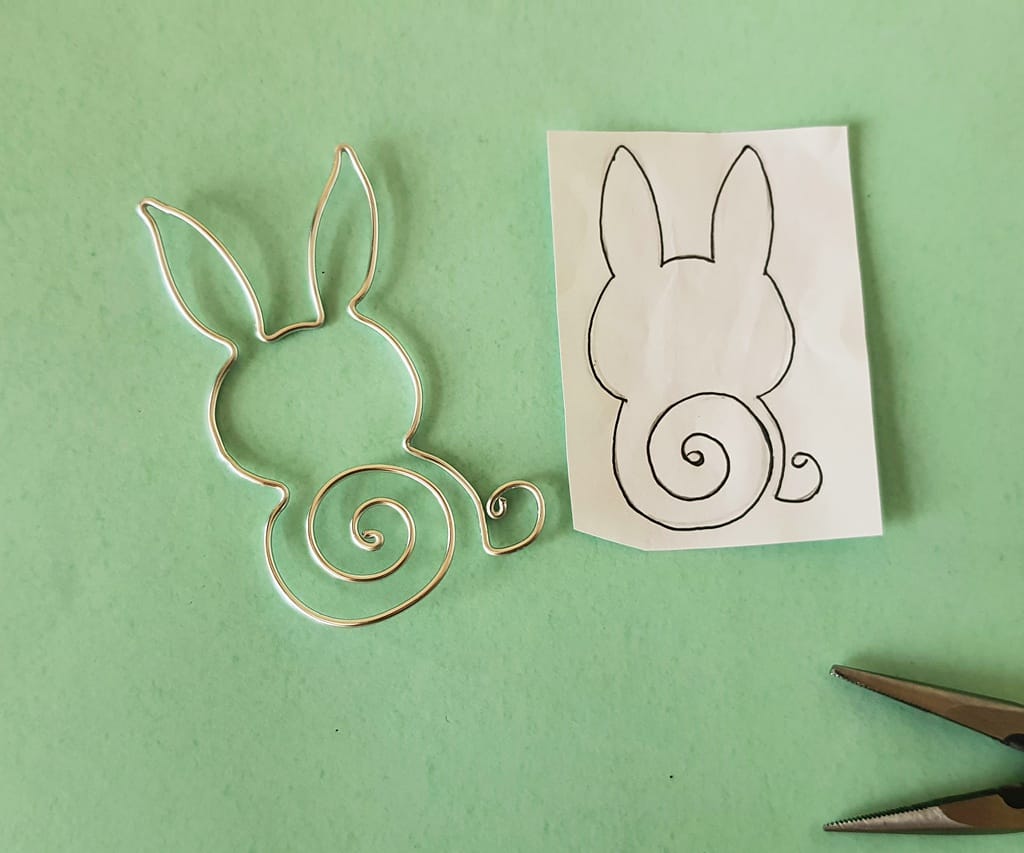
Place the bunny on a flat surface and use a hammer to flatten the wire bunny to give it a sturdy and finished look.
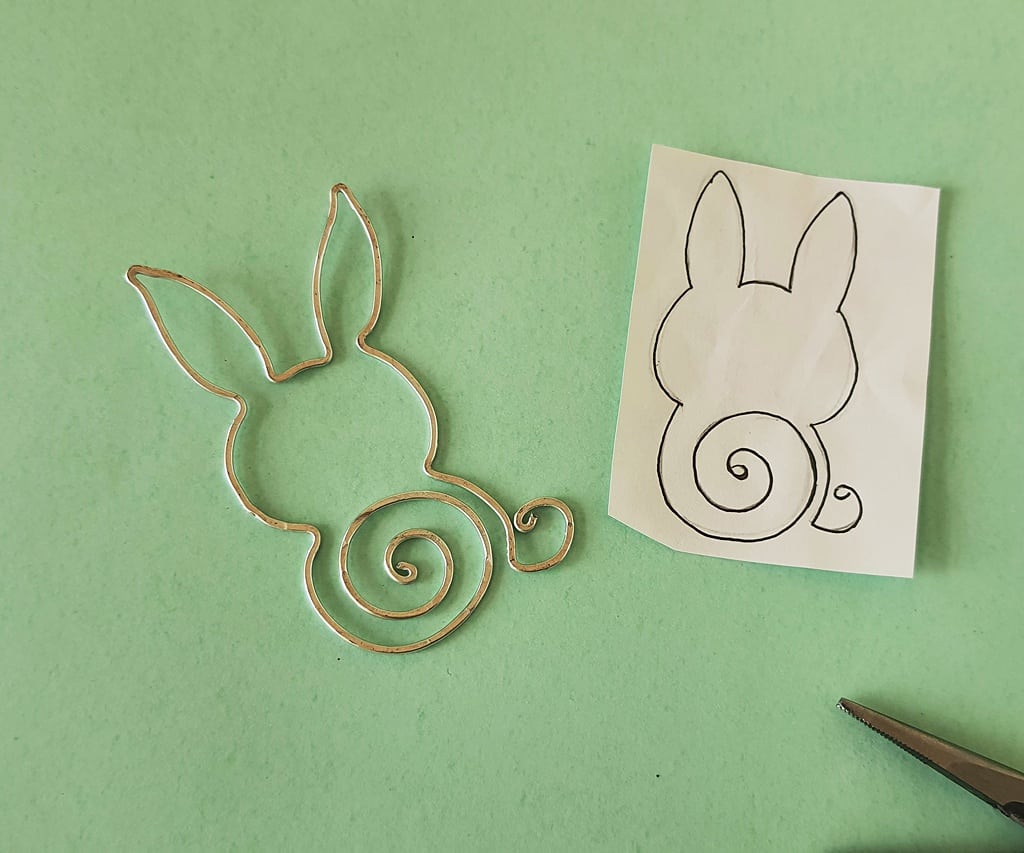
Insert the twirl of the bunny’s lower body through a page to use the wire bunny pattern as a bookmark.
