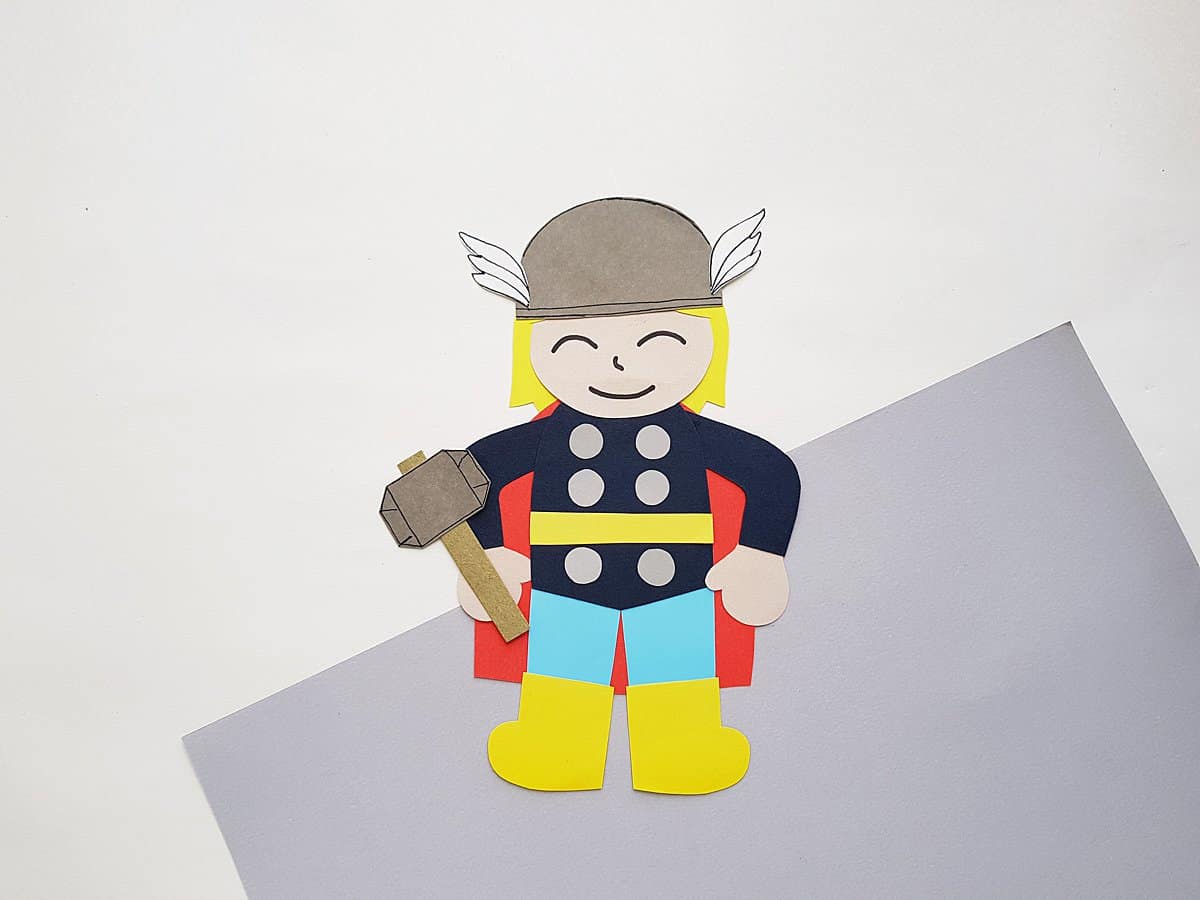
Thor Craft for Kids
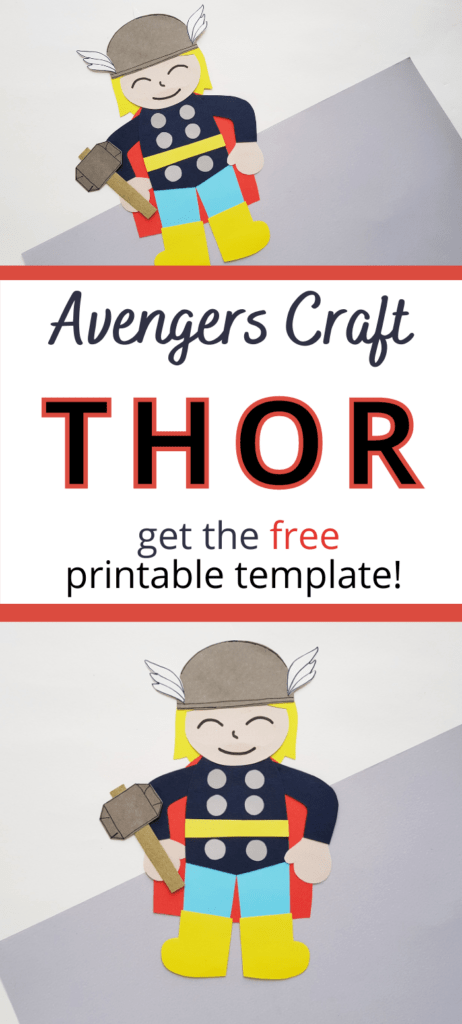
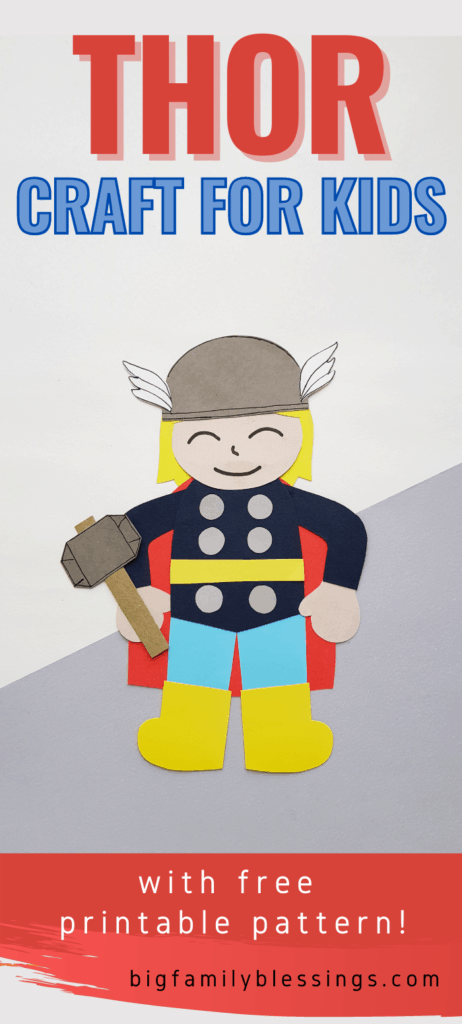
Kids love Thor and his mighty hammer. Enjoy this fun Thor craft with your Superhero loving kids.
If your kids love the Avengers and Thor, then this easy craft is perfect for a rainy afternoon. Simply print out the template, gather some colored paper, glue, and scissors and get started!
How to make a Thor Craft with your Kids
Supplies:

- Colored papers
- Black pen or marker
- Craft glue
- Pencil
- Scissors
- Template
Directions:
Print and cut out the Thor craft template.
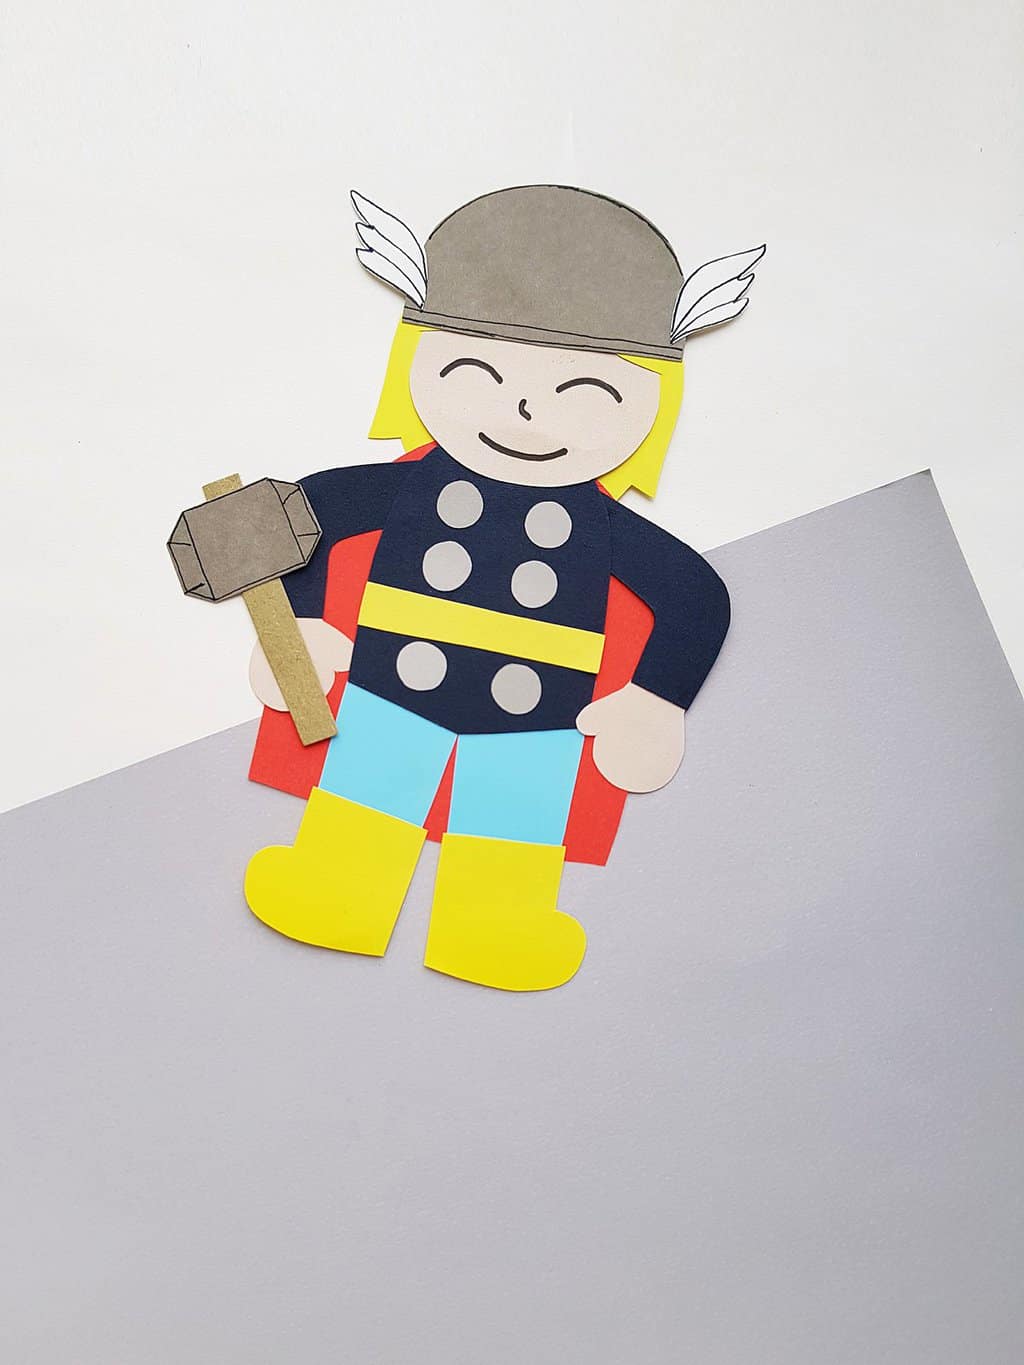
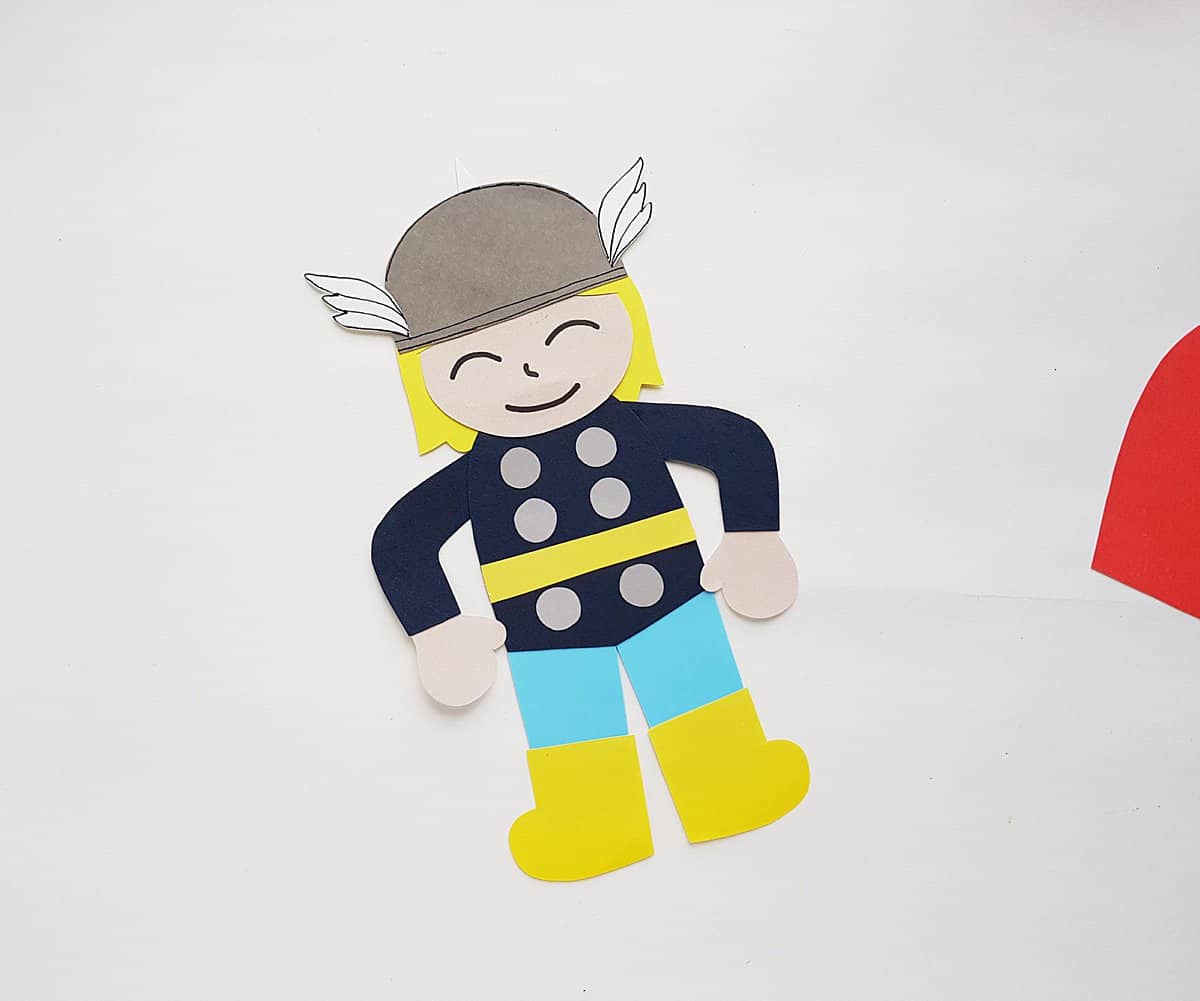
Choose your colored papers for Thor. I’m using yellow paper for the hair, boots and belt, red paper for the cape, light blue for the pants, dark blue for the shirt, white paper for the helmet wings, grey paper for the buttons, helmet and hammer; brown for the hammer handle; and a skin tone for the head and hands.
Trace and cut out the patterns on the corresponding papers.

Cut a slit on the yellow line inside the hair pattern and then slide the head through the slit, keeping the top part of the slit to the front of the head pattern. Add glue to secure the head.
Glue the hammer base to the handle.
Glue the chest of the shirt onto the legs.
Glue the hands to the sleeves of the shirts.
Glue the wings to the helmet.

Use a black pen or marker to trace outlines of the helmet and hammer pieces to give them a finished look. See below for an example.

Glue the belt piece near the bottom side of the shirt.
Glue the buttons onto the shirt, attaching 2 buttons below the belt and 4 buttons above the belt.

Glue the boots to the pants
Glue the helmet onto Thor’s head.

Use a pen or marker to draw the eyes, nose and mouth onto Thor.

Glue the arms just behind the shoulders of Thor.
Glue the cape onto the back of Thor’s body.

Glue the hammer onto Thor’s hand.

That’s it! Enjoy your Thor puppet!