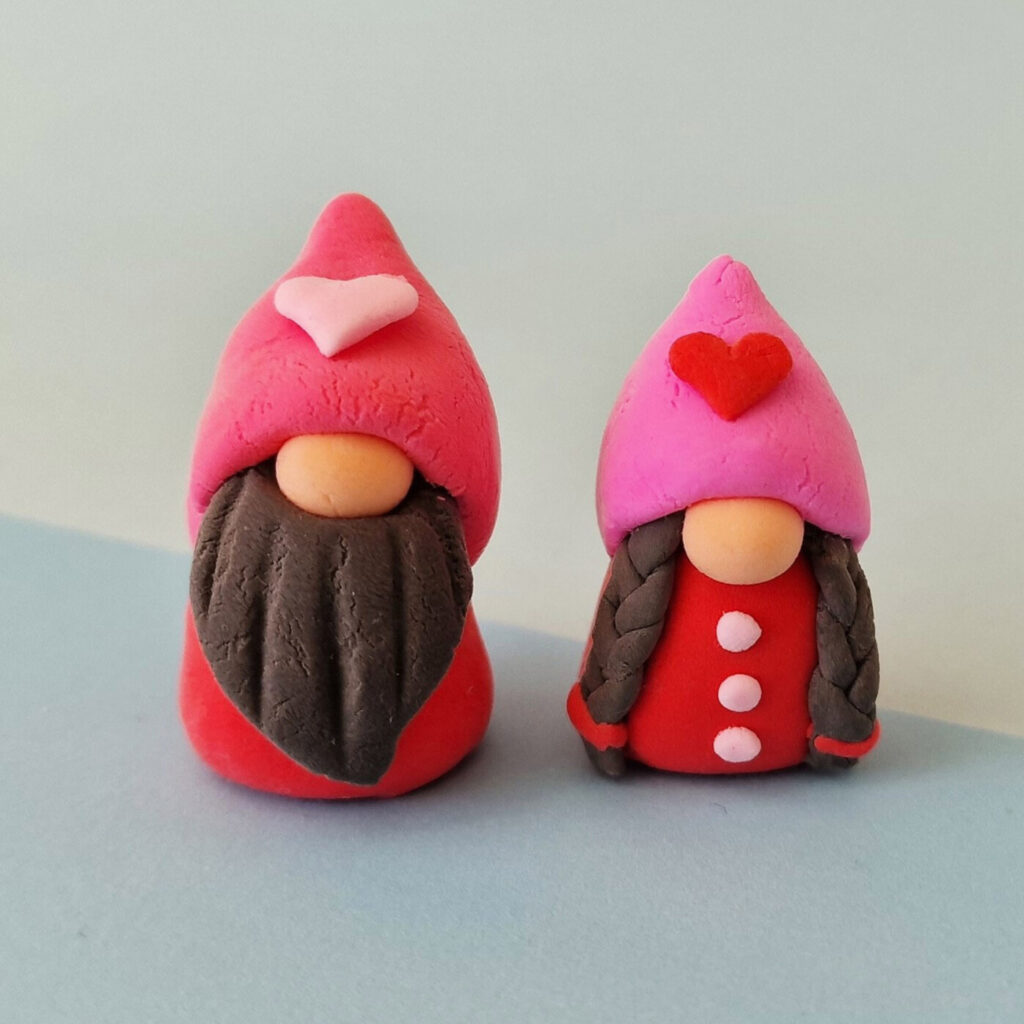
DIY Clay Gnomes for Valentine’s Day
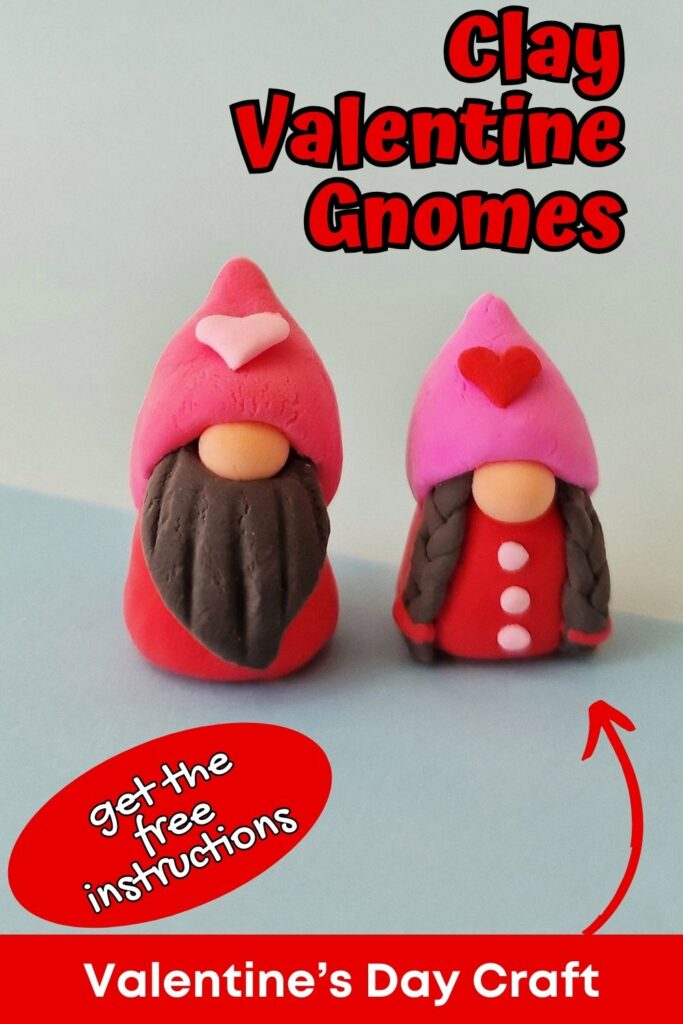
Are you ready to learn how to make the cutest clay craft for Valentine’s Day? These DIY clay Valentine gnomes are so adorable and the perfect Valentine’s Day decor, or Valentine’s Day gift!
All you need is some air dry (or foam) clay and some clay tools. If you don’t have clay tools plastic utensils and a toothpick will do too!
This is the perfect Valentine craft for teens, or for older kids and even adults! You just can’t go wrong with a cute Valentine gnome craft at any age!
Big Family Blessings is reader supported. When you purchase through links on our site, we may earn affiliate commission at no additional cost to you. Learn more.
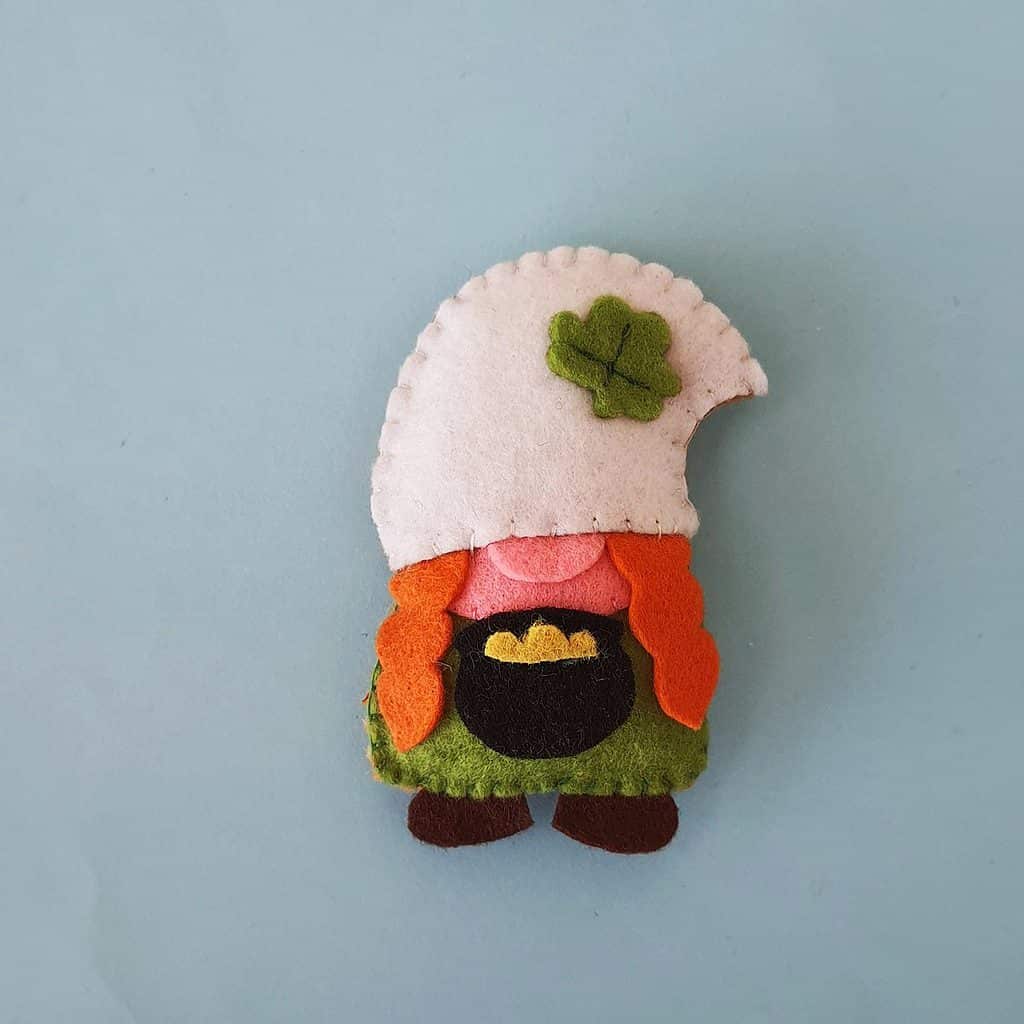
If you love making these love gnomes you can also try making them in different sizes. You can also change up the colors and details to make clay garden gnomes for all seasons!
How to make a Clay Gnome for Valentine’s Day
Supplies:
- Air dry clay or foam clay (This is a great variety pack)
- Clay tools
Instructions:
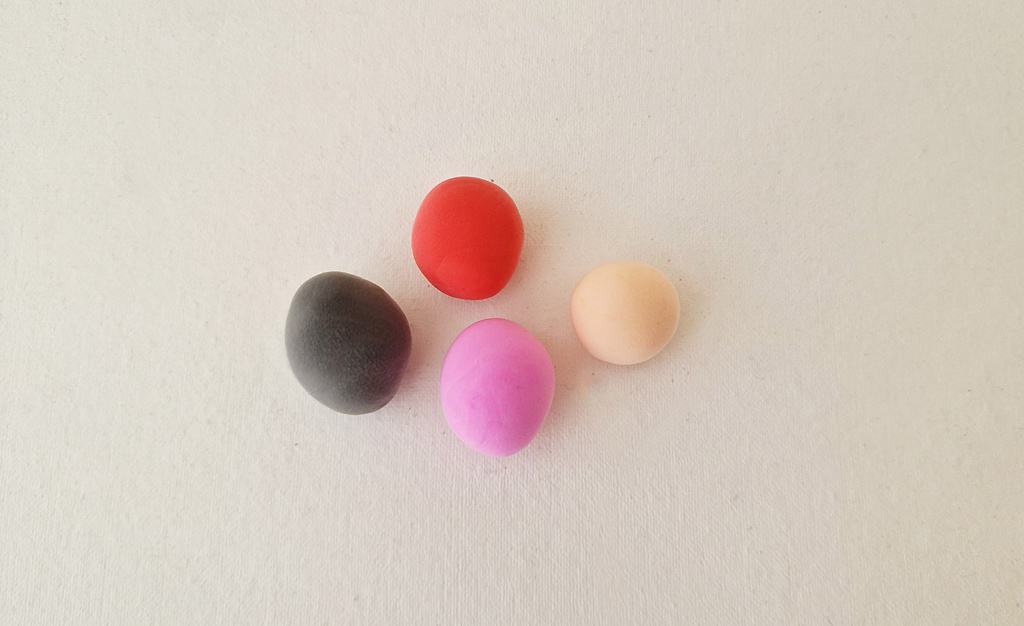
Choose the colored clays you’d like to use on your Valentine gnome.
You’ll need 4 different colors to make your gnome. One for the hair and beard, one for the skin color, and two for the hat, body and other details.
Roll the four clay colors into ball shapes on your work surface.
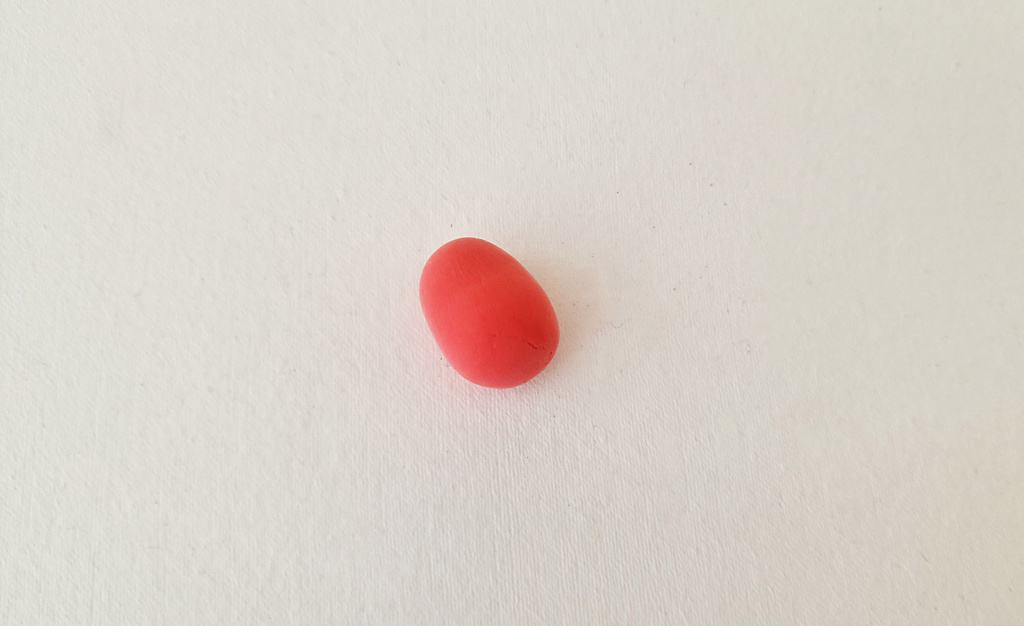
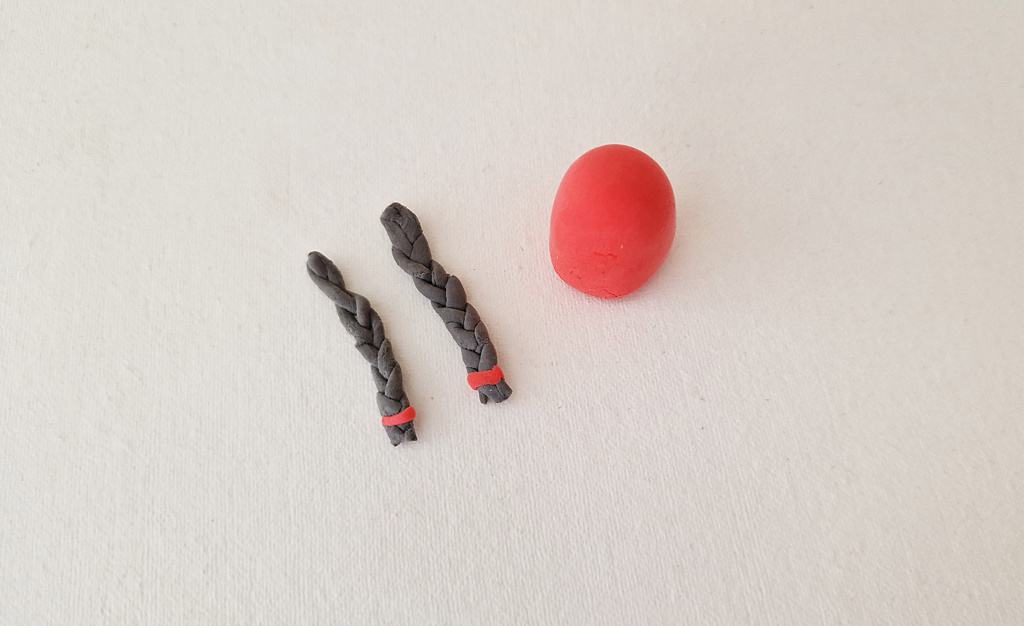
Take the clay ball you chose for the body of the gnome and roll it into a cylinder like shape.
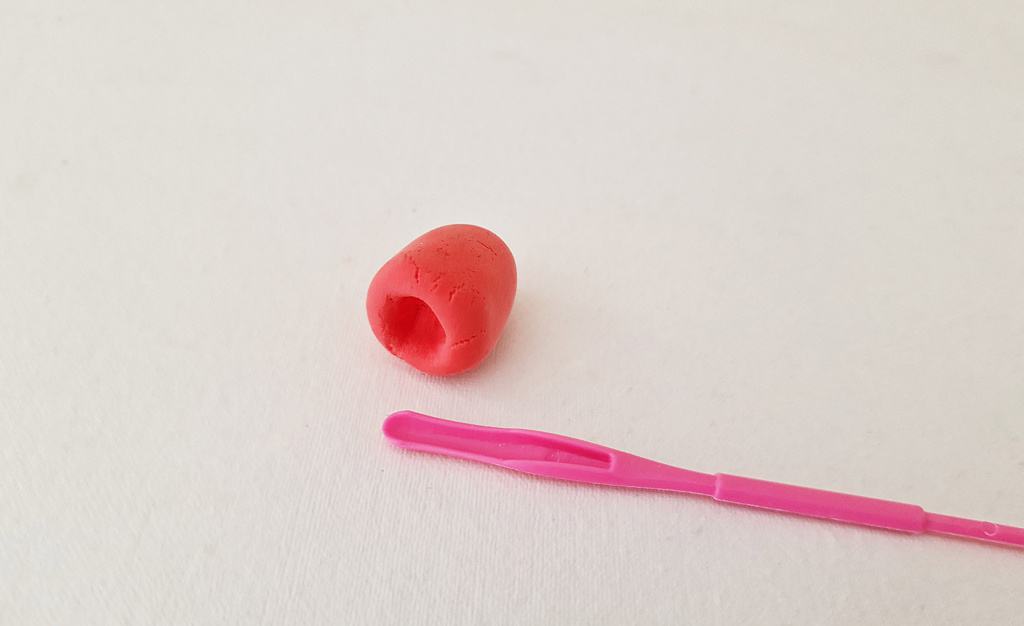
Use a round object or clay tool to make a small hole at one end of the cylinder clay shape.
This will be bottom side of the gnome. The hole at the bottom side will help the gnome stand nicely.
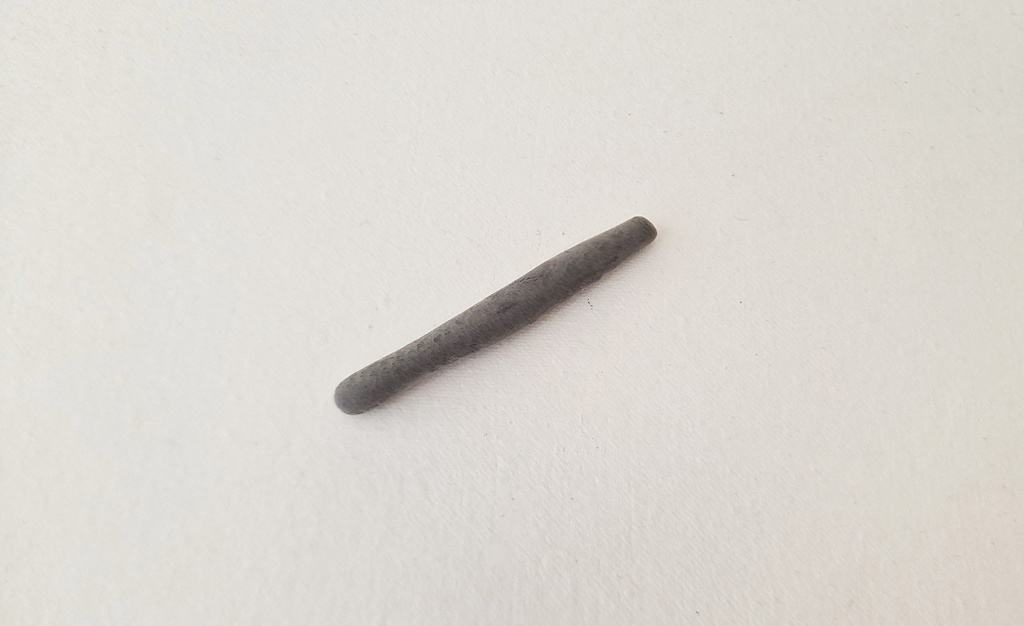
Now, let’s make the hair of the girl gnome.
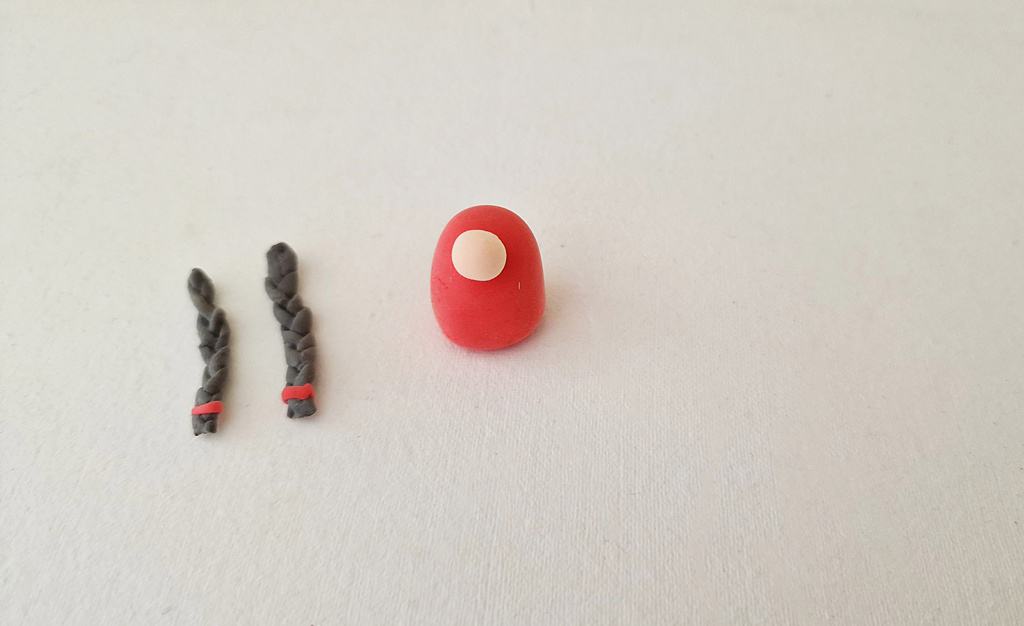
Take some of the clay you chose for the hair and roll it into a very thin rope.
Divide the thin clay rope into 3 even parts and pinch them together at one end.
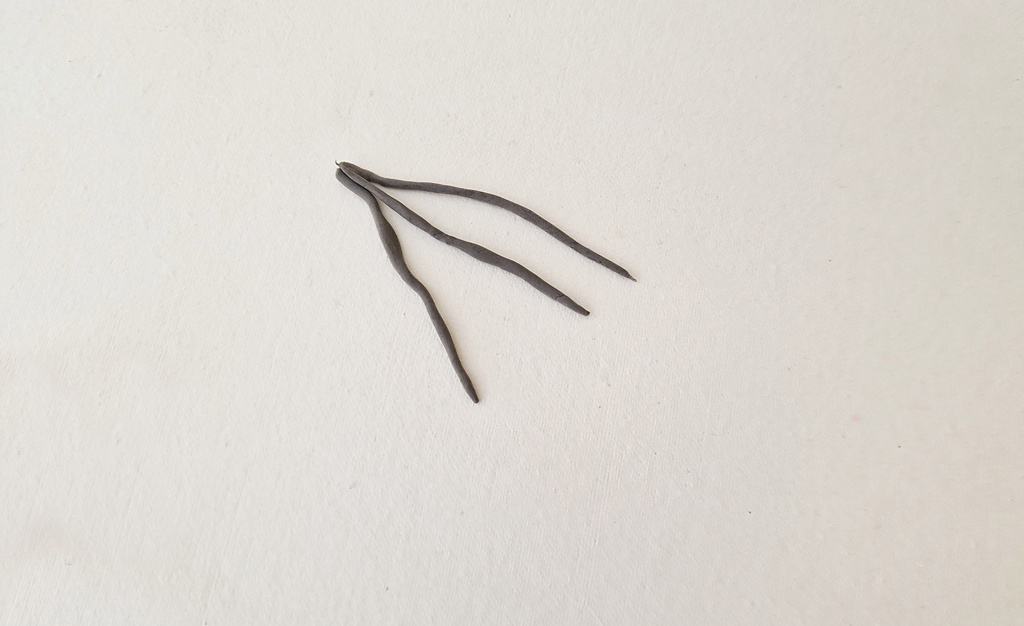
Make a braid with the three strands of clay.
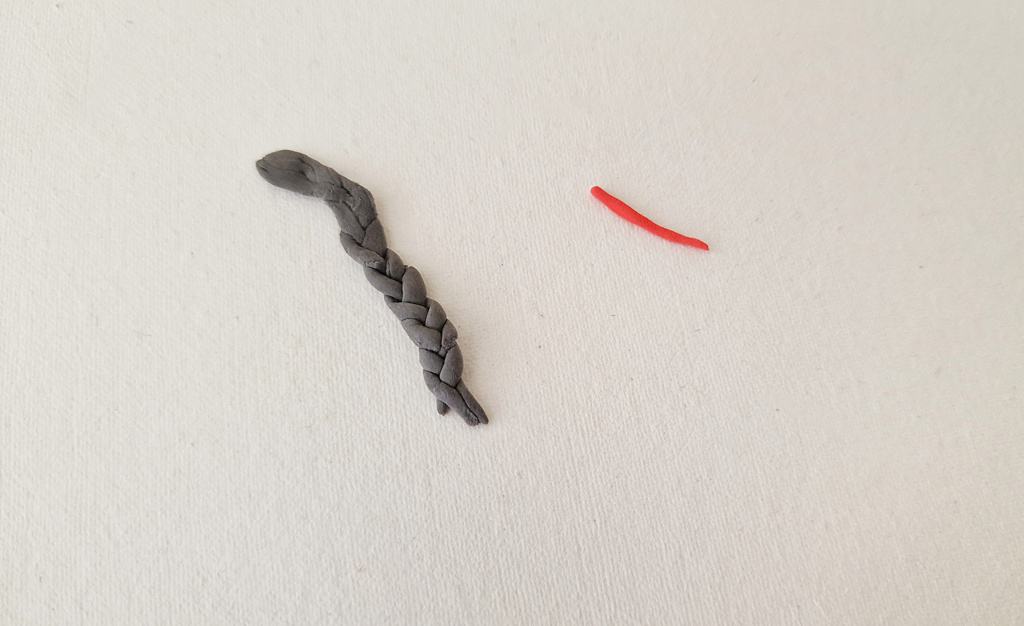
Make a second braid the same size as the first one.
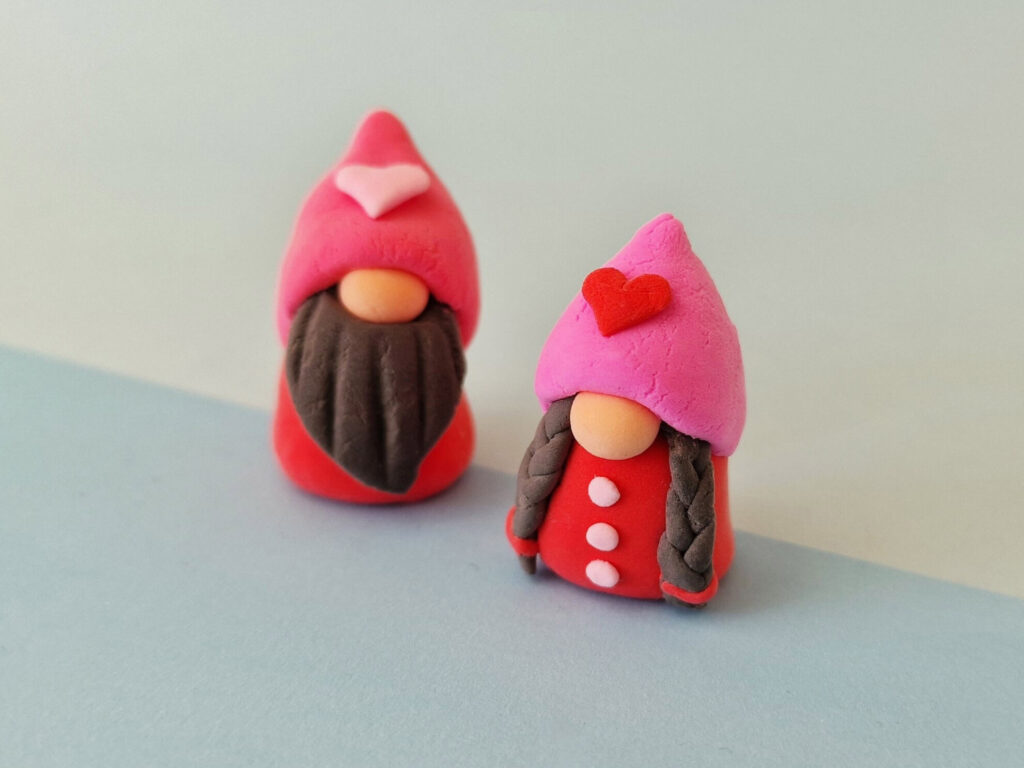
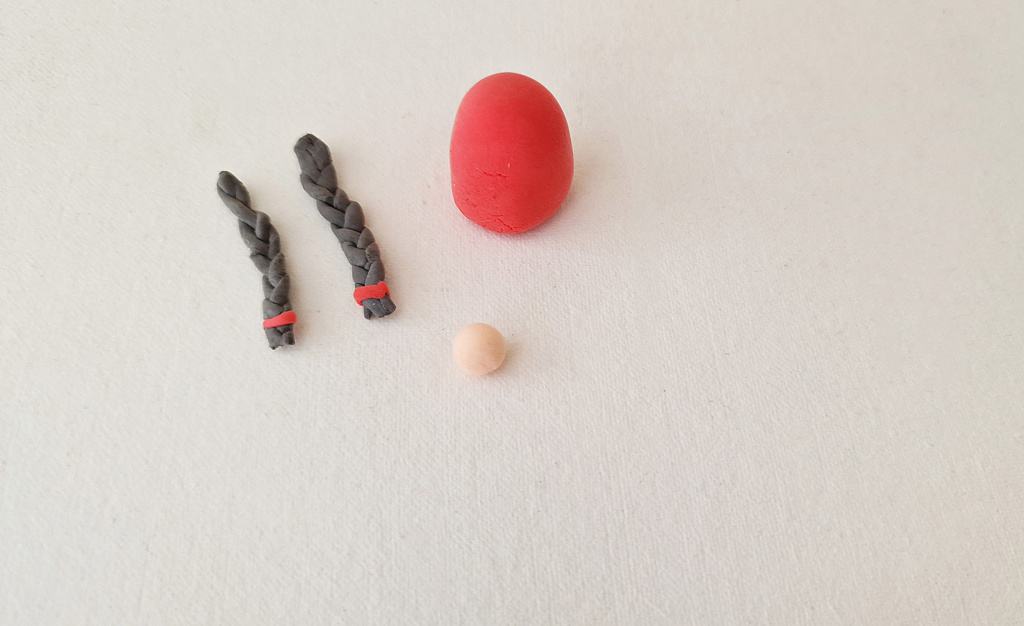
Attach a small thin clay piece as a ribbon at the bottom of the braids.
Make a small ball for the gnome’s nose.
Attach the clay nose near the top of the clay body (or dress).
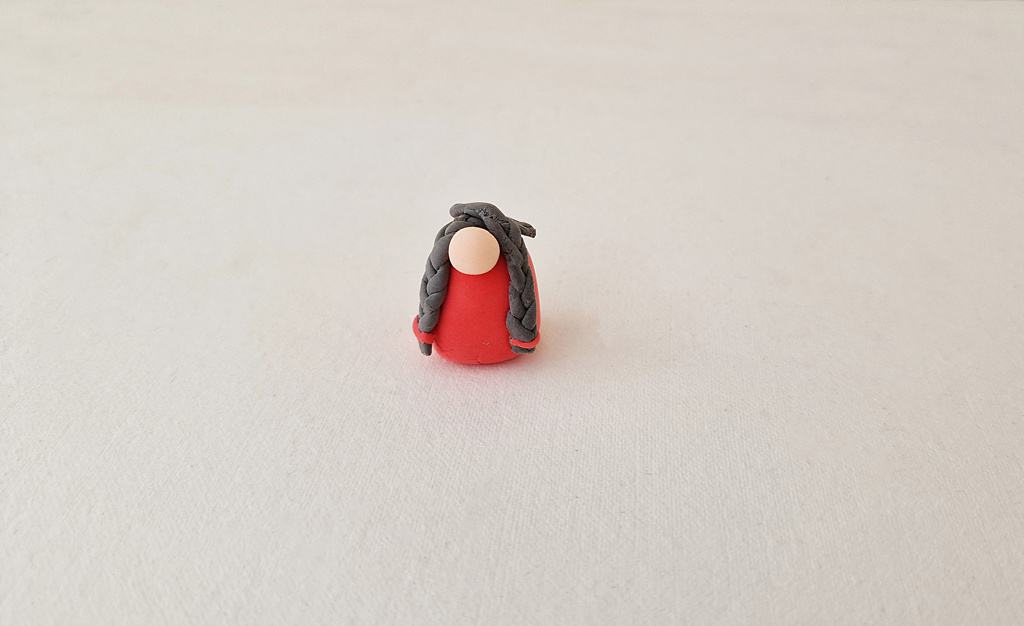
Attach the 2 clay braids on both sides of the nose.
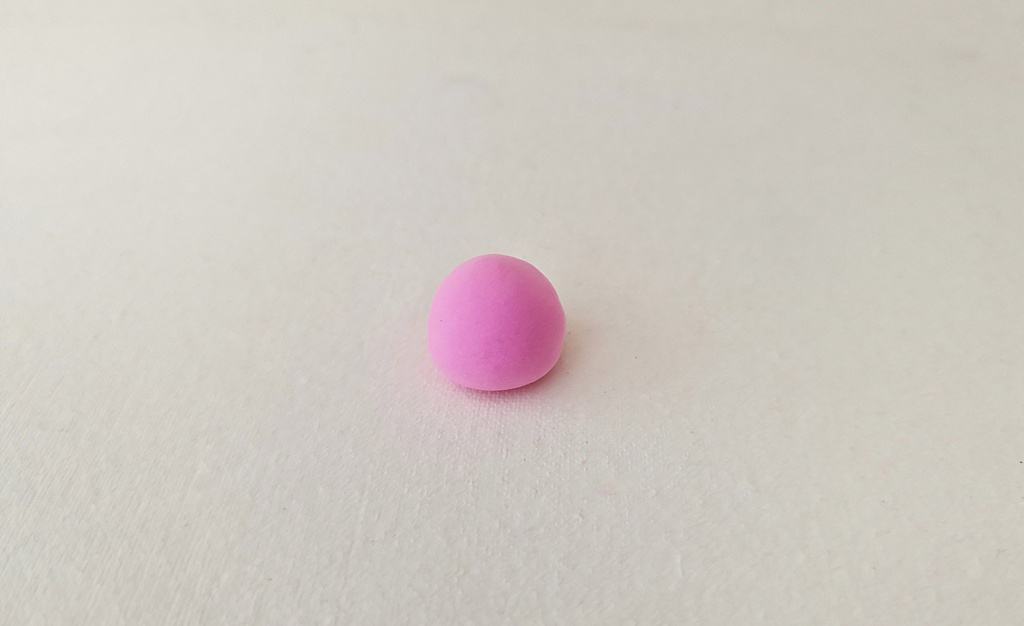
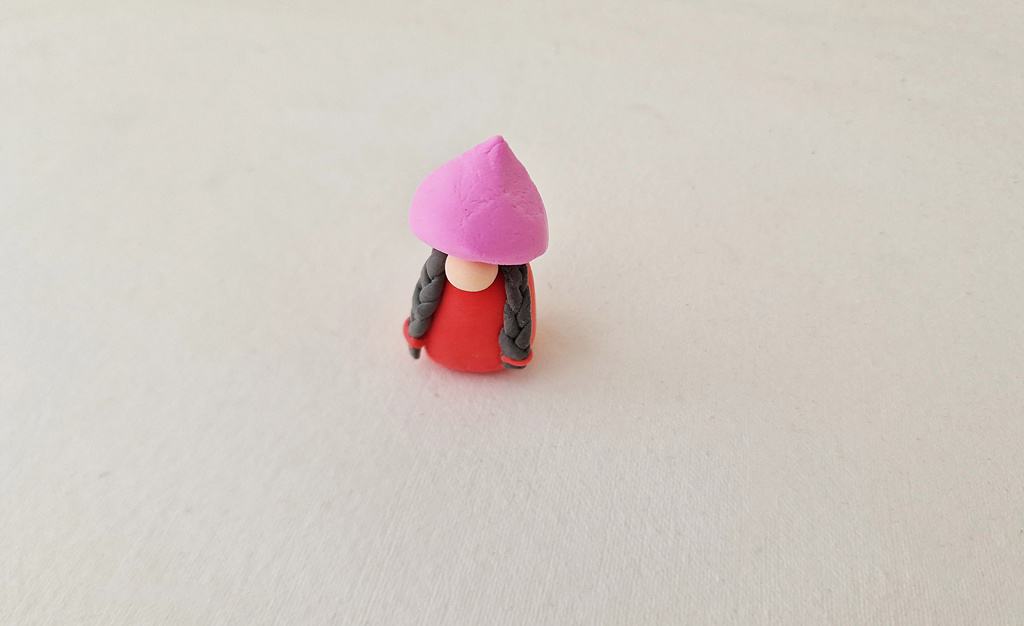
Get the ball of clay you’d like to use for the gnome’s hat.
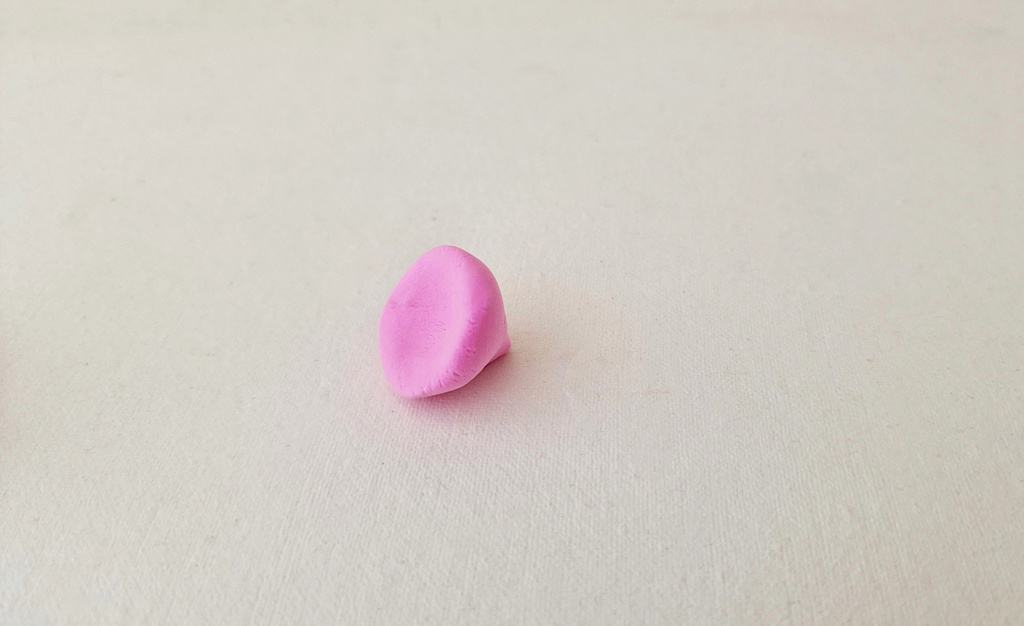
Make a pointy edge on the top end of the hat clay.

Push the wide side of the clay hat inwards using the tip of your thumb.
Attach the clay hat on the top of the clay gnome body pattern.
Be sure to cover the top edges of the nose and braids neatly using the clay hat.
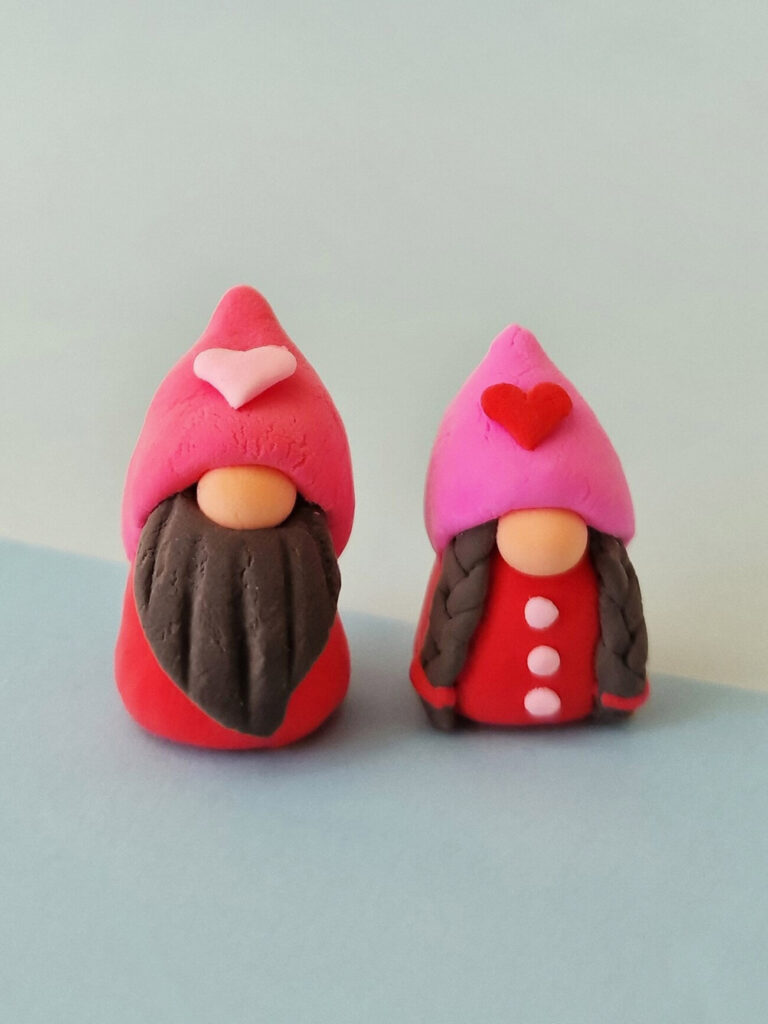
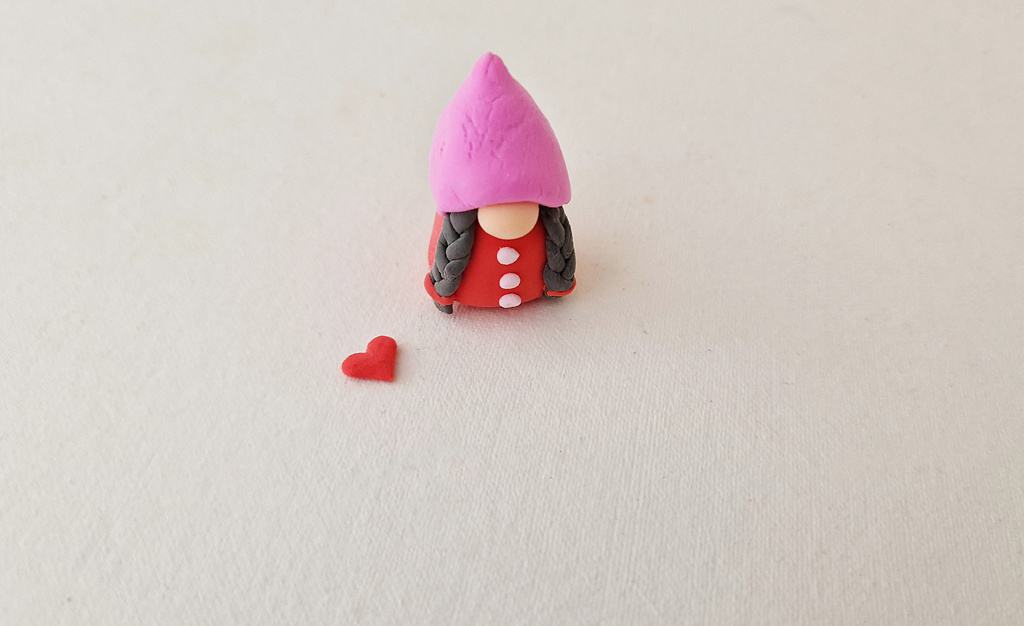
Make a small clay heart.
Attach small clay buttons to the dress.
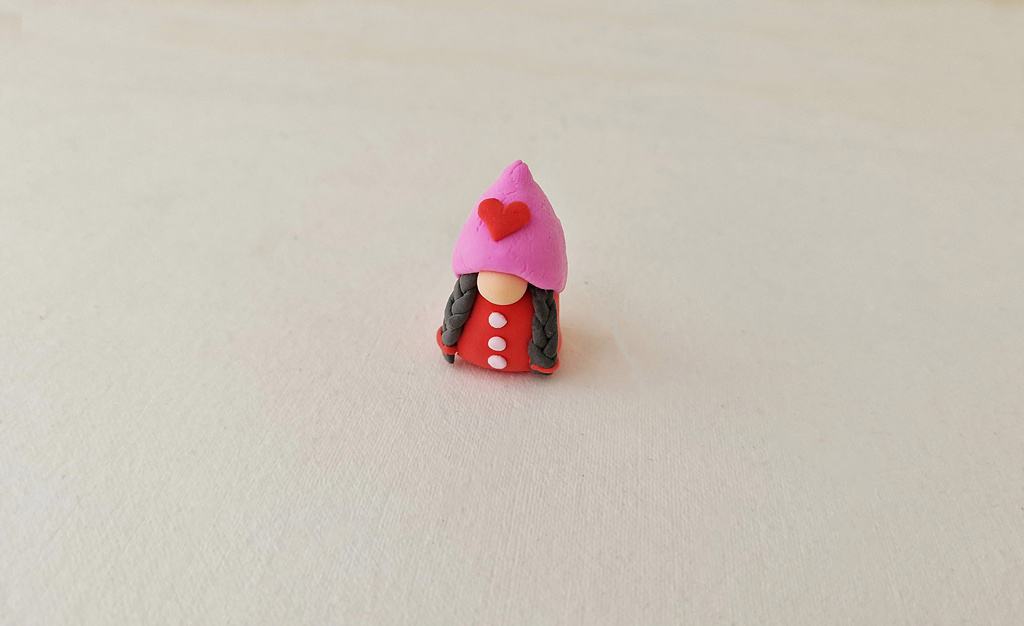
Attach the clay heart shape onto the hat.
Craft the boy gnome to complete the pair. For the boy gnome simply create a beard to place under the nose rather than adding braids.