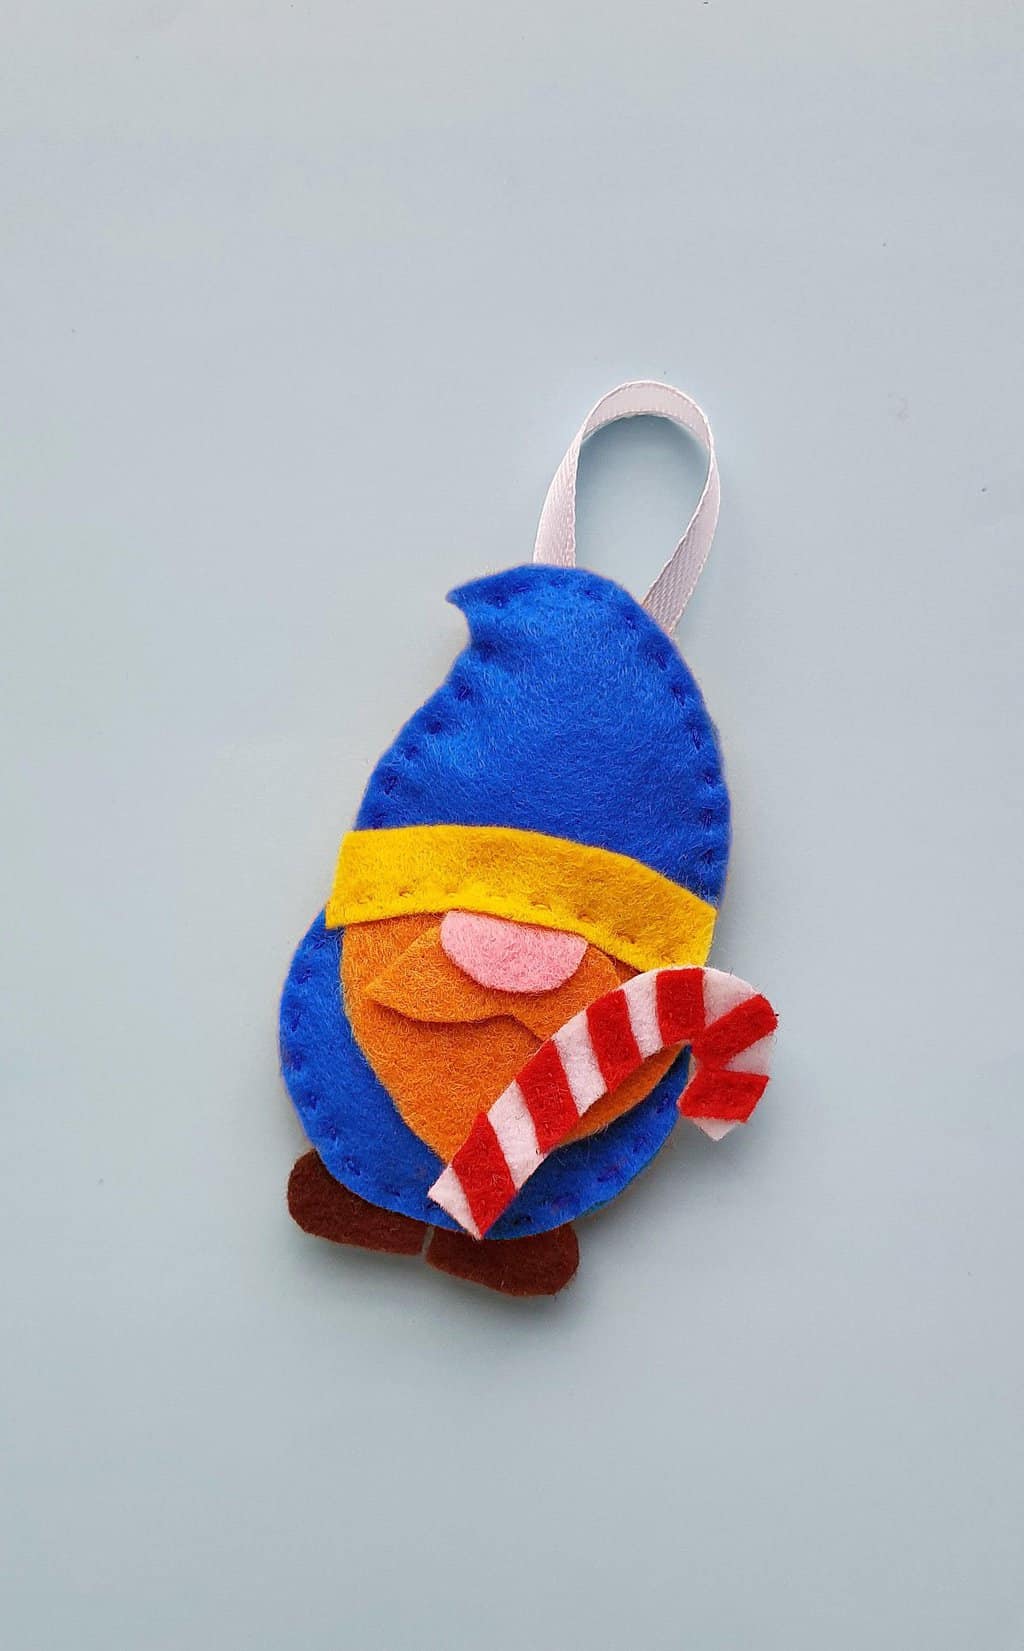
Candy Cane Christmas Gnome Ornament Craft
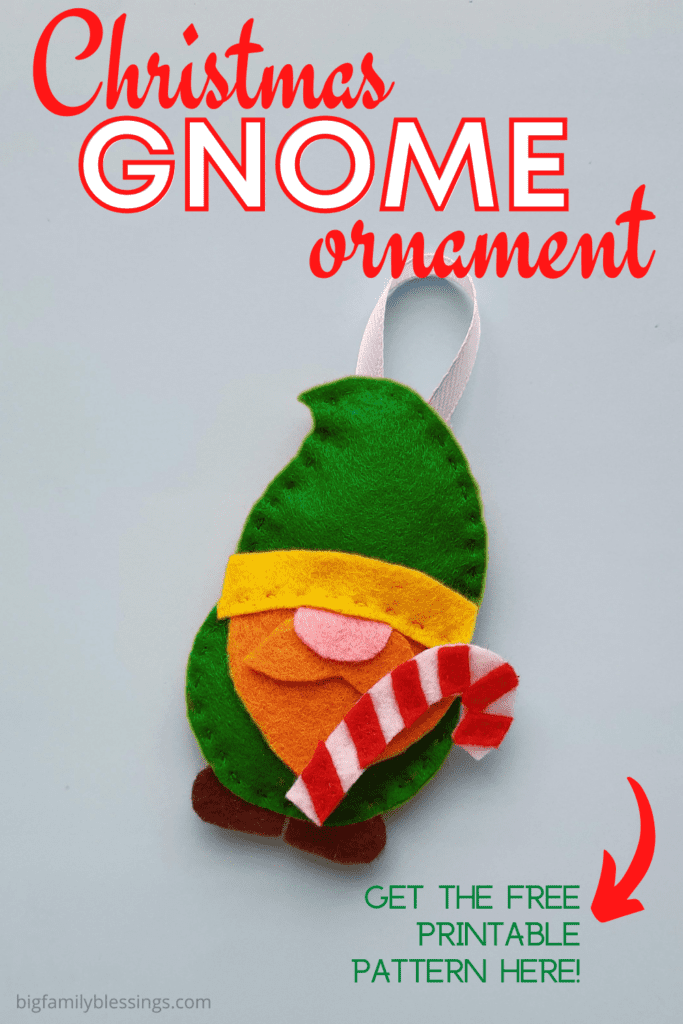
Make this super cute Candy Cane Christmas Gnome Ornament this Christmas season.
This Christmas gnome craft is super easy, and quick to make thanks to the free pattern and easy tutorial below.
If you love using gnomes in your holiday home decor, then you must make this adorable candy cane holding gnome ornament to hand on your Christmas tree.
These cute and easy holiday gnomes make great DIY Christmas gifts! Why not make a pile of the DIY Christmas gnomes and tie them to the top of your Christmas gift wrap.

How to make a Candy Cane Christmas Gnome Ornament
List of Supplies:

- Felt fabrics
- Needle and thread
- Satin ribbon – thin (1cm)
- Pencil – to trace the template
- A pair of scissors
- Cotton or scrap felt
- Template
Instructions:
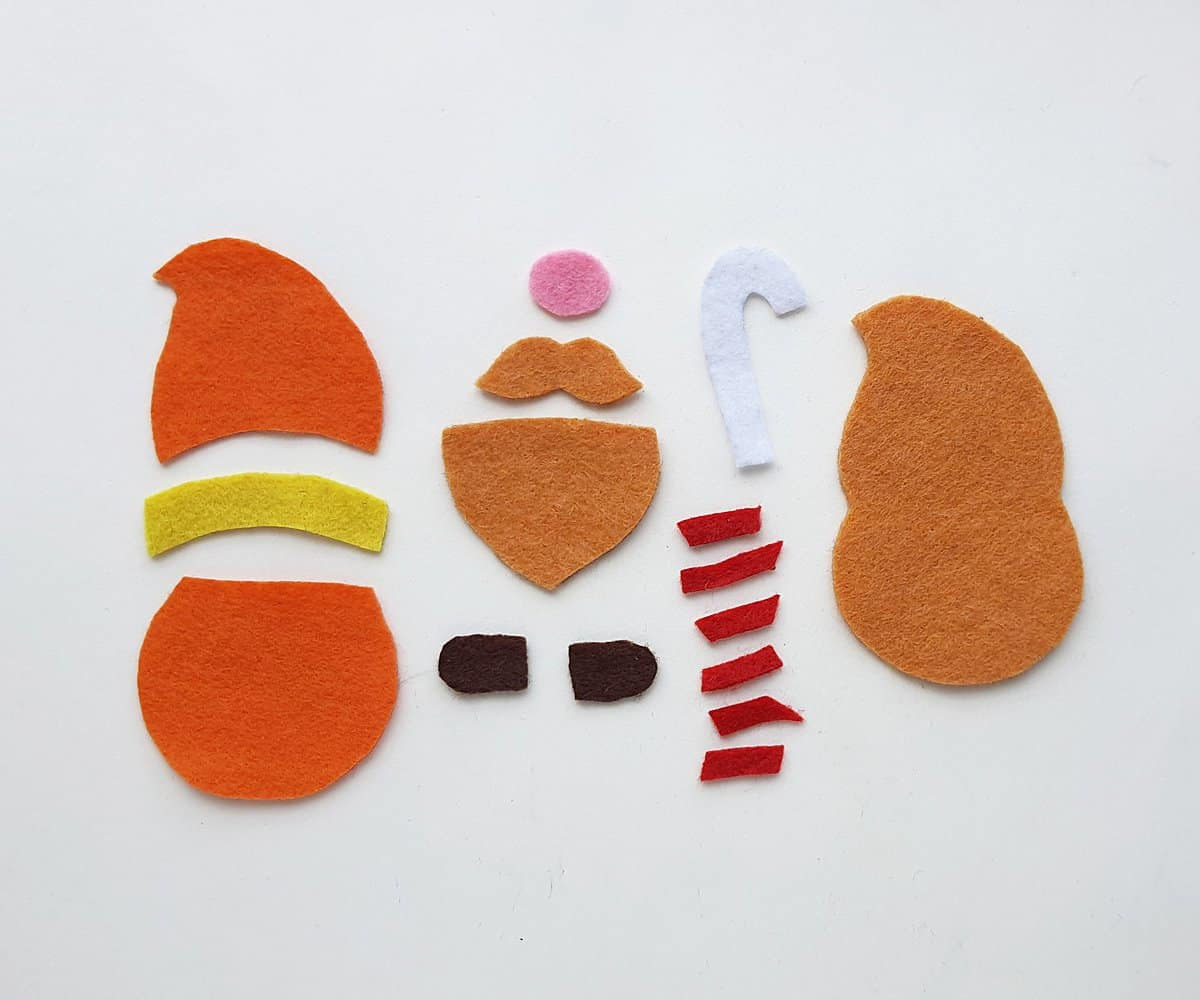
Download and print the candy cane gnome template. Cut out all of the pattern pieces.
Select colored felt fabrics for this Christmas gnome. You’ll need white and red for the candy cane. Otherwise you can choose any colors that match your Christmas home decor.
In this tutorial we’re using brown for the base, beard and mustache; orange for the clothes and hat, pink for the nose; dark brown for the shoes and yellow for the hat border.
Trace and cut out the patterns from your chosen felt fabrics.
Take the mustache, beard and nose cutouts. Place the moustache cutout on the top edge of the beard cutout.
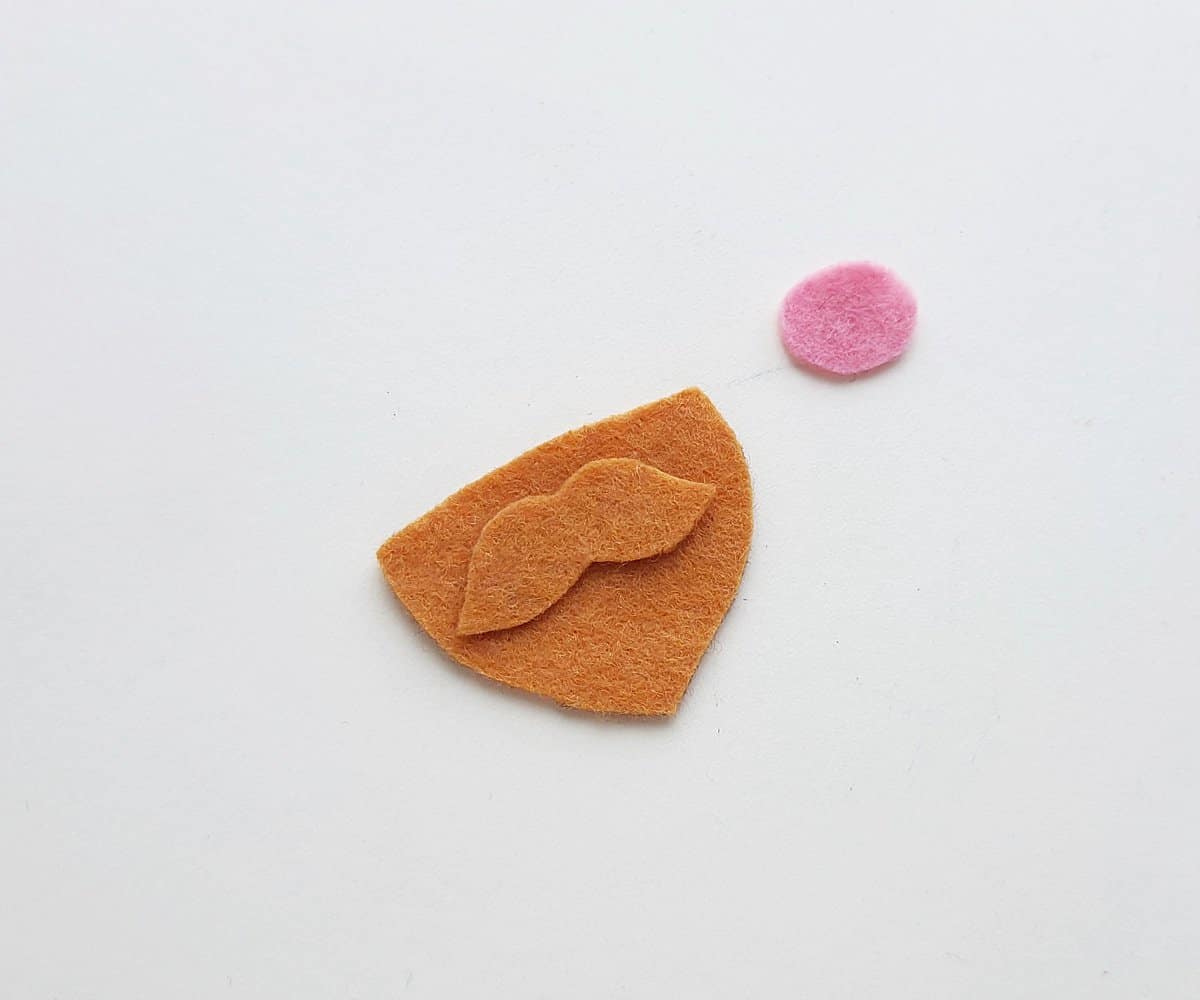
Now, place the nose cutout near the top edge of the beard, over the mustache.
Stitch the top edge of the nose to join it with the beard and the mustache cutouts muring just a few stitches.

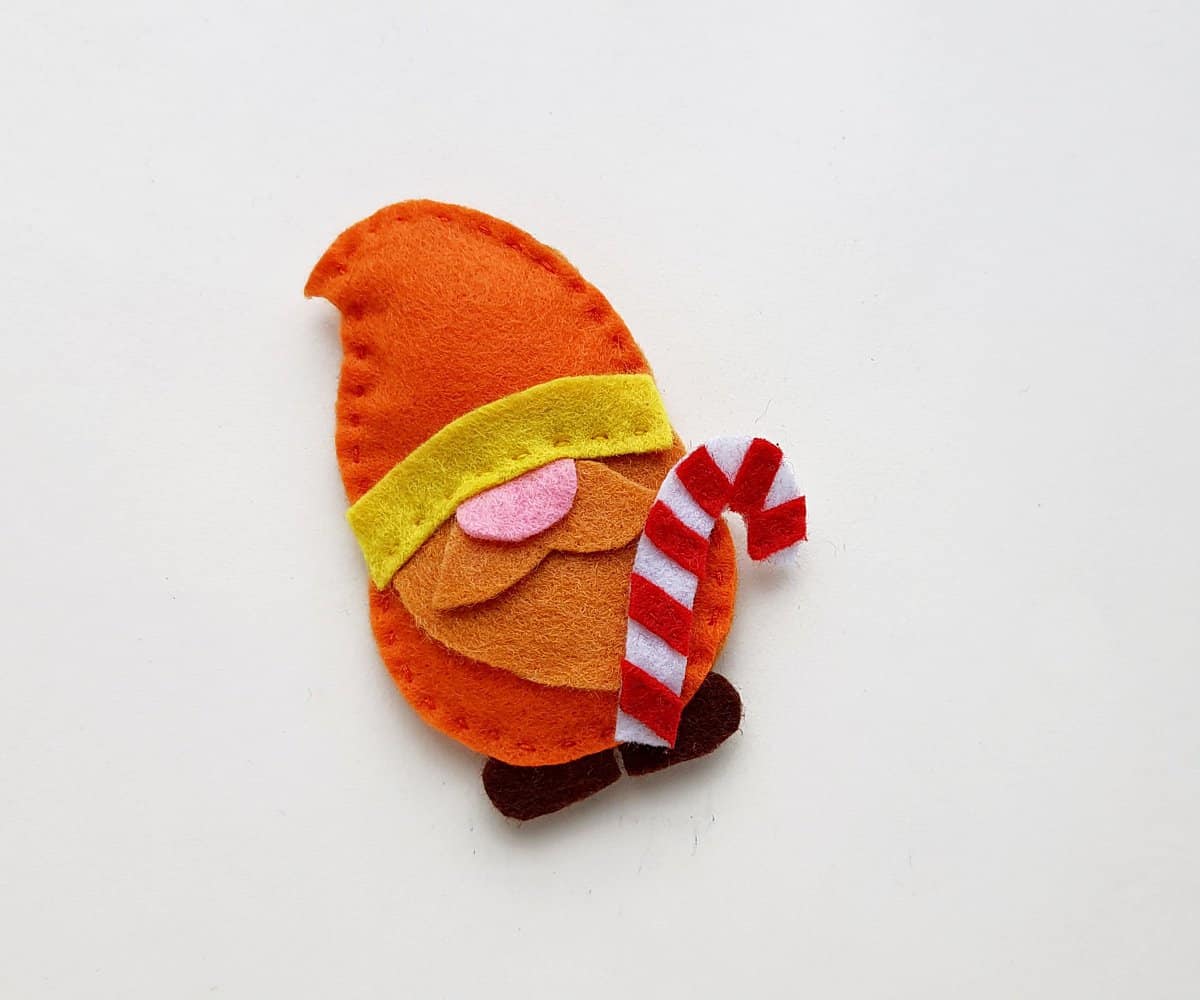
Place the red stripes on the white candy cane base and stitch them with red thread.

Stitch all the red stripes on the white candy cane base to complete the felt candy cane pattern.

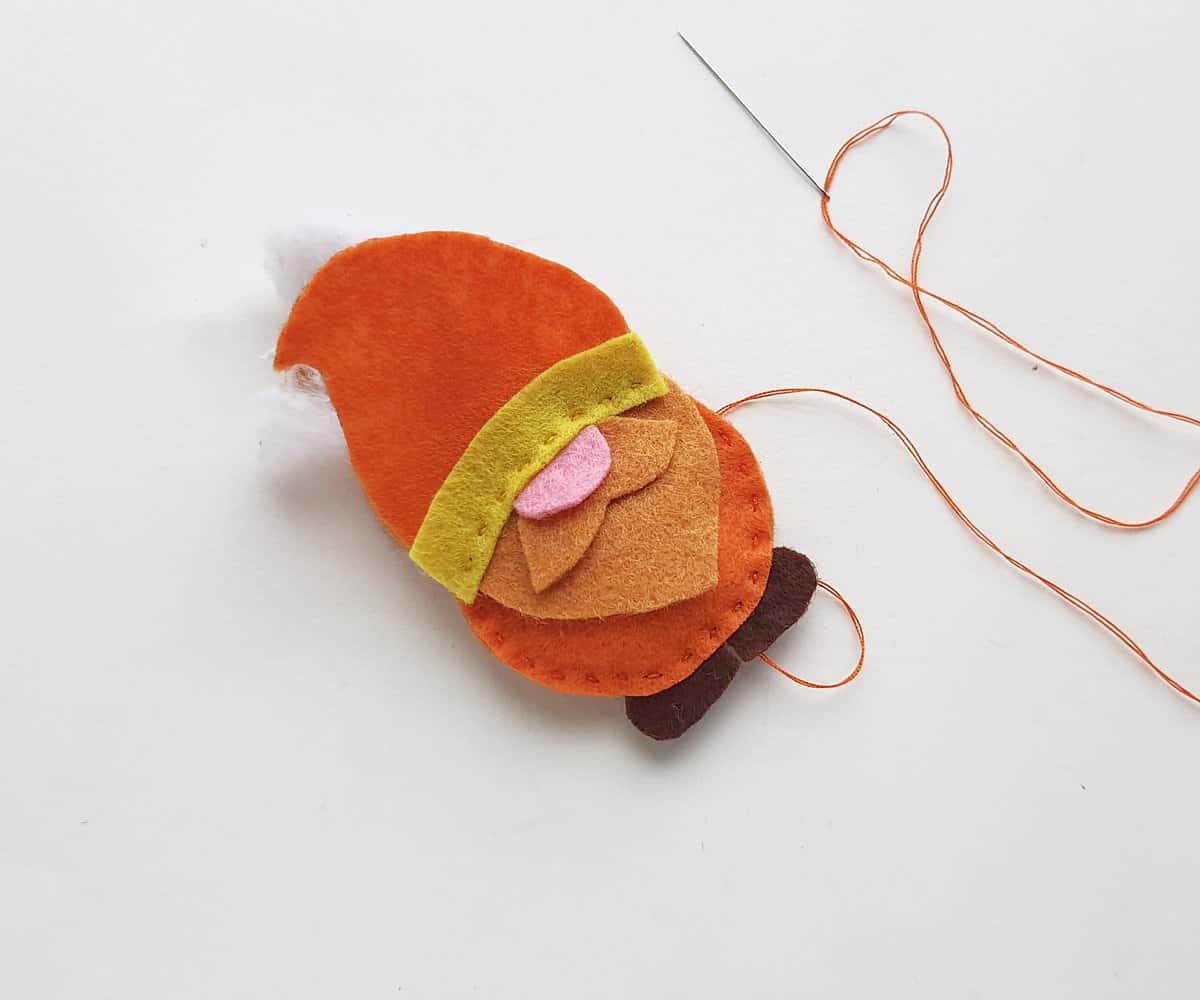
Place the base cutout on a flat surface and then place the shoe cutouts on the bottom edge of the base, keeping the shoes slightly outside the base.
Place the beard piece on top of the shirt cutout, add a few stitches to secure the beard to the shirt.
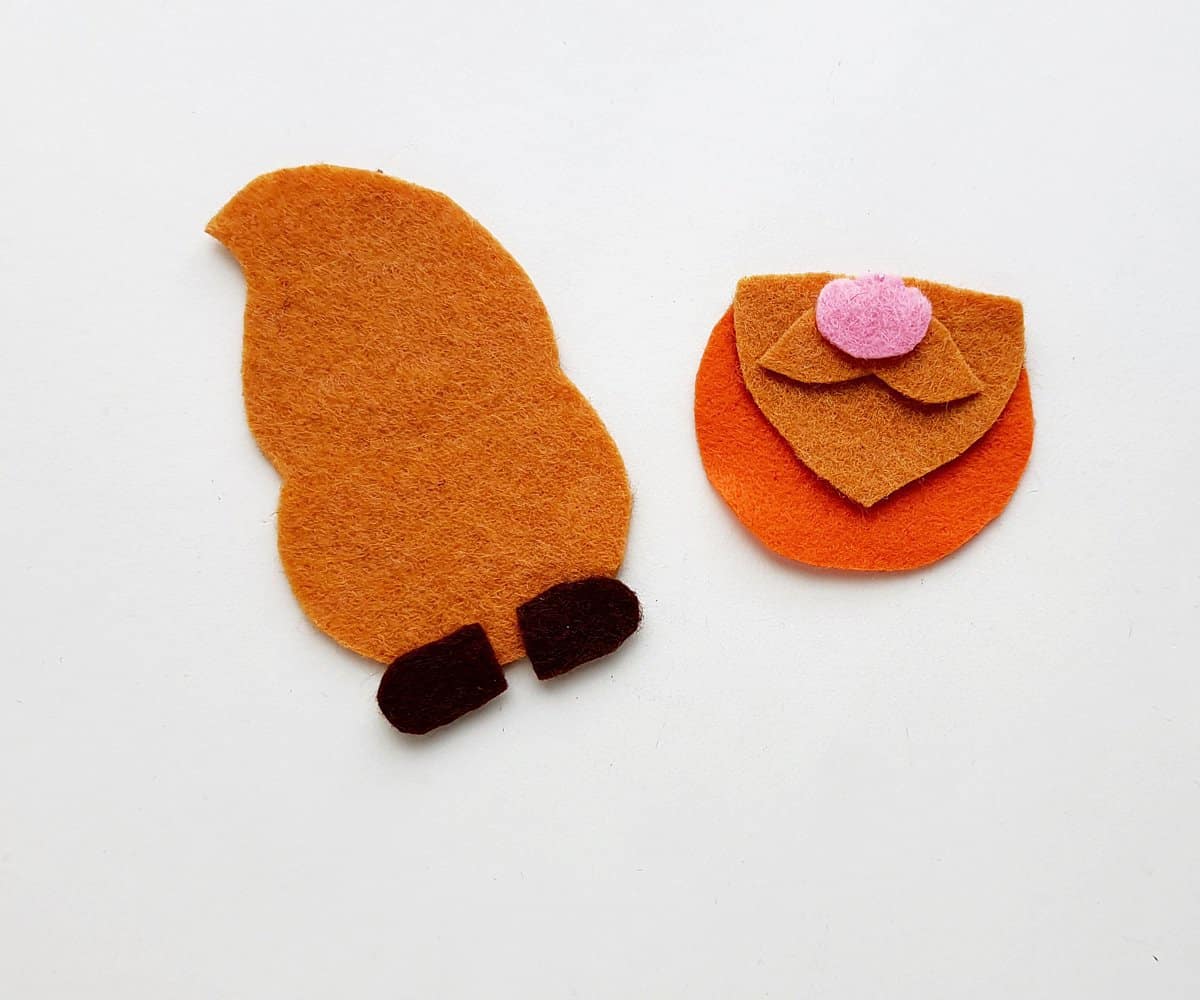
Place the lower body piece on the bottom part of the base, keeping the shoes between the base and the lower body.
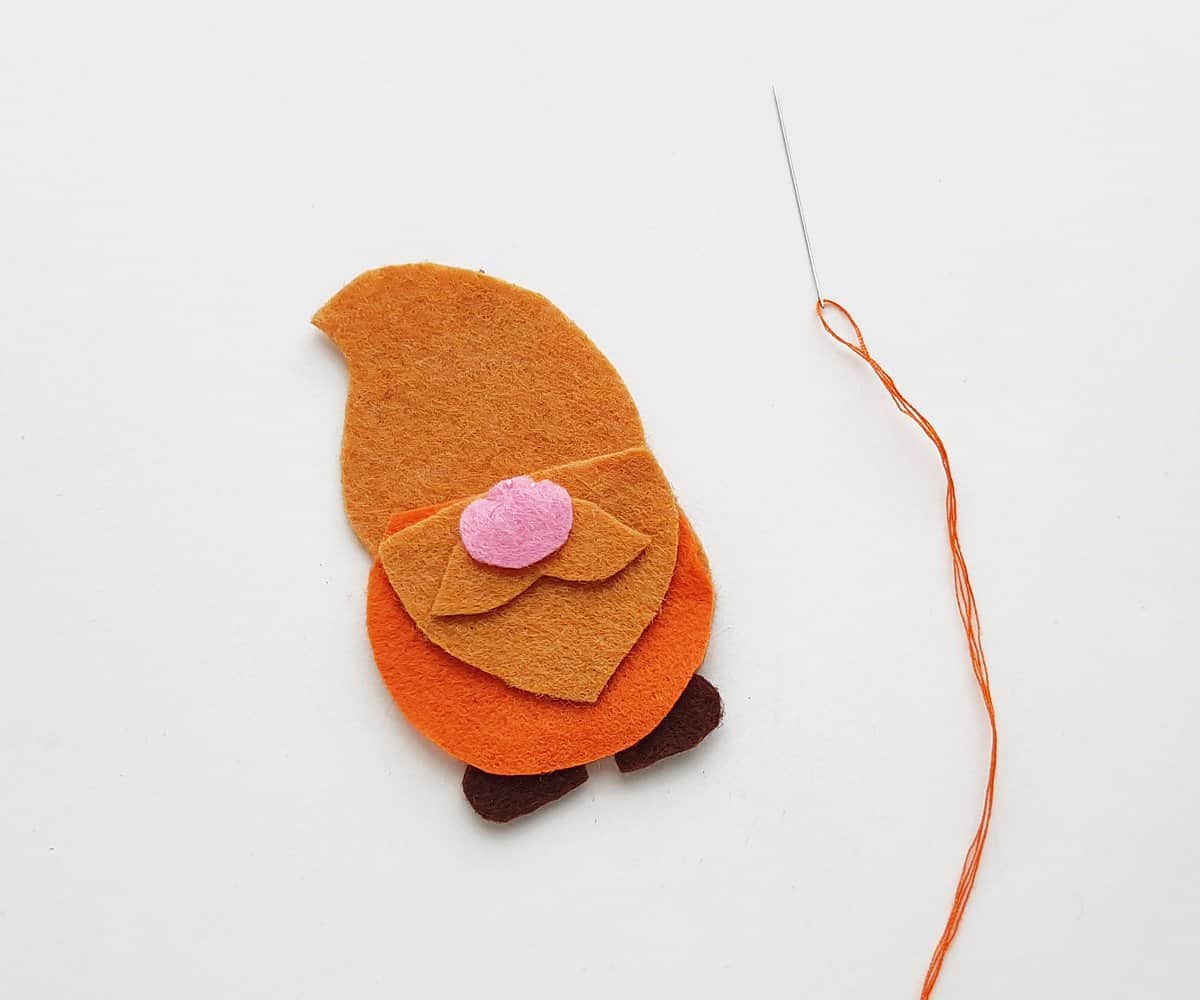
Stitch around the sides and bottom of the lower body to attach it to the base. Be sure to leave the top edge open.
Place the hat piece on top of the base, then place the hat border cutout along the bottom edge of the hat.
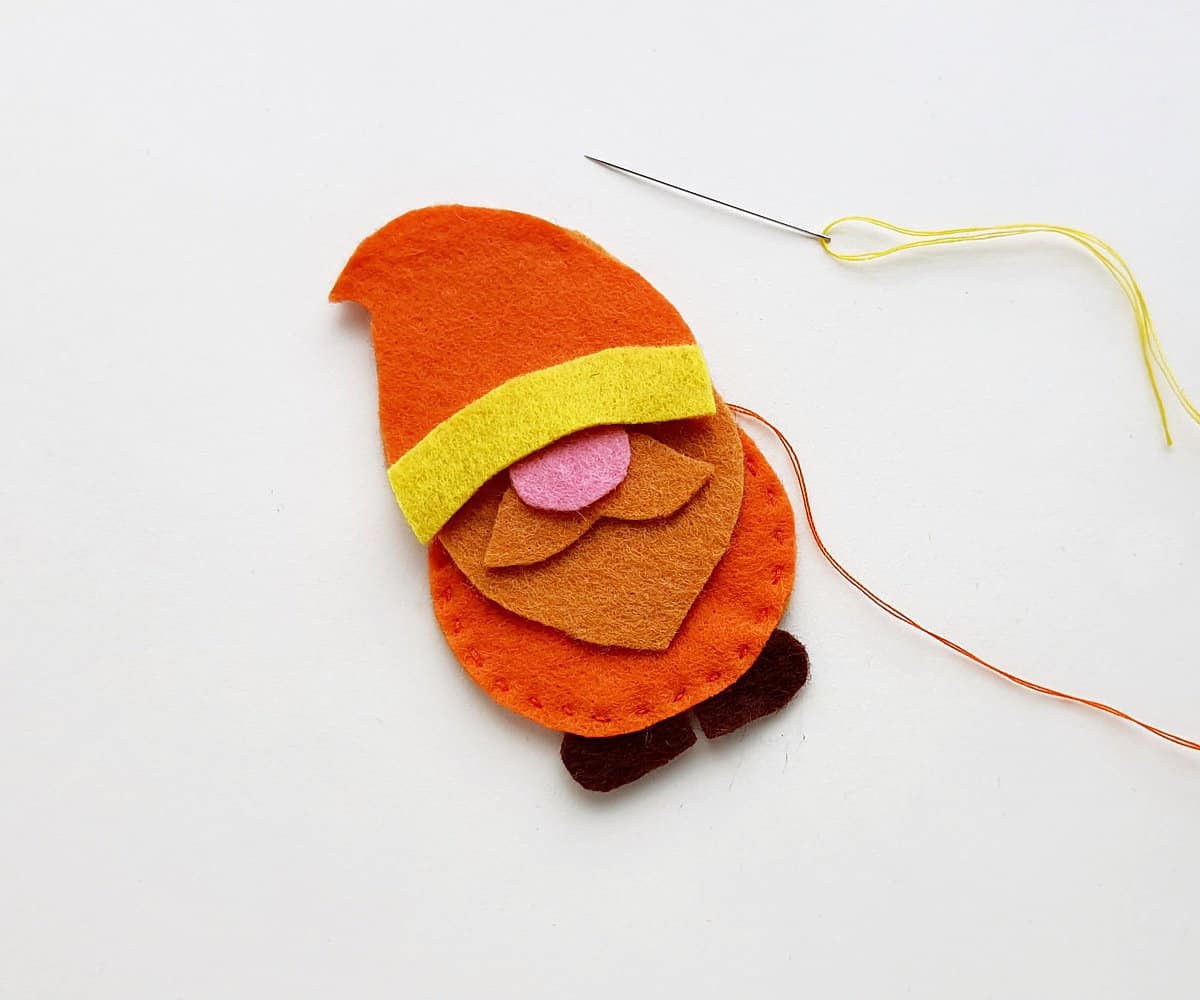
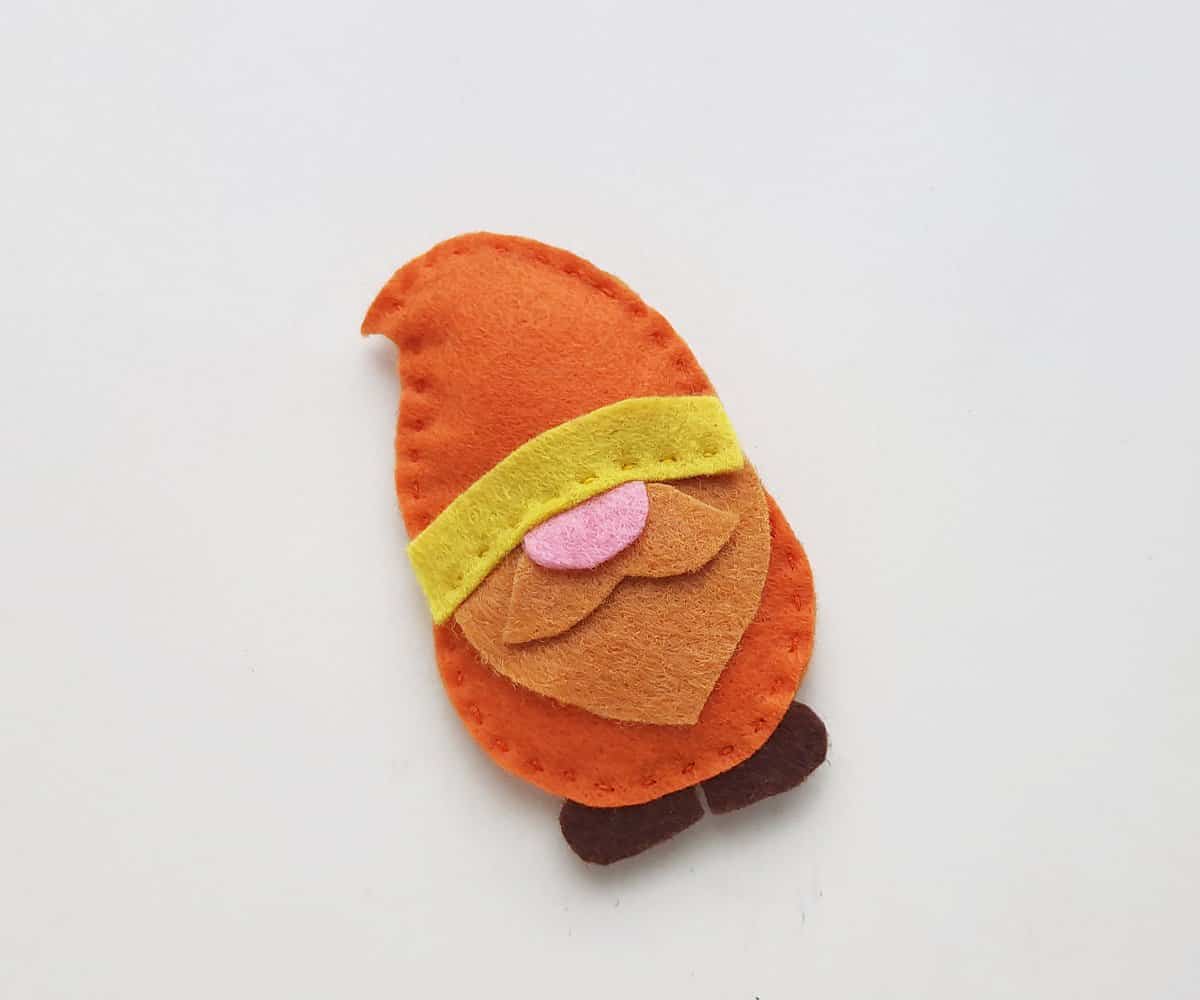
Here you have two different options for attaching and stuffing the gnome.
Either stitch through the hat border attaching it to the hat and the gnome’s clothes without stitching through the base piece. Next stitch through the gnome’s hat and the base, going around all but one inch of the gnome’s hat with the thread. Use the opening to stuff the gnome before completing the stitching and closing the gnome.
Or alternately, use cotton batting or scrap felt to stuff the gnome’s body. Then stitch through the edge of the hat to close the body section. Next, stitch around most of the hat leaving a small space to finish stuffing the gnome. Stuff him, then stitch the open end neatly to secure the stuffing.
Stitch the felt candy cane piece to the gnome pattern.
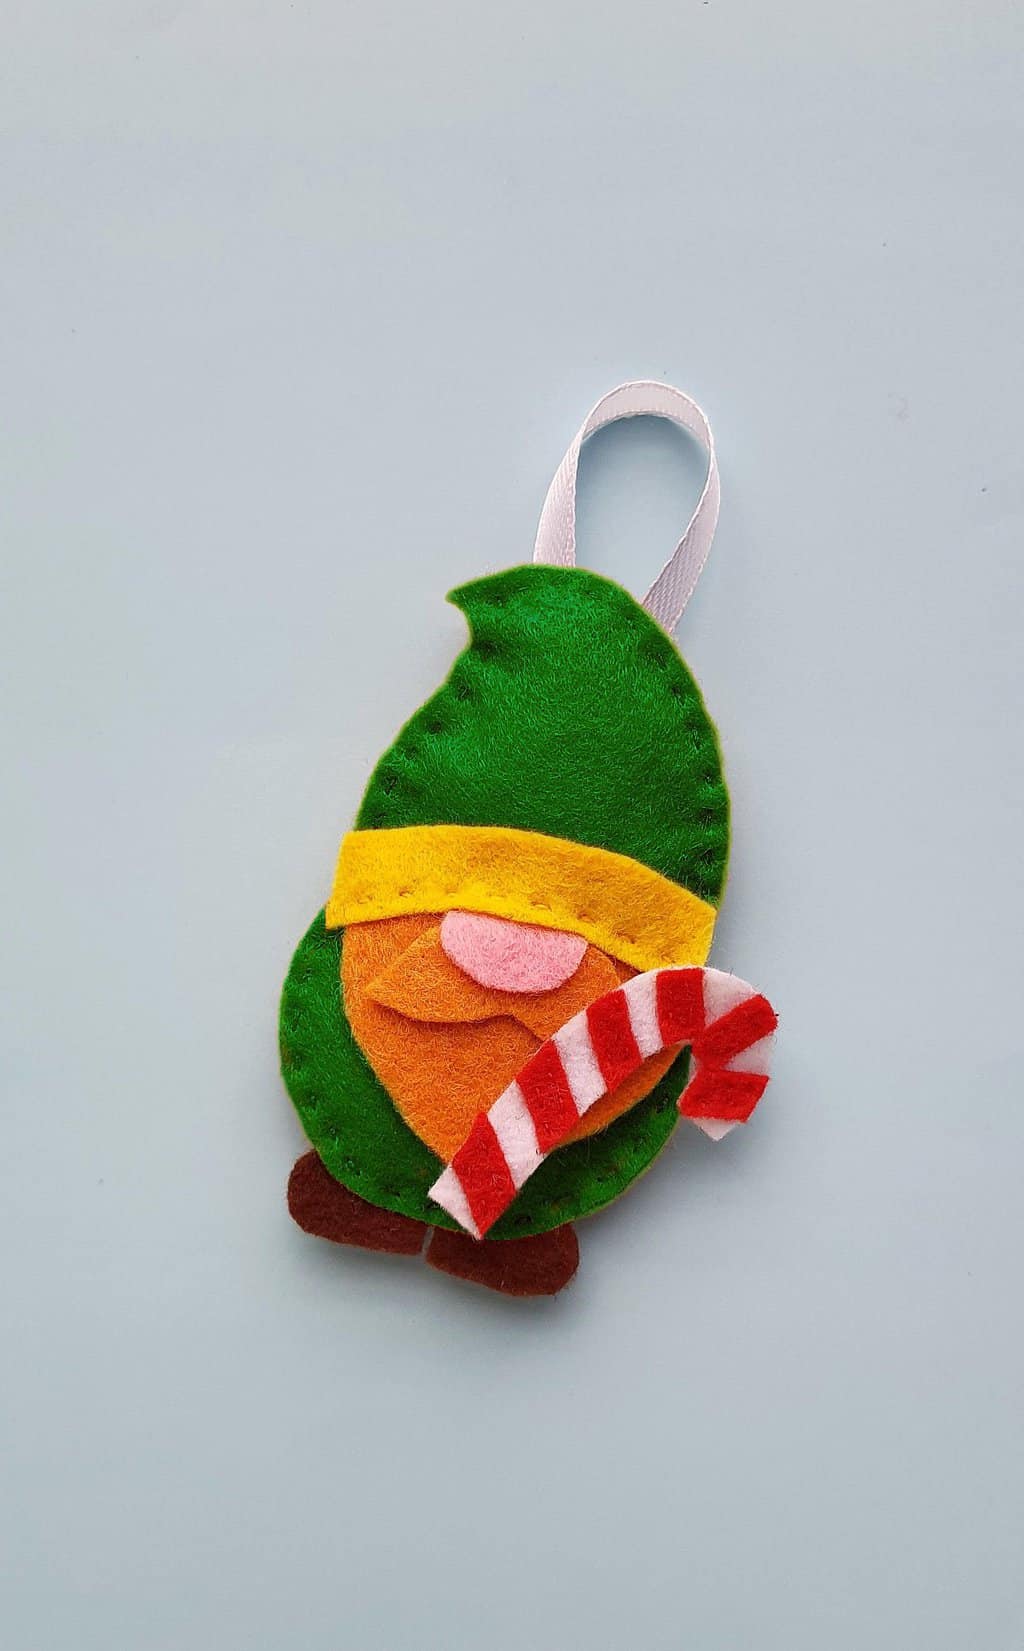
Cut out piece of ribbon and make a loop with it. Attach the ribbon loop with the gnome ornament on the back side.
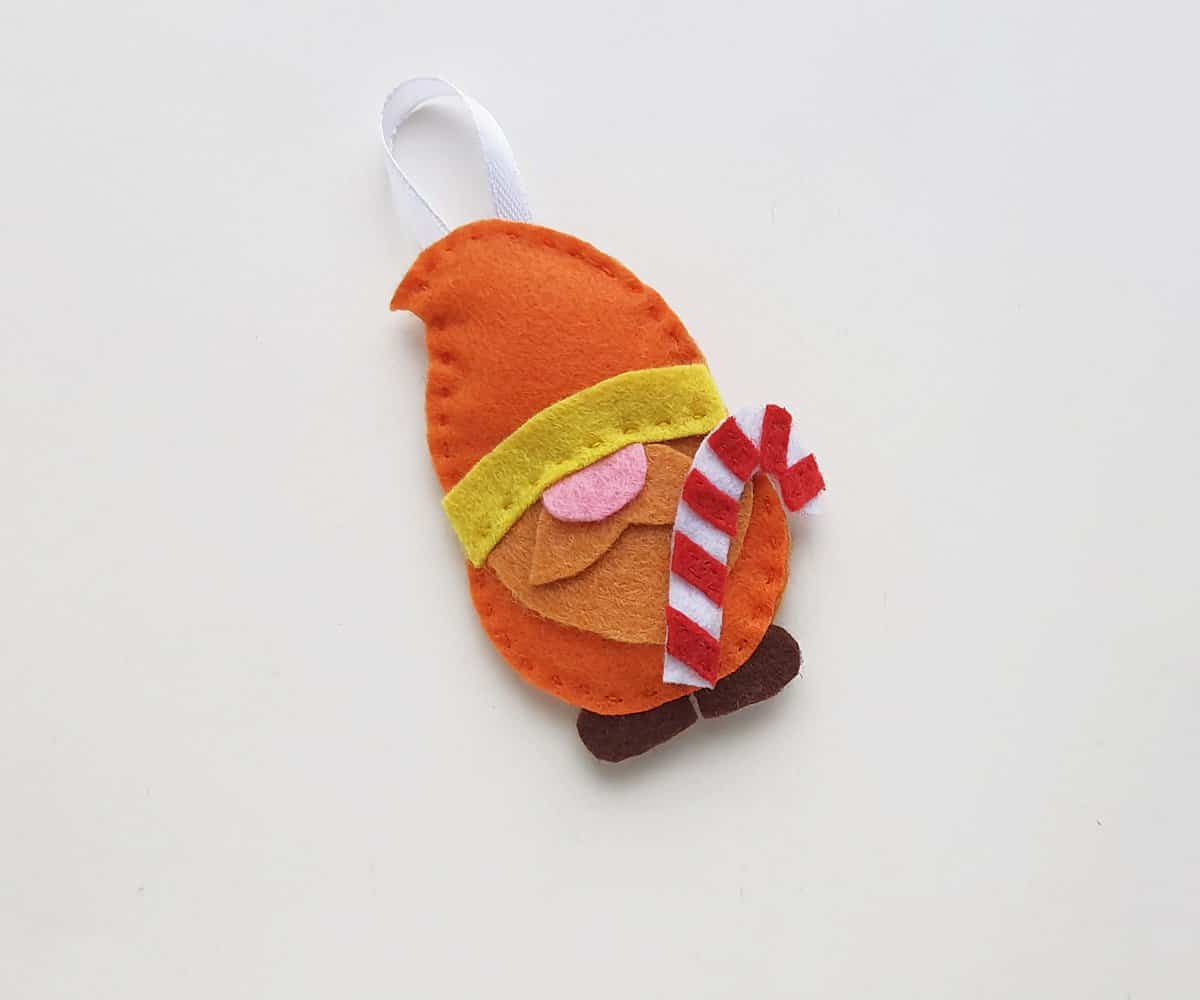
Your candy cane Christmas gnome if finished!
Looking for even more Christmas gnome ornaments?
You’ve got to make this adorable set of felt Christmas gnomes too.