Adorable DIY Sloth Craft
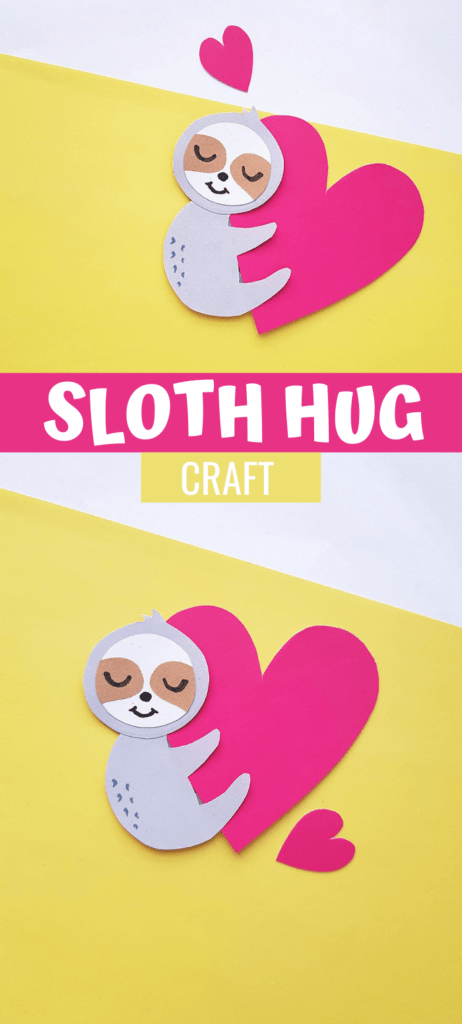

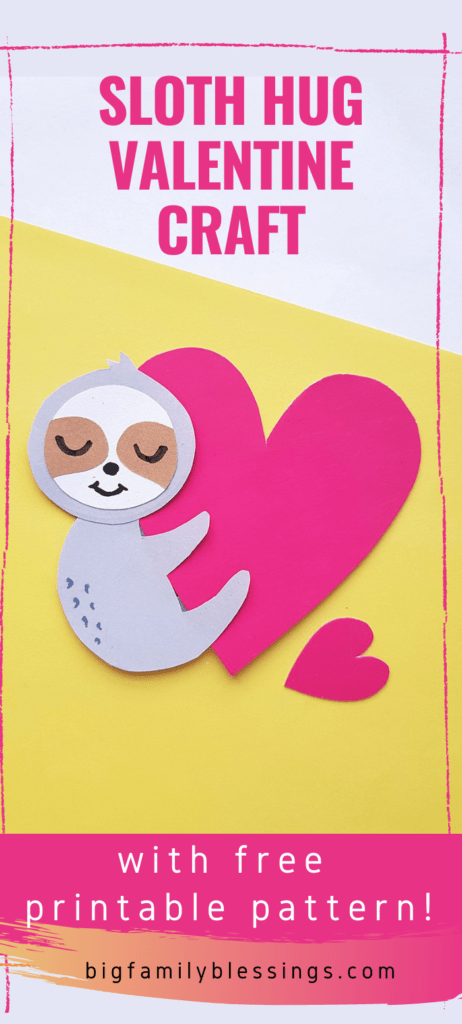

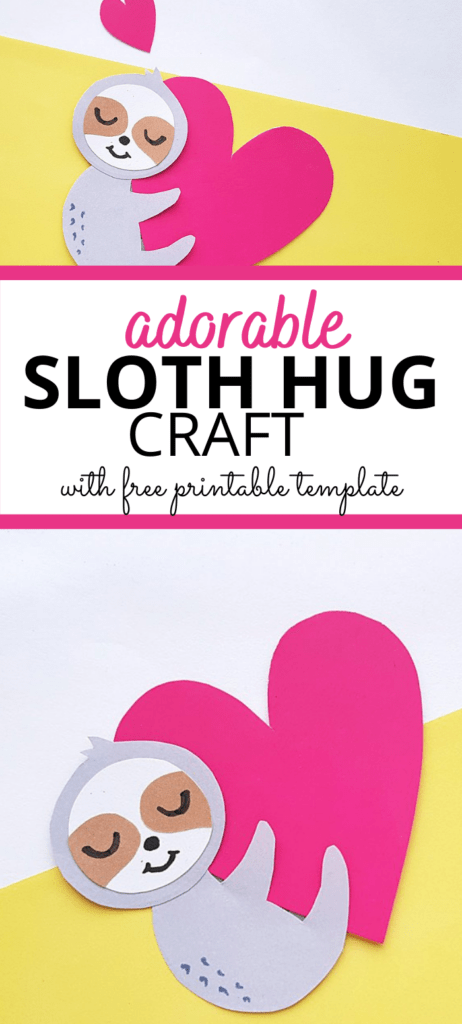
Your child will love making this adorable heart hugging sloth craft using our free template and these easy step-by-step directions!
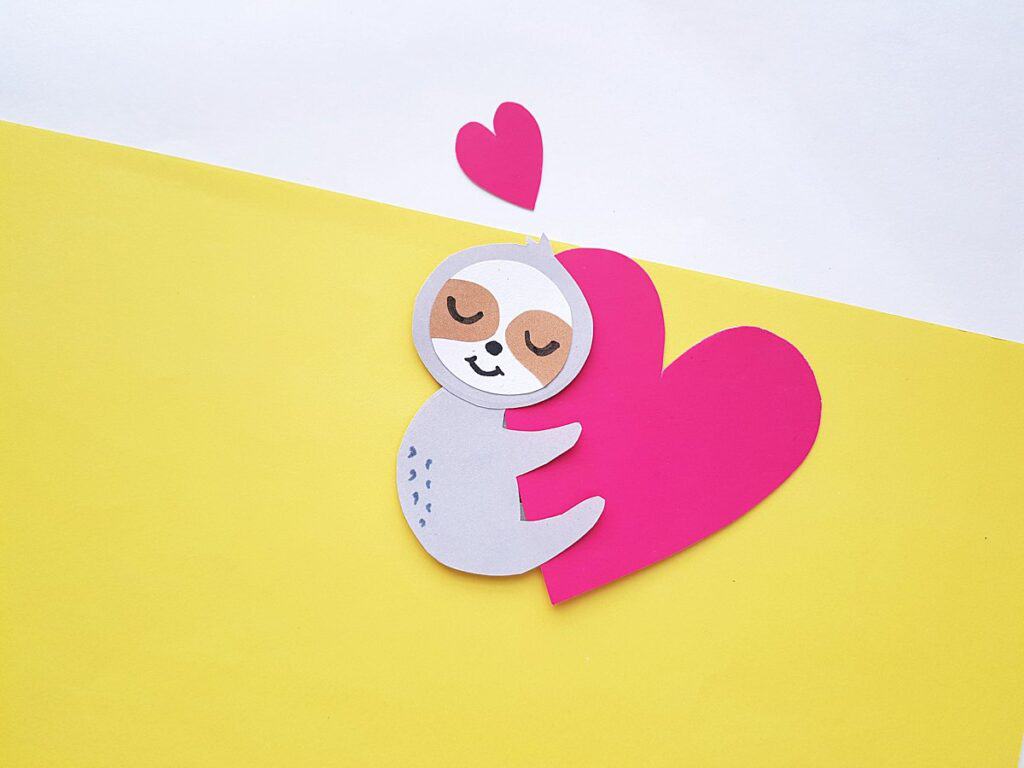
This adorable Heart Hugging Sloth Craft makes a great card for a friend. Why not make a few and send them out to brighten someone’s day?
How to make this Hugging Sloth Craft
Supplies:
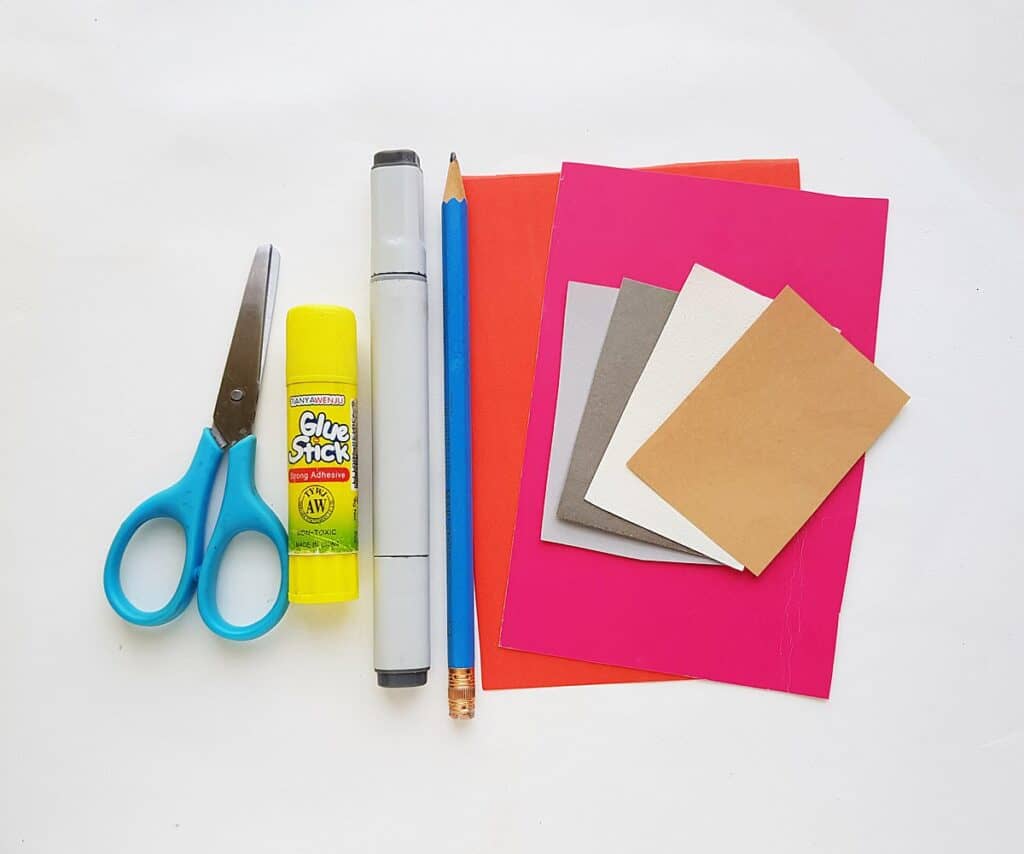
- Colored paper such as construction paper or cardstock
- Cardstock paper in a color you’d like for your heart
- Template
- Craft glue
- Black pen or marker
- Pencil
- Scissors
Directions:
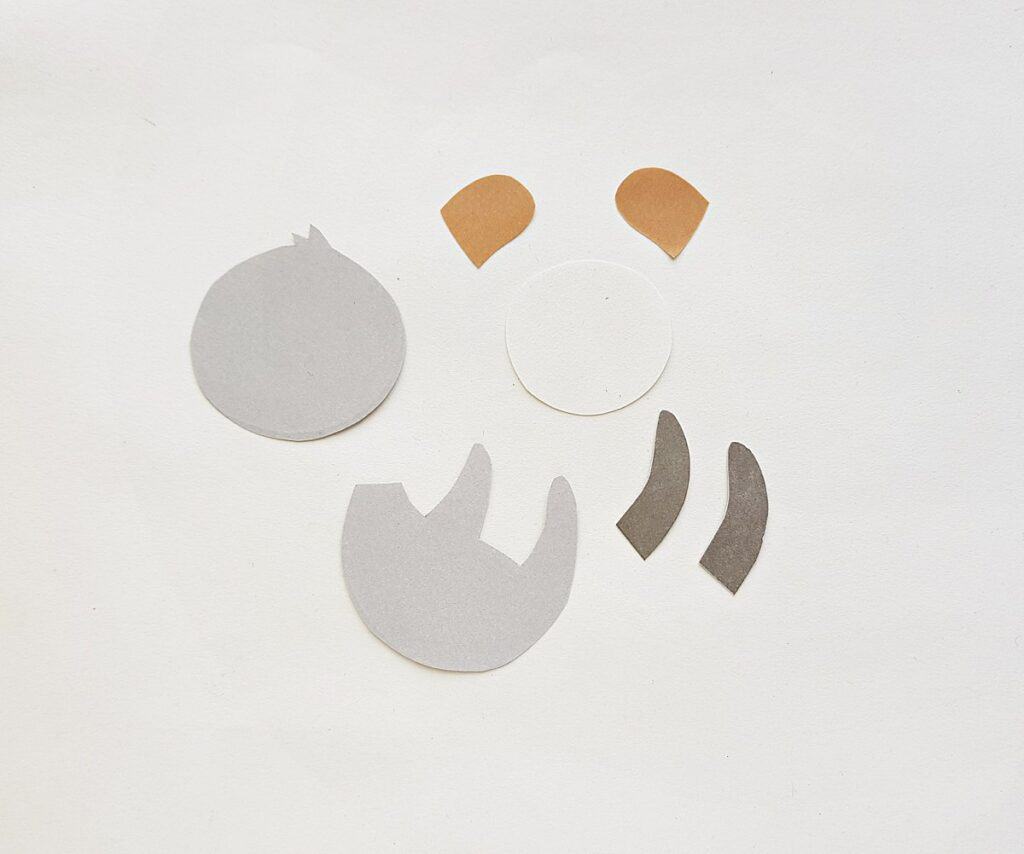
Print and cut out the pieces of the sloth heart template.
Gather the papers for your sloth’s body, choosing two different shades of gray, a light brown, and a white.
Also choose a piece of cardstock for your heart. We choose a bright pink for this craft.
Trace the head and body of the sloth on to the darkest shade of gray. Trace the two legs on the lighter gray, the eye patches on the light brown, and the round circle on white.
Cut all of the pieces out.
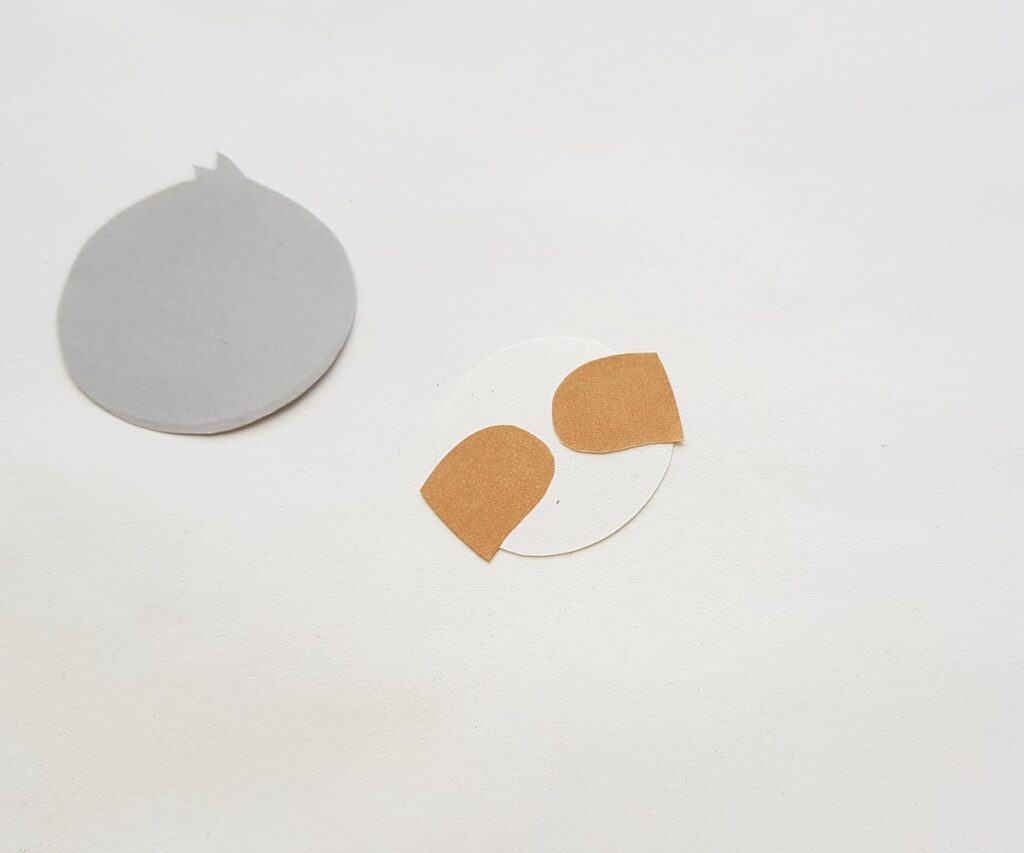
Glue the two eye patches onto the white circle as pictured below. The eye patches will hang off of the white circle slightly.
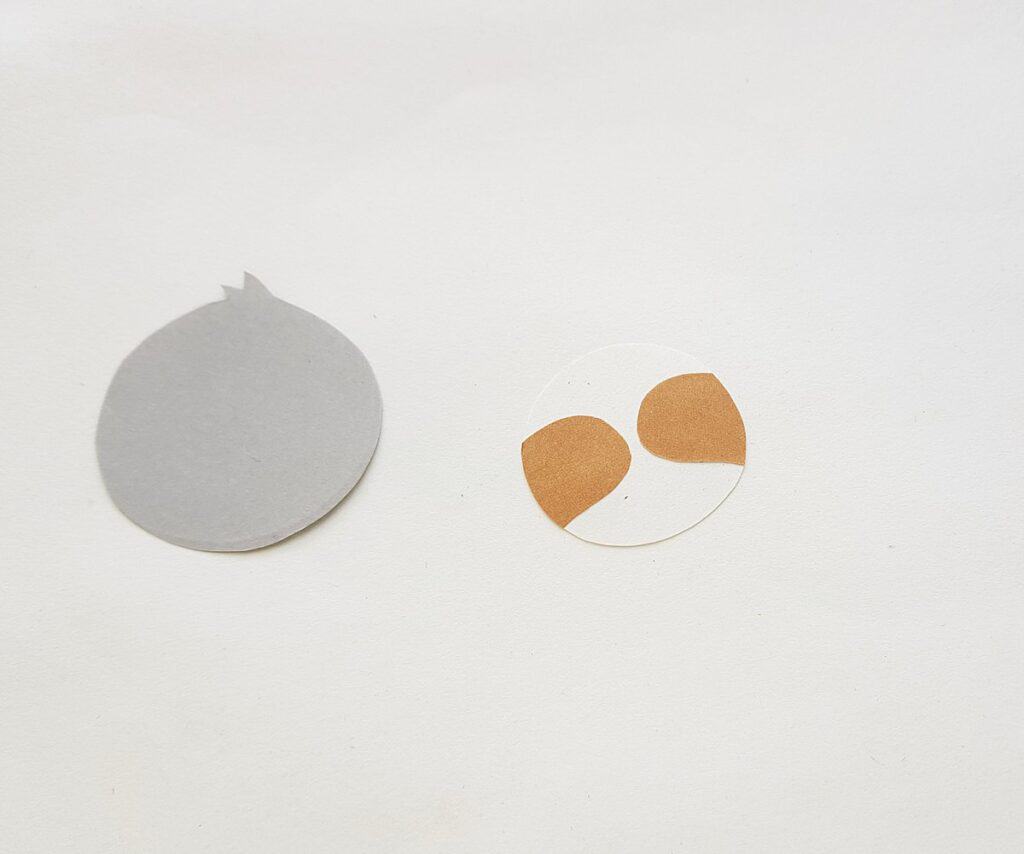
Use scissors to trim around the white circle, so that the eye patches are even with the circle.
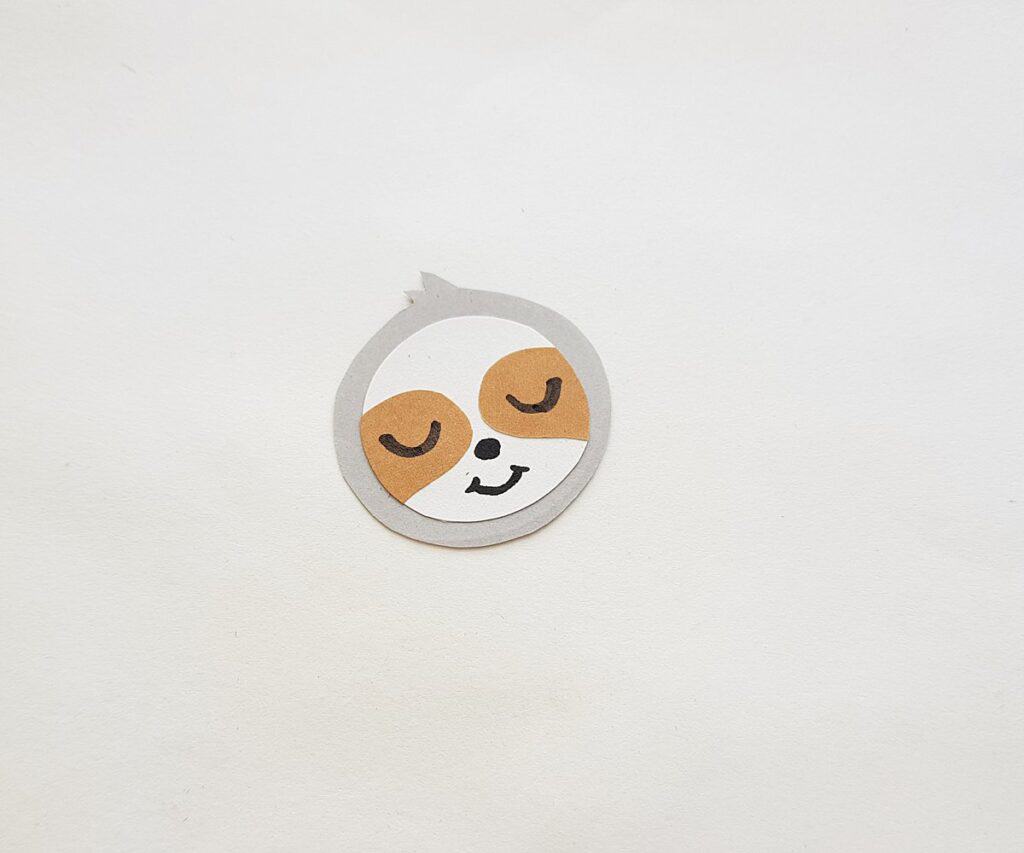
Attach the white circle to the middle of the dark grey head from step 1. Use a marker or pen to draw the eyes, nose, and mouth of your sloth.
Next, glue the dark grey legs to the light gray body of the sloth. You’ll glue the two legs onto the back of the sloth’s body.
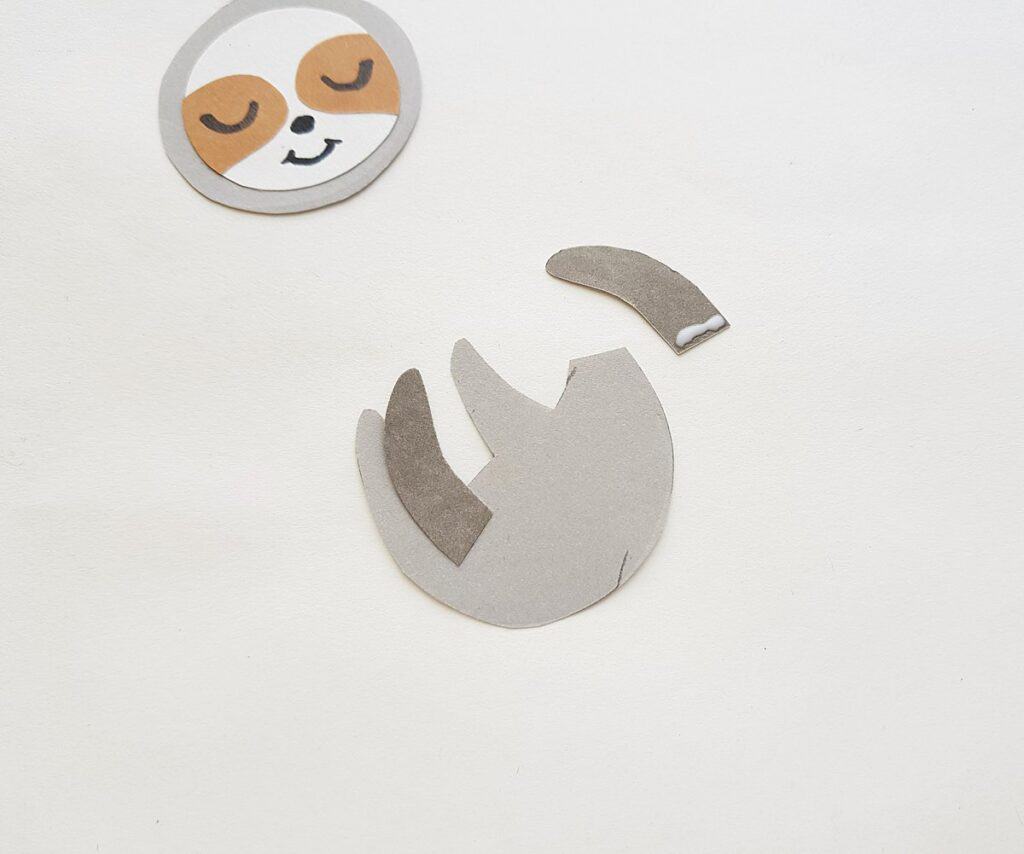
Be sure to only glue the very top of the leg piece onto the sloth’s body. You’ll need the rest of the leg free to attach to the heart later.
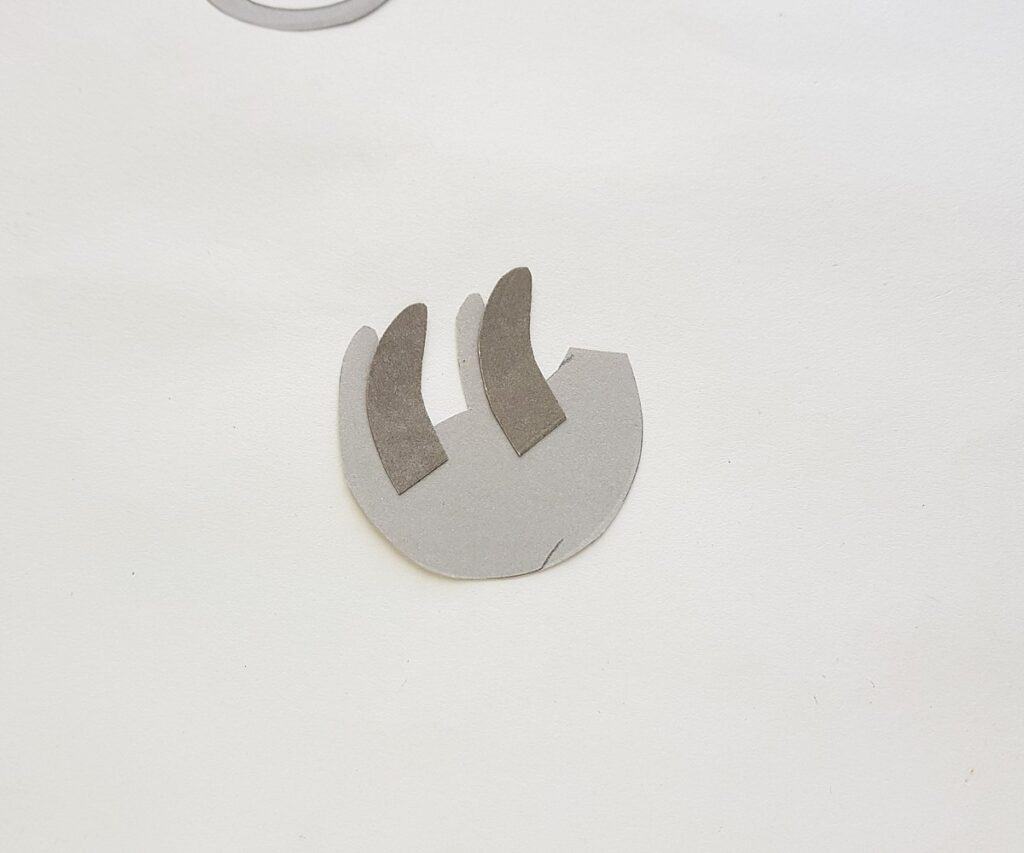
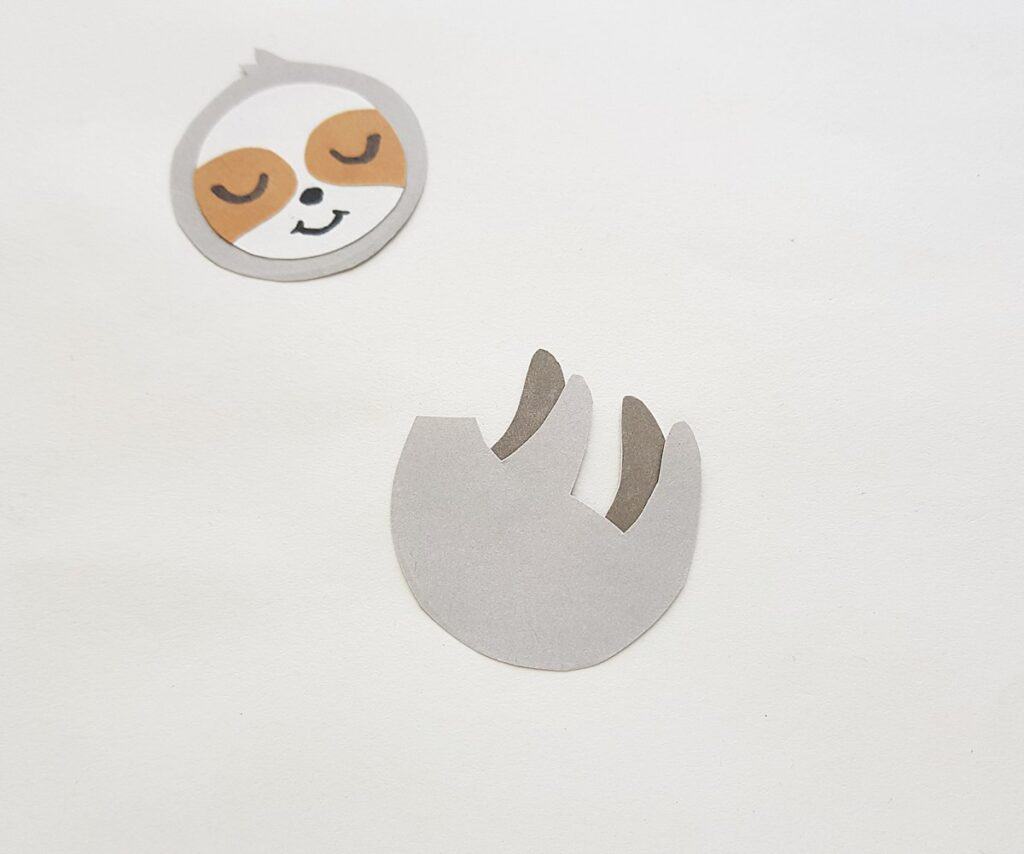
Flip the sloth’s body back over so that the glued legs are on the backside again.
Attach the sloth’s head onto its body. You can also add some details to the sloth’s body with the marker, as pictured below.
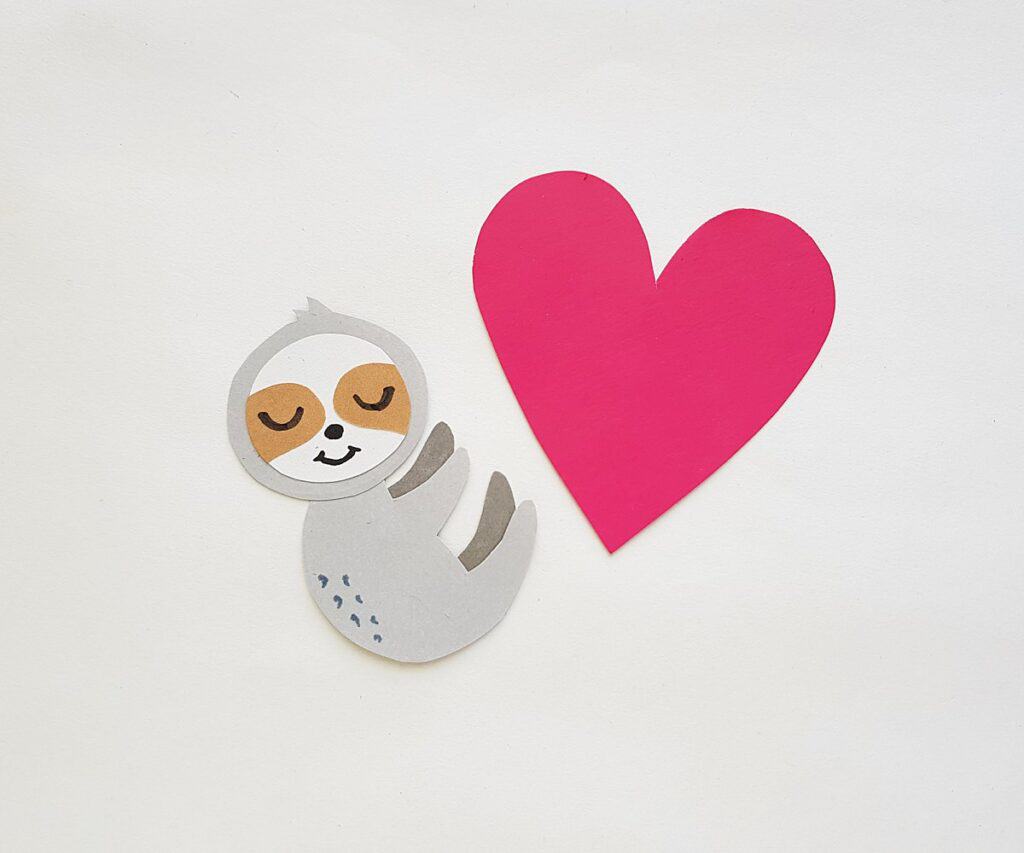
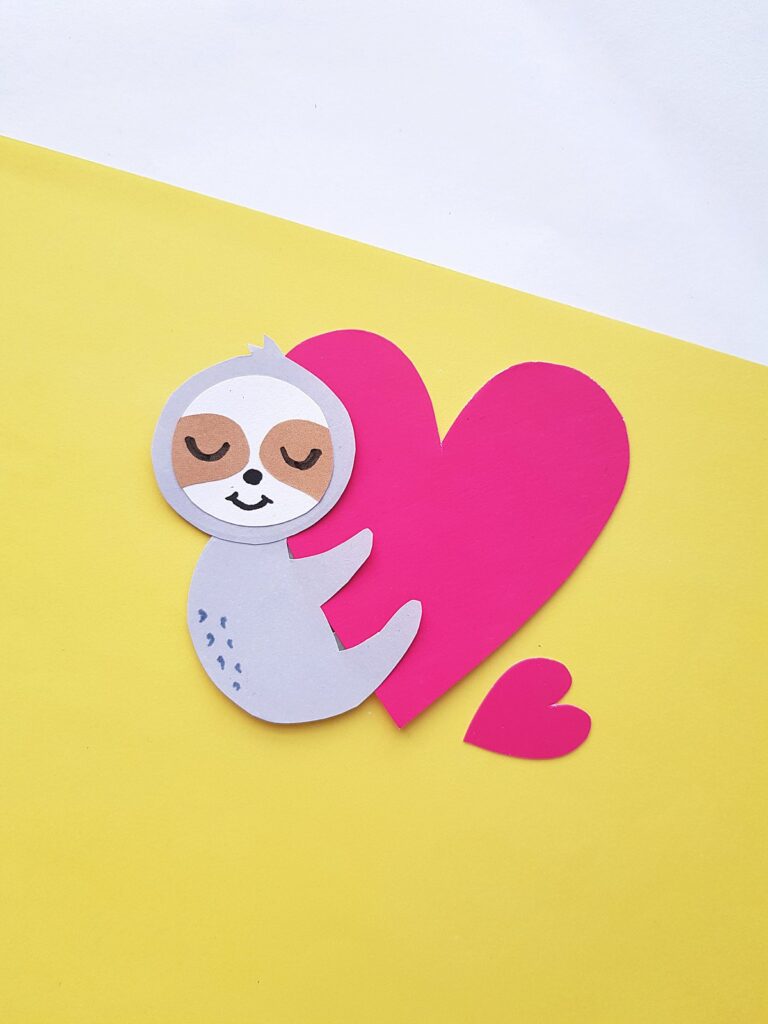
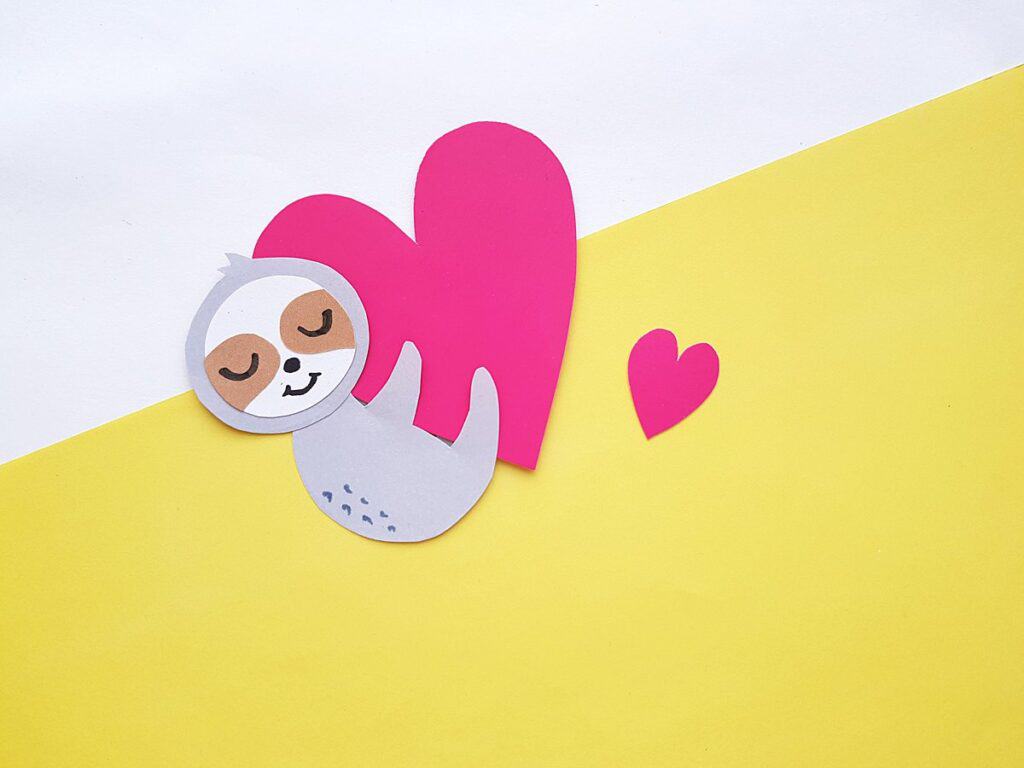
Slide the cardstock heart between the front and back legs of your completed sloth.
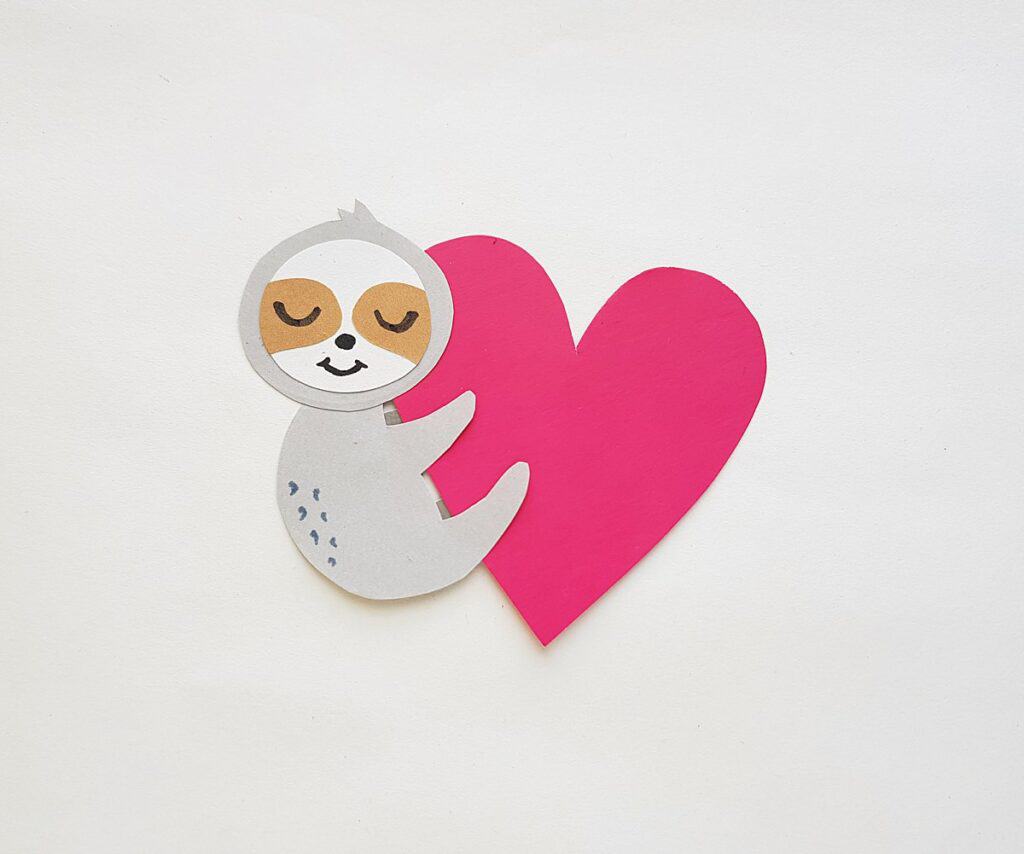
Now you have an adorable hugging sloth!