Adorable Lorax Craft for Kids

Make celebrating Dr. Seuss Day even more fun with this adorable Lorax Craft. Your kids can create their own Lorax and Truffula trees using this easy craft tutorial.
Read Dr Seuss’ The Lorax with your kids, then create this adorable Lorax inspired craft. This Lorax is such a fun Seuss craft to make with kids!

How to make this adorable Lorax Craft with Kids
Supplies:

- Colored papers
- Craft glue
- Marker
- Pencil
- Scissors
- Template
Directions:
Gather colored papers. You’ll need orange, yellow, and your choice of two other colors. Print out and cut the template patterns.
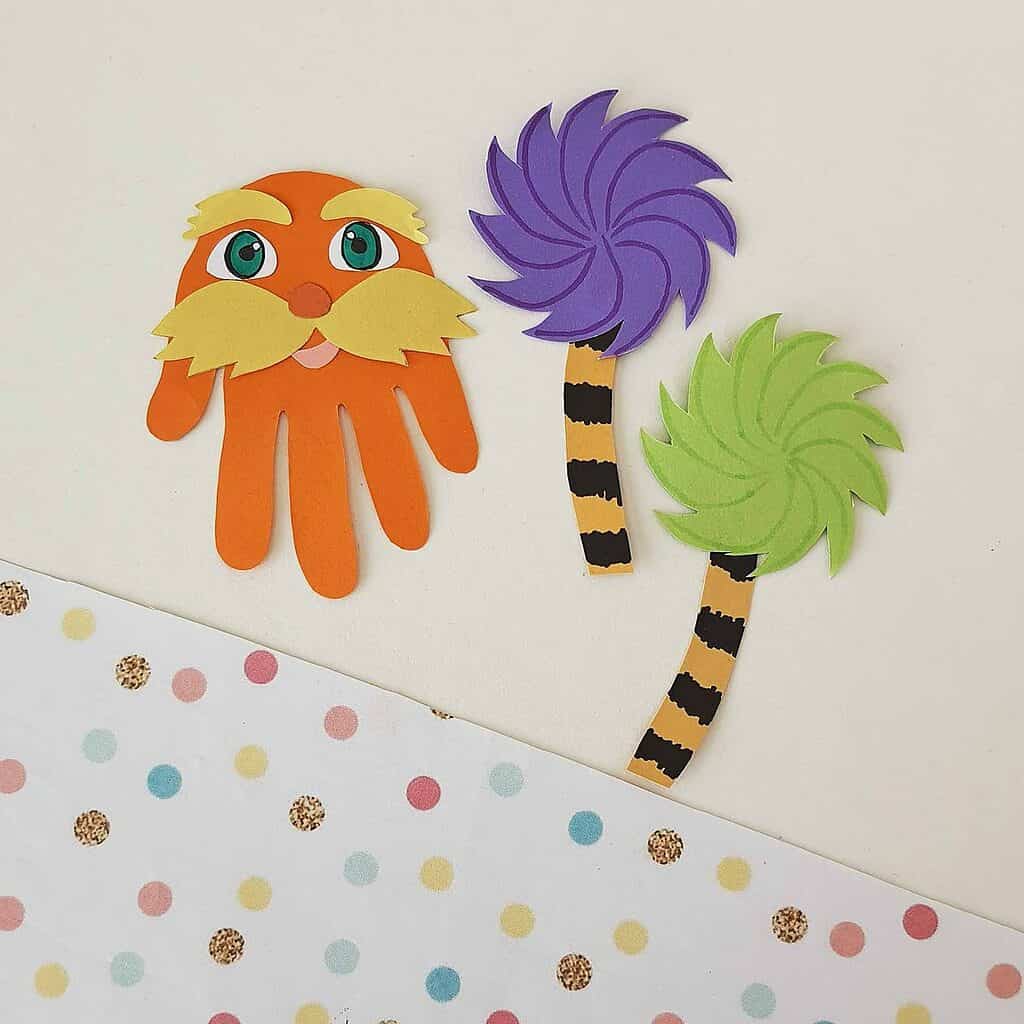
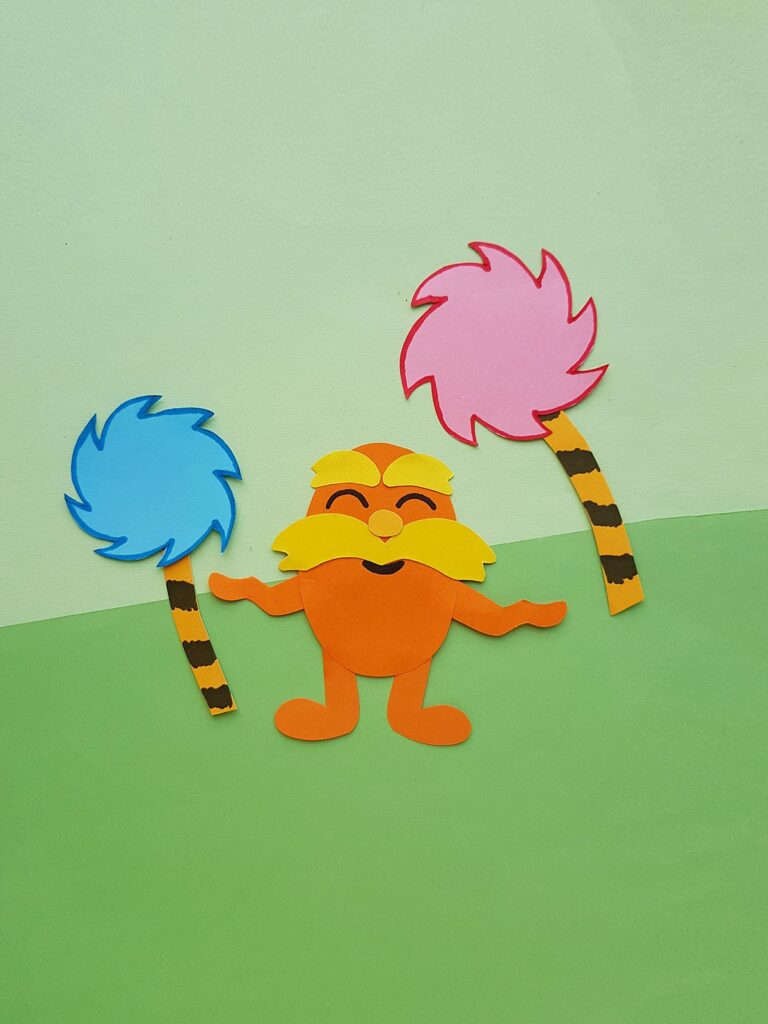
Trace the body, legs and arms of the Lorax onto orange paper; trace the eyebrows, mustache and tree trunk onto yellow paper and trace the Lorax’s nose on a different shade of yellow or orange paper if possible, otherwise the same yellow as the rest of the facial features will work just fine. Trace the Truffula tree patterns on colorful papers of your choice.
Cut out all the pieces.

Glue the legs onto the body as shown below.

Glue the mustache slightly above the middle of the Lorax’s body.

Glue the nose right above the mustache, right in the middle. Next, glue the eyebrows at the top of the Lorax’s head.

Glue the arms on each side of the body.

Now you’ll make the Truffula Trees. Use a black marker to draw bark stripes on the tree trunks as shown below.

Use another marker to outline the Truffula Tree tops to make them stand out better.
Glue the tree tops onto the tree trunks.
Use a black marker to draw the eyes and mouth onto the Lorax.

That’s it! So cute isn’t he?
You can do so many fun things with this Lorax inspired craft. Paste the pieces onto a larger piece of construction paper and draw the rest of a scene from the book.
Or, glue popsicle sticks to the pack of the pieces for a Lorax puppet show.