Paper Plate Peacock Craft

This colorful peacock paper plate craft is a fun way for kids to get creative with paint, pom poms, and feathers made from paper.

This craft uses a paper plate for the peacock’s beautiful fan tail and a toilet paper roll for the body, making it a wonderful mix of recycled and simple craft supplies.
With wiggle eyes, a crest made from chenille stems and pom poms, and plenty of space to decorate, kids will love turning these basic items into a proud and vibrant bird.

Children of all ages will enjoy making this peacock paper plate craft. Younger kids can have fun painting and gluing, while older kids can get extra creative by designing unique feather patterns and color combinations. Parents, teachers, and caregivers will also appreciate how easy this project is to set up, while kids end up with a bright and cheerful peacock they’ll be excited to show off.

There are many great occasions to make this craft.
Try it during a bird or animal unit study to introduce kids to peacocks in a hands-on way.
It’s also a fantastic option for summer camp or classroom art time, when kids are encouraged to let their imaginations run wild.
If you’re planning a party, especially one with an animal or zoo theme, this craft makes a fun and interactive activity.
It’s also perfect for a rainy day at home when you want something creative to do with kids that uses supplies you probably already have.

You’ll love this peacock craft because it’s both creative and versatile. With simple supplies like paper plates, toilet paper rolls, and craft paper, you’ll end up with a bold and colorful bird that kids will be proud of. It’s budget-friendly, great for a variety of age groups, and encourages kids to experiment with design and creativity.

For variations, encourage kids to change up the materials, colors, and patterns they use.
The peacock’s tail can be decorated with paints, markers, crayons, or even cut-out paper feathers.
Try sequins, glitter, or stickers for extra sparkle. Instead of chenille stems and pom poms for the crest, kids can experiment with felt, construction paper, or even tissue paper for a different look.
Let each child choose their favorite color combinations so that every peacock has its own unique and fun style.

Ready to get started? Grab your free printable pattern and follow the step-by-step instructions to make your own paper plate peacock craft.
How to Make a Paper Plate and Toilet Paper Roll Peacock
Materials:

- Paper Plate
- Wiggle Eyes
- Toilet Paper Tube
- Craft Paint – Bright Green, Bright Blue, and Pink
- Craft Paper or Cardstock – Yellow, Bright Blue, and Royal Blue
- Bright Green Chenille Stem
- Blue Pom Poms
- Craft Glue or a Glue Gun and Glue Sticks
- Paintbrush
- Scissors
- Permanent Marker
- Pencil with new eraser
- Printed Peacock Pattern
Instructions:
Fold the paper plate at the 2/3 mark by lining up the bottom edge with the circular indent and crease firmly. Cut the paper plate along the fold with scissors.

Paint the larger section of the inside of the paper plate with bright green craft paint.
*For a mess free craft, use markers or crayons to color the paper plate instead of paint.
Set aside to dry and apply a second coat, if necessary.

Paint the outside of a toilet paper tube with blue craft paint.
Set aside to dry and apply a second coat, if necessary.

Download and print the Peacock Patterns, then cut out with scissors.
Trace the beak once and the teardrop six times onto yellow, trace the rounded triangle six times onto bright blue, trace the wings twice and the rounded heart six times onto royal blue.
You could also use colored craft foam or craft felt for this project.

Cut out the peacock patterns with scissors.

Build the peacock feathers by layering the royal blue rounded heart onto the bright blue rounded triangle onto the yellow teardrop.
Secure layers with glue.

Attach the six peacock feathers to the outer edge of the paper plate tail with glue.

Attach two wiggle eyes to the peacock’s face with glue, then glue the beak underneath the eyes.
Create two cheeks by dipping a new pencil eraser in pink acrylic craft paint and stamping on either side of the beak.

Cut a bright green chenille stem in three equal pieces using scissors. Attach a bright blue pom pom to one end of the chenille stem pieces.

Attach the pom pom feathers to the inside of the toilet paper tube with glue.
Draw two nostrils at the top of the beak with a black marker.

Attach the peacock body to the center of the tail with glue.
To finish, glue the wings onto the right and left sides of the peacock body.

This peacock paper plate craft is a fun, engaging, and colorful project that kids will love making and displaying. With so many ways to personalize it, no two peacocks ever have to look the same.

If you liked this craft, here are more peacock ideas you might enjoy:
- Make a fun paper bag puppet version with this paper bag peacock craft: https://bigfamilyblessings.com/paper-bag-peacock-puppet/
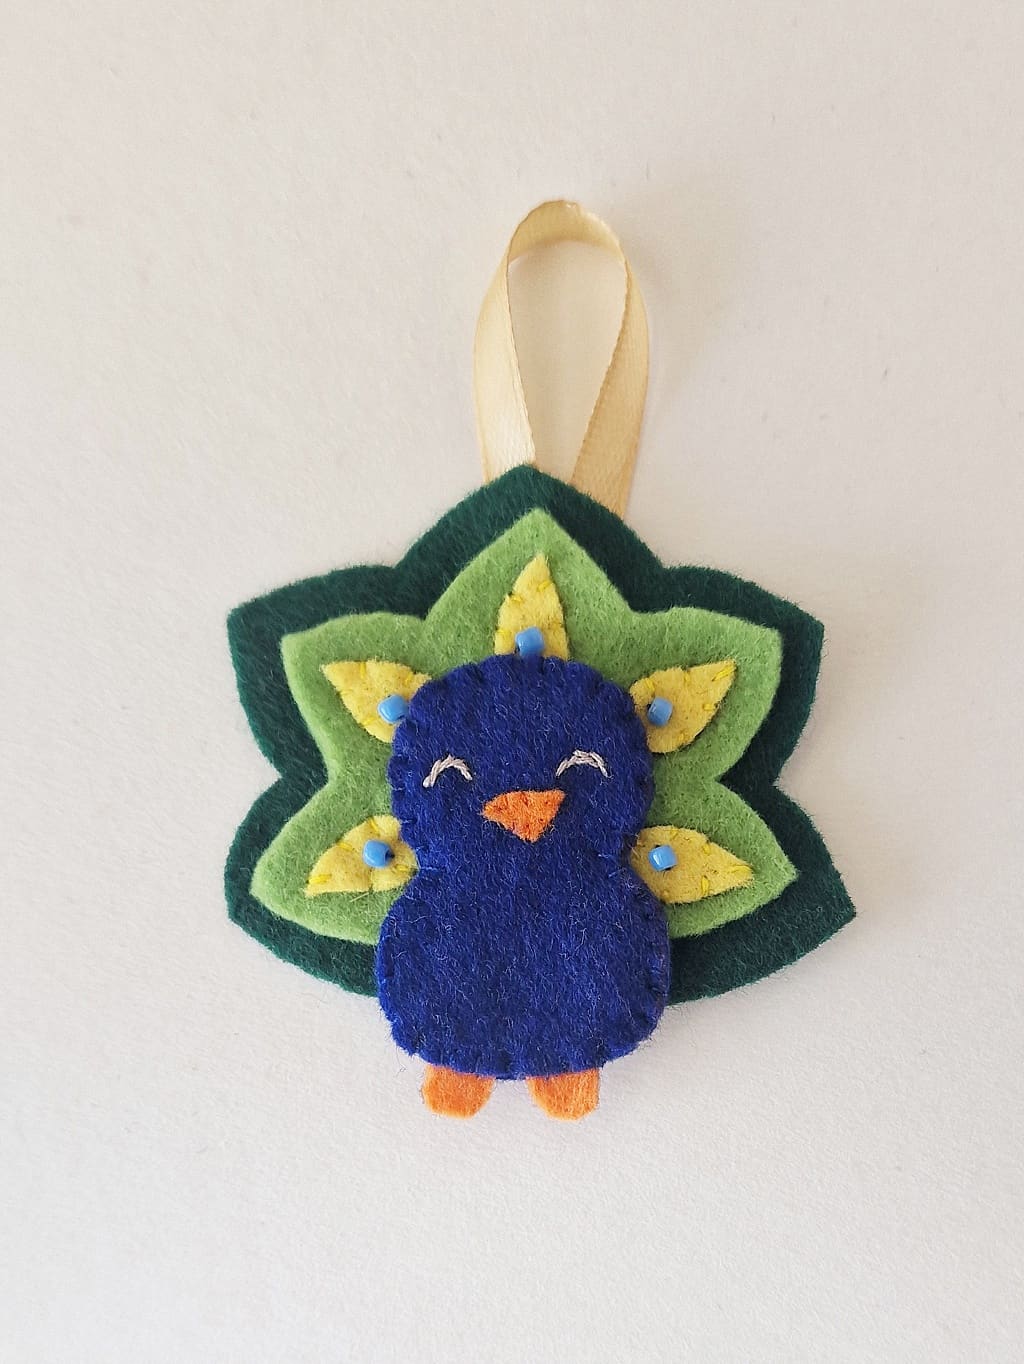
- Try another simple and creative option with this peacock craft: https://bigfamilyblessings.com/peacock-craft/
- Capture your child’s handprint with this keepsake peacock handprint craft: https://bigfamilyblessings.com/handprint-peacock-craft/
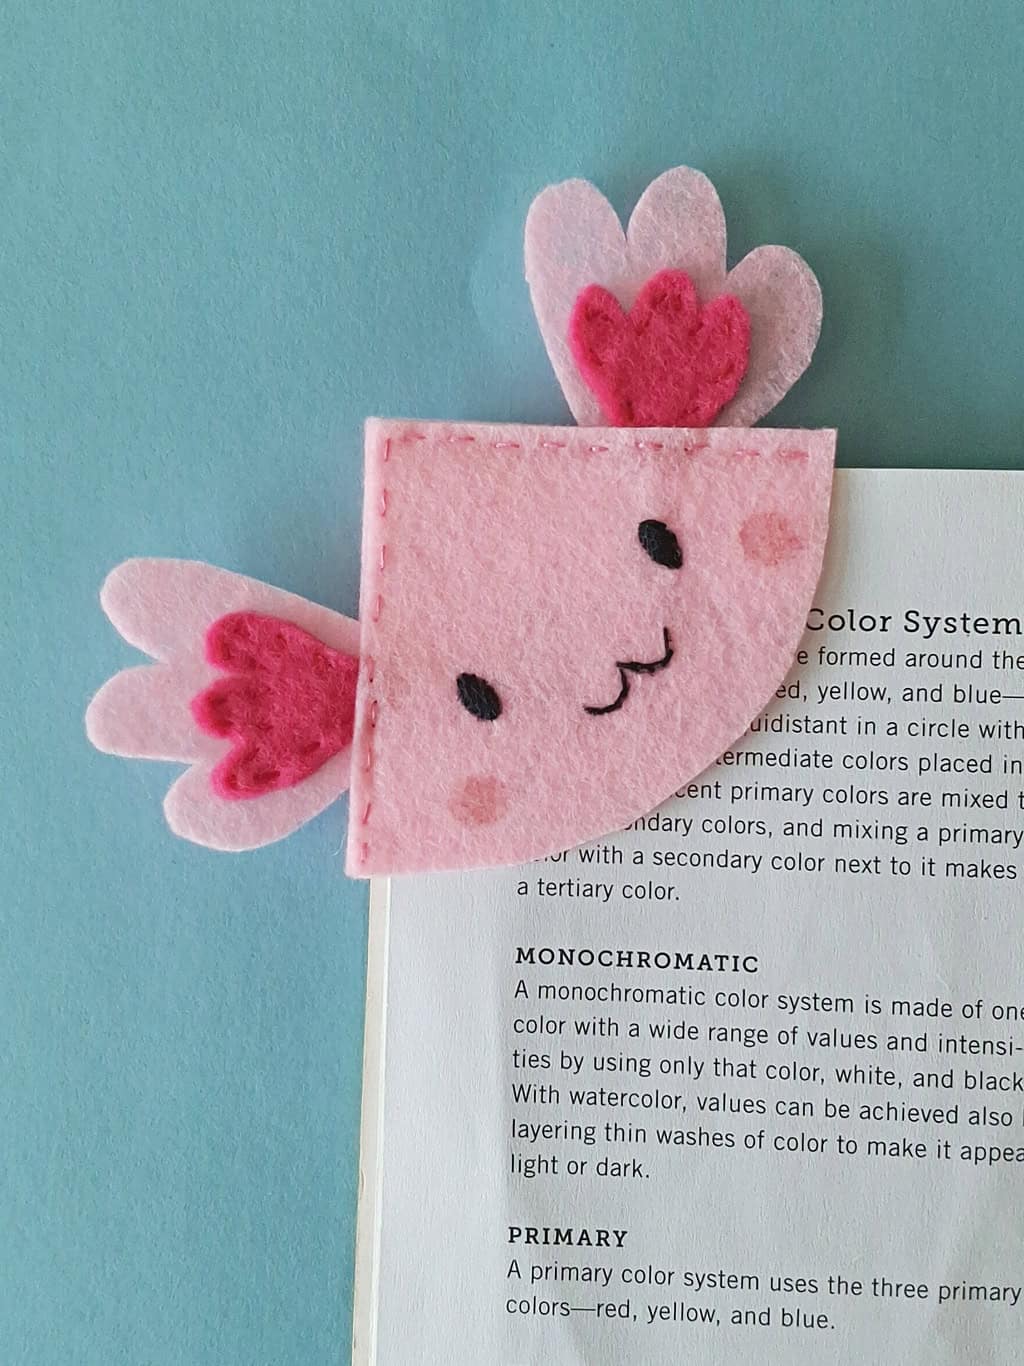
- Create a colorful corner bookmark with this peacock bookmark craft: https://bigfamilyblessings.com/peacock-bookmark-craft/