Cutest Ever Peacock Craft
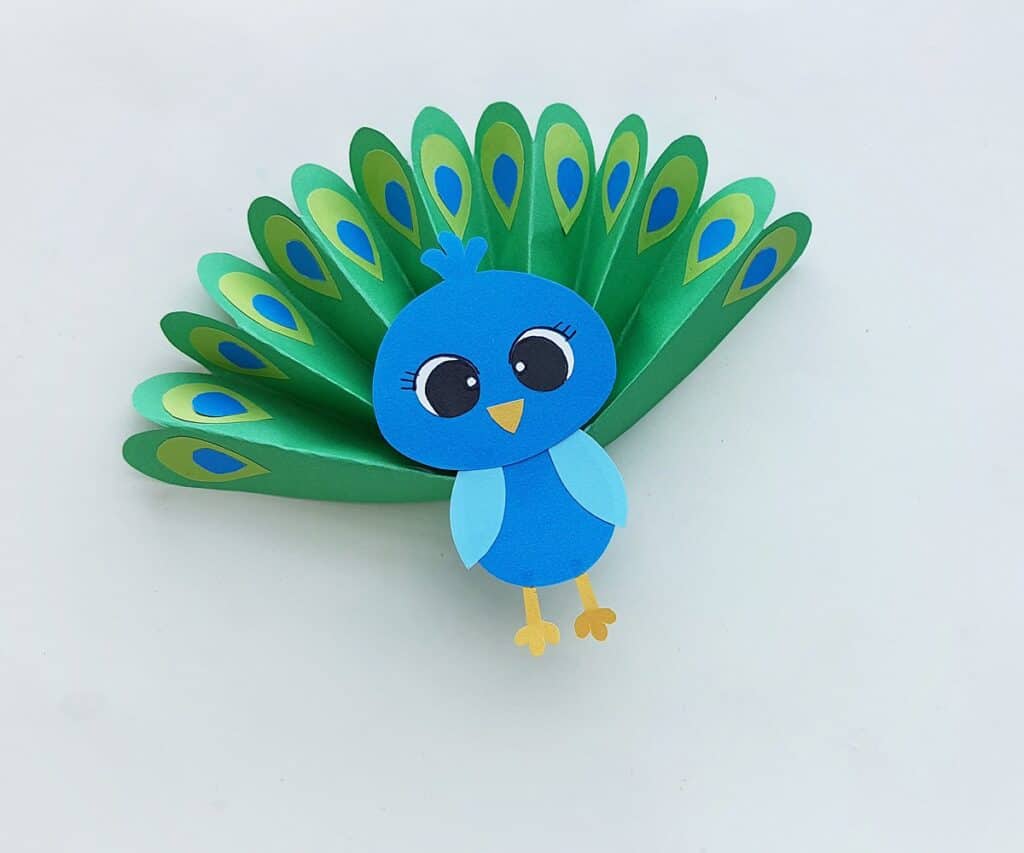
This adorable paper peacock craft is so fun to make and beautiful to display too!
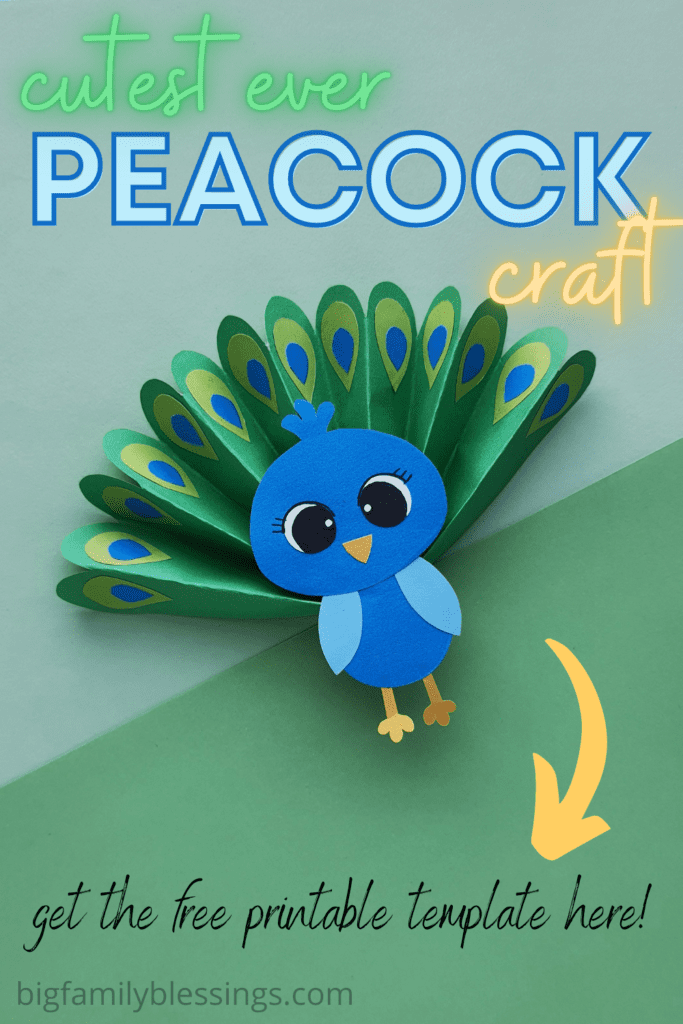
Kids will love creating this fun and easy 3d peacock paper craft! Simply print out the peacock craft template linked below and follow the easy tutorial to create an adorable peacock fan craft with your kids.
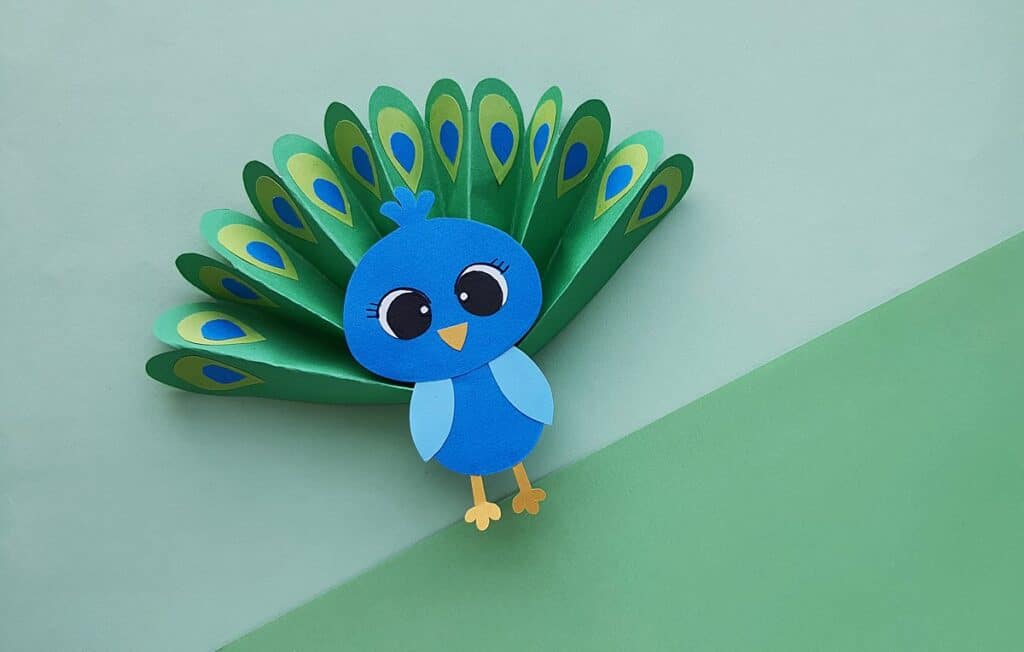
How to make a fun Peacock Craft with Kids
Supplies:
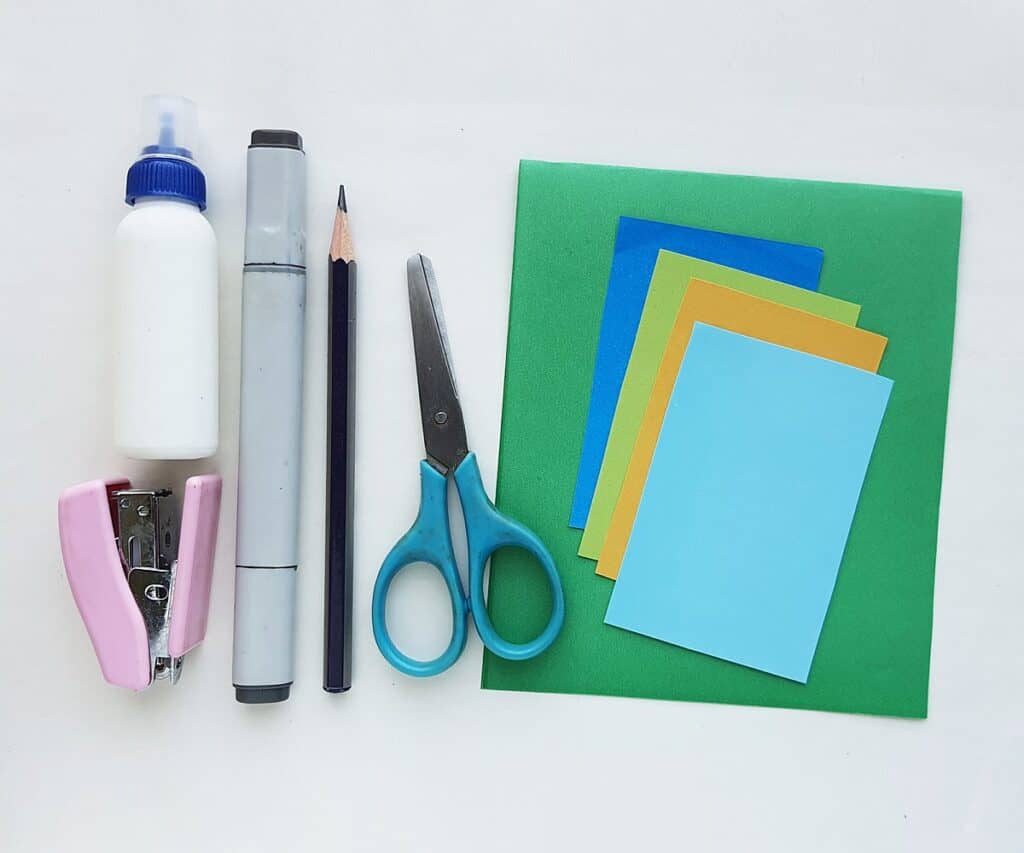
- Colored craft papers
- Marker
- Craft glue
- Pencil
- Scissors
- Template
Instructions:
Print the peacock craft template and cut out all of the template pieces.
To make the peacock exactly as shown, choose 2 different shades each of blue and green craft papers, as well as yellow and white craft papers. Feel free to get creative and change ALL the colors up as you prefer.
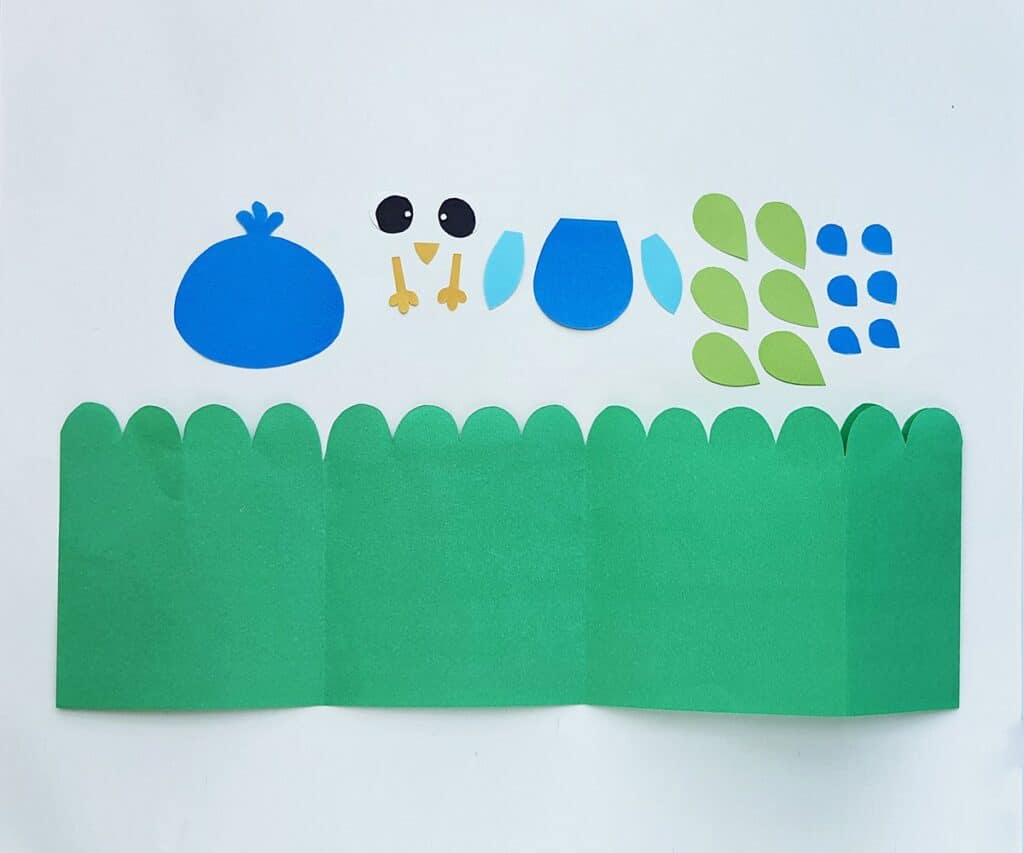
Trace the head, body and small feather details on the dark blue paper, trace the wings on the light blue paper, and trace the long tail piece on dark green paper, trace the bigger feather details on light green paper; then trace the beak and feet on to yellow paper. You can use the eyes directly from the template, or trace them onto white paper.
Cut out the traced pieces.
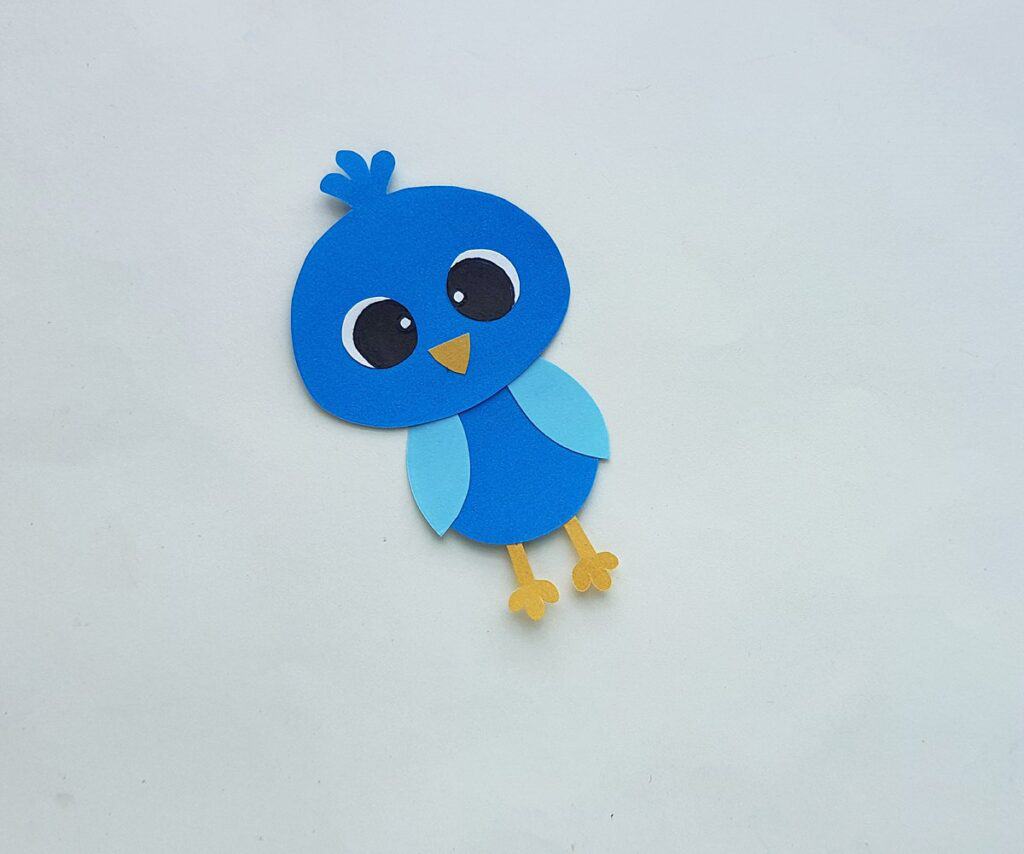
Glue one wing piece on each side of the peacock’s body.
Glue the eyes and beak on to the peacock’s head.
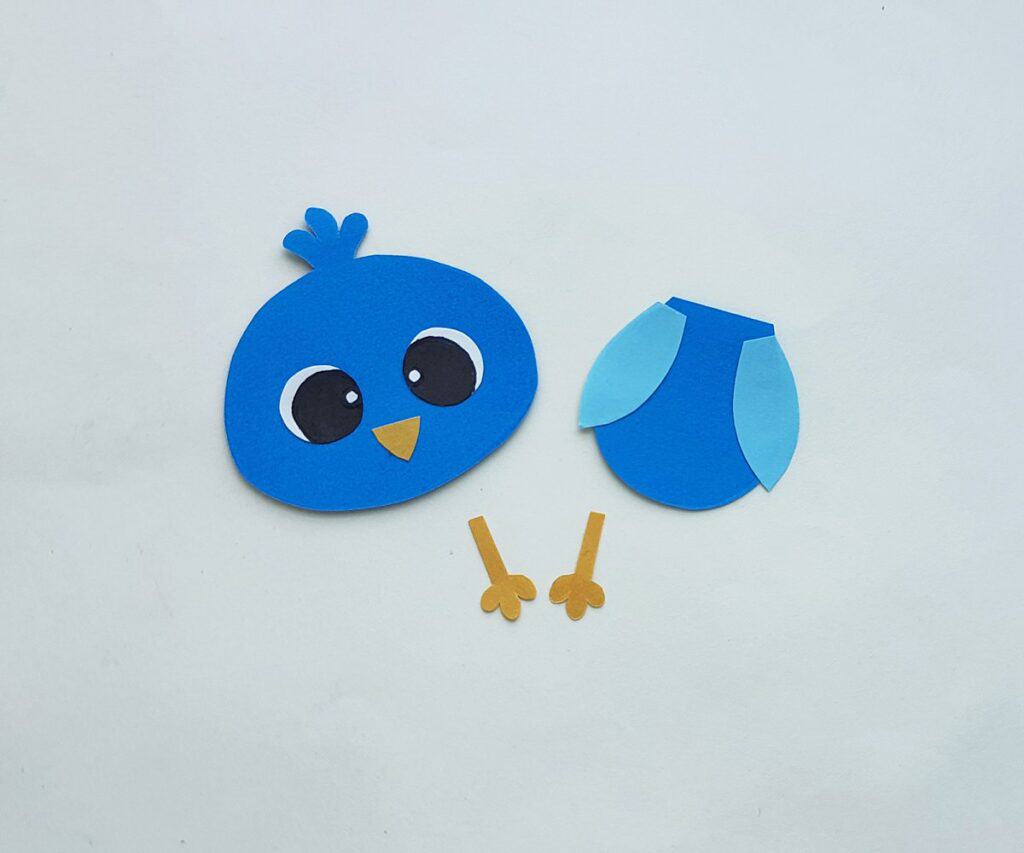
Glue the head on the top of the peacock’s body and then glue the feet onto the bottom side of the body.
Gather the big and small feather detail pieces. Glue the smaller feather details onto the middle of the bigger feather details. Make 14 of these detail stacks in all.
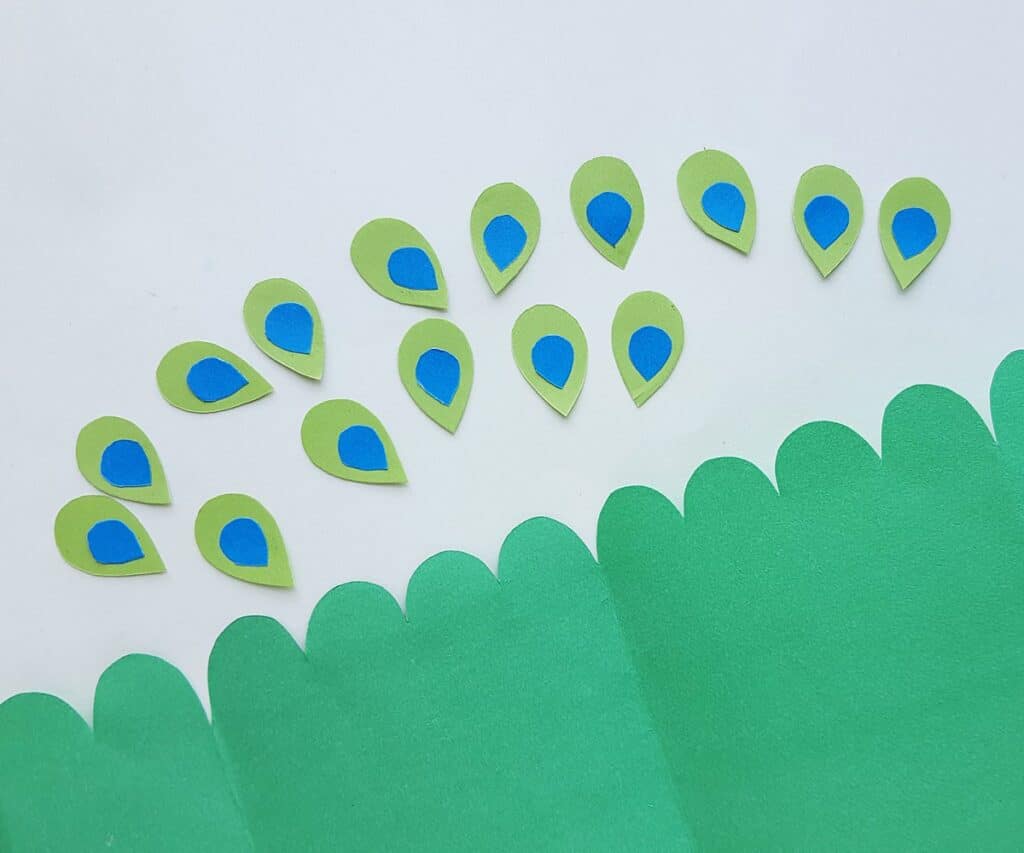
Glue the feather details on the long tail piece, glueing one feather detail stack on each scalloped spot. See below for placement.
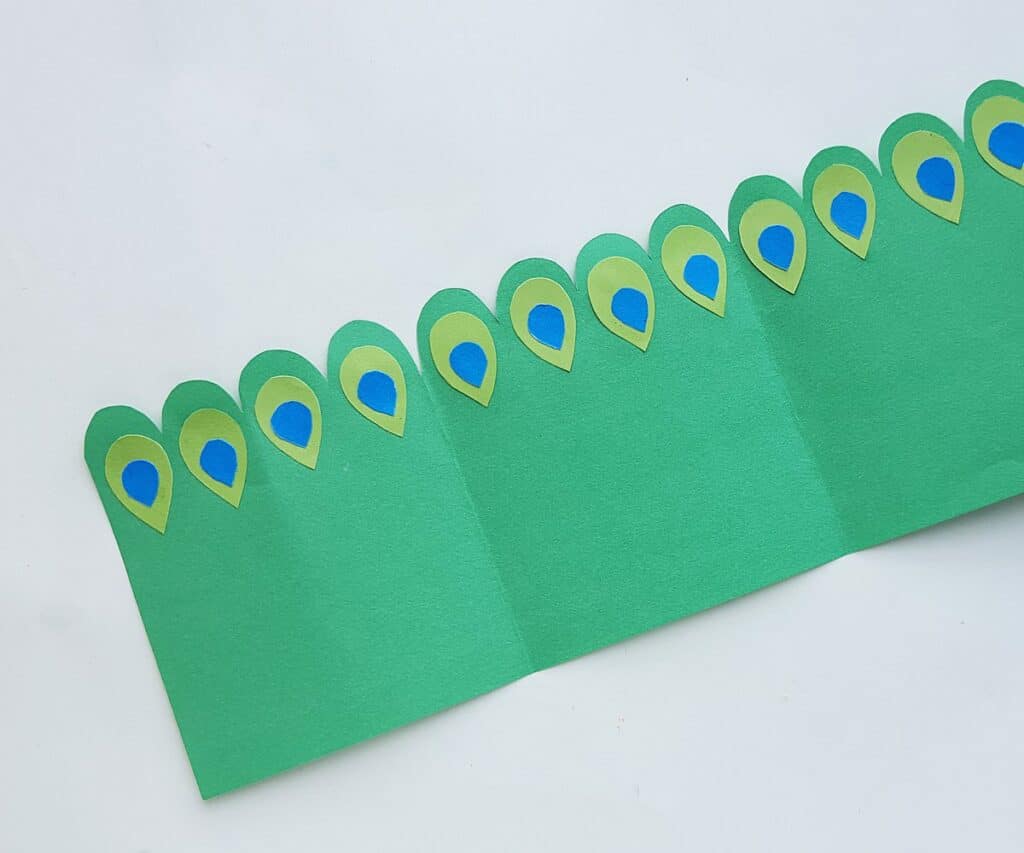
Now, fold the long tail paper into accordion folds as shown below.
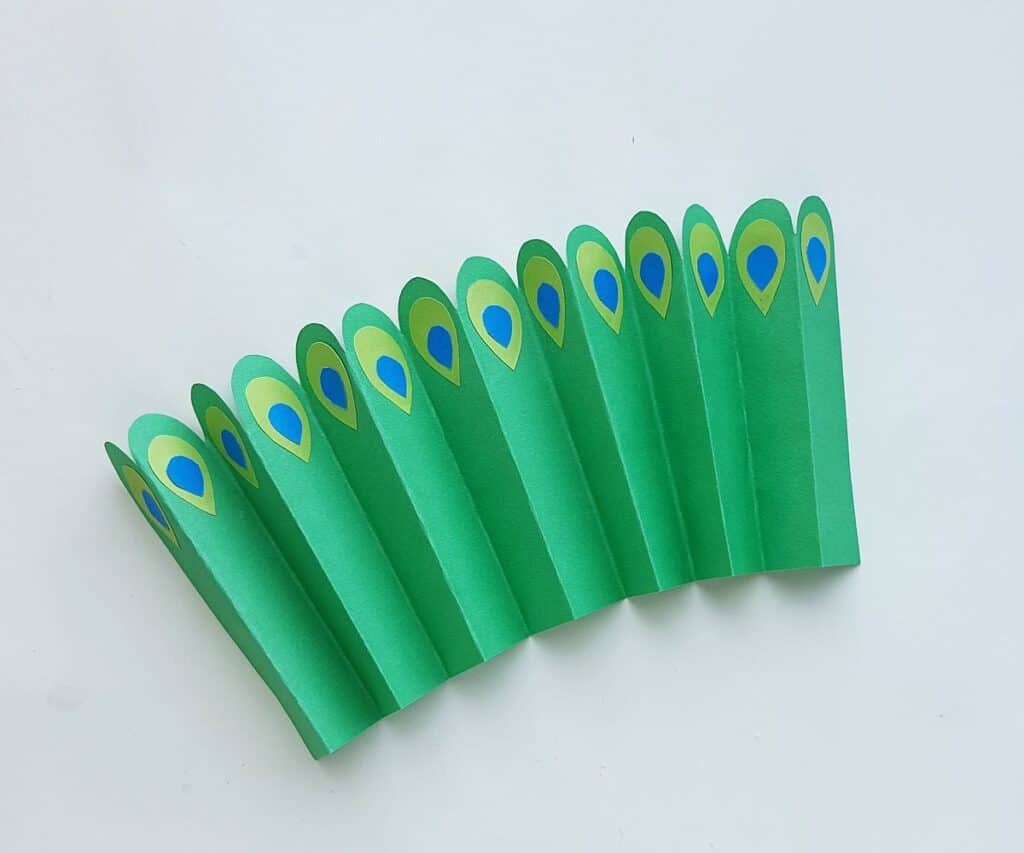
Squeeze the bottom of the tail together. Staple the tail folds together near the bottom edge.
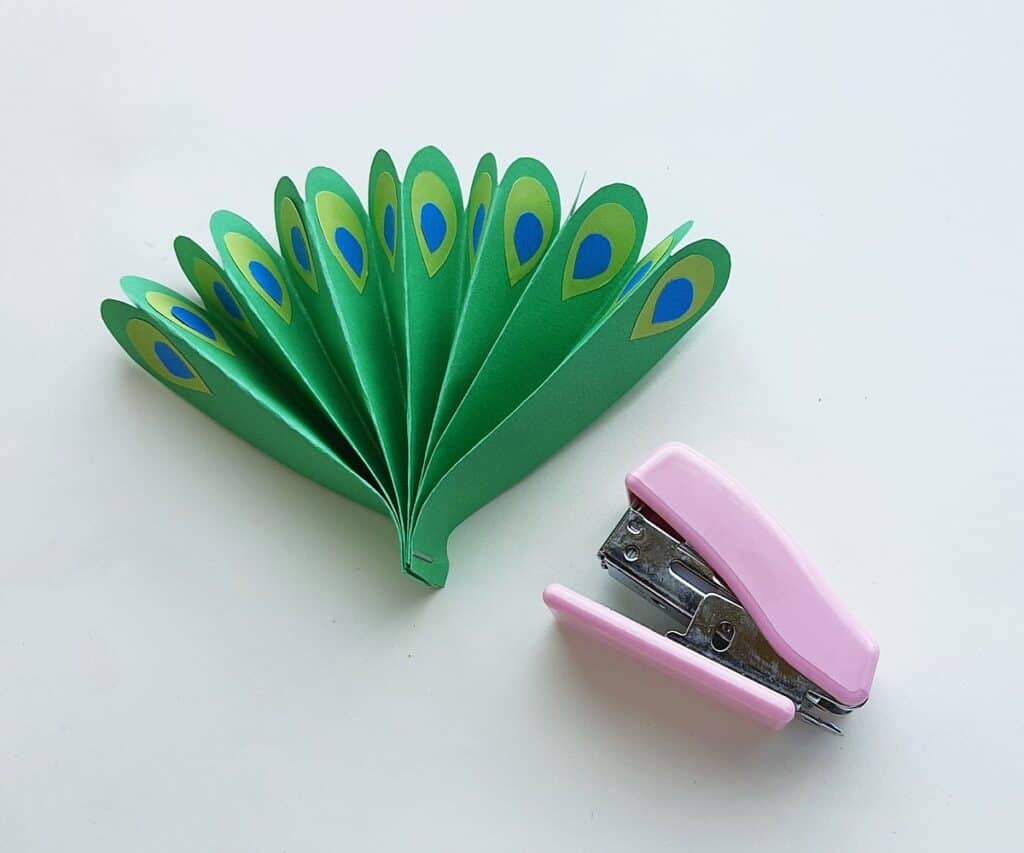
Apply glue at the bottom of the folded tail piece.
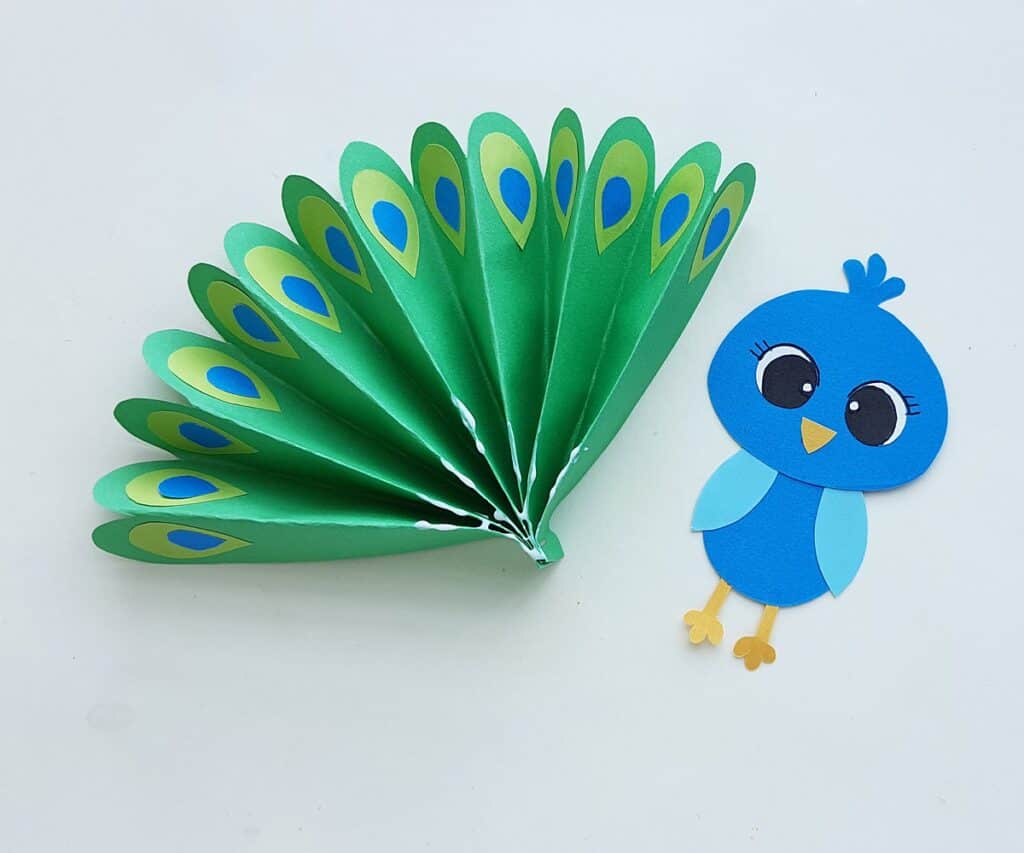
Attach the peacock’s body onto the glued section of tail. Allow the glue to dry completely.
