Flying Bumble Bee Craft for Kids
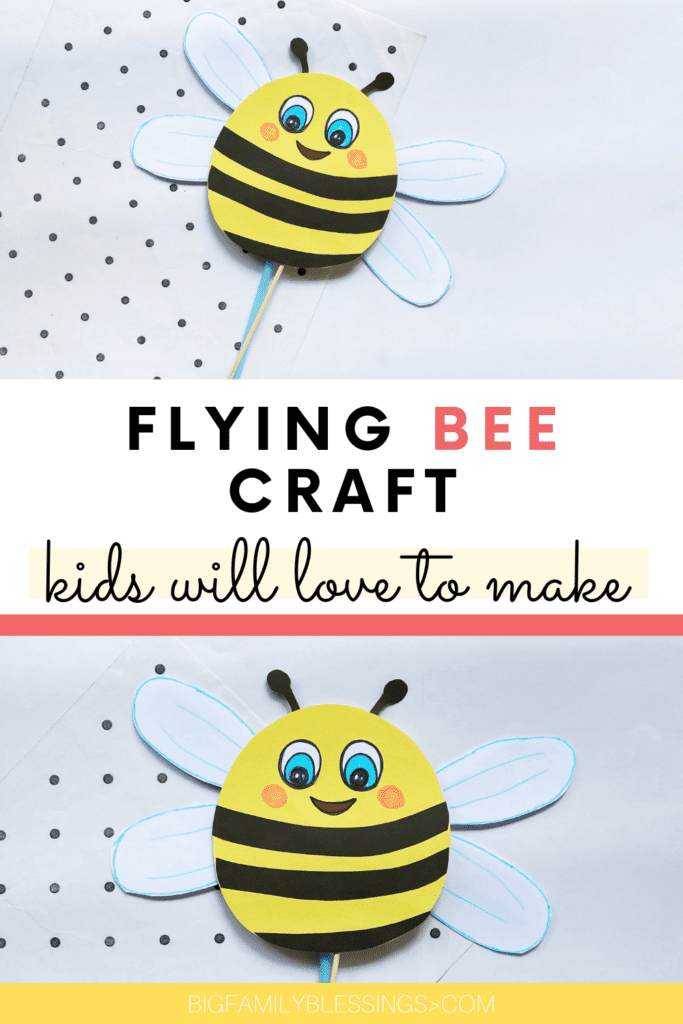
This adorable flying bumble bee paper craft is perfect for spring and summer fun. Not only will your kids create an adorable craft project, but they’ll also have a fun activity to play with.
How to make this Flying Bee Paper Craft
List of supplies:
- Cardstock Papers
- Craft Papers
- Pencil
- Scissors
- Glue
- Marker or gel pens
- Drinking Straws
- Sticks
- Template
Step 1:
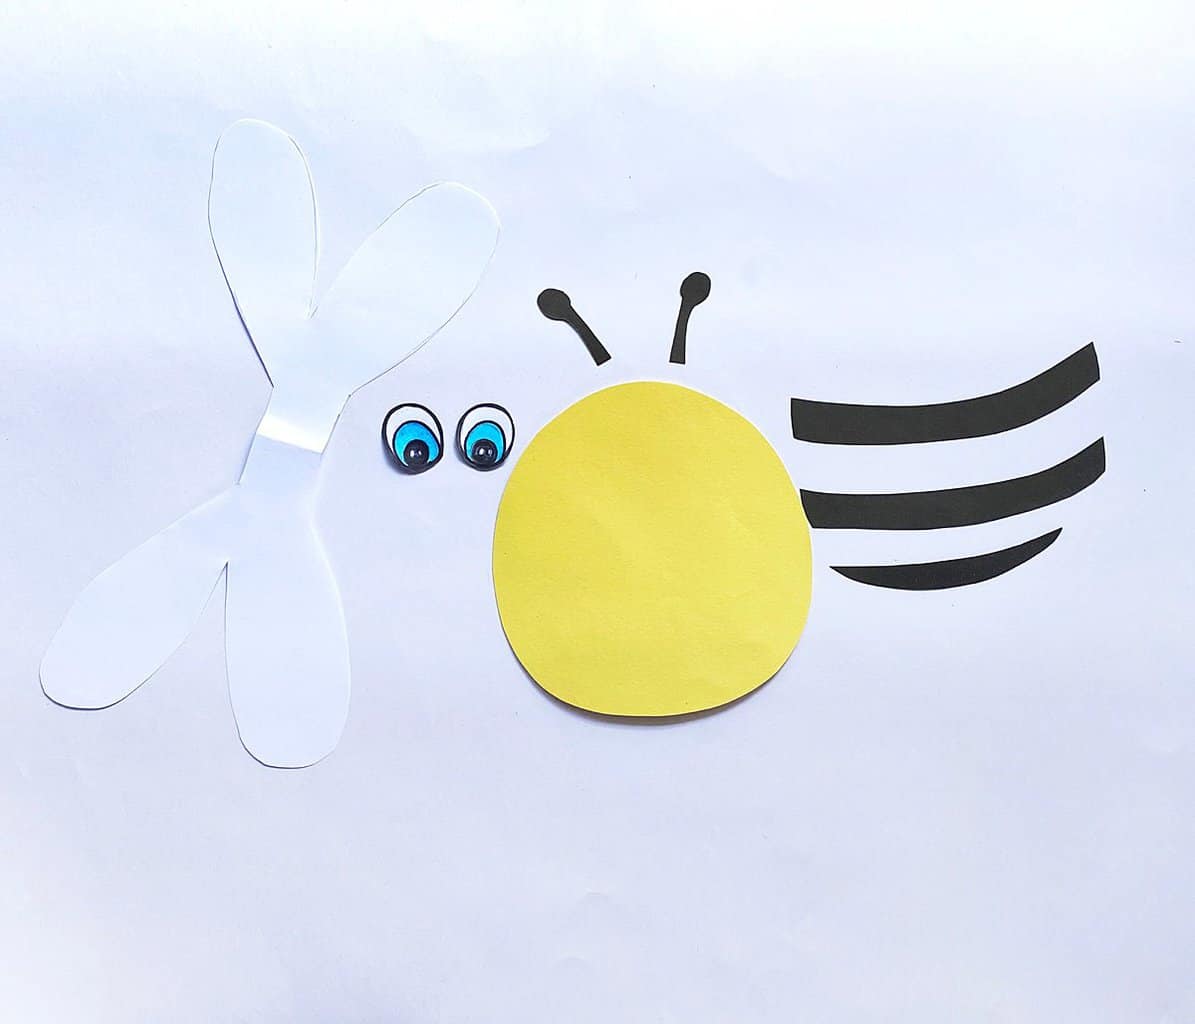
Gather the listed supplies and print out the template. You can choose to use the full color bee template, or use this black and white template.
Cut out the parts to make your bee from the template.
If you are using the bee pattern as a template, trace the pattern pieces on the chosen craft or cardstock papers. Cut out all of the traced bee pieces.
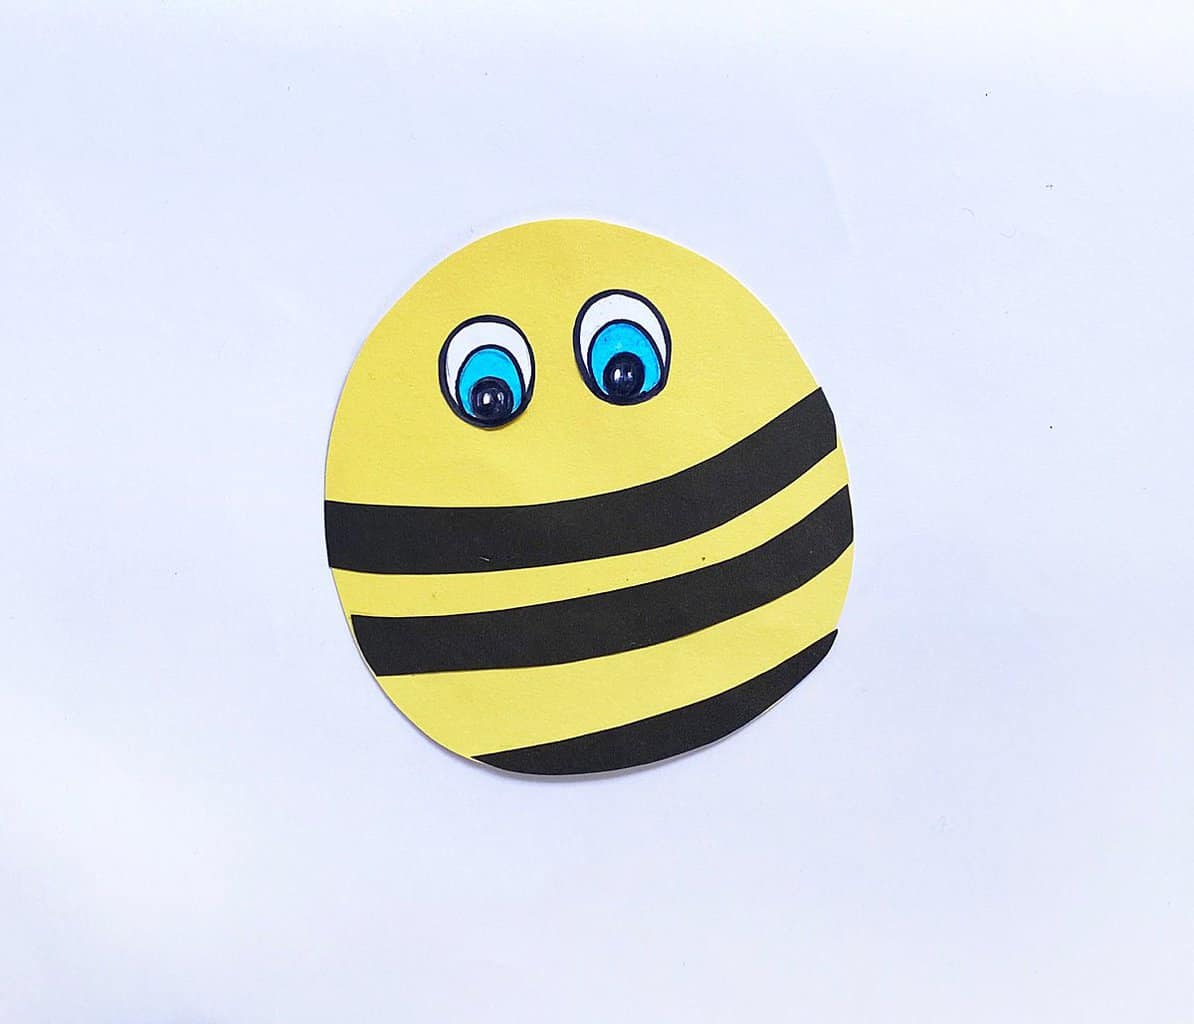
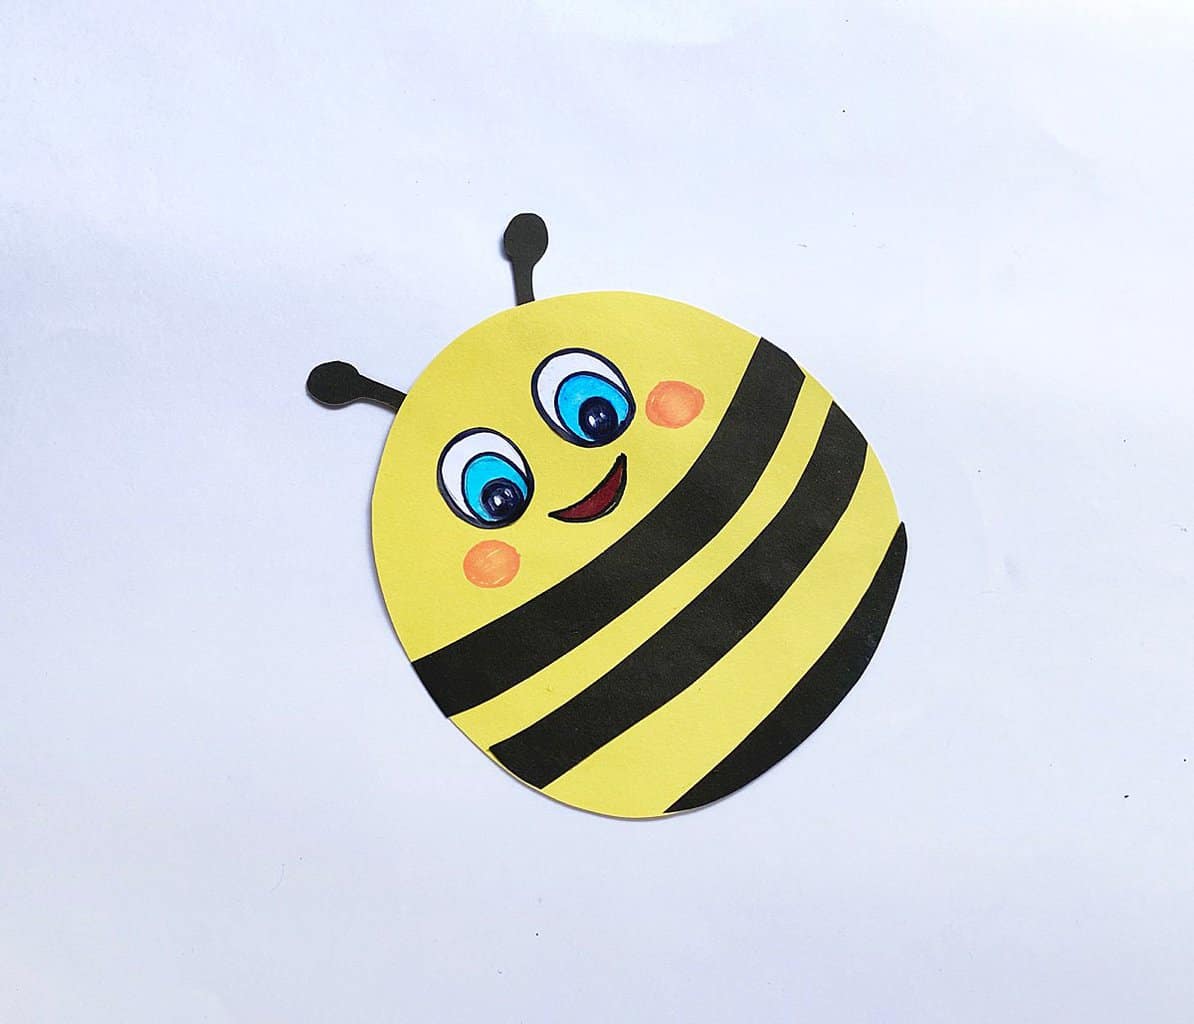
Glue the bee’s black stripes onto its body.

Then, glue the bee’s eyes towards the top of the head (see below for placement).
Now, glue the bee’s antennas on top of the bee’s head.
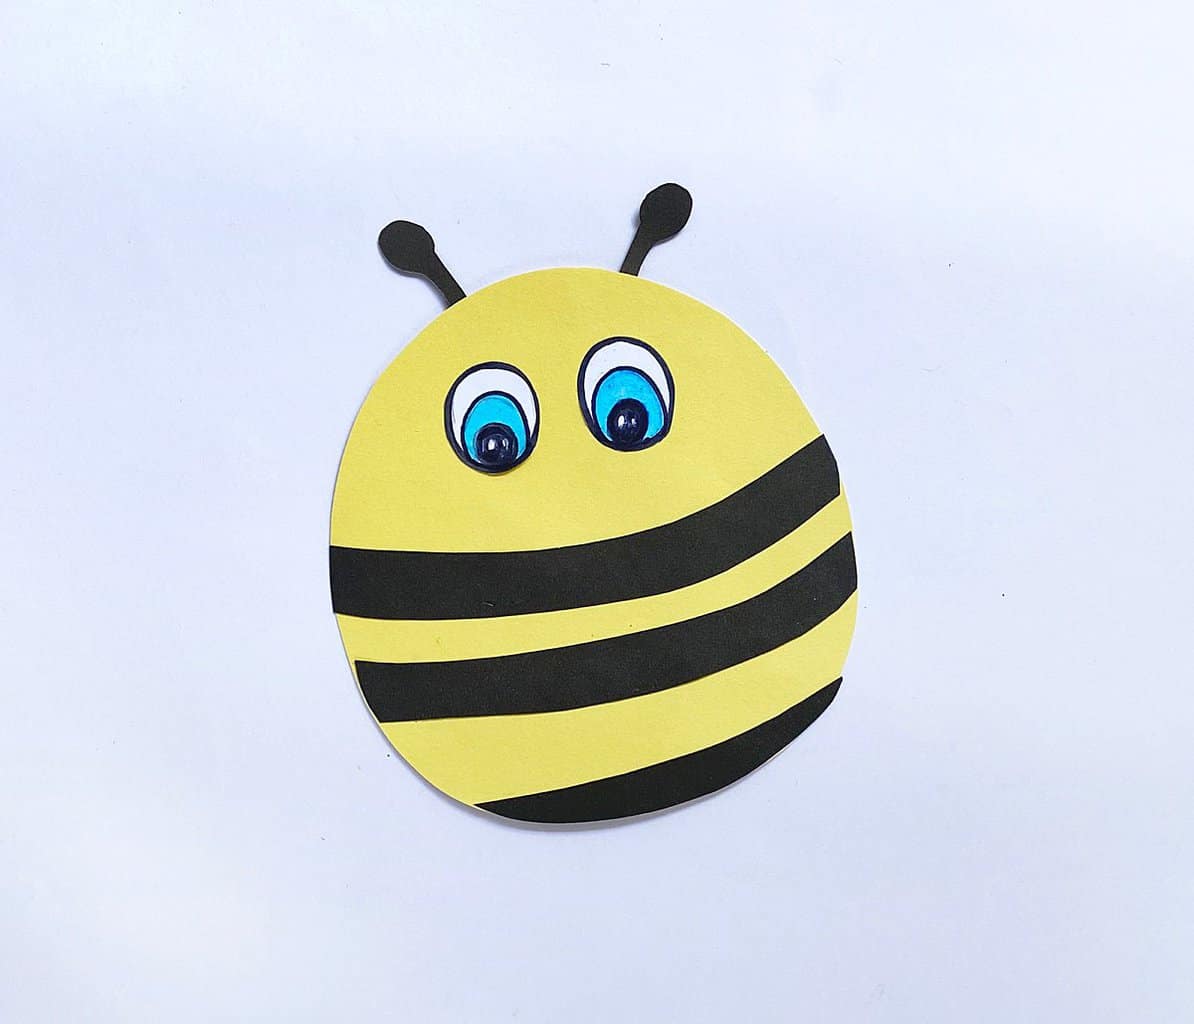
Then use colourful markers or gel pens to draw the cheeks and the mouth onto the bee.
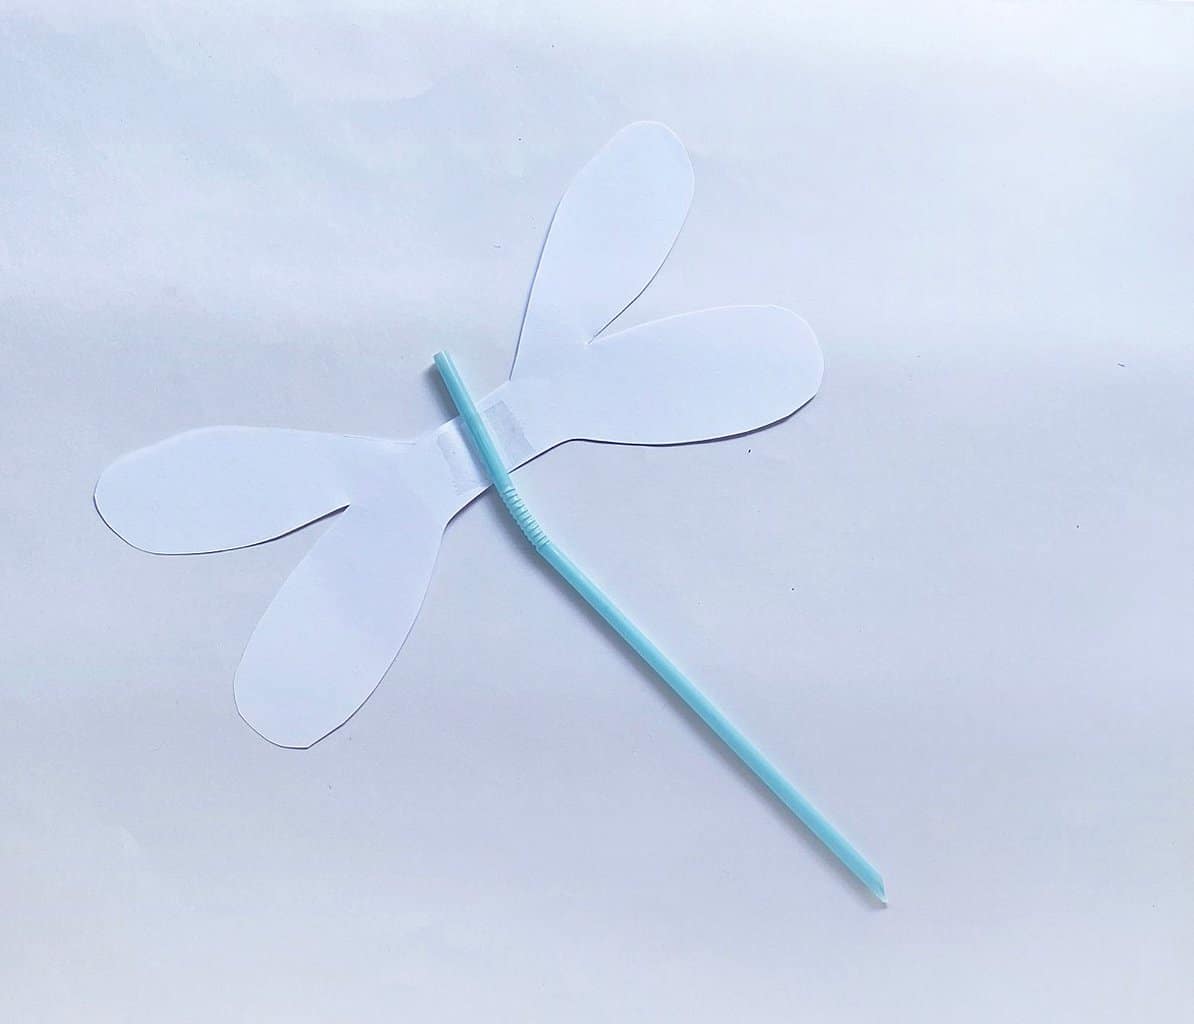
Use tape to secure the wings onto a drinking straw.
Glue a strip of cardstock paper on the back of the bee, being sure to only glue the outside edges of th strip. Then put the drinking straw through the open middle part of the strip.
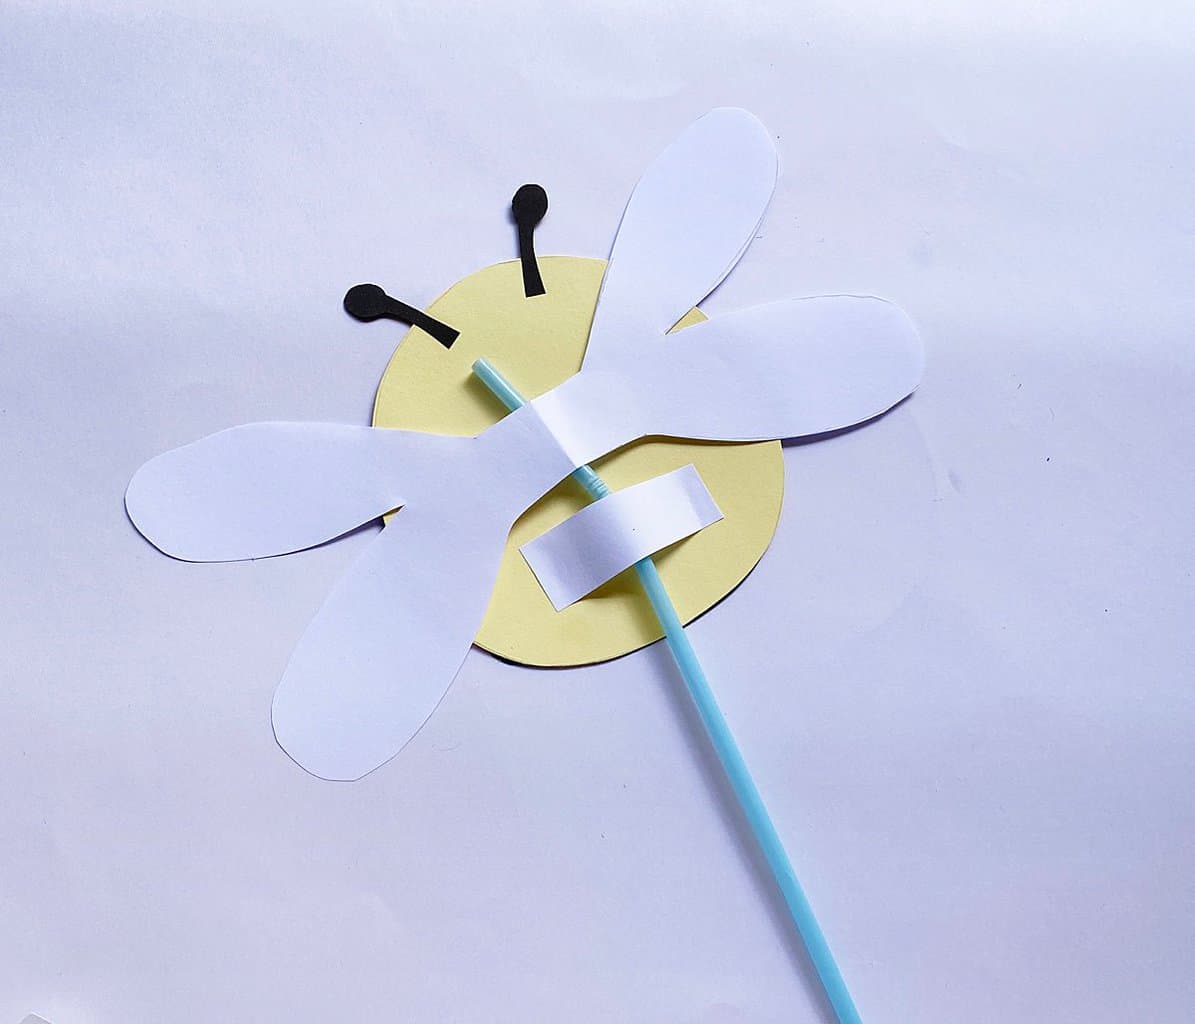
Glue a long stick (such as a dowl rod or popsicle stick) on the back of the bee to move your bee.

Now, make your bumble bee fly by holding the stick in one hand, and using the other hand to move the straw up and down.