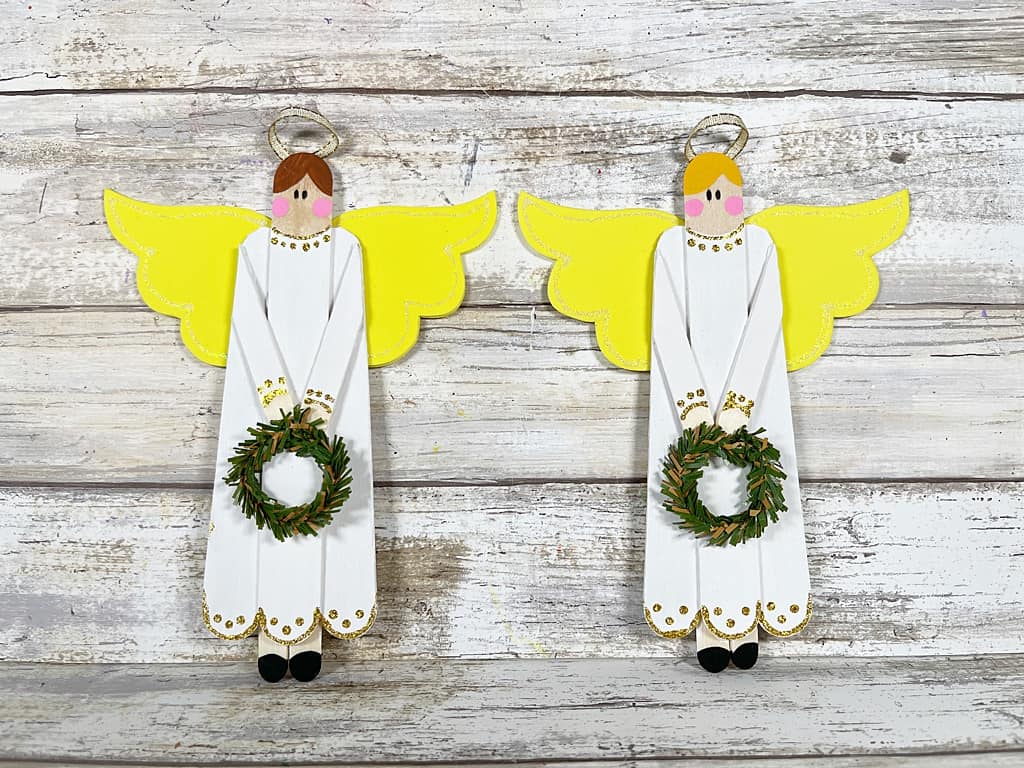
DIY Craft Stick Angels

These sweet angels are a fun and festive Christmas craft to enjoy this season.
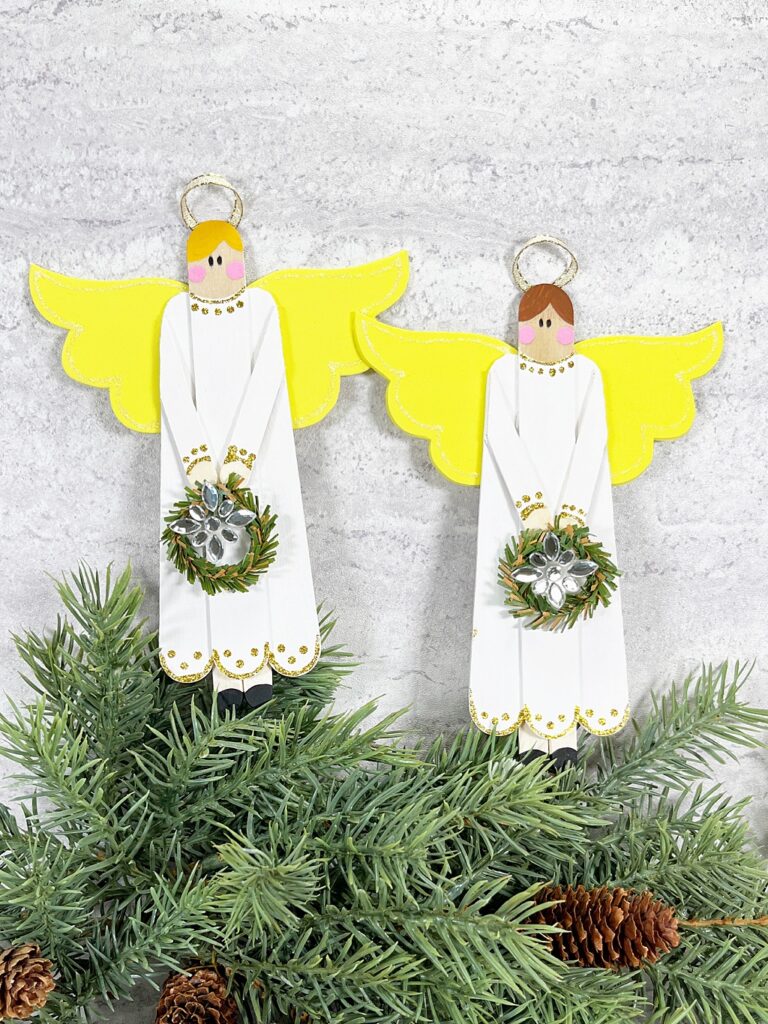
With simple supplies from your favorite craft store or even The Dollar Store, you can create this quick and easy pair of Popsicle Stick Angels with your kids this holiday season.
Glue a ribbon to the back of your craft stick angels to create a sweet Christmas ornament or gift tag.
How to make a Popsicle Stick Angel
Materials:
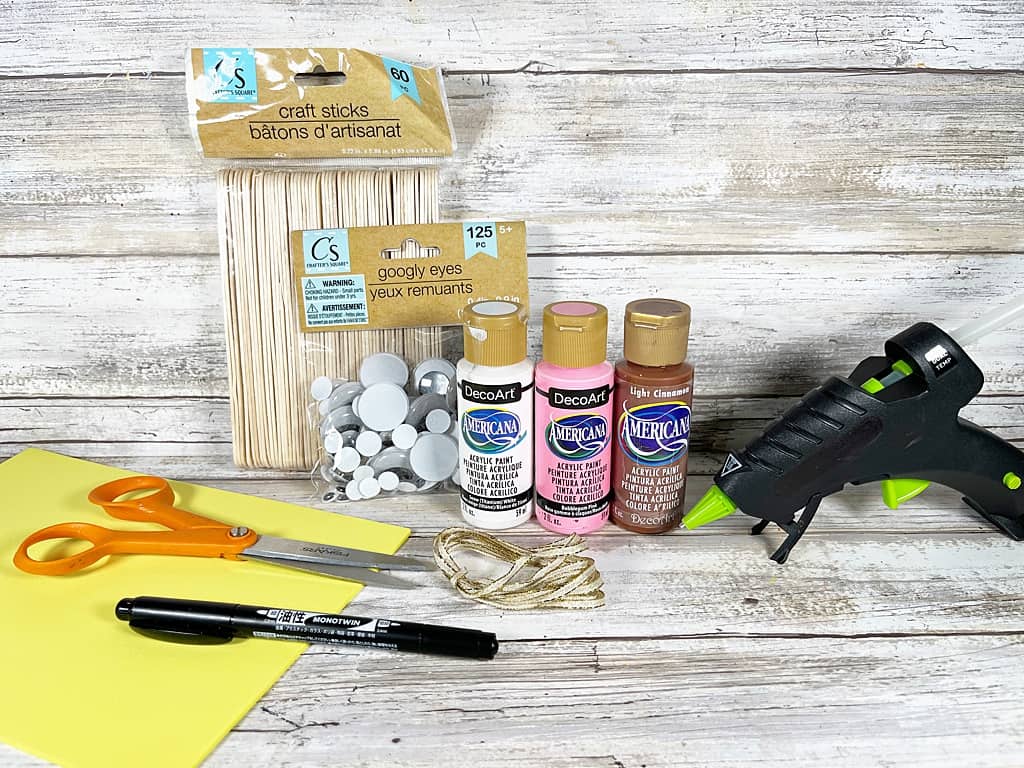
- Jumbo Craft Sticks
- Regular Craft Sticks
- Yellow Craft Foam
- Faux Pine Chenille Stems
- Glitter Glue
- Craft Glue
- Black Permanent Marker
- Craft Paint in White, Black, Pink, Yellow, & Brown
- Gold Skinny Ribbon
- Paintbrush
- Scissors
- Ruler
- Angel Pattern
Instructions:
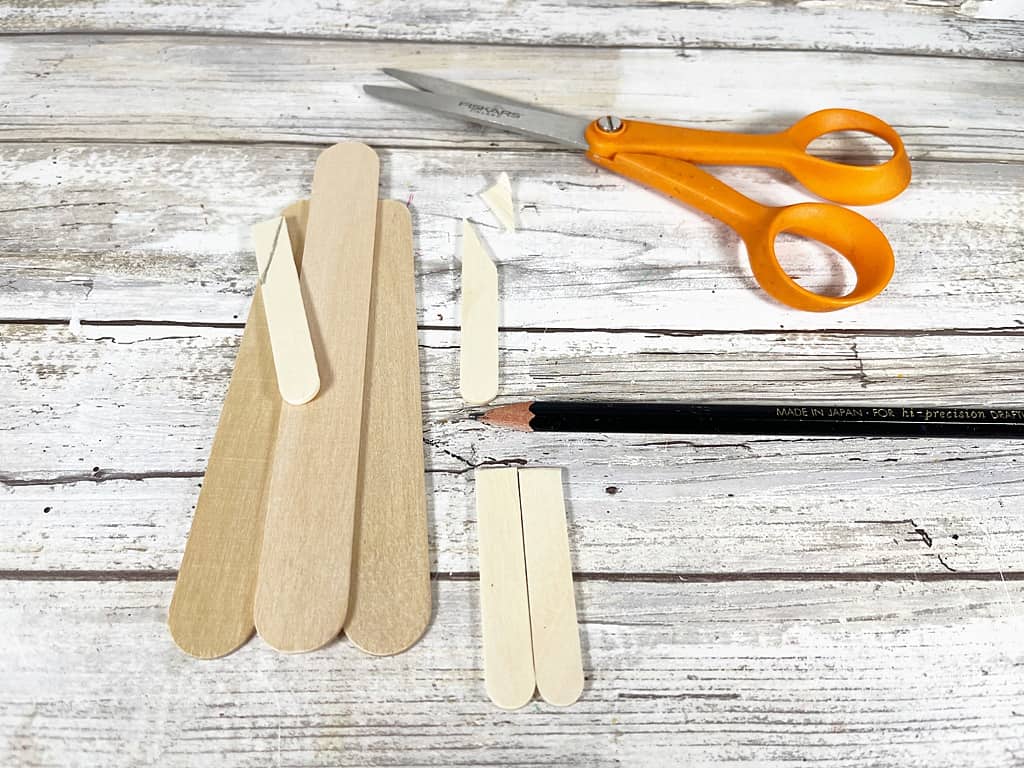
To create the Angel body, measure and cut one inch from the end of two jumbo craft sticks with scissors.
Keeping the cut edges at the top, create an upside down “V” shape on your work surface.
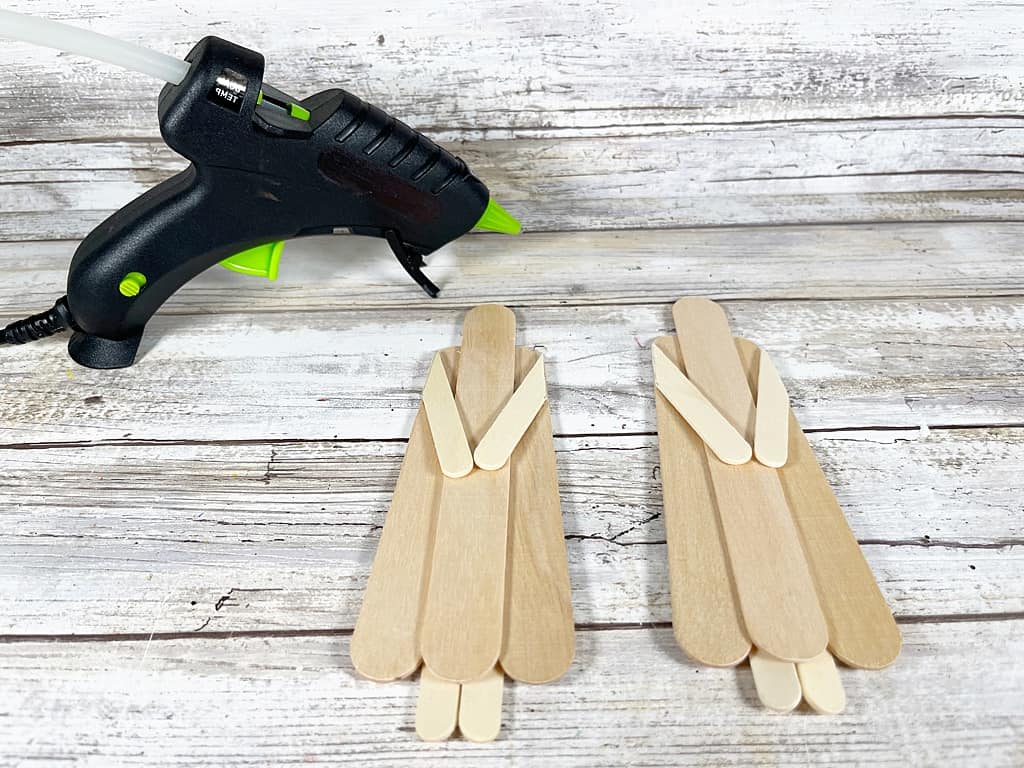
Line up one full jumbo craft stick in between the “V” and attach with glue.
*We used a glue gun and glue sticks for this craft. You can use liquid craft glue for this project, but you will have to wait for it to dry.
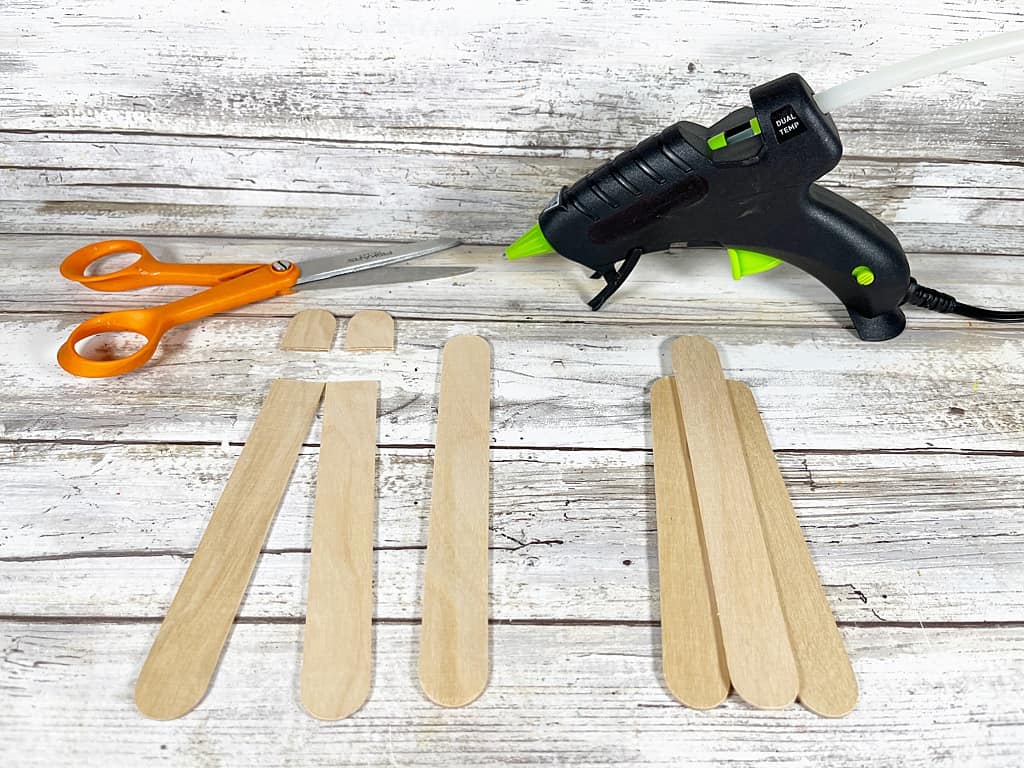
Measure and cut two regular craft sticks in half. Two of the halves will become the Angels legs and feet.
Lay the other two half craft sticks along the body of the Angels to become the arms and hands.
Trace the edge of the Angel body onto the arm with a pencil, and then trim away the excess with scissors.
Attach the two legs to the back of the Angel and the two arms to the front of the Angel with glue.
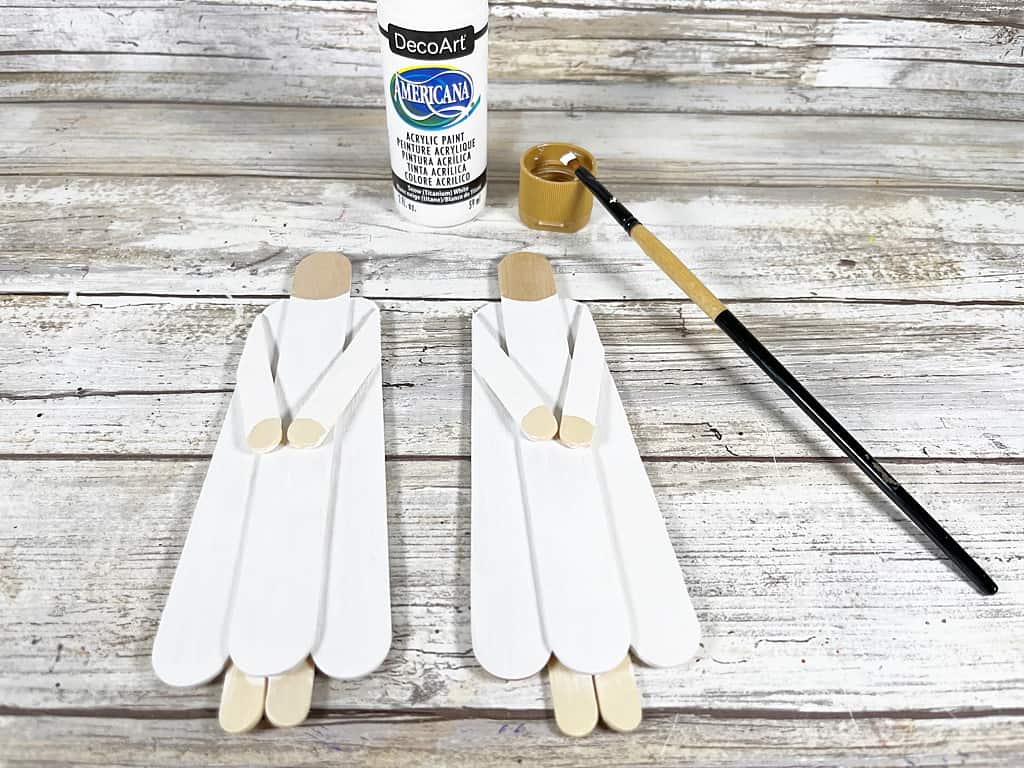
Paint the Angels dress with white craft paint.
Paint the Angels hair with yellow and brown acrylic craft paint.
Paint the Angels feet with black acrylic craft paint.
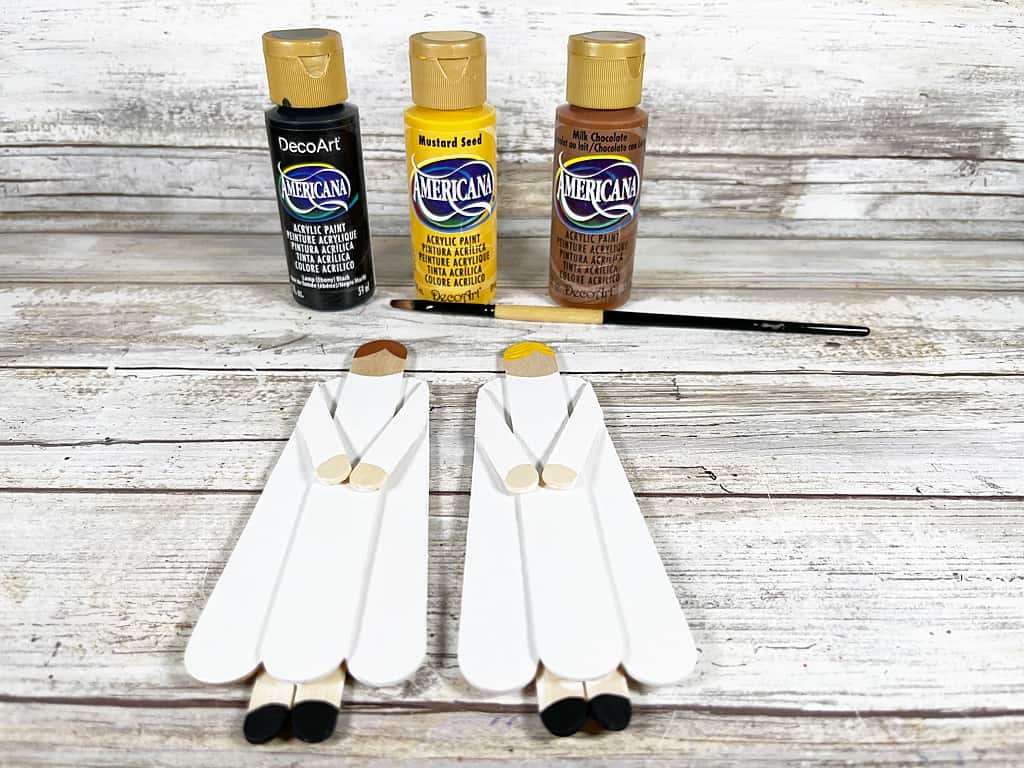
Using the eraser from a new pencil, dot pink cheeks on either side of the Angels face. Set aside to dry and apply a second coat, if necessary.
For this project, leave the Angels face, legs, and hands the natural wood tone, or paint them the flesh tone color of your choice.
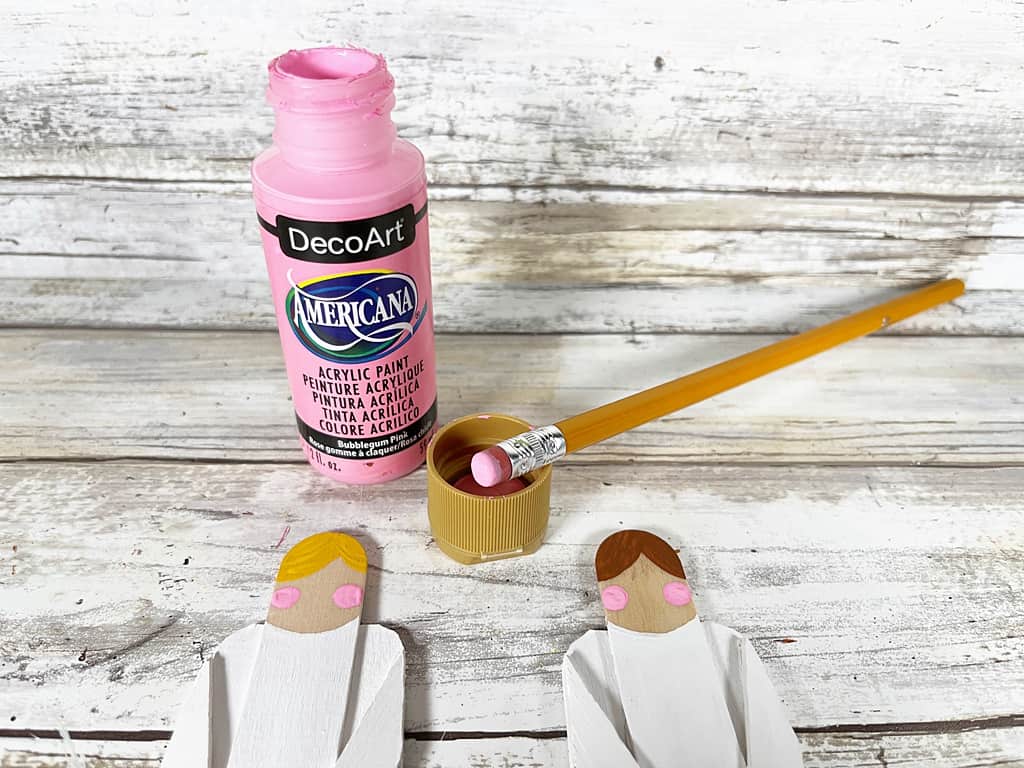
Add two eyes to the Angel with a permanent black marker.
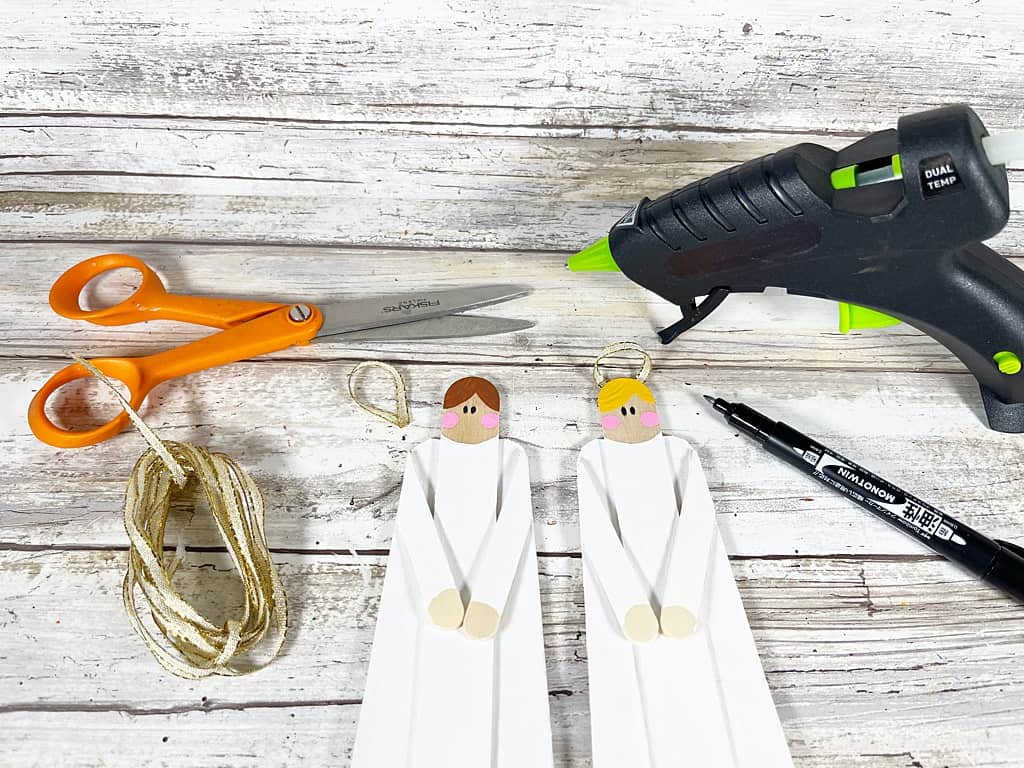
To create the halo, measure and cut a two-inch length of skinny gold ribbon, glue the ends together to make a loop.
Attach the loop to the back of the of the Angels head with glue.
*You can also use a gold tinsel chenille stem for the halo.
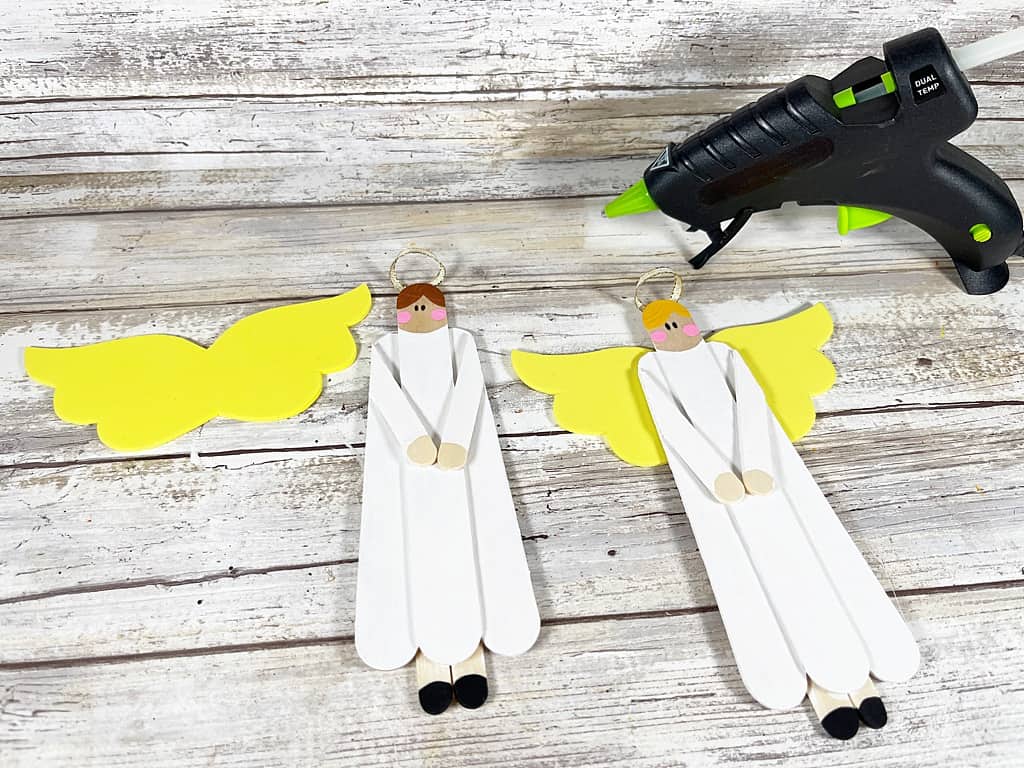
Download, print, and cut out the angel pattern.
Using a pencil, trace the wing pattern onto yellow craft foam. Cut out the wings with scissors, making sure to cut inside the traced lines for a clean, finished project.
Attach the wings to the back of the Angel with glue.
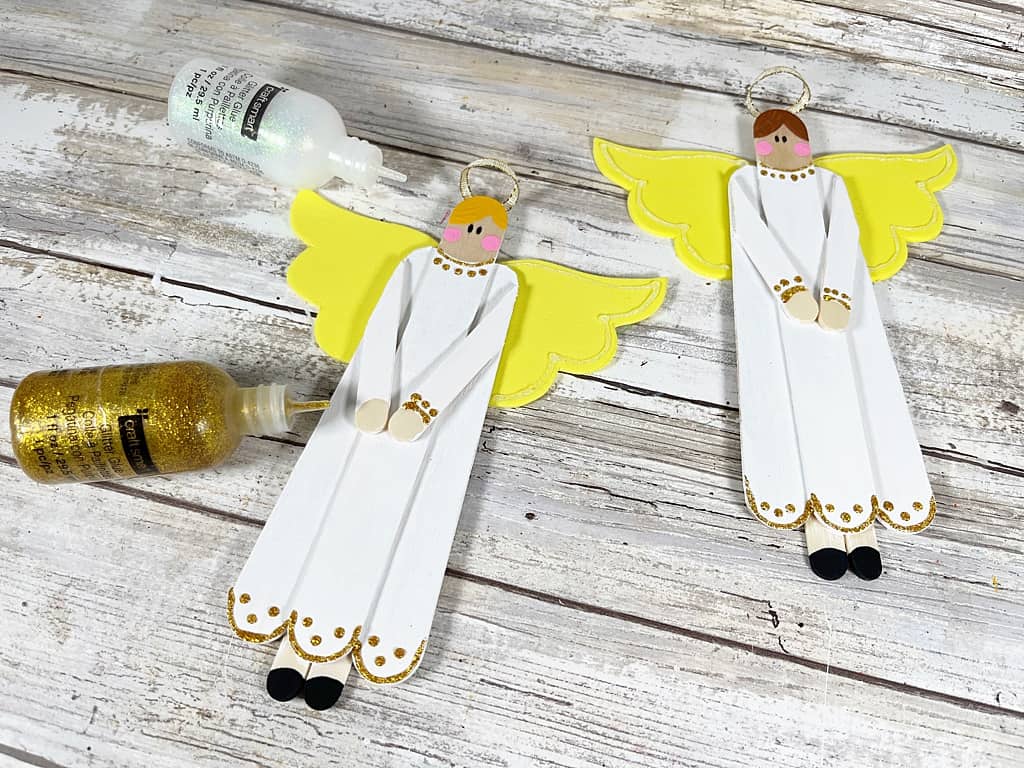
Outline the Angel wings with iridescent glitter glue.
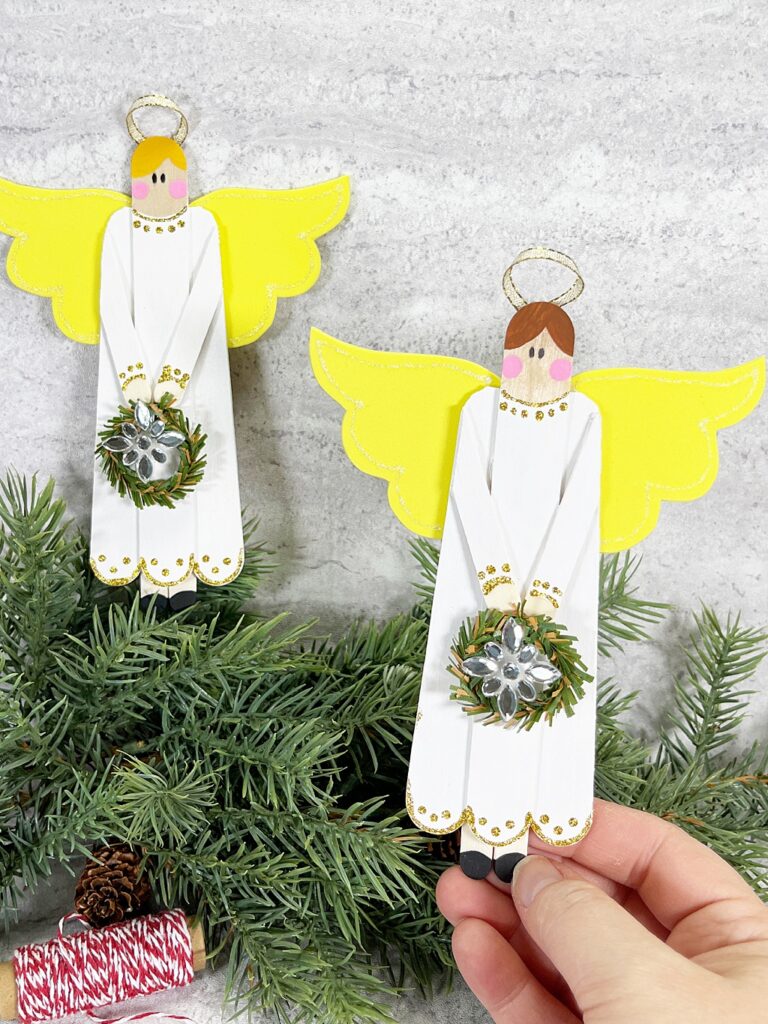
Using the photo as a guide, create a decorative border at the cuffs and hem of the Angels dress with gold glitter glue.
Set aside to dry.
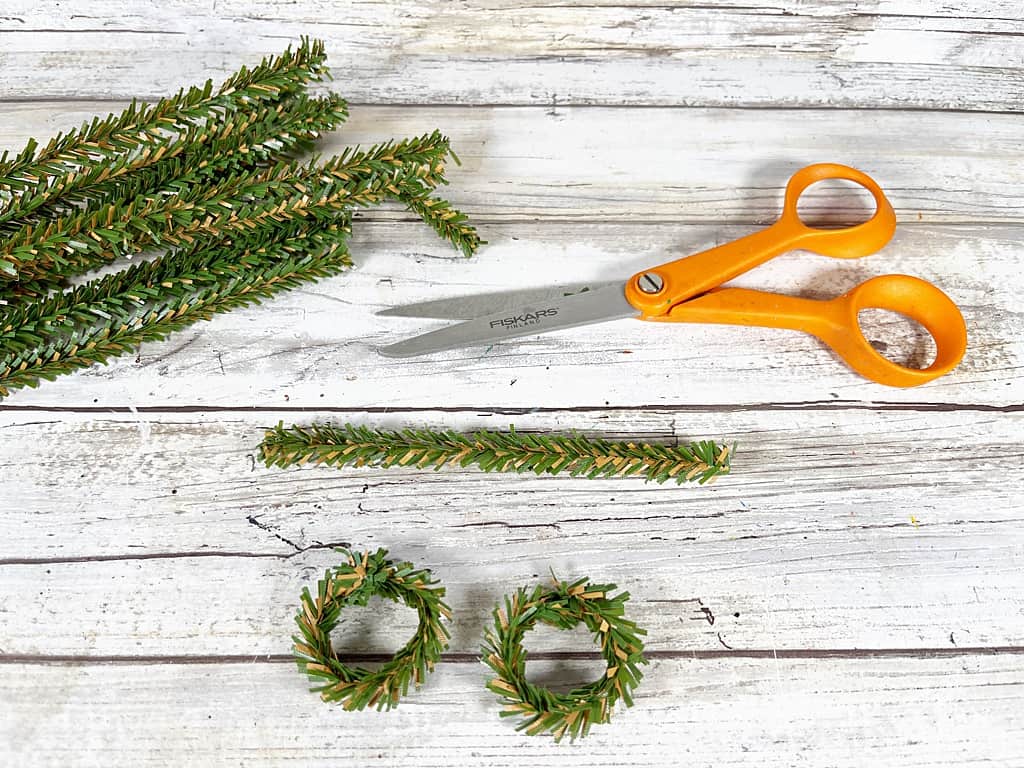
To create the wreath, cut a faux pine chenille stem in half with scissors. Bend each piece of the pine stem into a circle, twisting at the ends to secure. Attach the pine wreaths to the Angels hands with a glue gun and glue sticks.
Enjoy your festive Christmas Angel Craft!