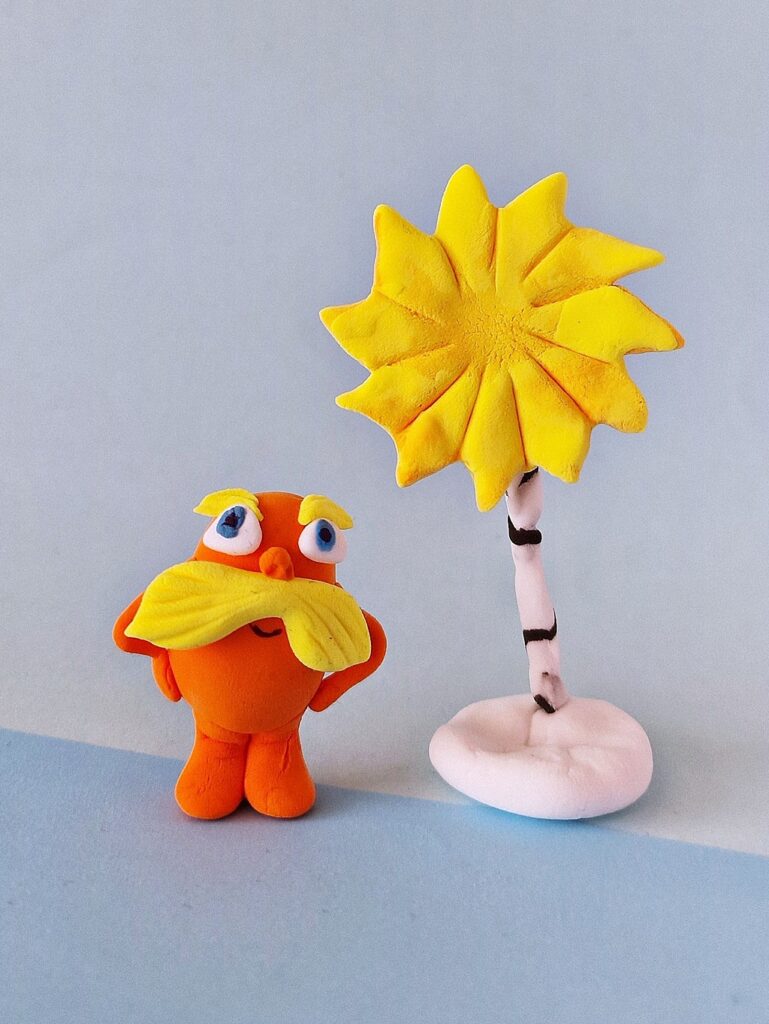
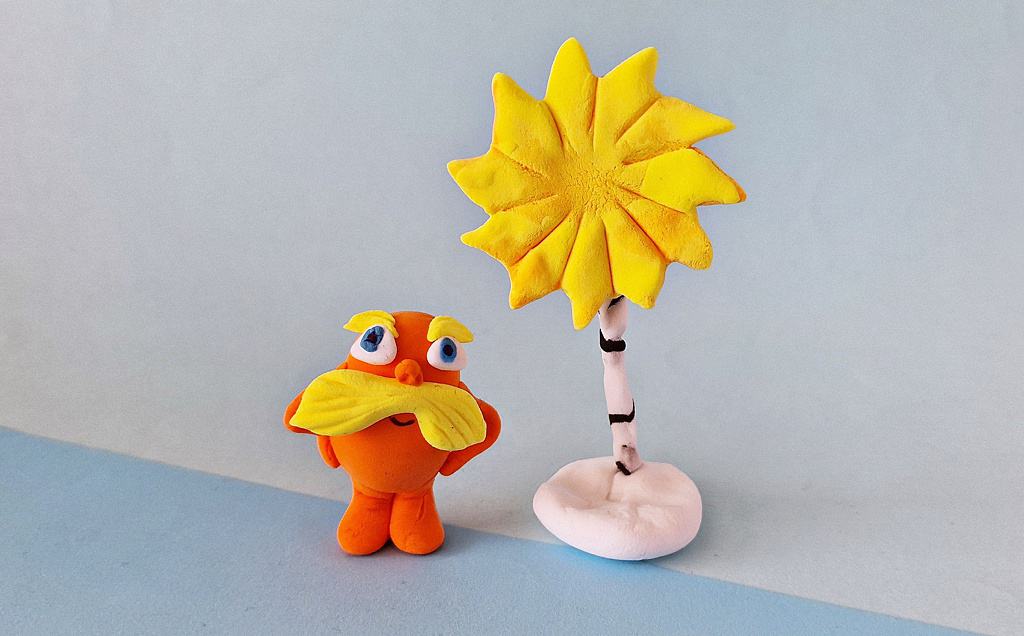
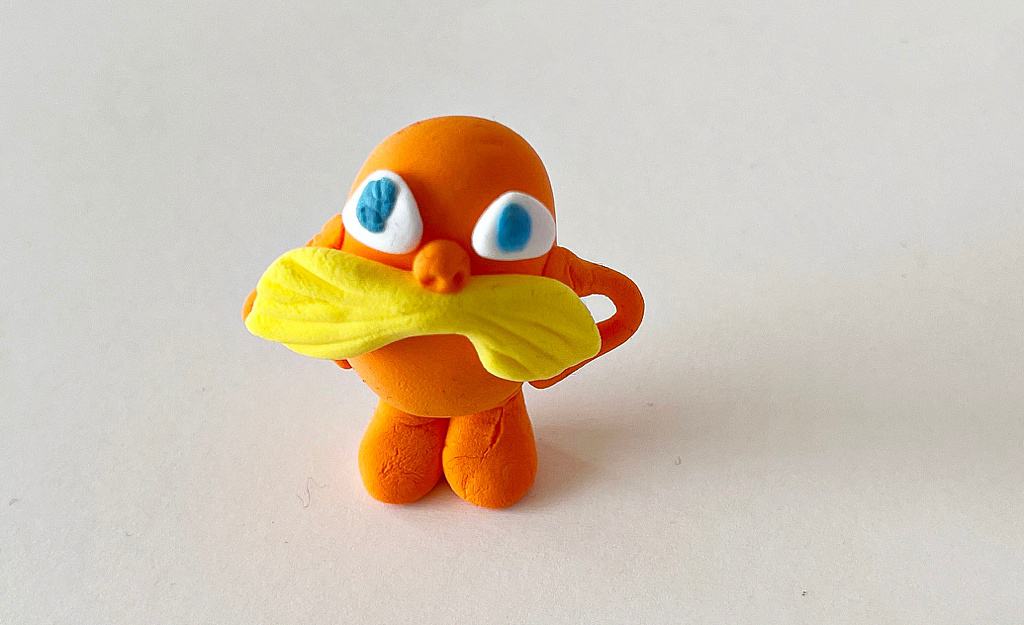
Clay Lorax – Dr. Seuss Craft
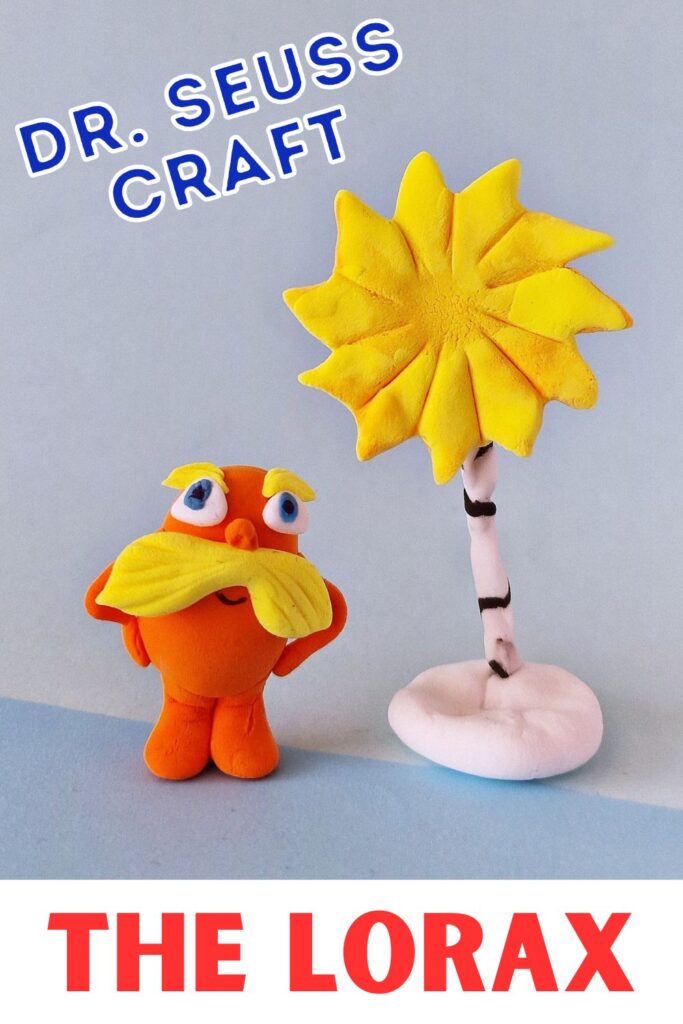
The Lorax is one of Dr. Seuss’ most beloved characters. Make your very own Lorax with this fun step by step tutorial!
Dr. Seuss Week is the perfect time to make lots of fun Dr. Seuss crafts!
How to Make a Clay Lorax Dr. Seuss Craft
Supplies:
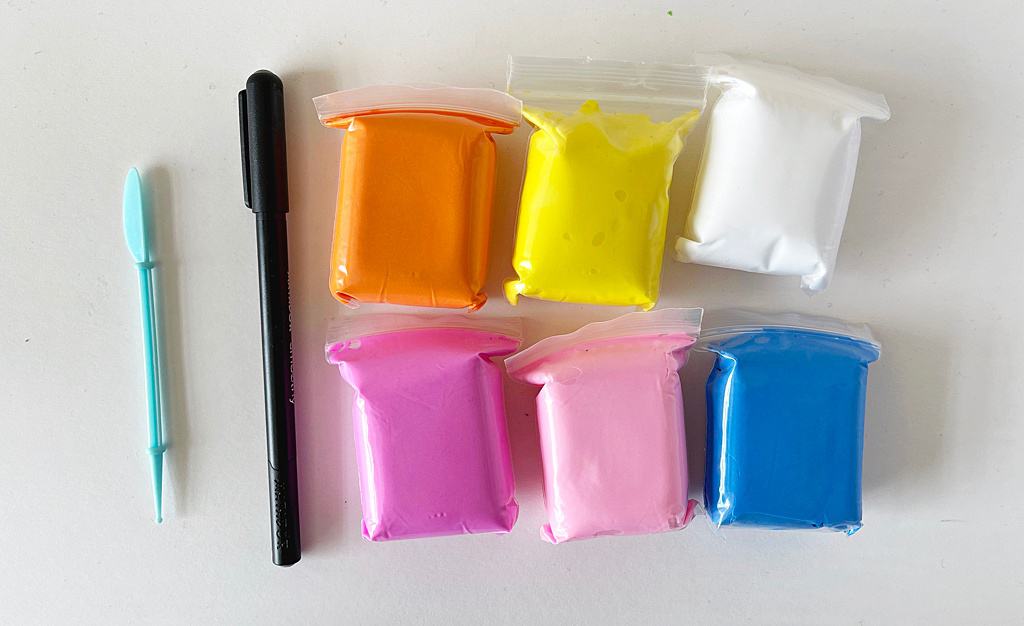
- Air dry clay or foam clay
- Clay tools
Instructions:
Select orange, yellow, black and blue clay for this craft.
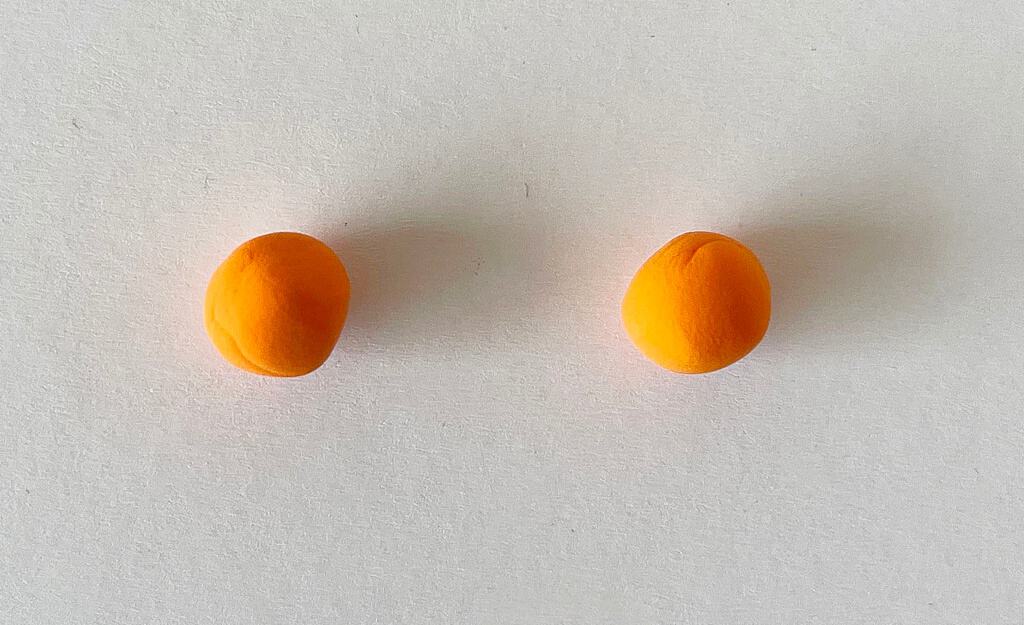
Let’s start with the Lorax figure base. Pinch off orange clay for the Lorax’s body.
Roll the clay between your palms to form a ball shape.
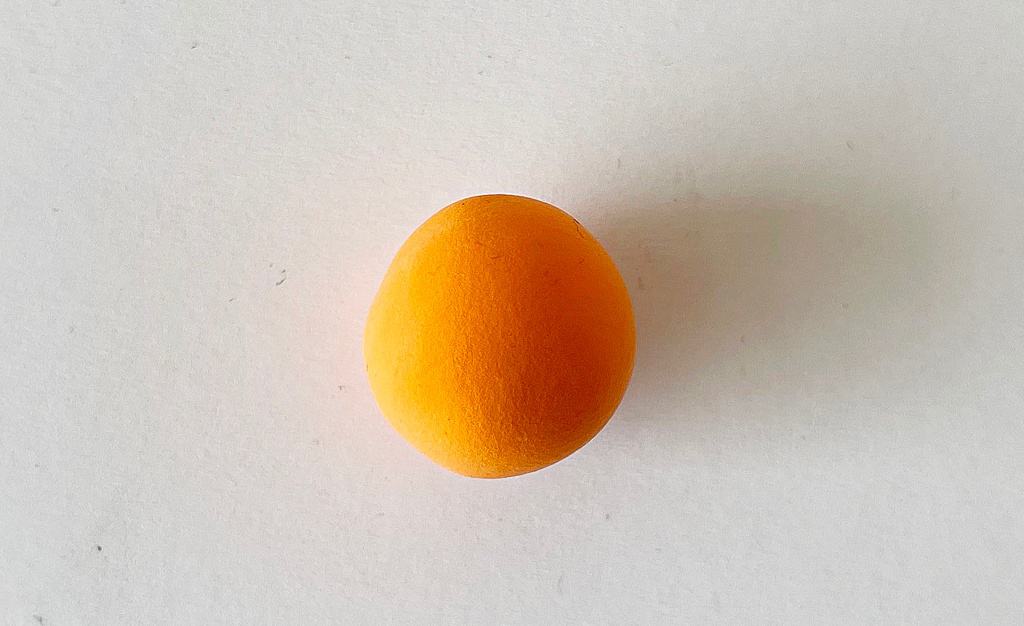
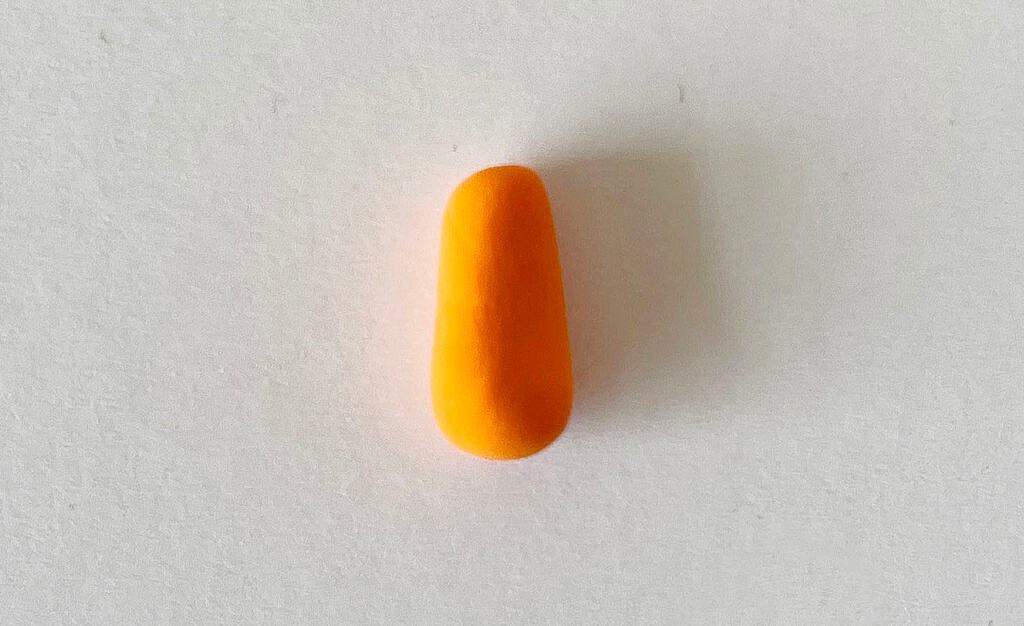
Roll the clay ball against a flat, even surface to form a cylinder shape. This is the base of the Lorax’s body.

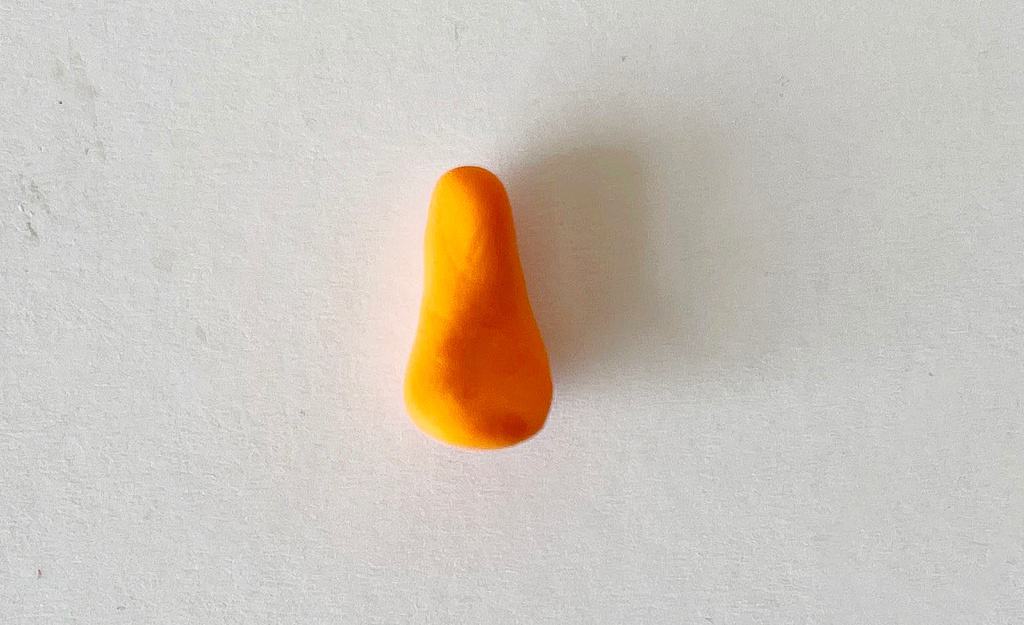
Take out 2 even amount of clay for the legs. Form ball shapes with them.
Roll a clay ball against a flat, even surface to form a cylinder shape.
Slightly flatten any one end of the clay cylinder to form the bottom of the leg and foot.
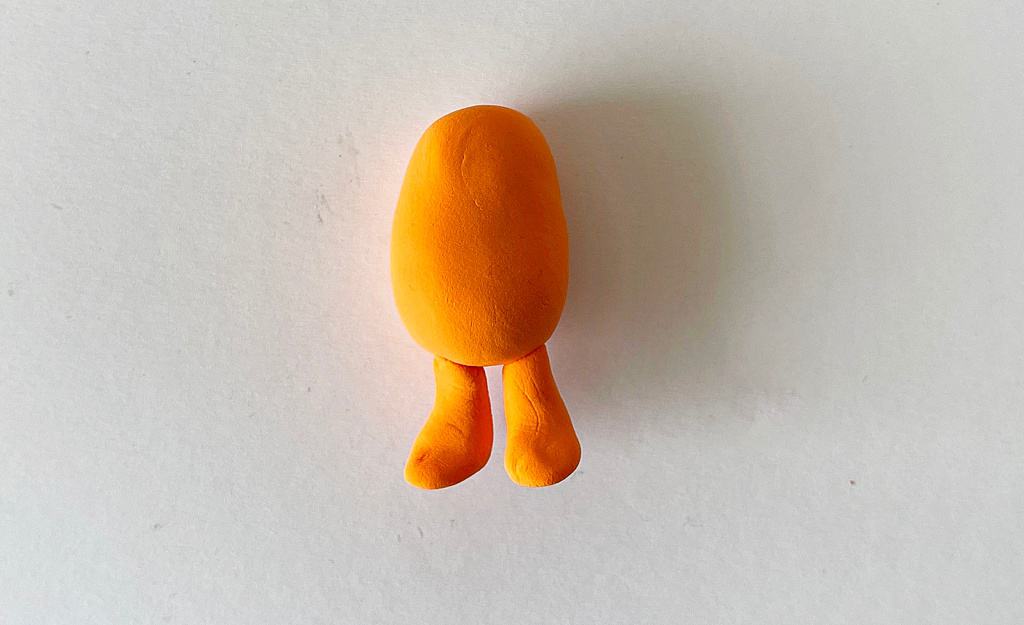
Follow the same steps to form the second leg.
Join the legs to the bottom of the Lorax’s body.
Pinch off a small amount of orange clay to make the arms. Roll the clay into a long log for the arm. Flatten the end to create a hand.
Attach the arm to the Lorax’s body.
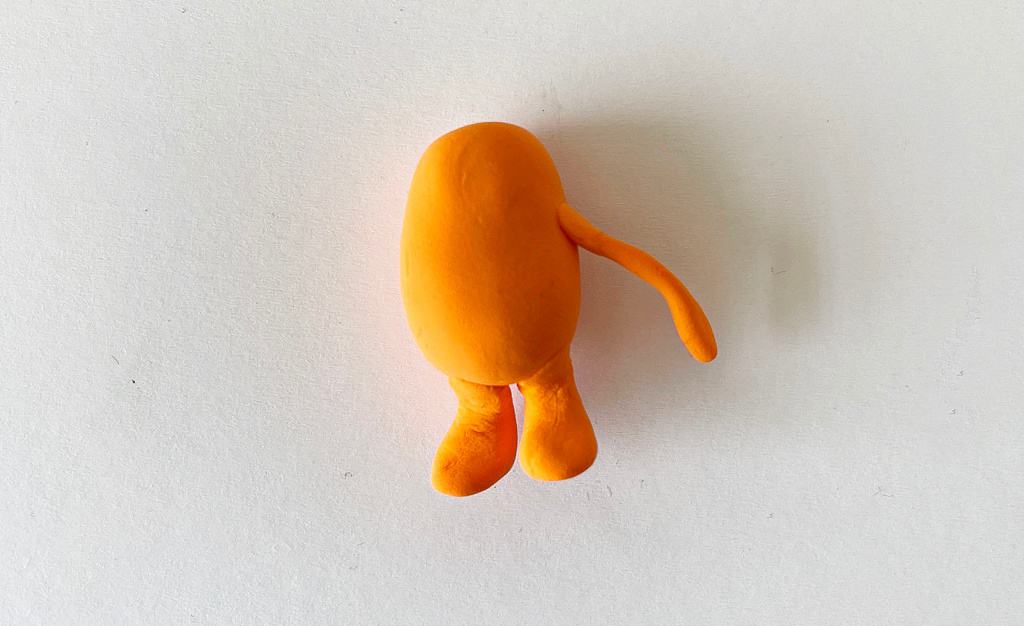
Form a curve with the arm clay and join the hand to the body, near the top of the leg.
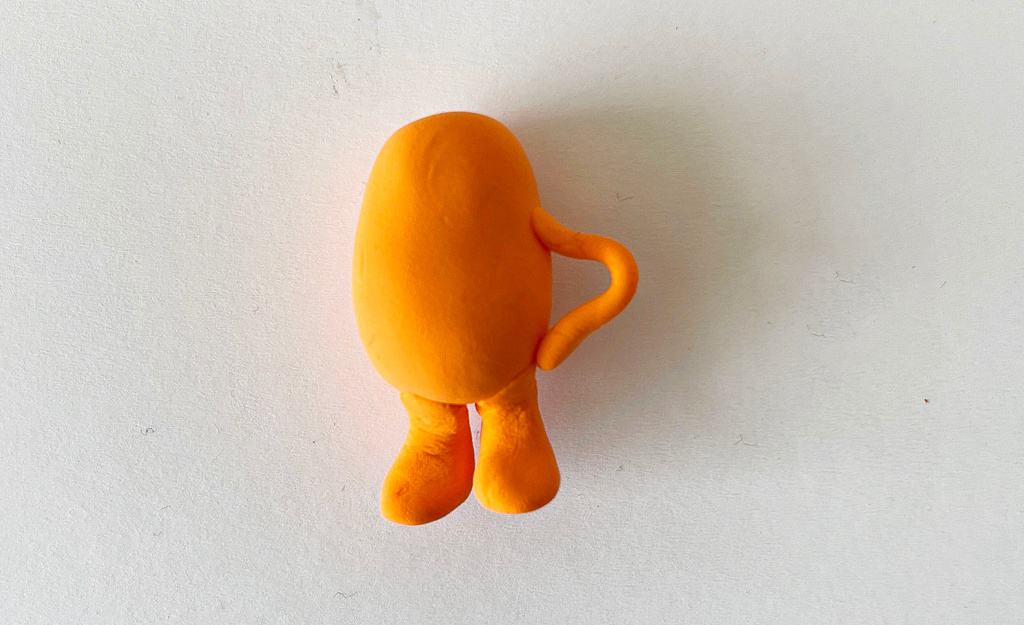
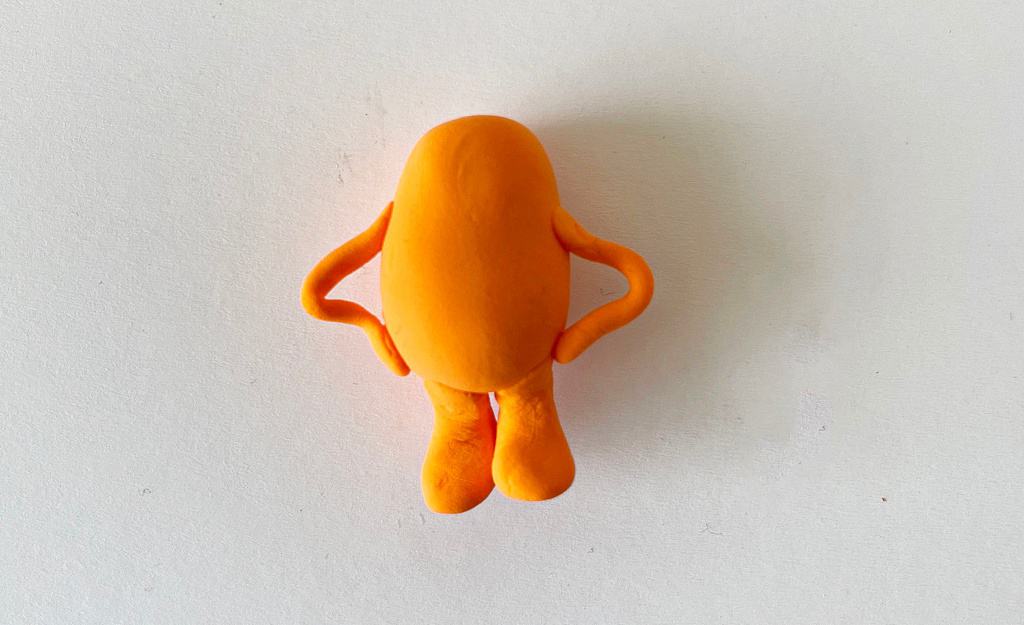
Follow the same steps to create a second arm and join it to the Lorax’s body.
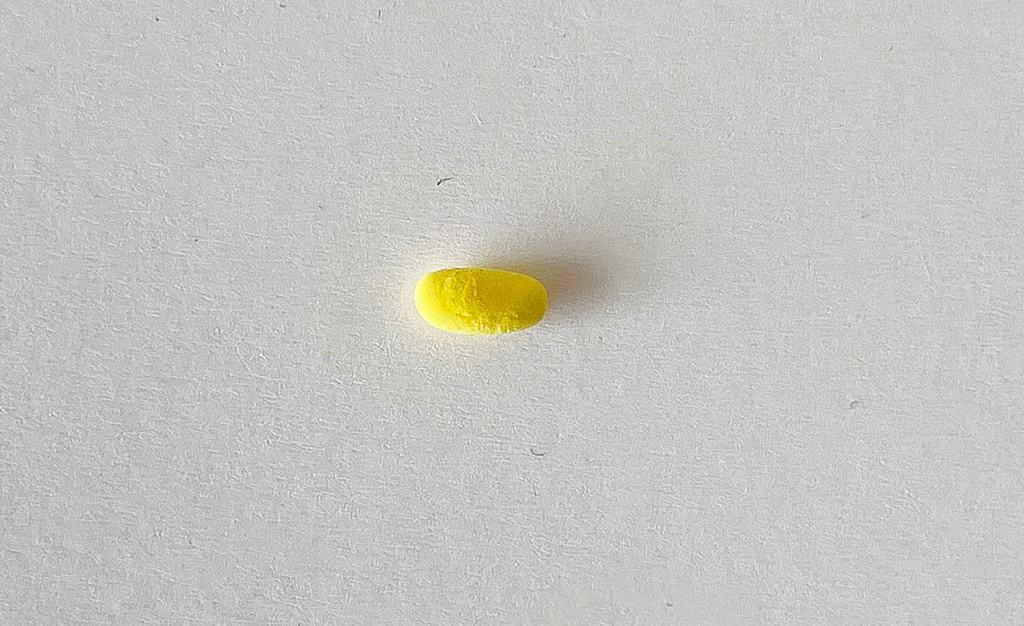
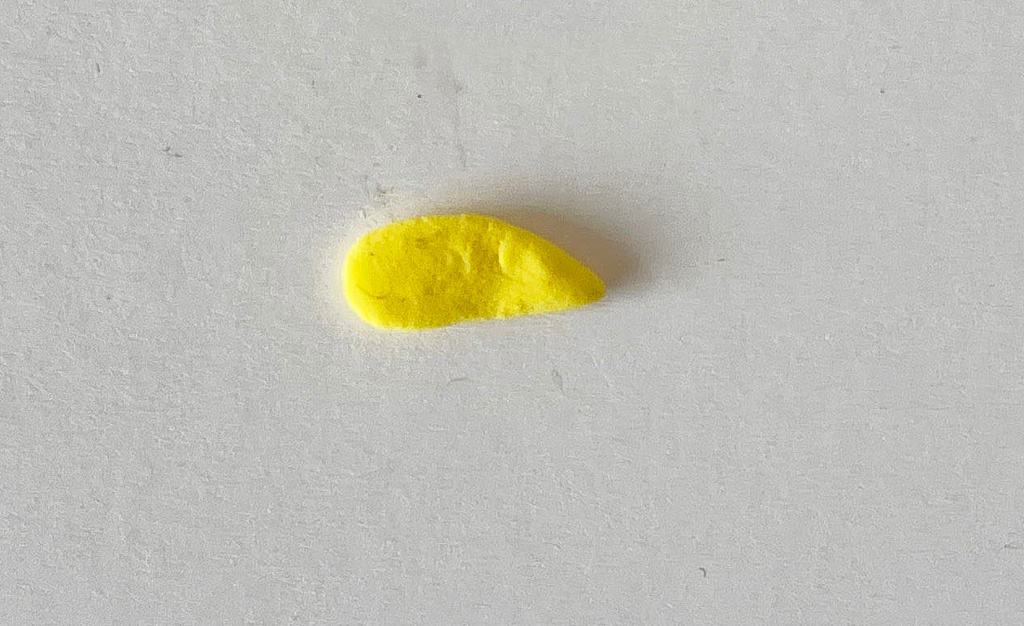
Take a small amount of yellow clay to make the mustache.
Form a bow shape with the yellow clay.
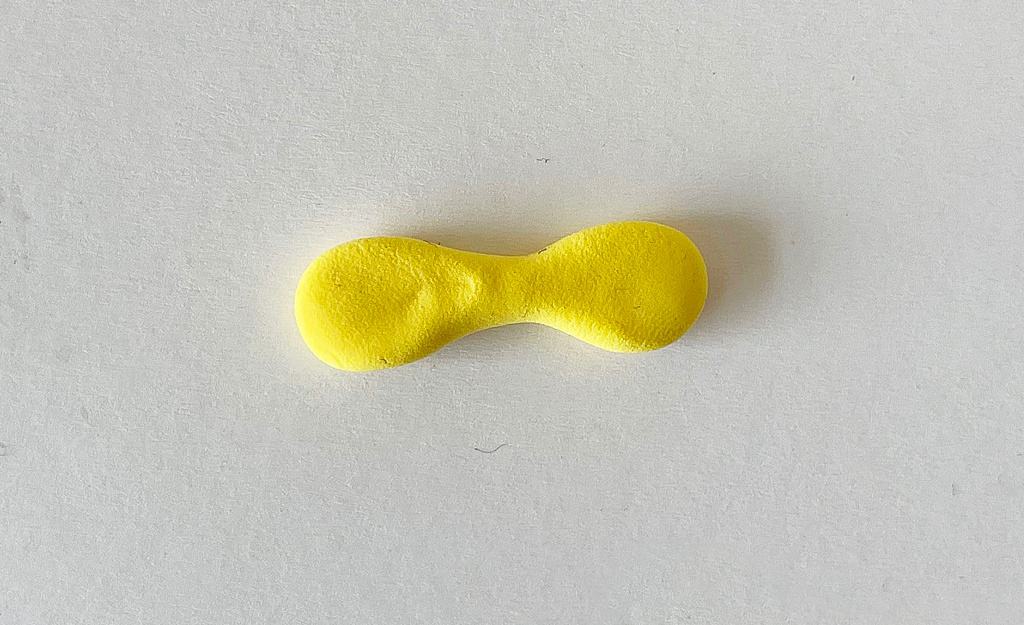
Use your fingertips to create pointy ends on the bow shape.
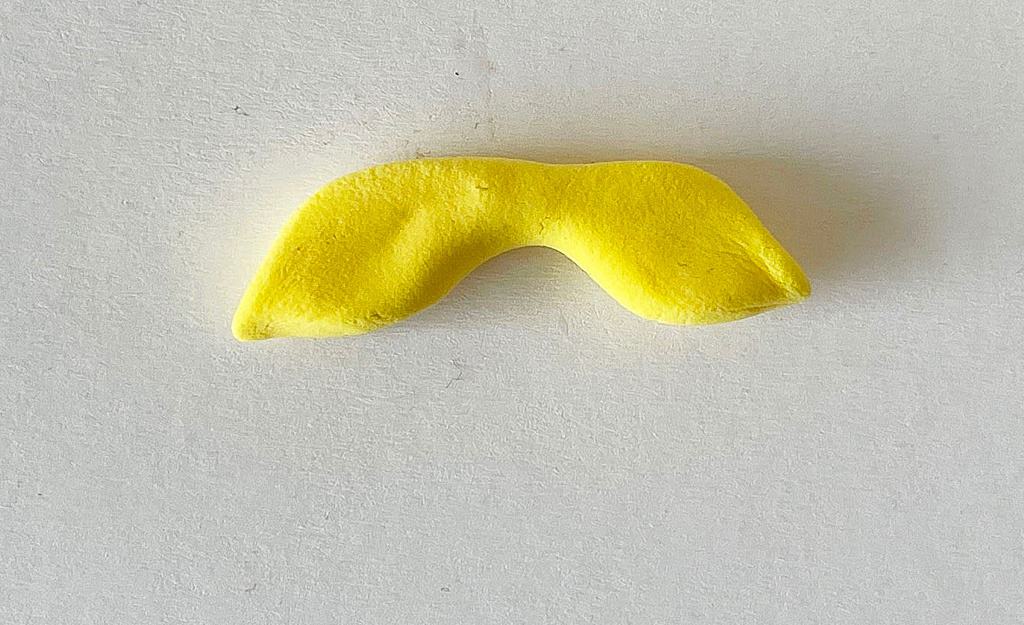
Use a clay knife tool to add a striped texture on the mustache.

Attach the mustache onto the body, between the arms.
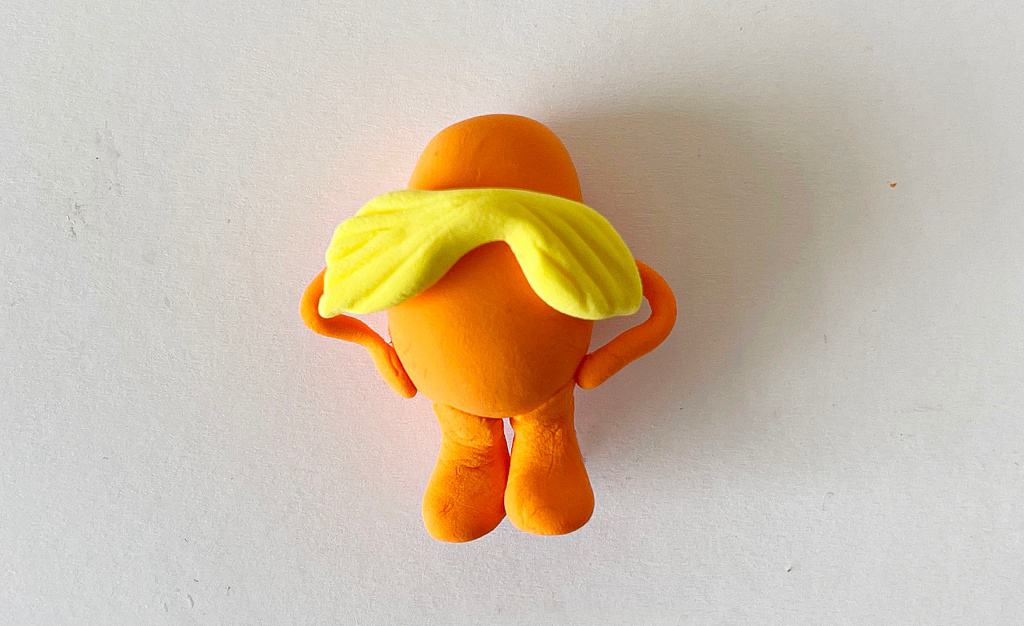
Form a small round shape with orange clay to make the nose.
Press it onto the Lorax just above the mustache.
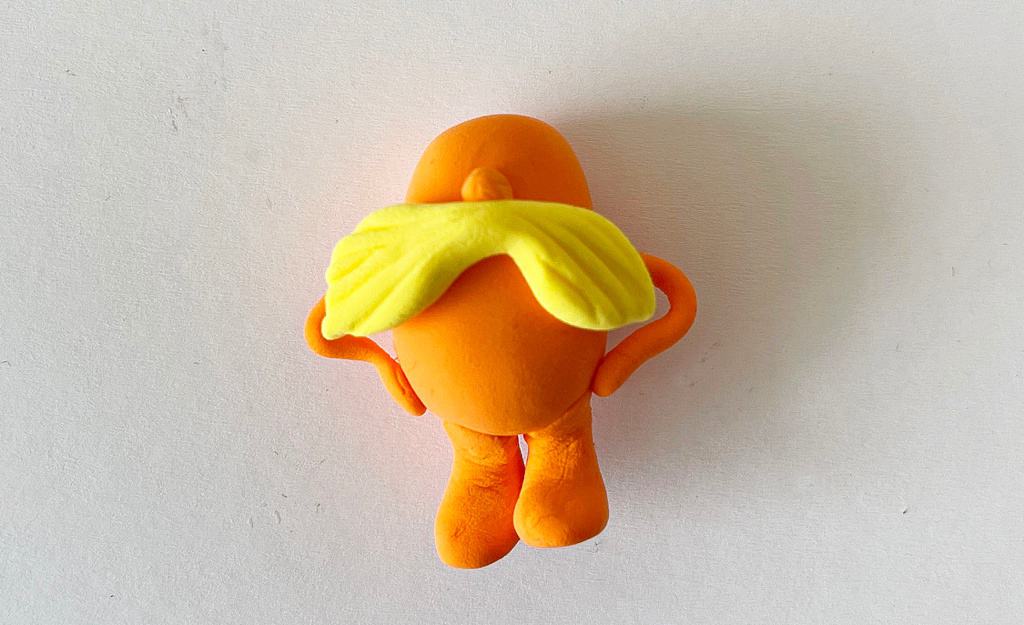
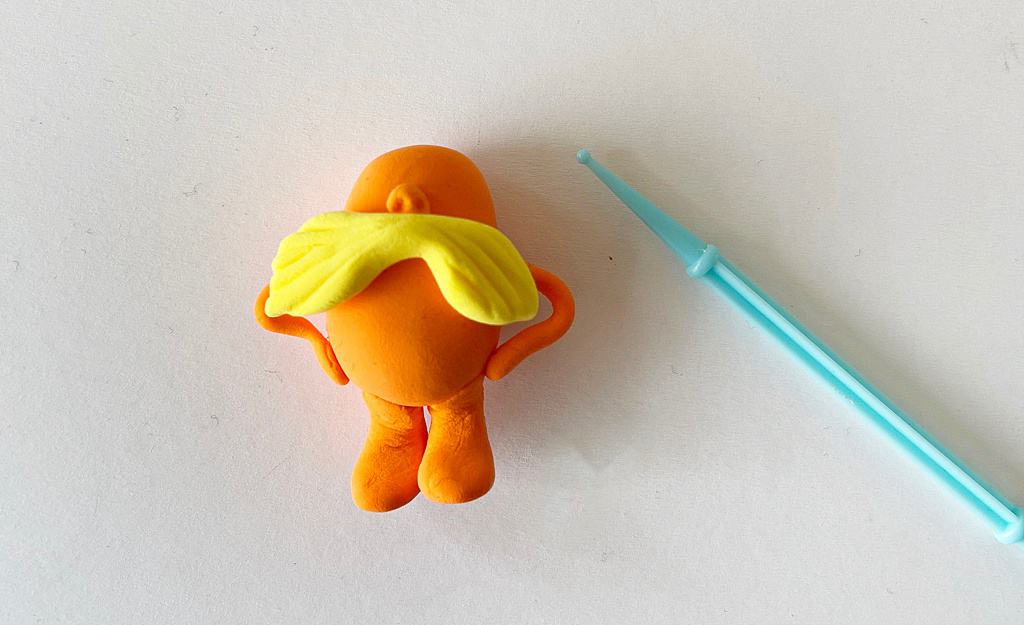
Use clay tool to add 2 holes for nostrils on the nose.
Make the eyes using white and blue clay.
Form a disc shape from the white clay to make the eye base and then add a smaller disc shape from blue clay to make the eyes.
Attach the clay eyes to the Lorax body above the nose.
Take out an amount of yellow clay to make the eyebrows. Roll, smoothen and flatten the clay.
Form the eyebrow shape of the Lorax using the yellow clay.
Attach the clay eyebrows just above the Lorax’s eyes.
You can also make a Truffla tree with yellow, white and black clay.
Cut out the tree shape with your clay tools. Create a base with white clay, then make a white snake to become the tree trunk. Add black stripes to the trunk with the black clay.