
DIY Easter Garland
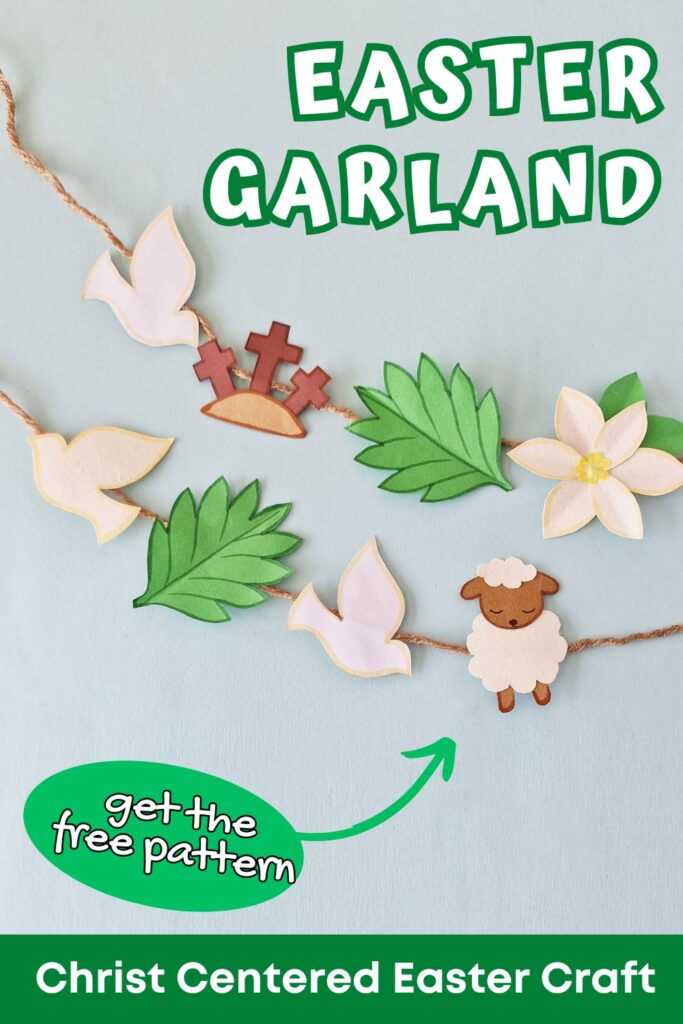
This beautiful Easter garland is a wonderful Christian craft to complete this Easter season.
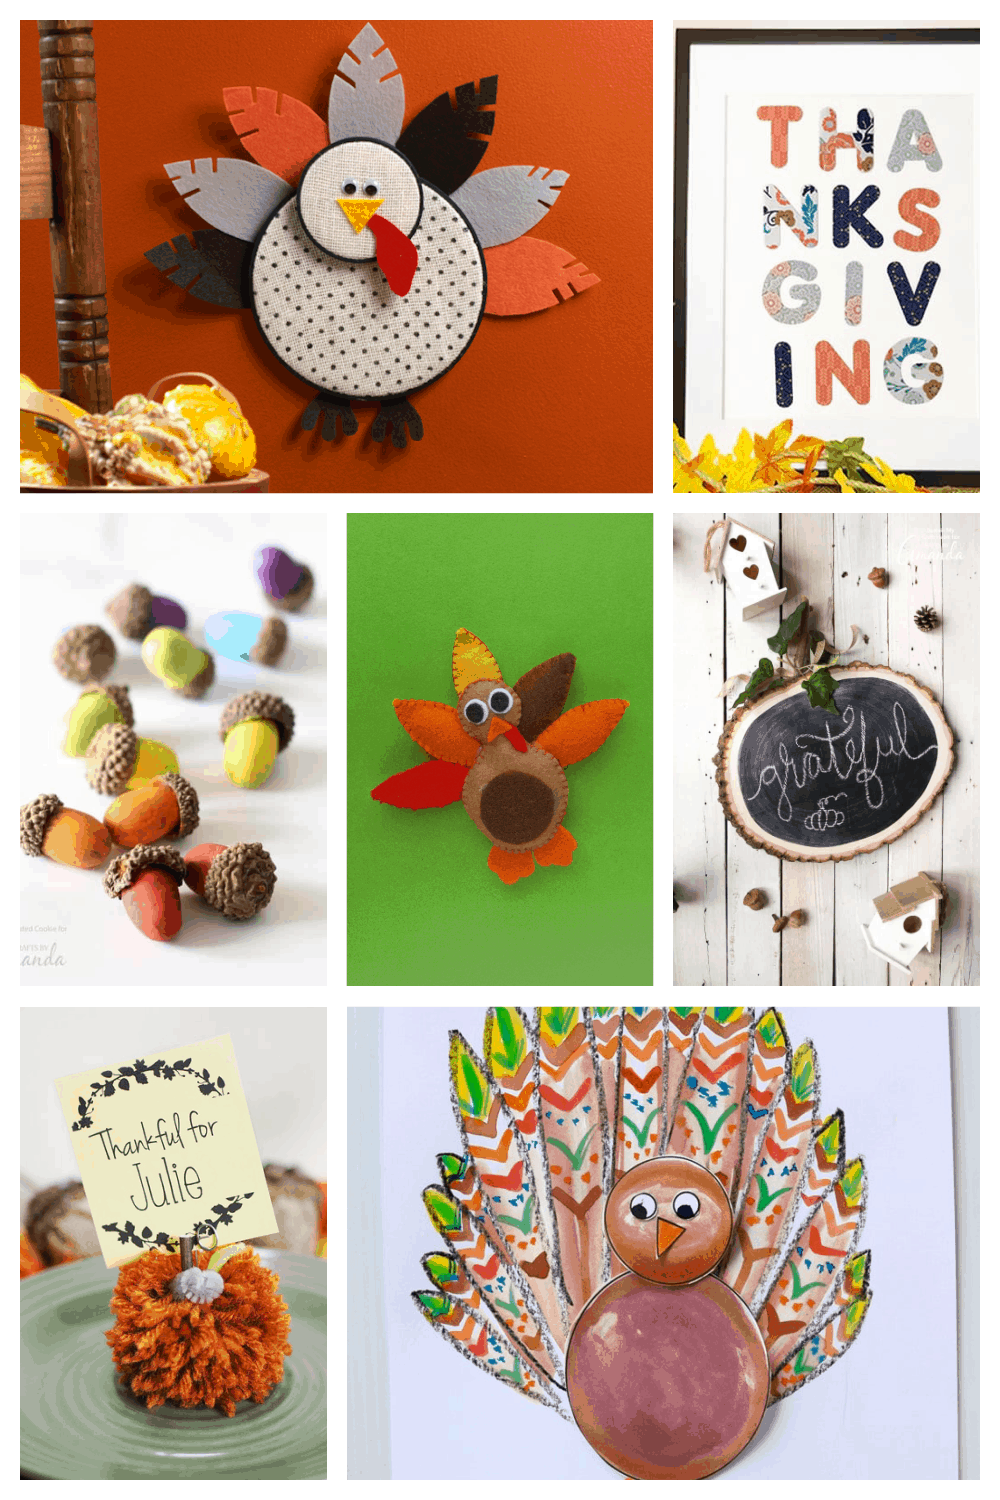
Looking for more Christ centered Easter ideas for kids and families? This list of Christian Easter crafts and activities is sure to help your family help your family stay focused on Jesus this Easter season.
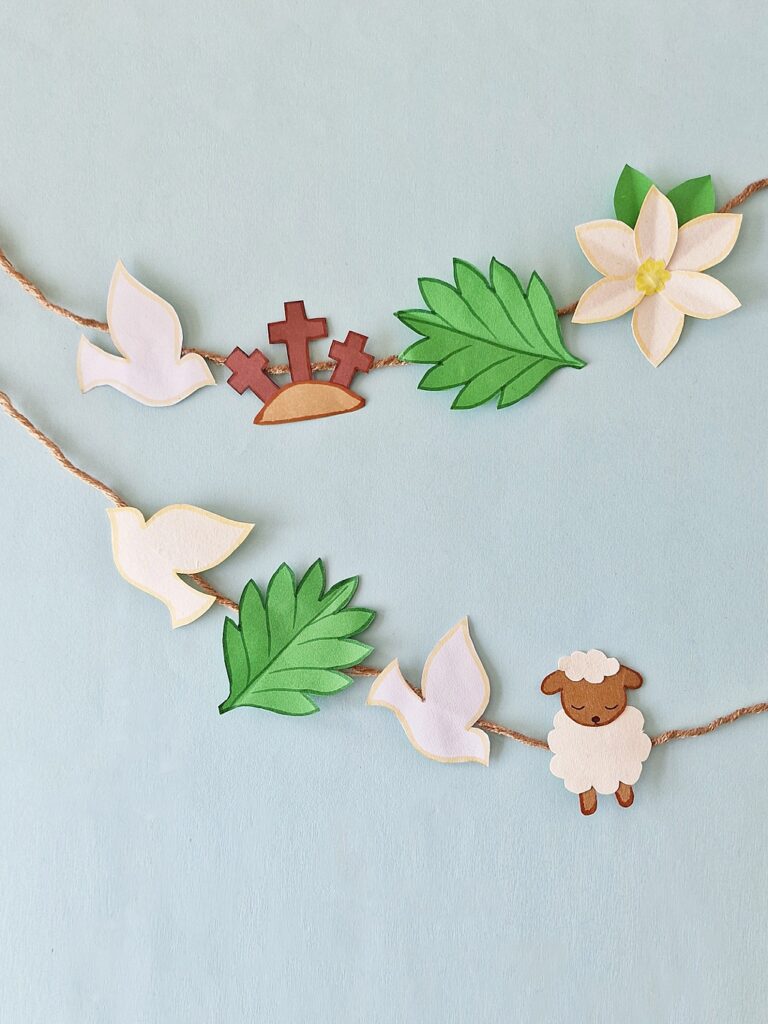
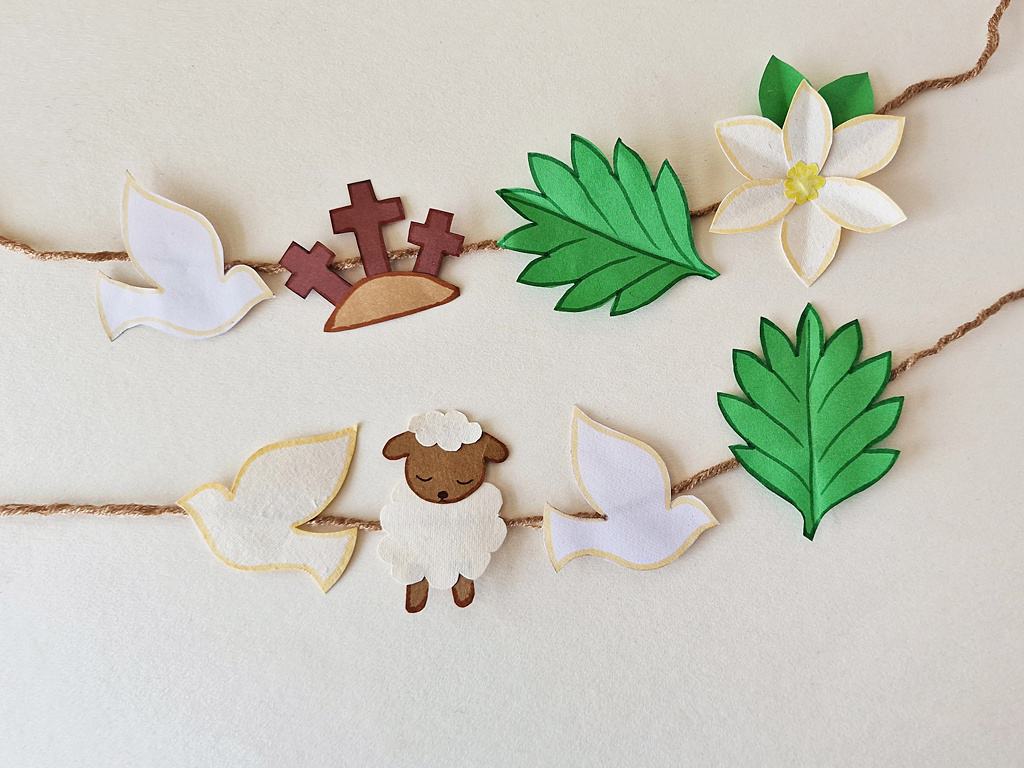
Display this Christian Easter Garland in your home or your Sunday School Classroom this spring.
Thanks to the free printable template and easy instructions below, this garland can be made and enjoyed by adults and kids alike.
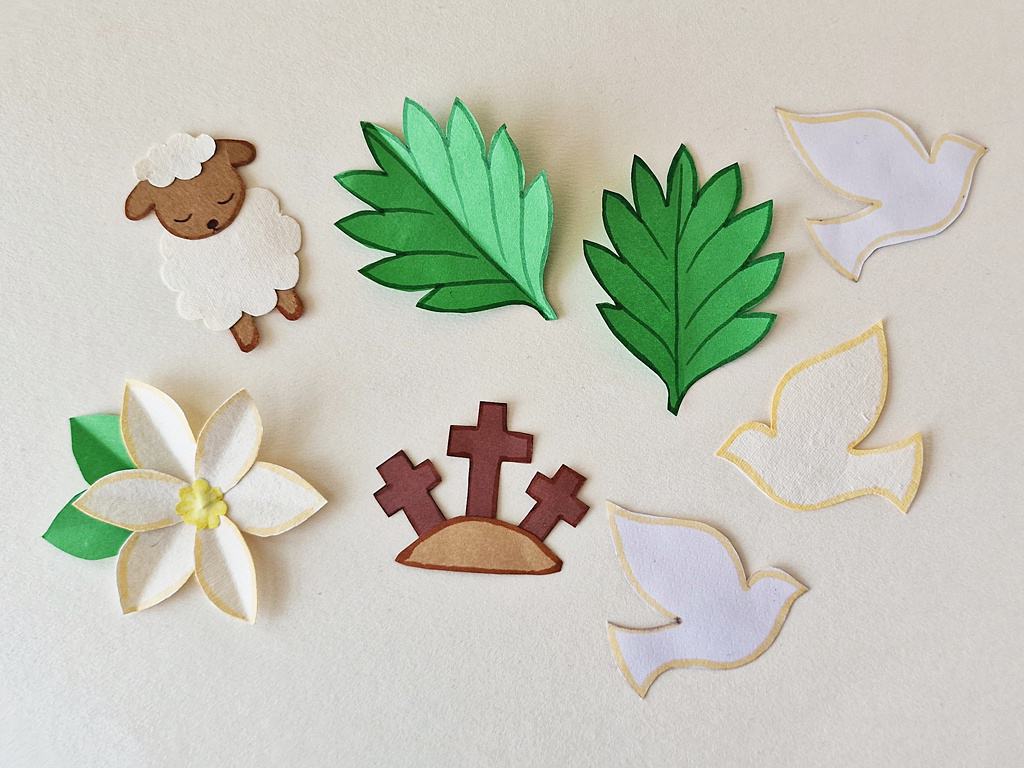
This Paper Easter Garland is a great craft to make in your Sunday school classes during lent. Make one Easter symbol each week to enjoy a completed Easter garland by Easter Sunday.
How to Make a Paper Garland for Easter
List of Supplies:
- Colored craft papers
- Pencil
- Scissors
- Craft glue
- Markers
- String
- Template
Instructions:
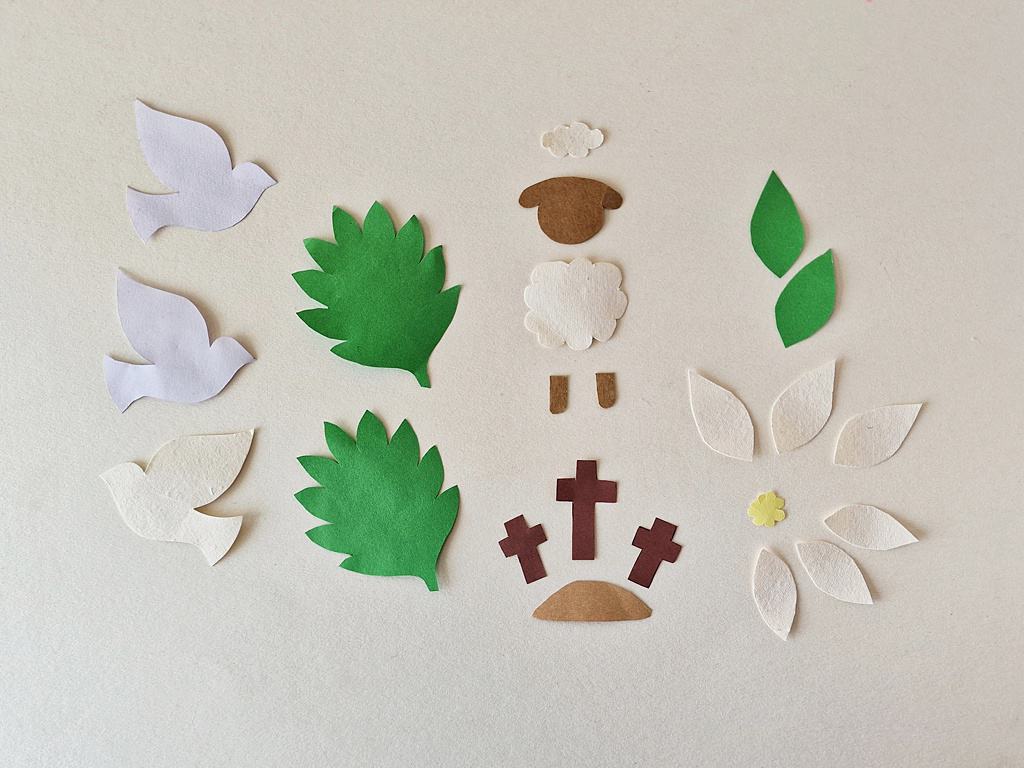
Download and print out the Easter Garland Template. Cut out the pattern pieces.
Select different colored craft papers for your Easter items. Using a thick paper such as cardstock works best for this garland. If you don’t have heavy craft paper on hand, you can make these Easter items with regular craft paper, then mount them on a heavier paper or scrap cardboard to make the items sturdy.
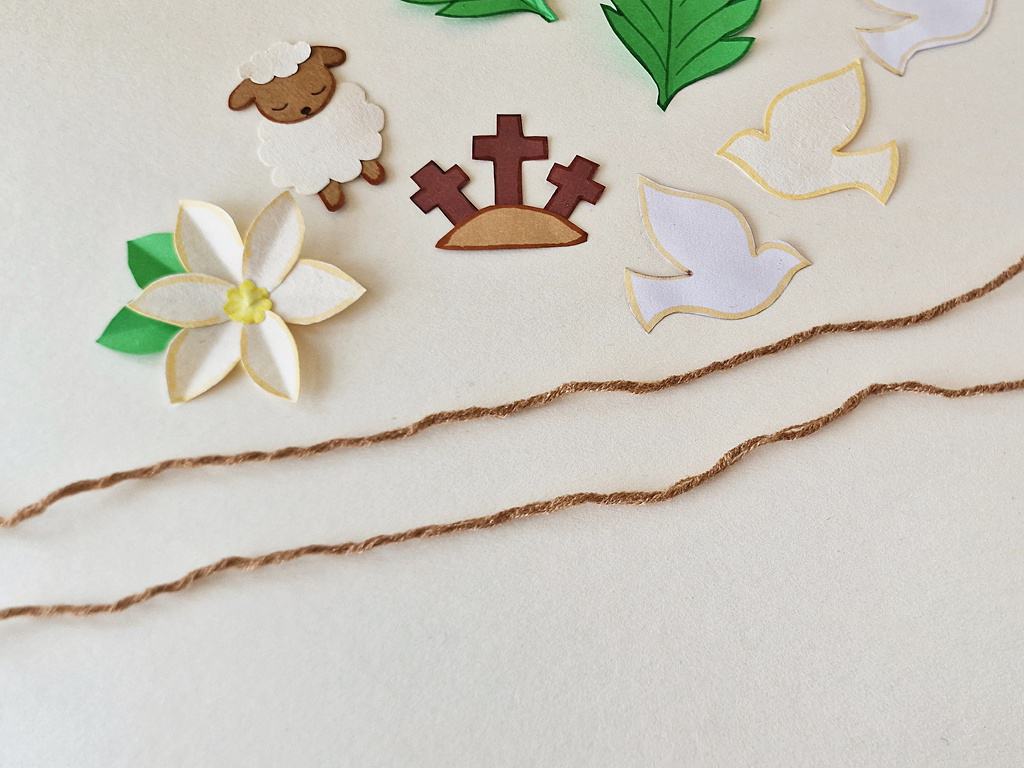
We used an embossed craft paper for the wool of the sheep for a fun look!
Trace the template patterns on the selected craft papers and cut them out nicely using scissors.
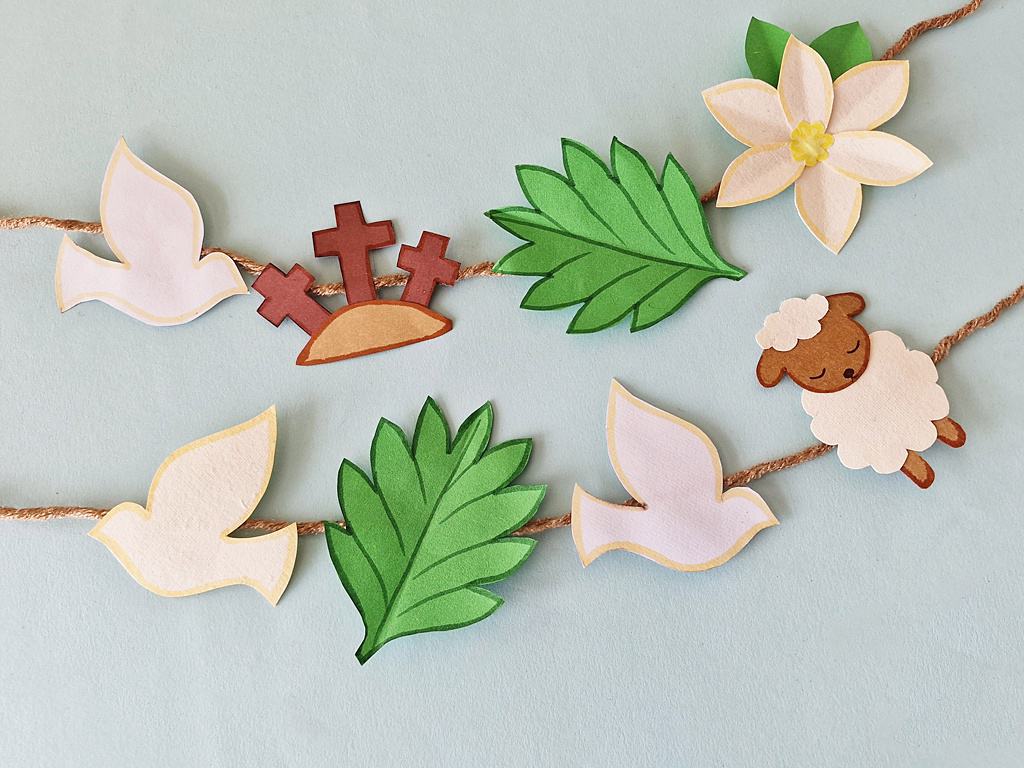
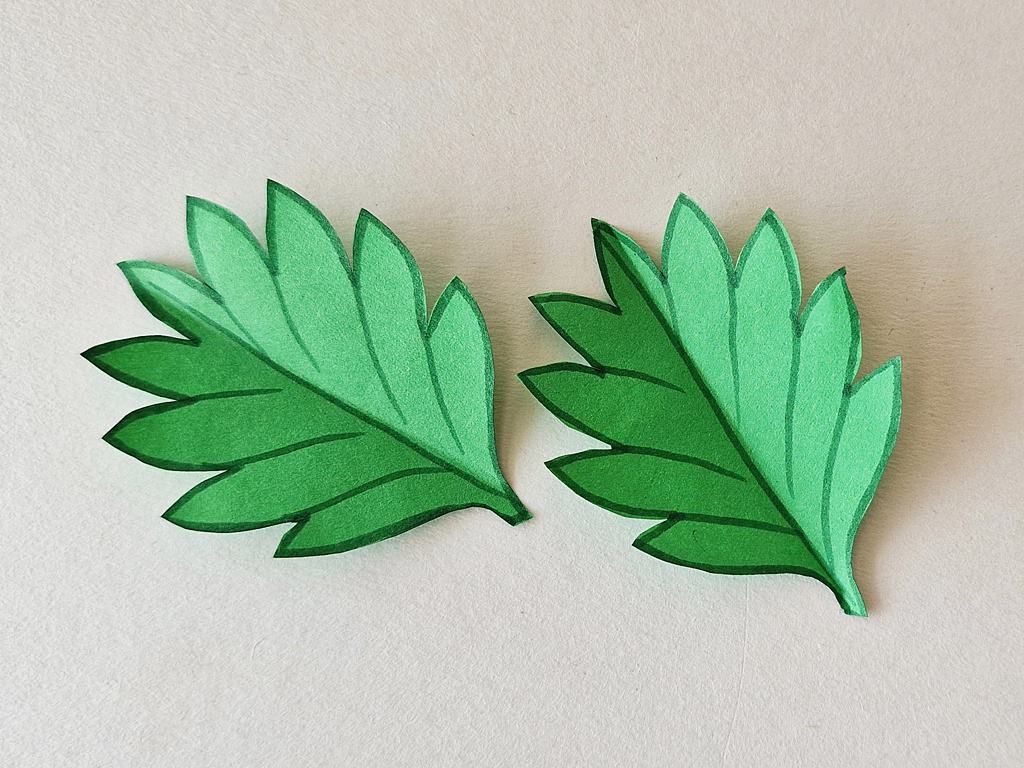
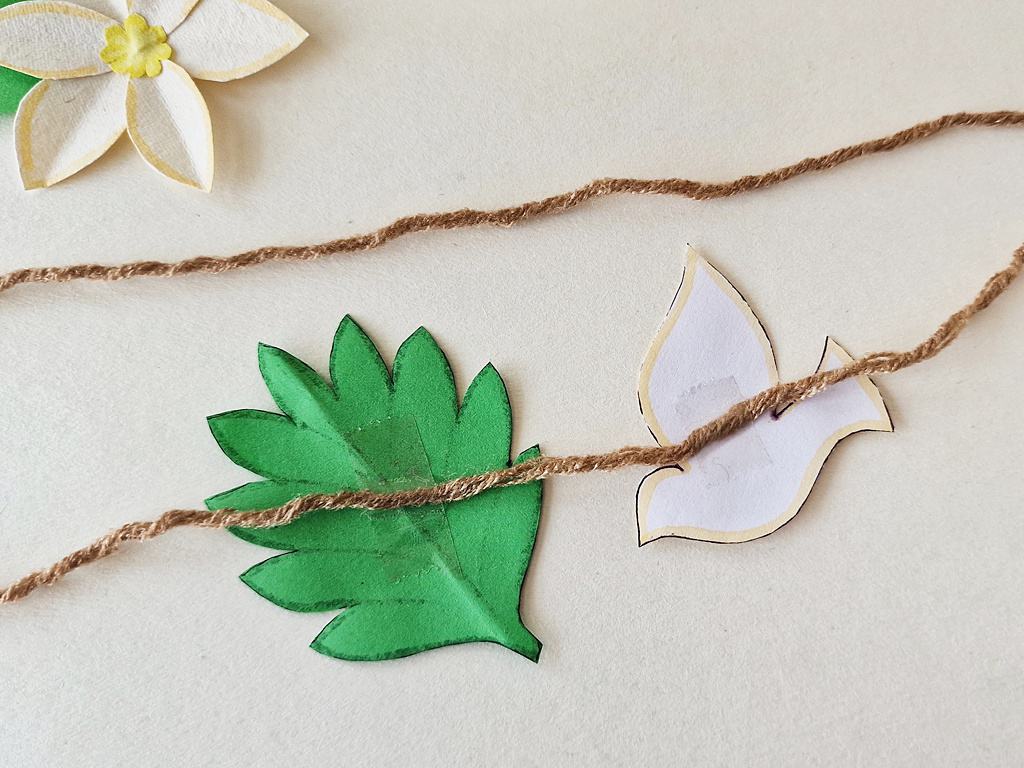
Take the palm leaf cutouts and use a marker to trace outlines and veins on the leaves.
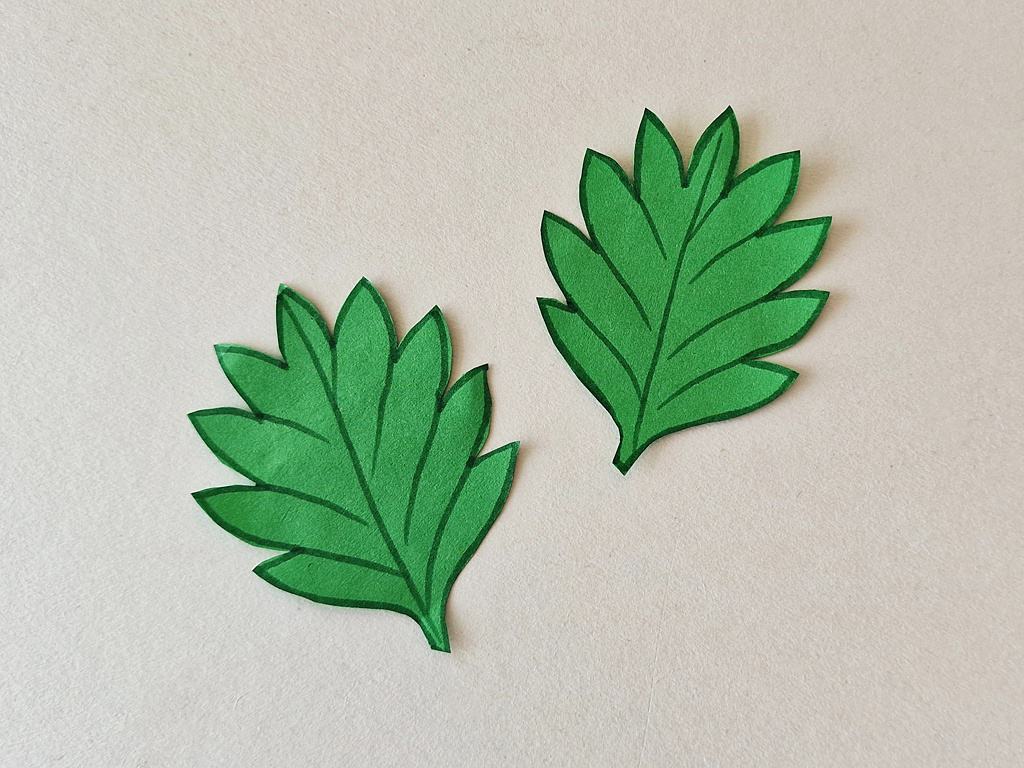
Fold the leaf patterns in half to give the palm leaves a 3D look.
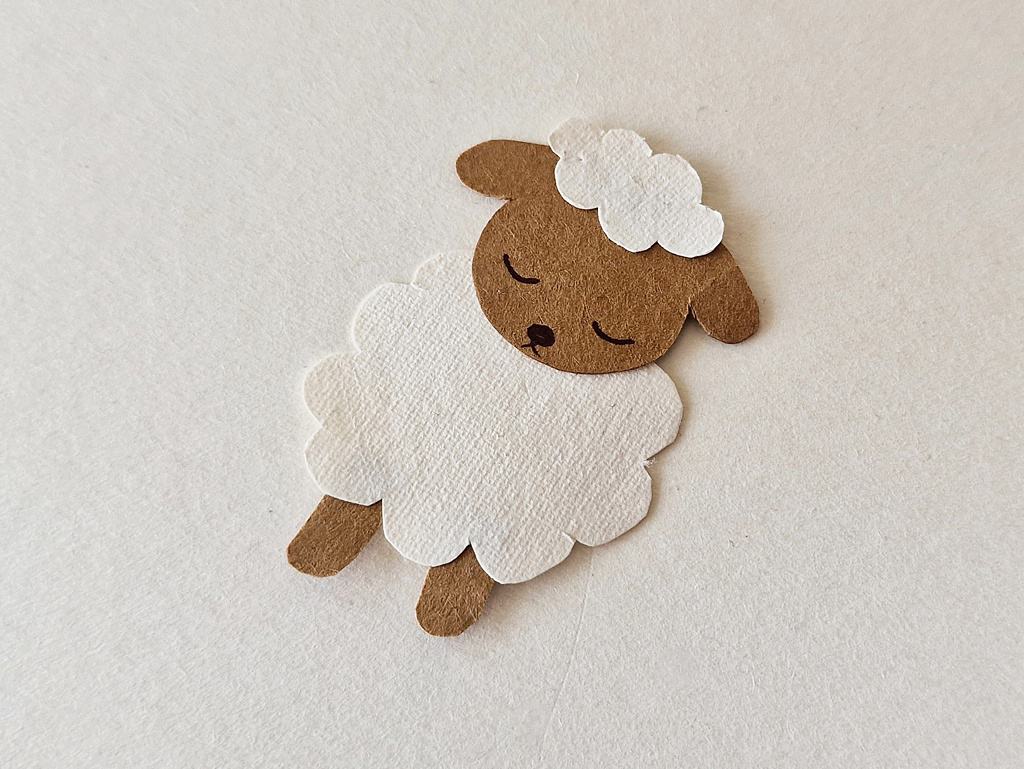
Next, gather the lamb pattern cutouts.
Glue the leg cutouts on the bottom edge of the body cutout.
Glue the small wool cutout on the top edge of the head cutout.
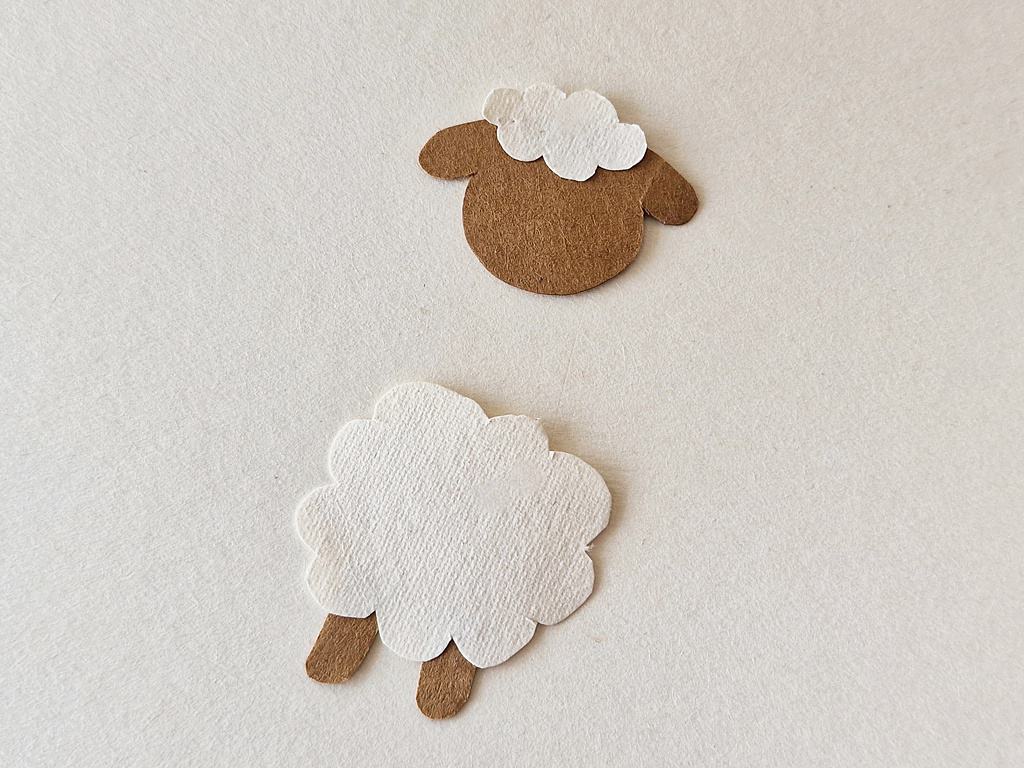
Use a marker to add face details to your lamb.
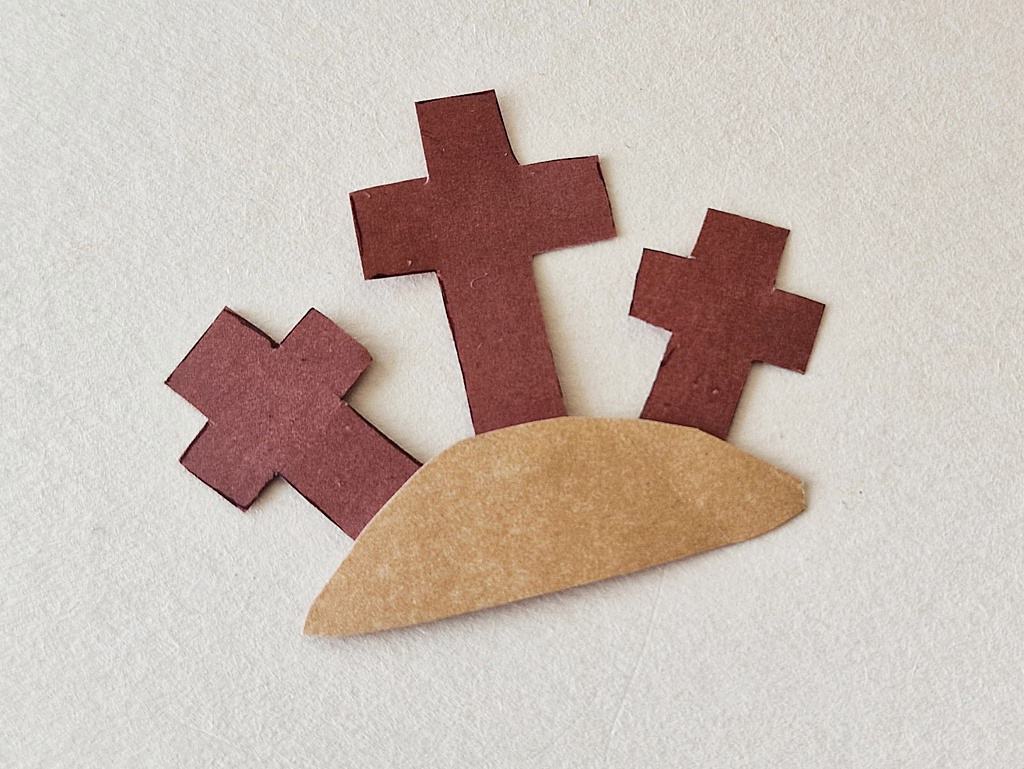
Take the cross cutouts and the ground cutout.
Attach the largest cross cutout at the middle of the ground cutout.
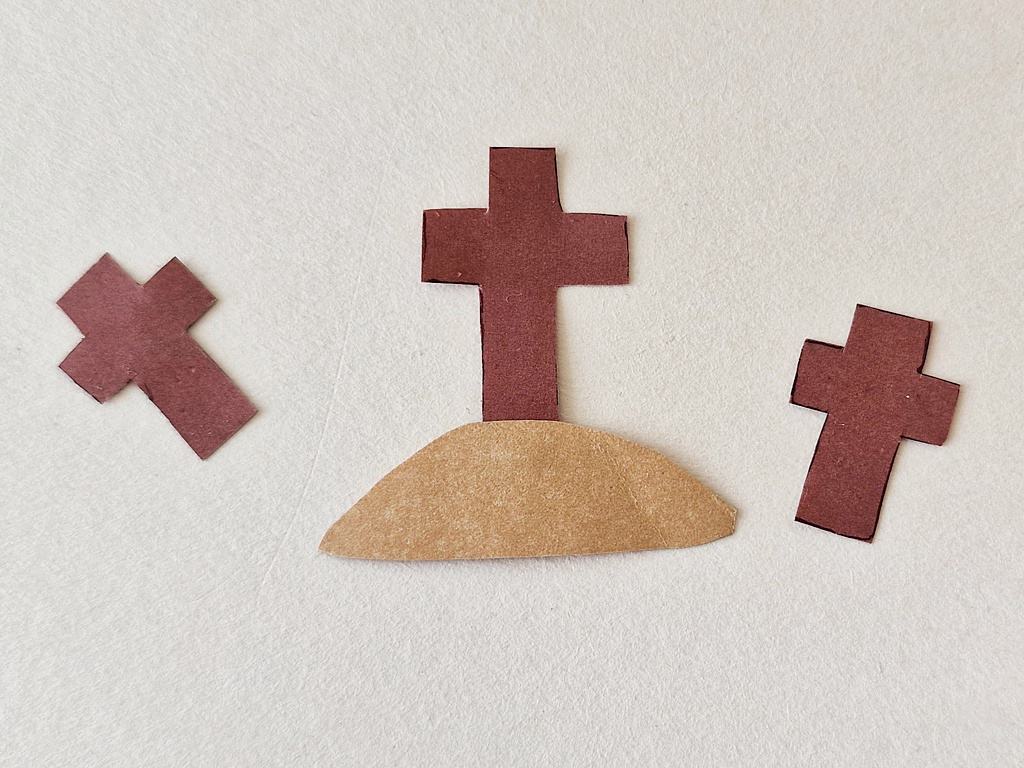
Glue the small cross cutouts on either side of the large cross.
Next, begin making the white lily by folding each petal and leaf cutout in half longways. Unfold all the cutouts to leave a center crease in each one.

Attach the 3 large petals together, in the center.
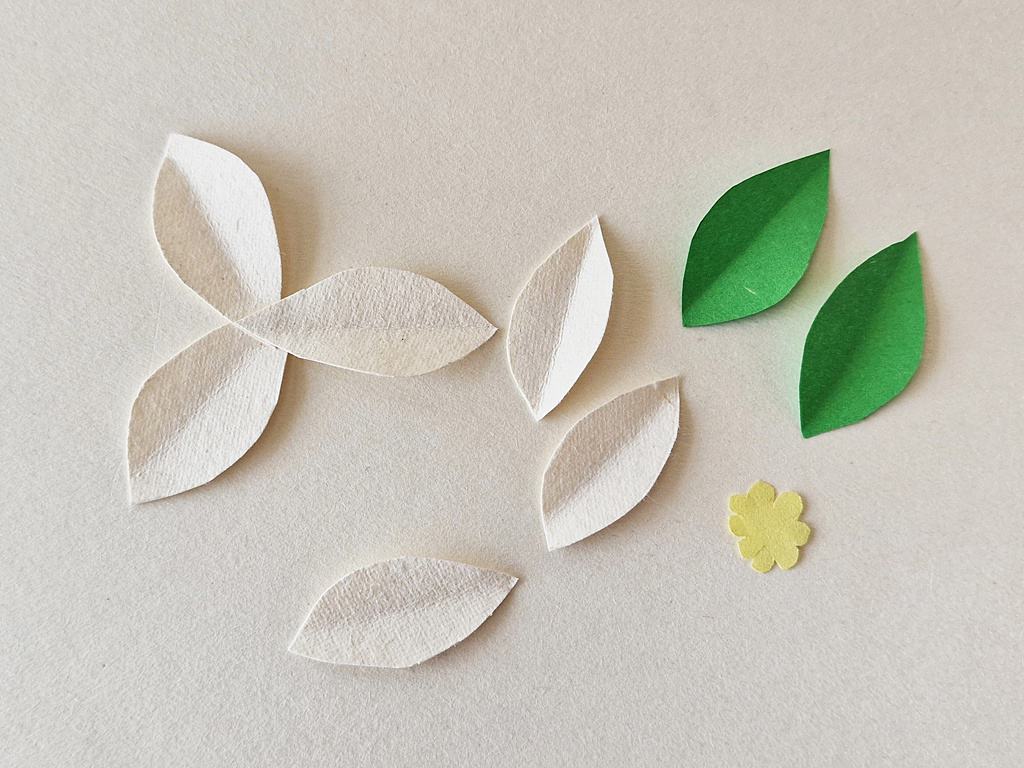
Attach the 3 small petal cutouts on top of the large petal group, joining them in the center again.
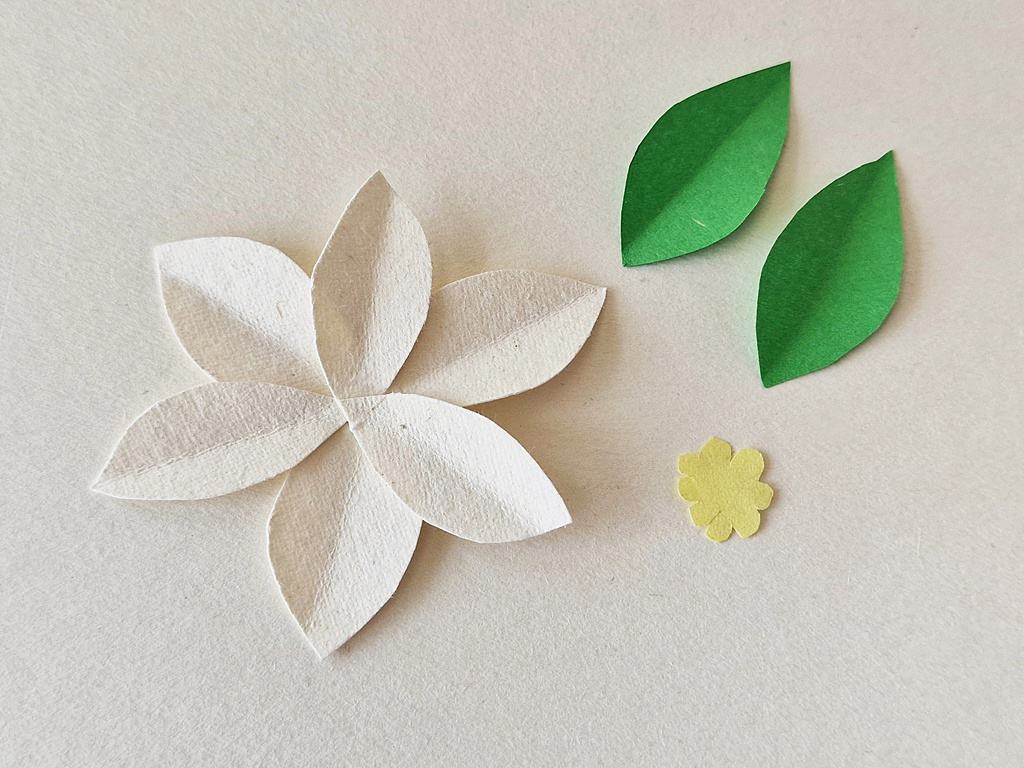
Glue the two leaves together at the bottom.
Glue with flower center on the middle of the flower.
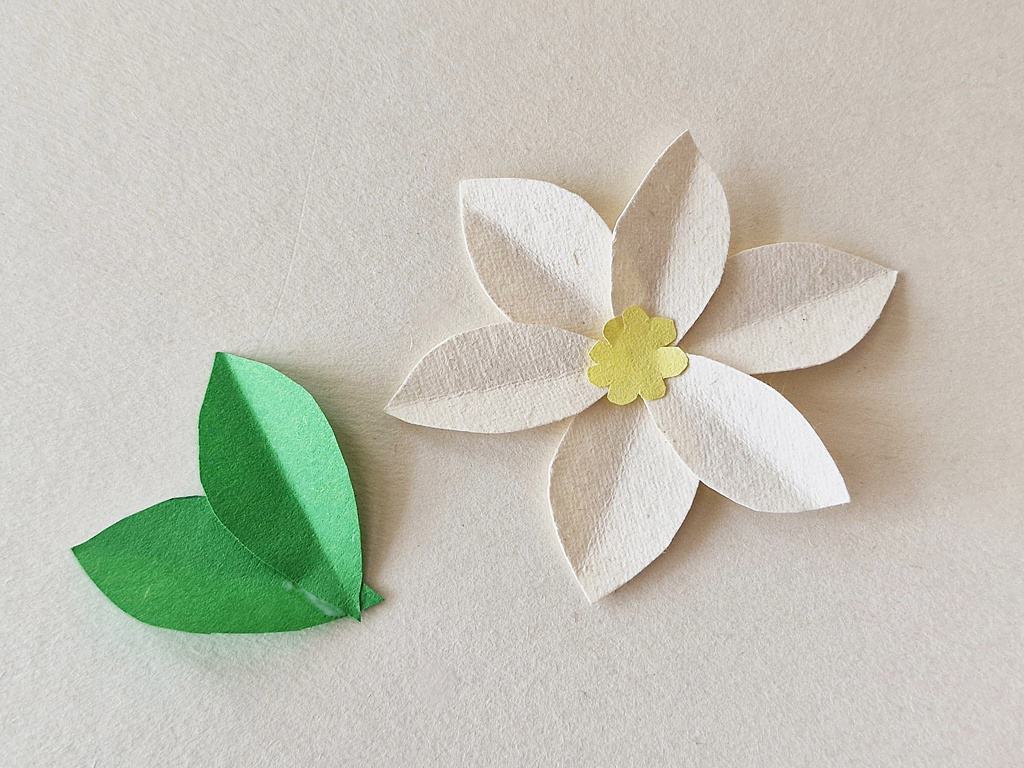
Glue the leaves behind the lily.
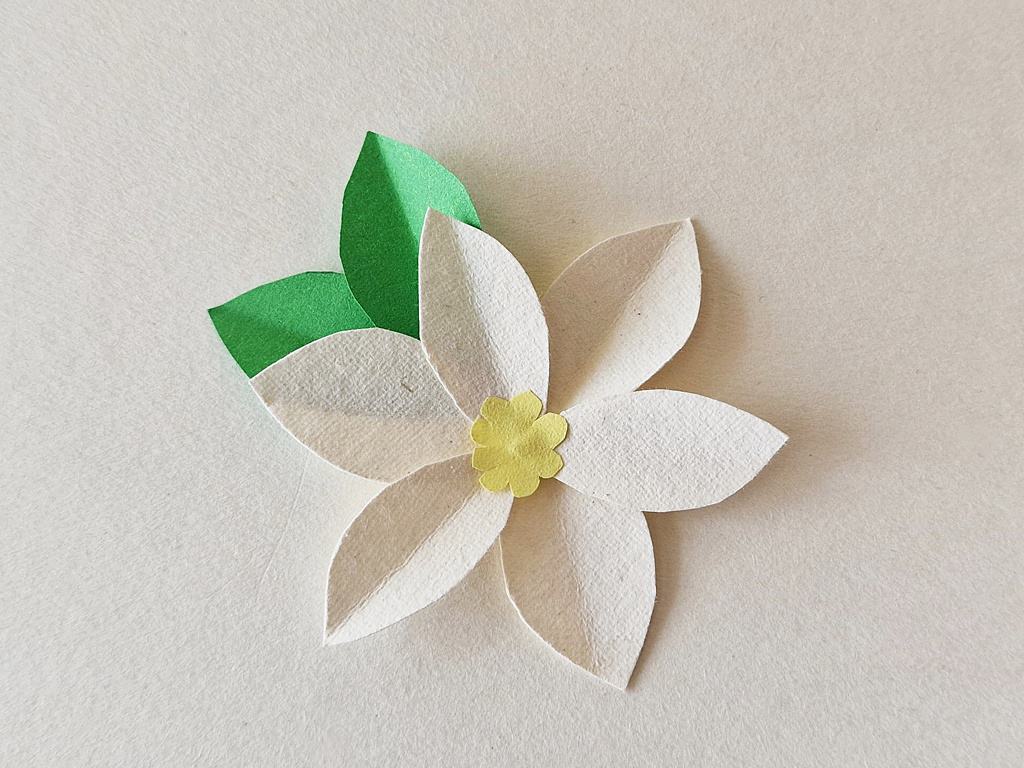
Use markers to trace outlines on each craft to give them a finished look, if you’d like.
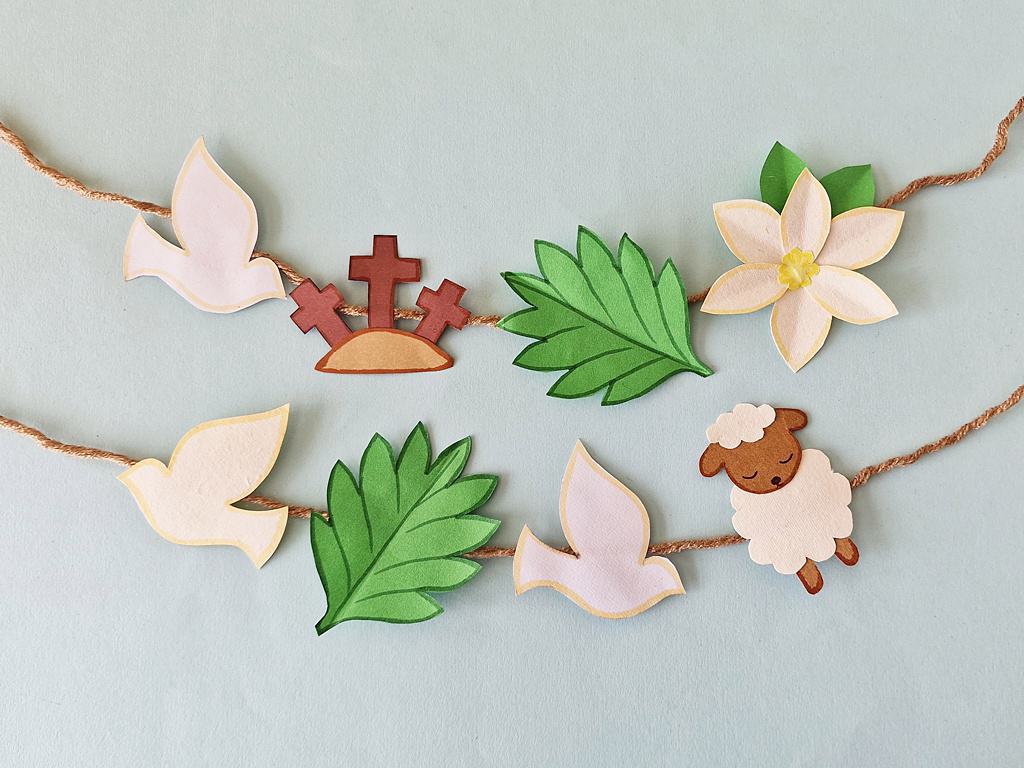
Continue making Easter items until you have as many as you’d like for the garland.
Cut long pieces of string or ribbon to make the garland.
Attach the ribbon or string to the back of each Easter item using glue or tape.
Be sure to allow the glue to dry.
Done attaching all the crafts to the string? Carefully turn the garland to the right side.


This is lovely! Curious if you use this to tell the gospel story. I’d love to hear more!
Hola buen dia y bendiciones .no me fije si tiene algun costo la inscripción. Quiero mas información