DIY Fall Gnome
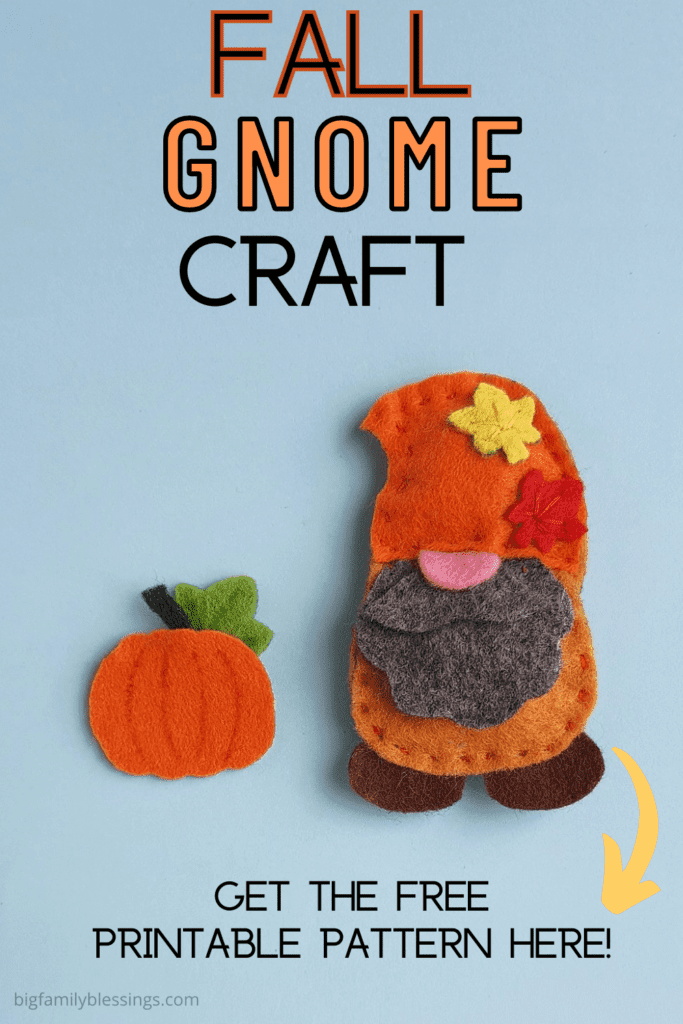
Gnomes and fall go hand in hand don’t they? Make the cutest ever DIY Fall Gnome to decorate with all season long.
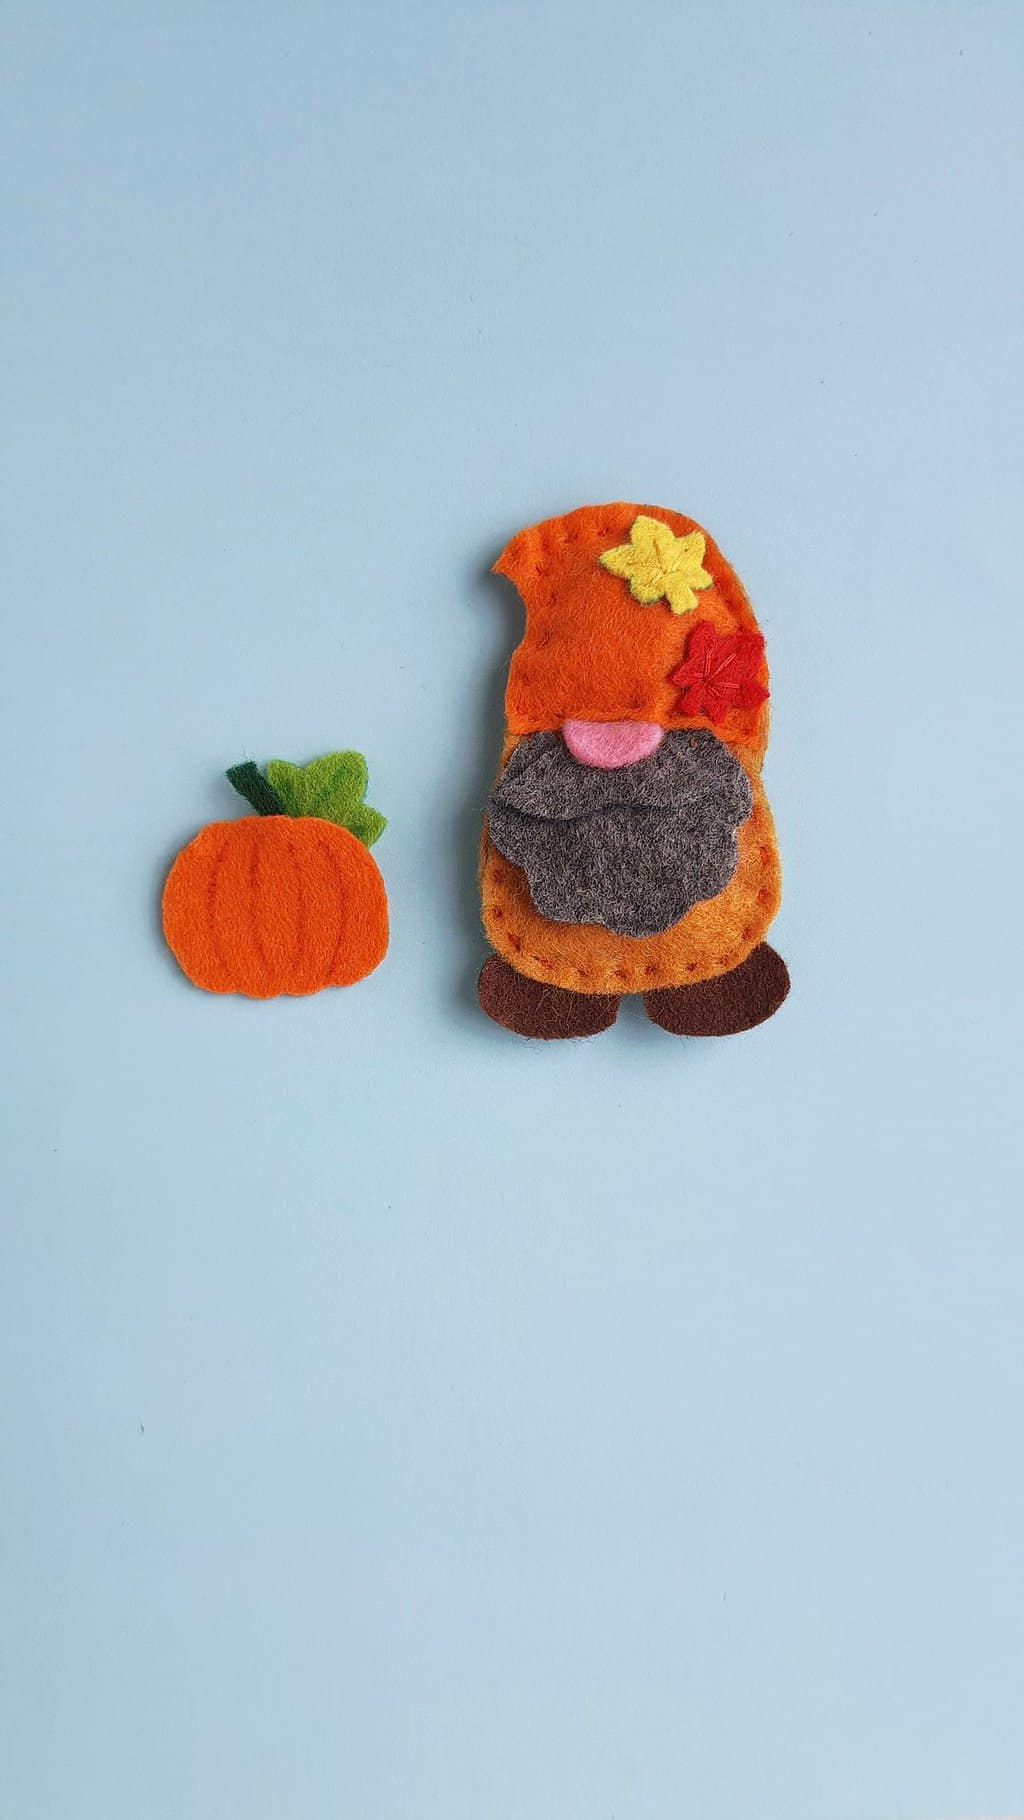
This adorable Fall gnome is the perfect craft for older kids and teens this fall. With just a few craft supplies and about half an hour and you’ll have an adorable gnome to display this fall.

How to make a DIY Fall Gnome
Supplies:
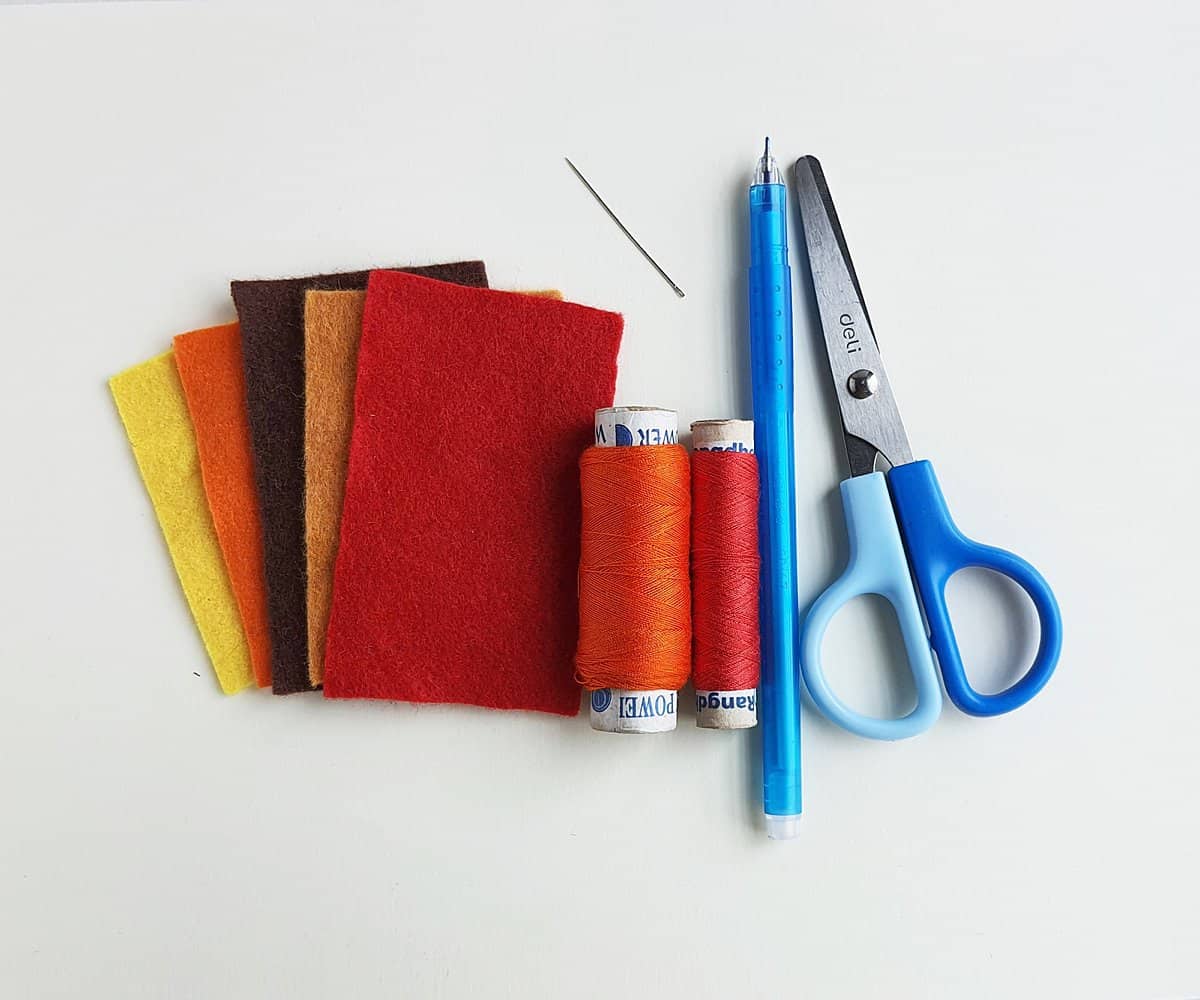
- Felt fabrics
- Matching threads
- Needle
- Pencil or fabric marker
- Scrap felt or cotton batting
- Scissors
- Template
Instructions:
Download and print out the fall gnome template. Cut out all of the pattern pieces.
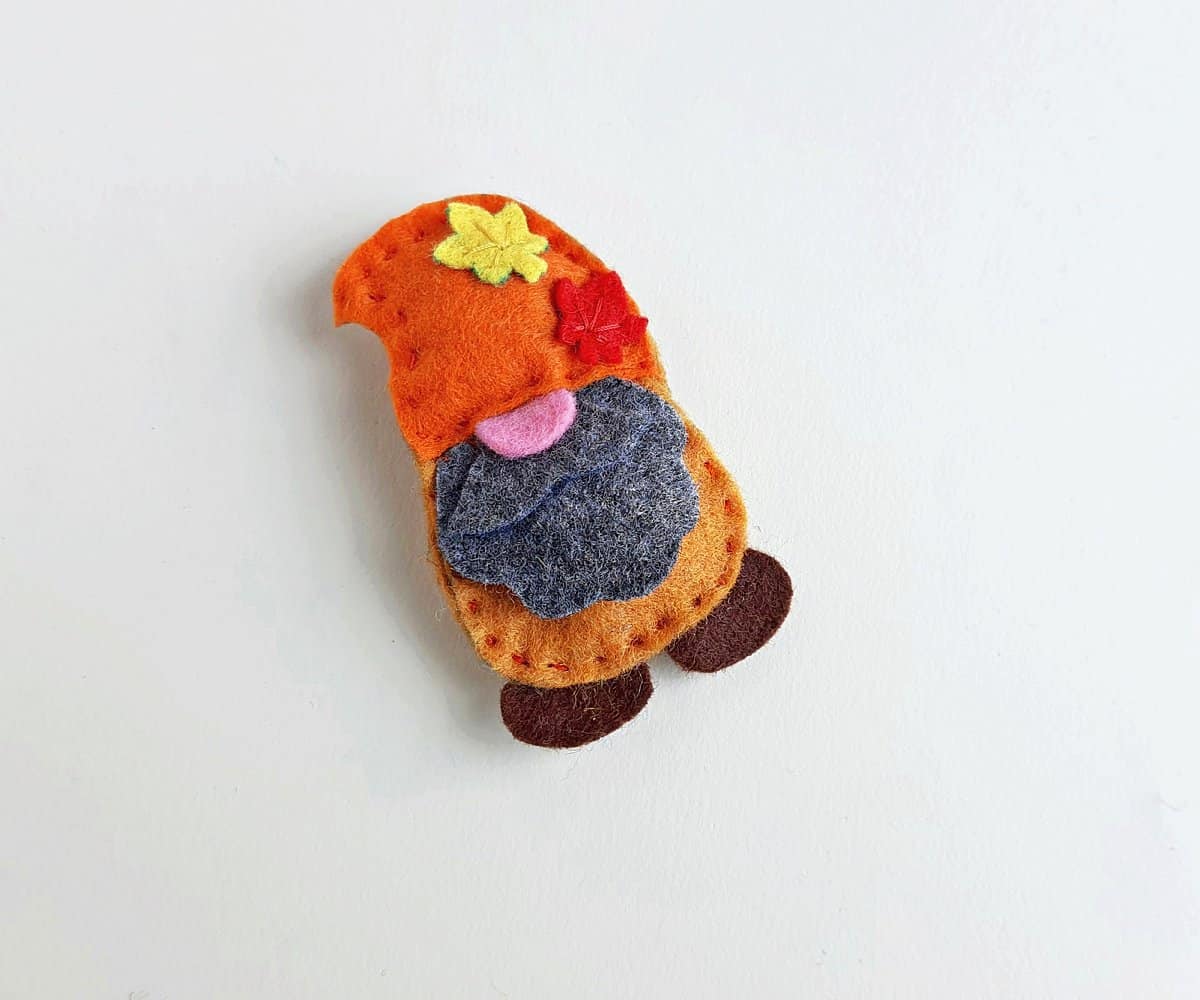
Select fall themed colored felt fabrics for the fall gnome plush. We’re using yellow, orange, light brown, dark brown and red for our gnome. For the beard and moustache we’re using grey, and for the nose pink felt.
Trace and cut out the patterns from the chosen felt fabrics.

Place and arrange the small maple leaf cutouts on the hat. Also, place the mustache cutout near the top part of the beard cutout.
Use needle and matching thread to attach the mustache to the beard right at the top. You should only need about 2 stitches to secure the pieces together.
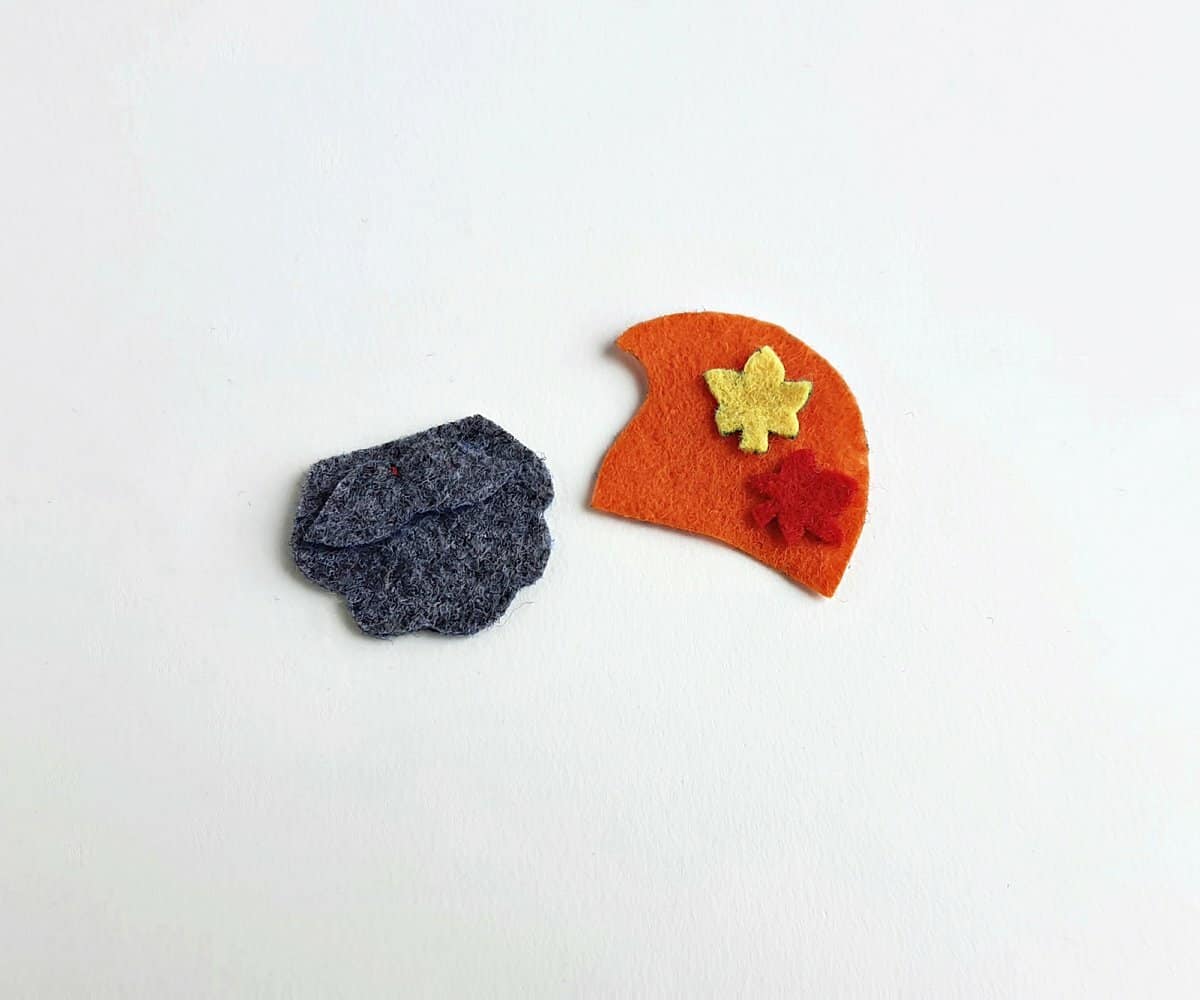
Stitch the maple leaf patterns on the hat.
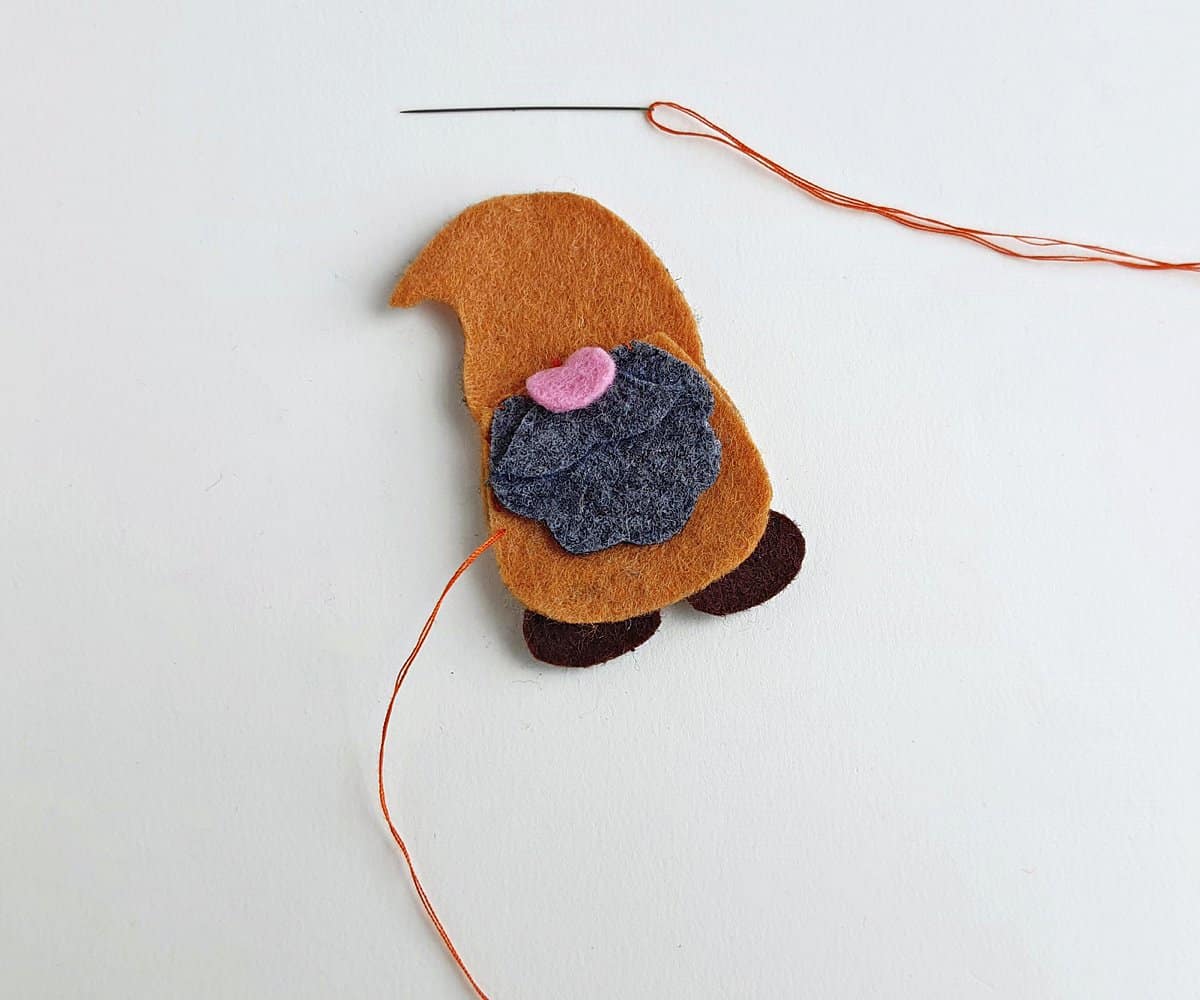
Place the nose on top of the mustache and make a few stitches to keep the nose in place.

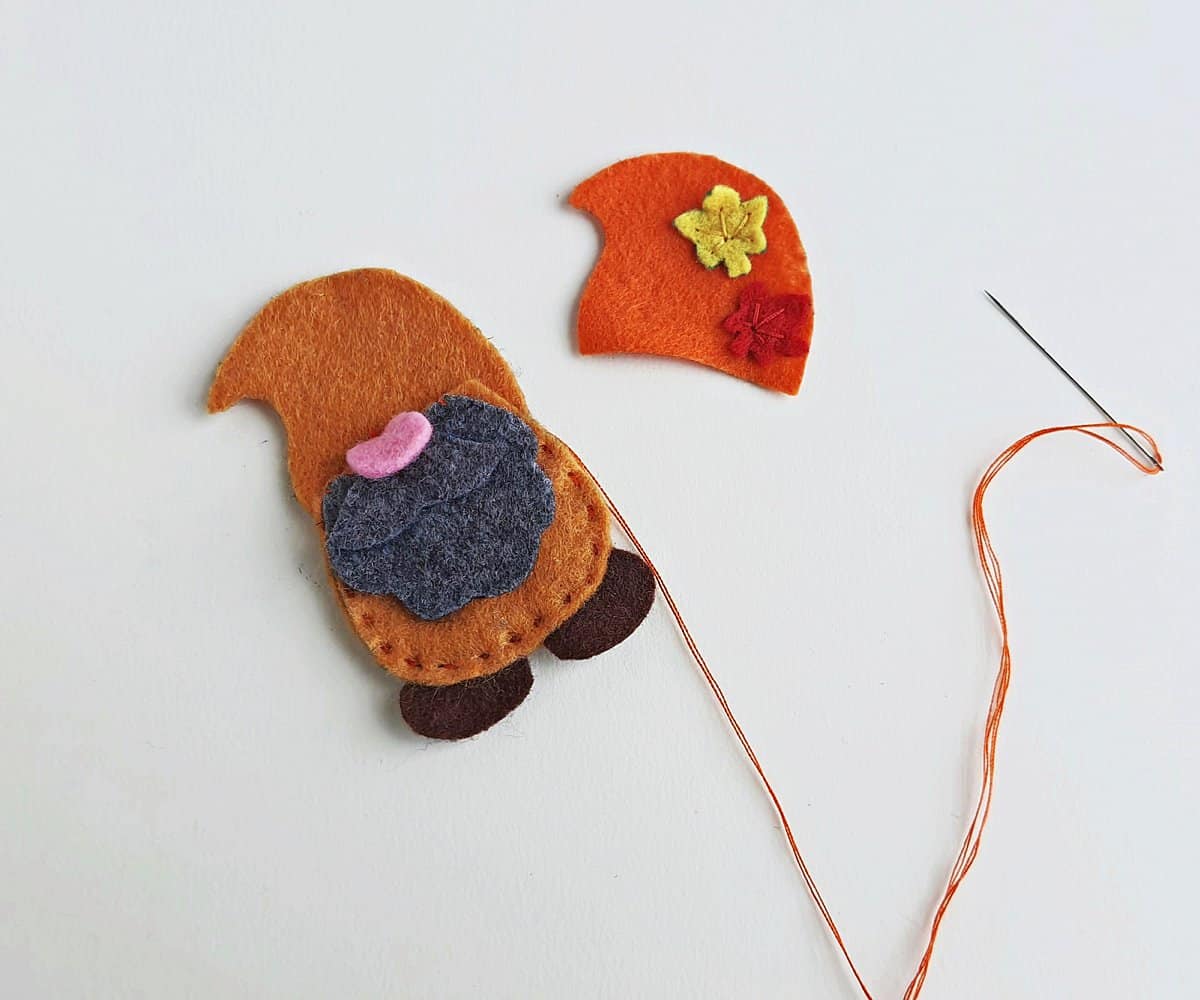
Place the beard on top of the gnome’s shirt cutout.
Stitch the top edge of the beard onto the shirt.

Place the shirt with beard attached on top of the large base piece (which will be the back side of your gnome.
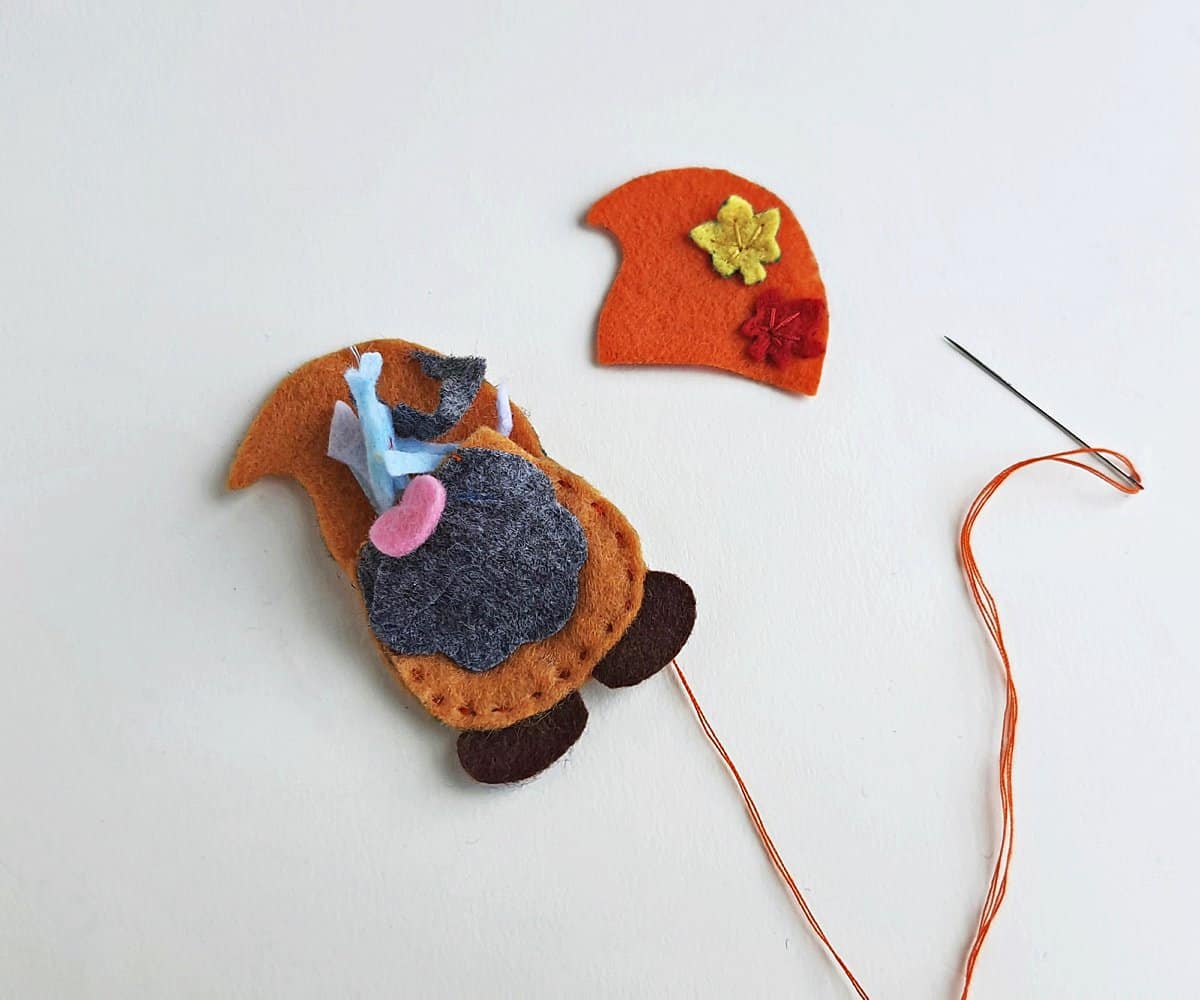
Sandwich the shoes between the front and back of the gnome, leaving most of the shoes hanging out the bottom of the gnome.
Stitch around the sides and bottom of the shirt, leaving the top edge open. Securing the base (backside) of the gnome to the front and attaching the shoes between the two pieces.
Stuff the gnome pattern with scrap felt or cotton batting through the open top end of the shirt.
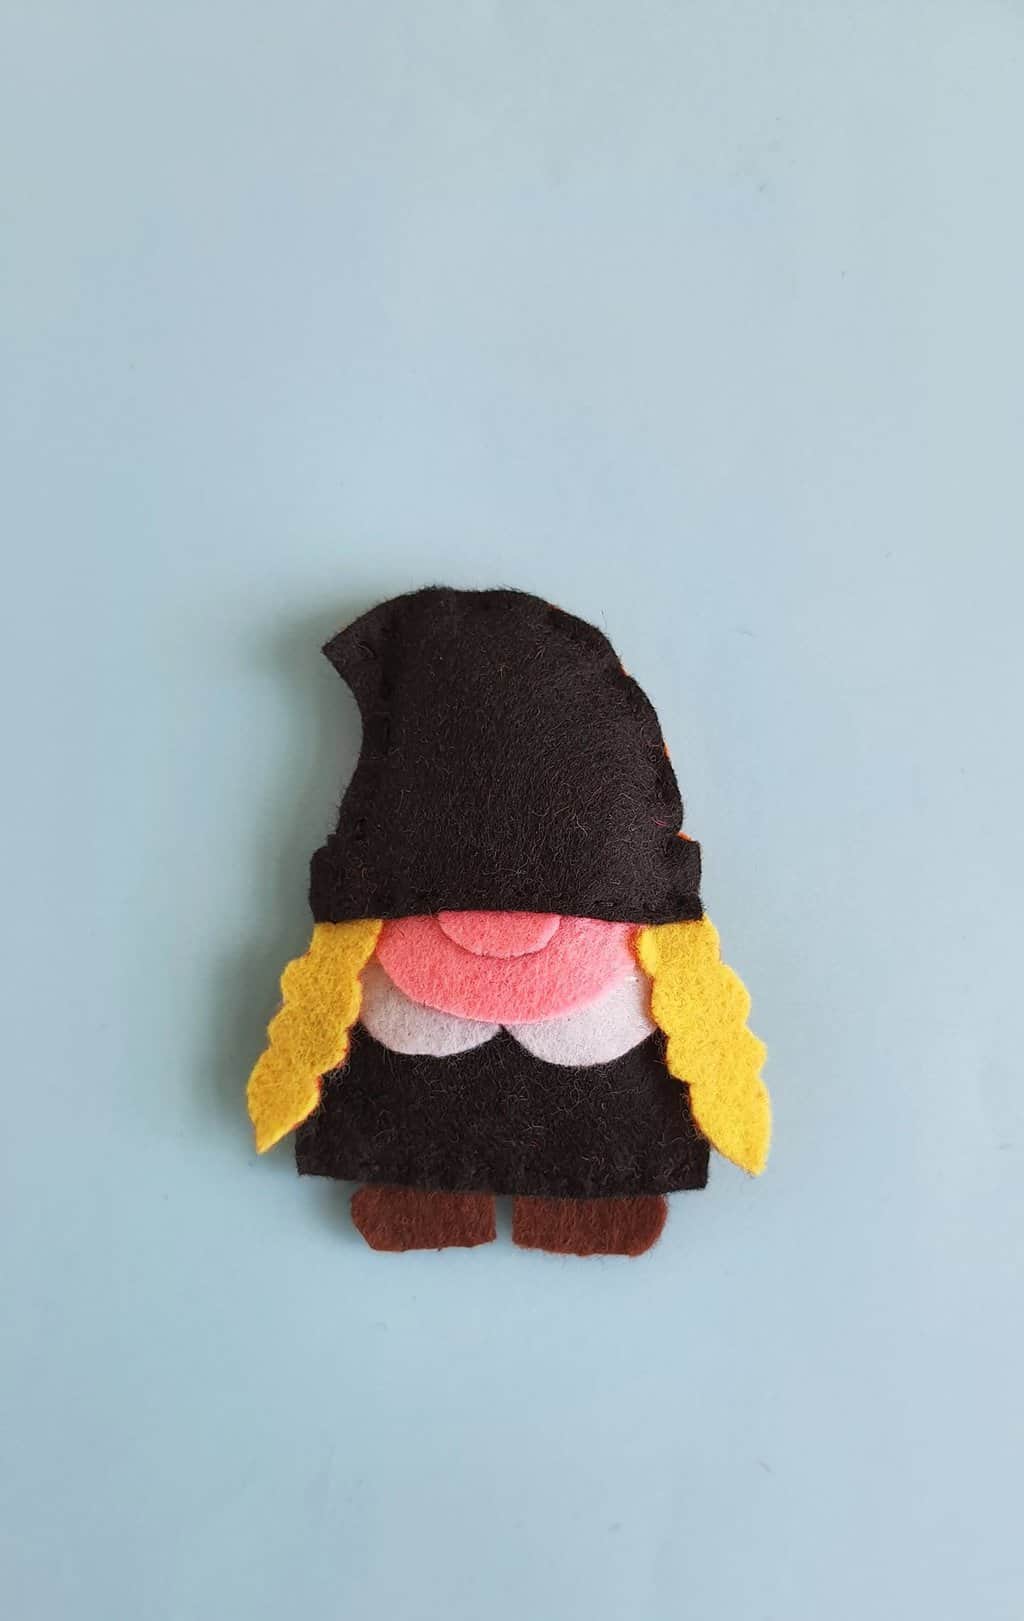
After you’re done stuffing, place the hat on top of the gnome slightly overlapping the gnome’s nose and beard.
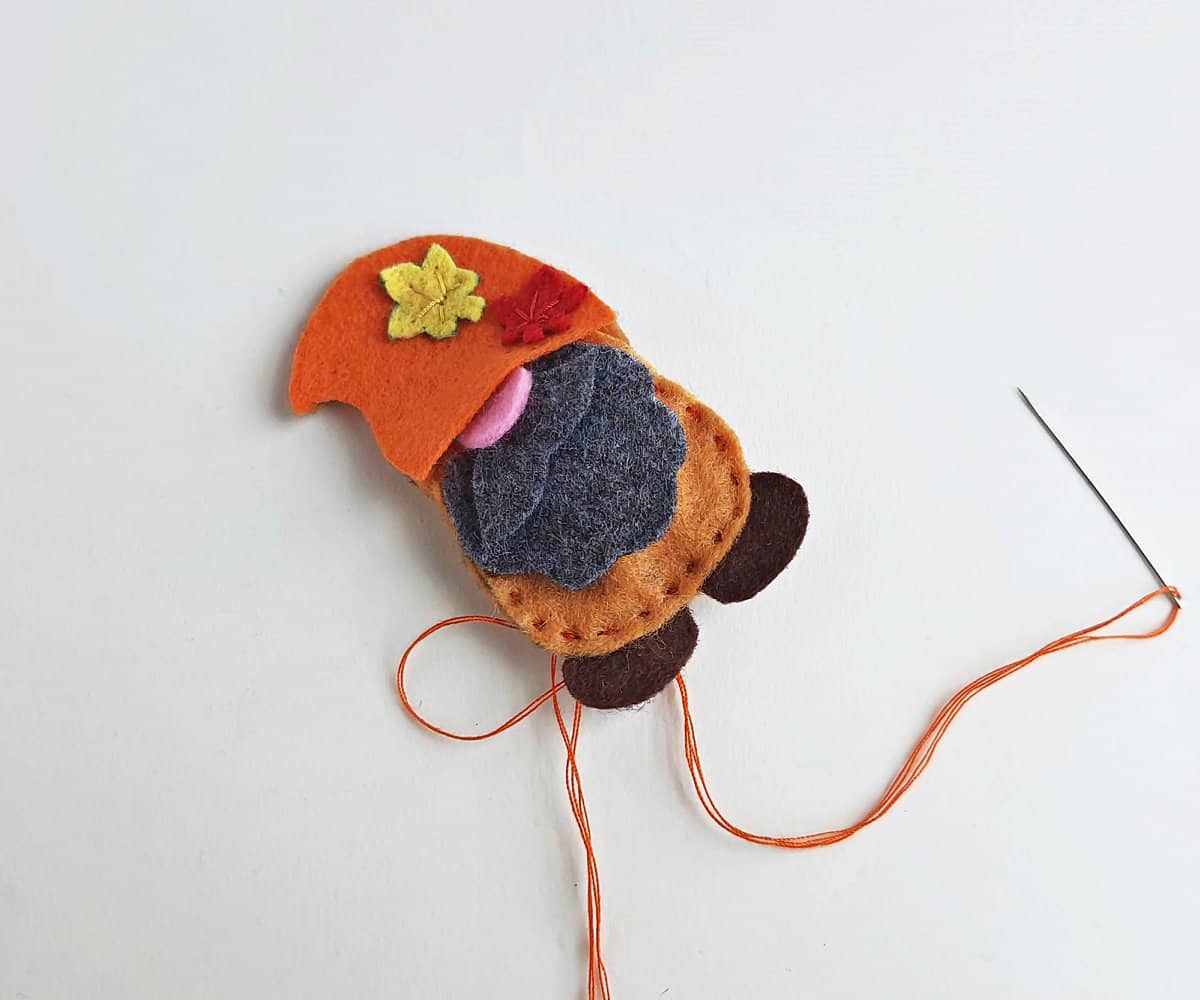
Stitch around the sides of the hat to attach it to the back of the gnome, but leave the bottom edge of the hat open.
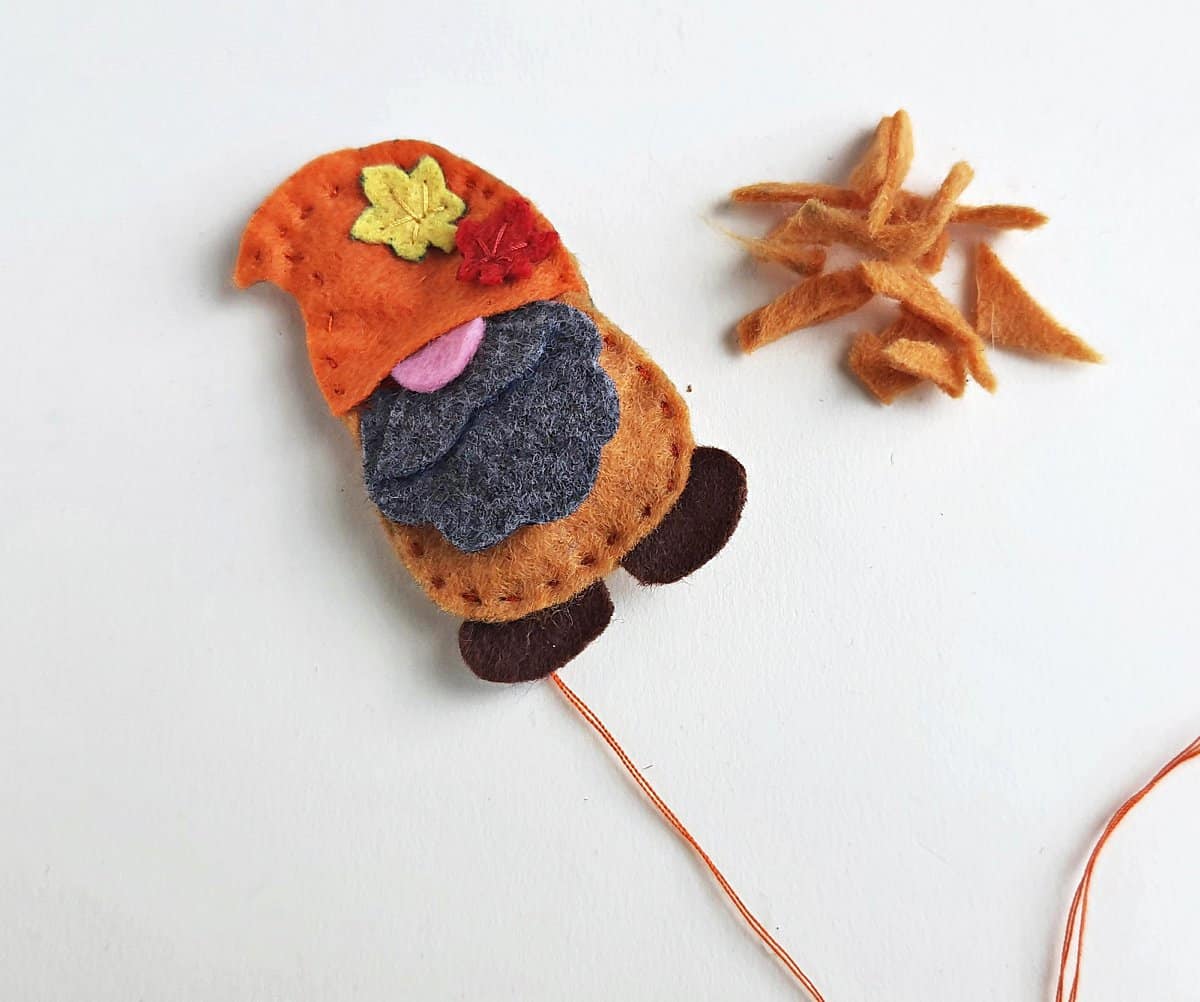
Stuff the hat with more scrap felt or cotton batting. Then stitch the bottom side of the hat closing the gnome.
Once you’re done stitching, tie a knot or two, insert the remaining thread into the plush and cut off extra thread if required.