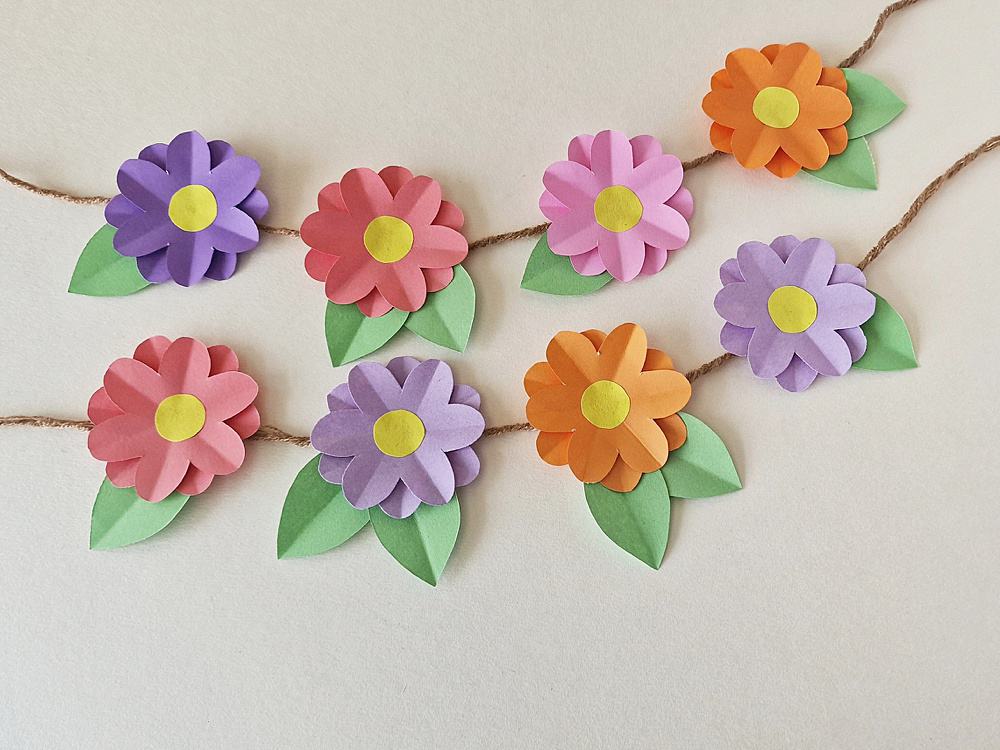
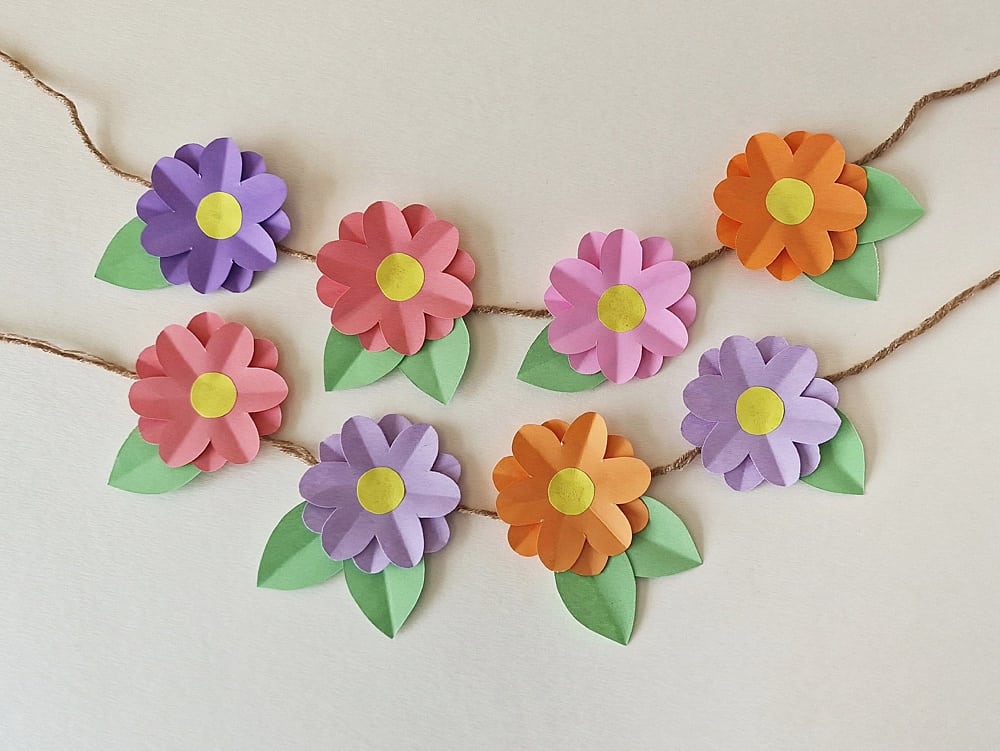
DIY Spring Paper Garland
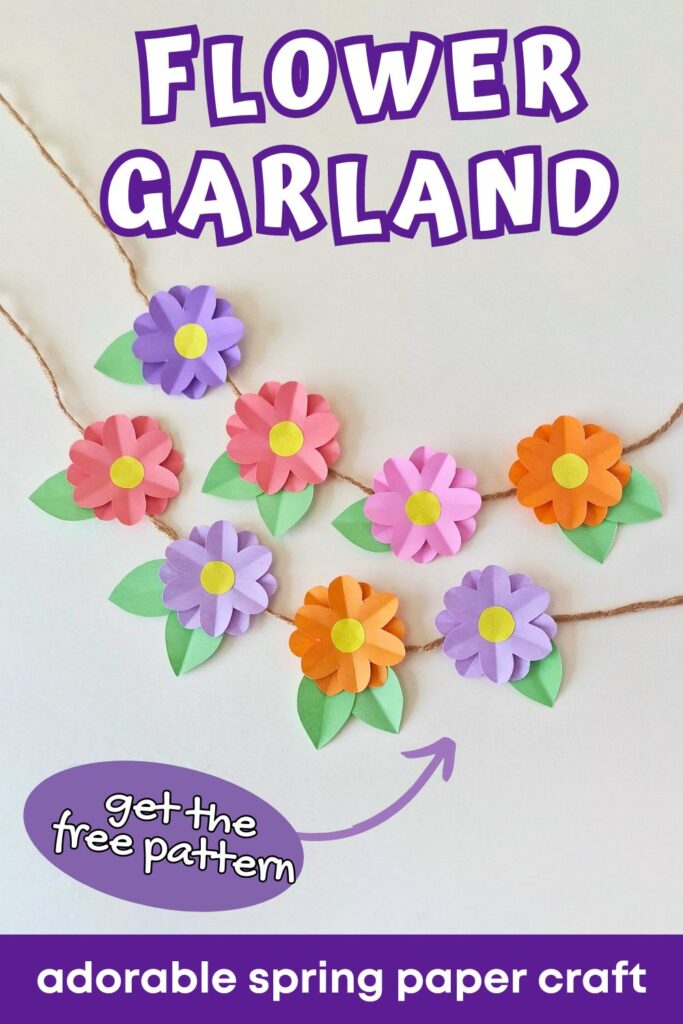
This adorable DIY Spring Flower Paper Garland is a great spring craft for kids of all ages.
Teens will enjoy creating this fun spring craft and decorating their bedroom door or headboard. This DIY Flower Paper Garland is super easy to make, so younger kids will also love making it too!
Simply print out the free template below, and follow the simple step by step instructions to make this fun paper craft for spring. After crafting, use the Paper Fall Garland to decorate your home for the season!
How to make a Spring Flower Paper Garland
List of Supplies:
- Colored craft papers
- Craft glue
- Pencil
- Markert
- String
- A pair of scissors
- Template
Instructions:
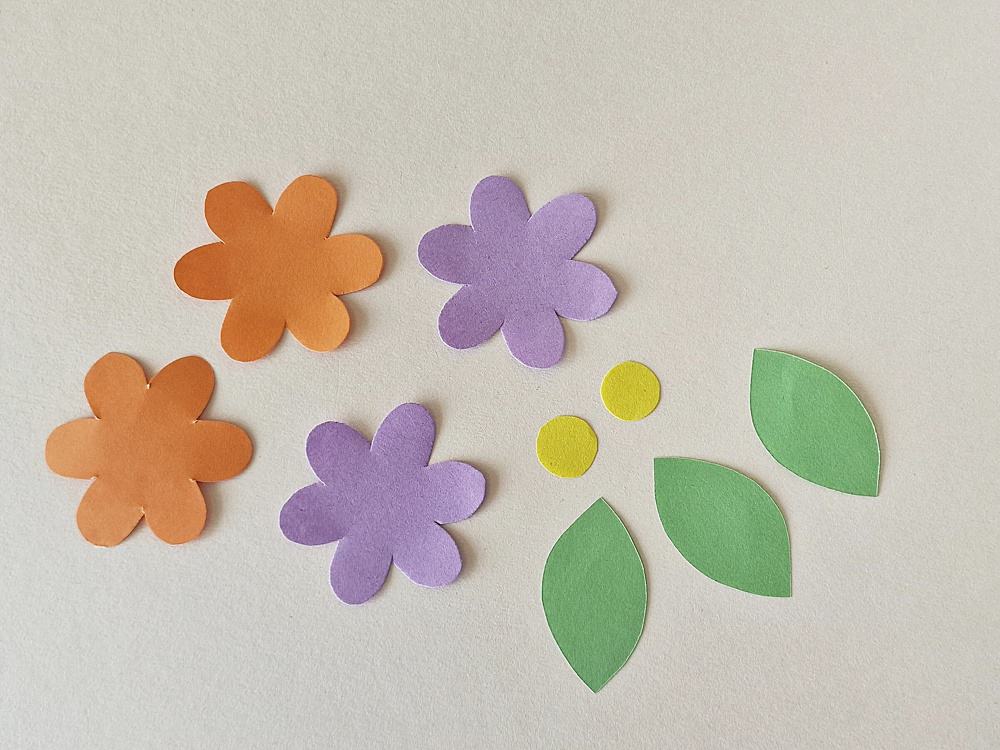
Download and print out the spring flower garland template. Cut out the pattern pieces.
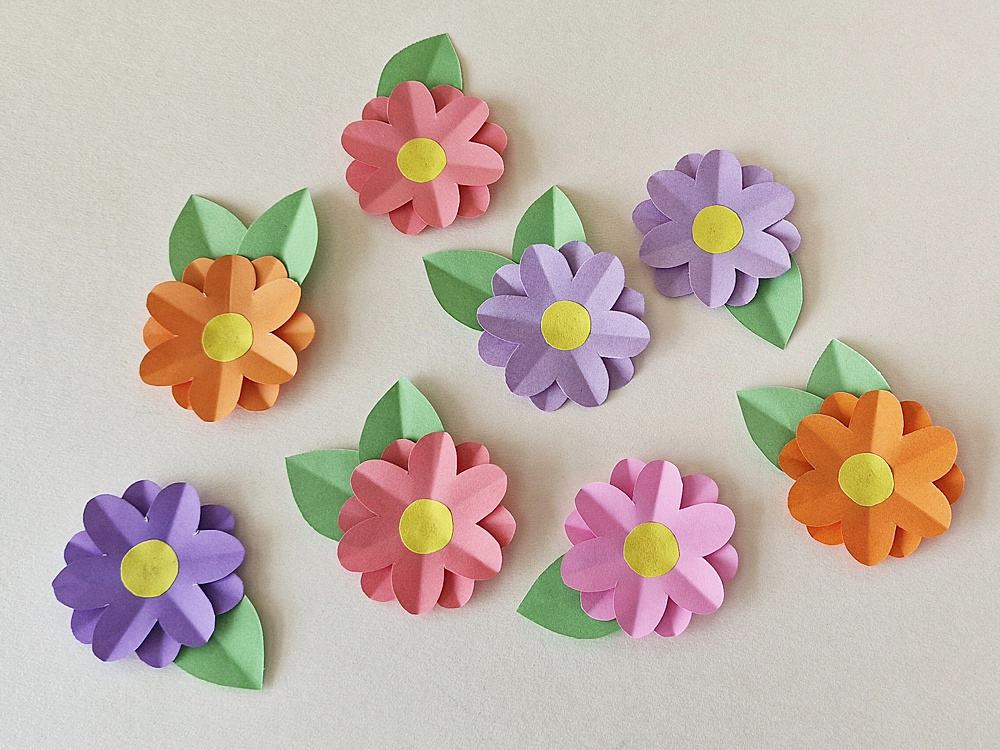
Select pastel colored craft papers for the flower and leaf patterns.
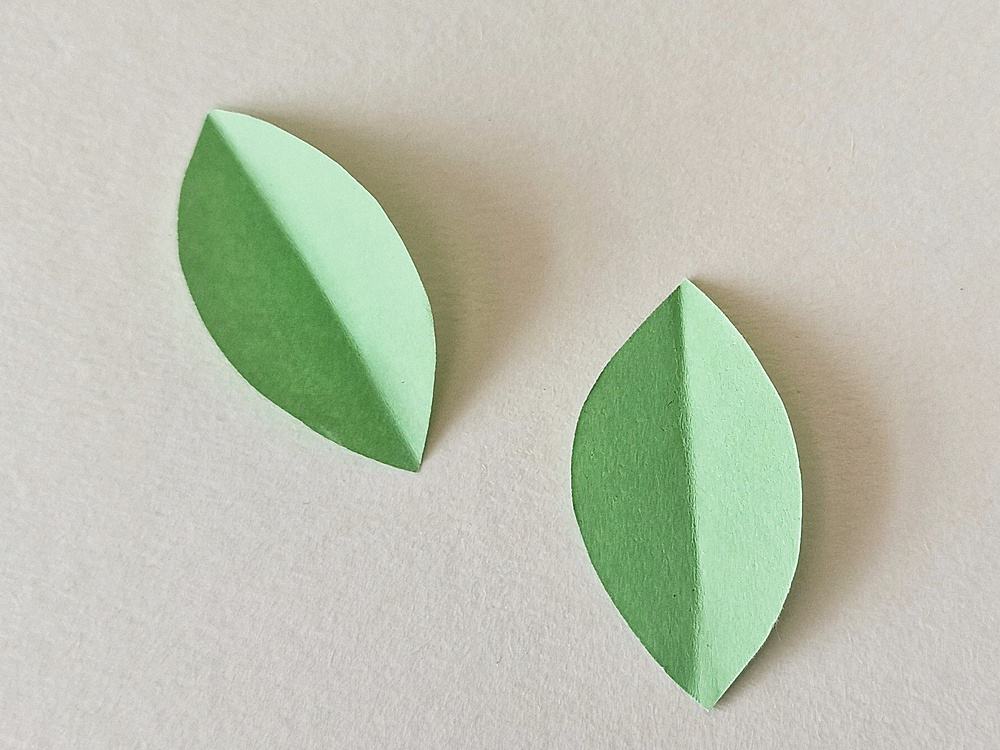
Trace the patterns on the selected colored craft papers and cut them out nicely using a pair of scissors.
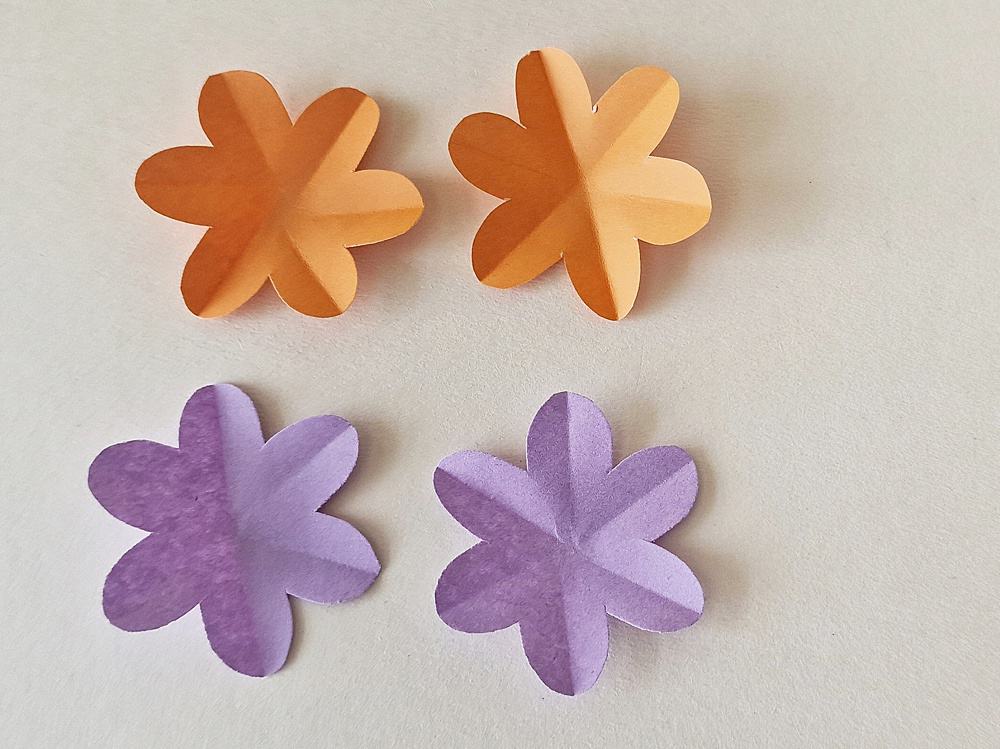
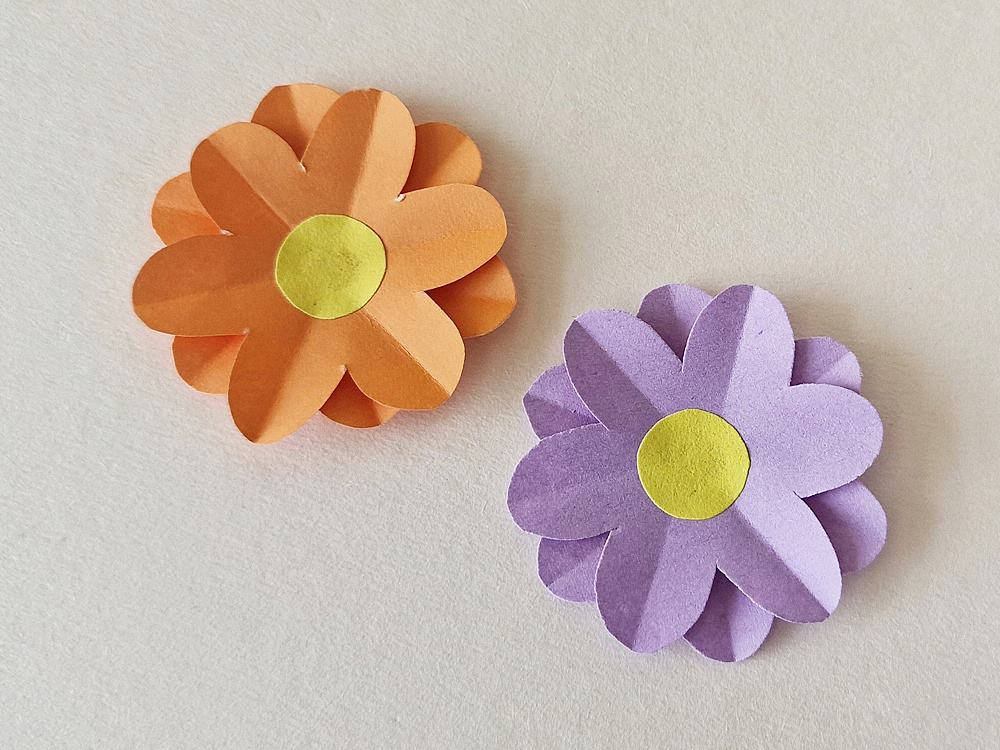
Take a flower cutout and make creases on the petals, by making folds from the tip of the petal and towards the center of the flower.
Similarly, fold the rest of the flowers.
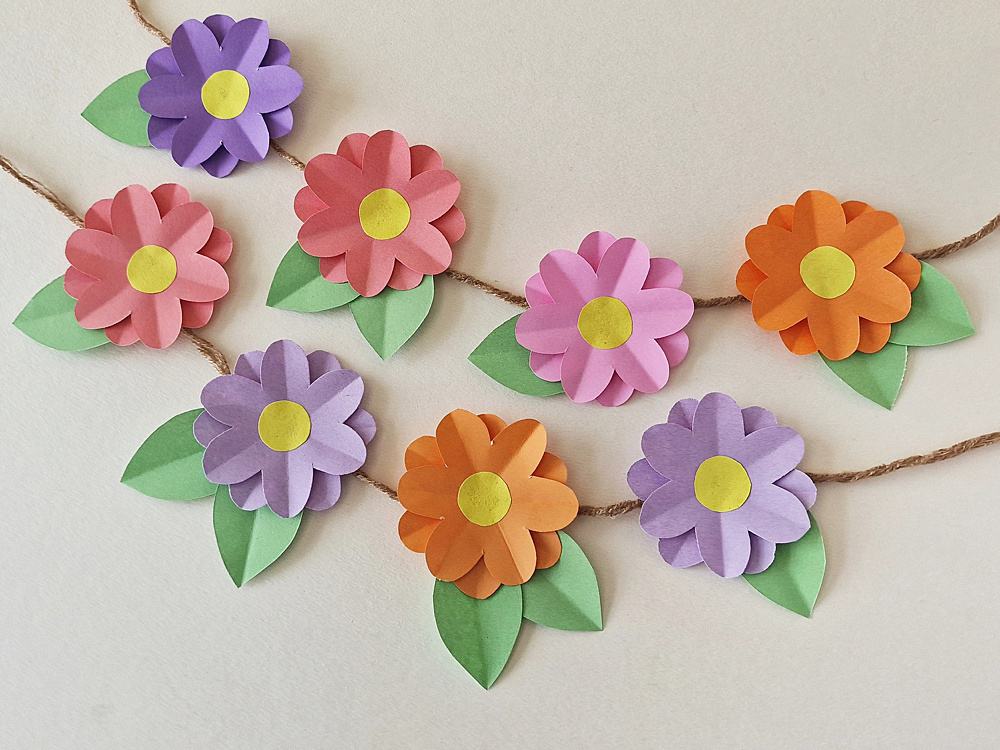
To make a flower for the garland, place a creased flower on the top of another creased flower, twisting the top flower as shown below. Use glue to connect the flowers together.
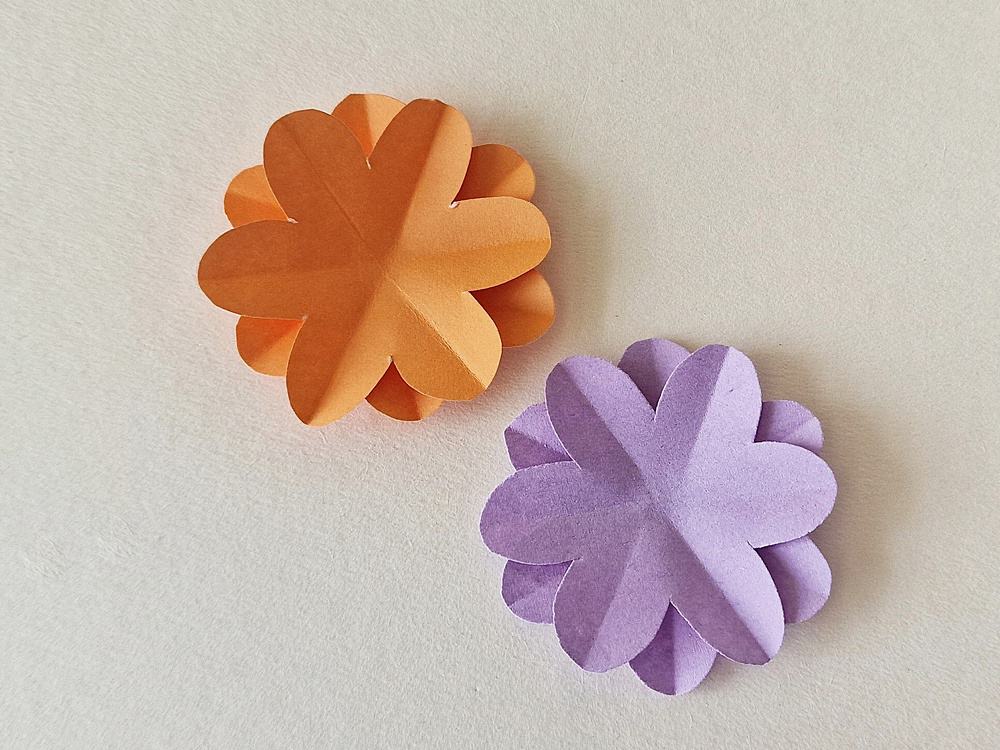
Glue the round cutout in the center of a flower to complete the flower part of the garland.
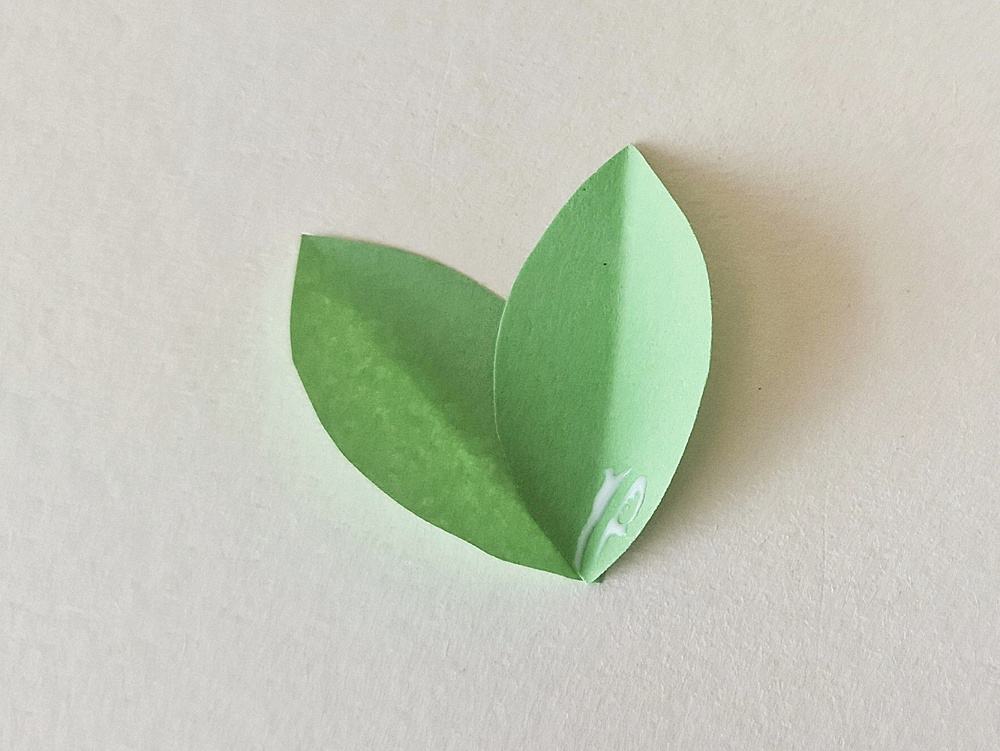
Take the leaf cutouts and fold them in half along the longer side.
Glue 2 or 3 leaves together.
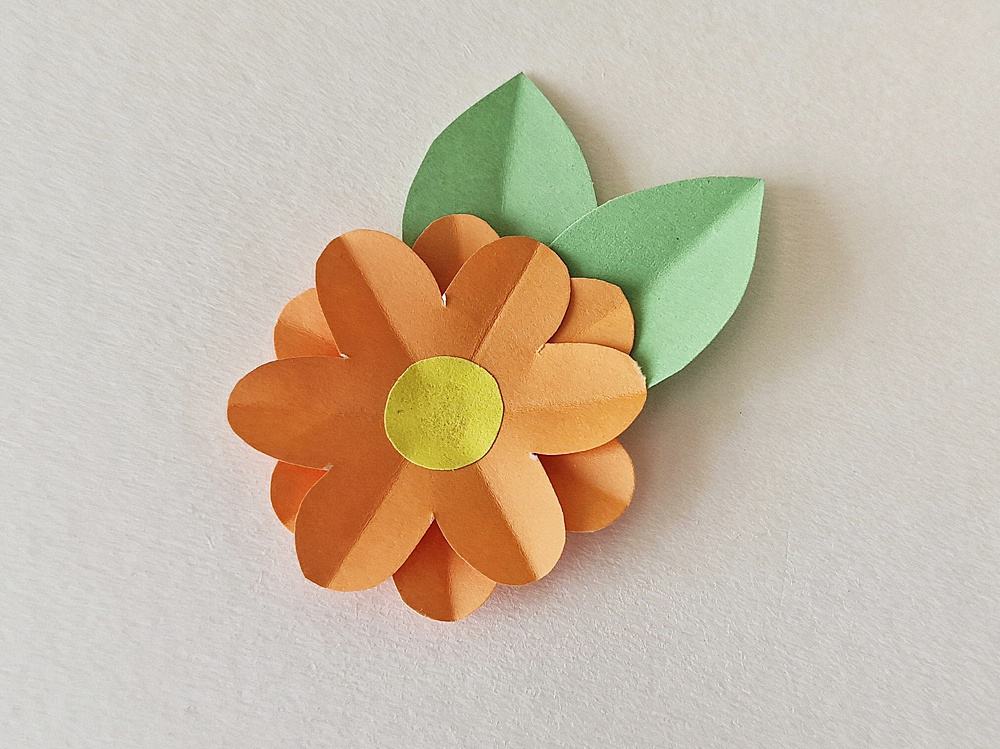
Glue the leaves to the back of a flower.
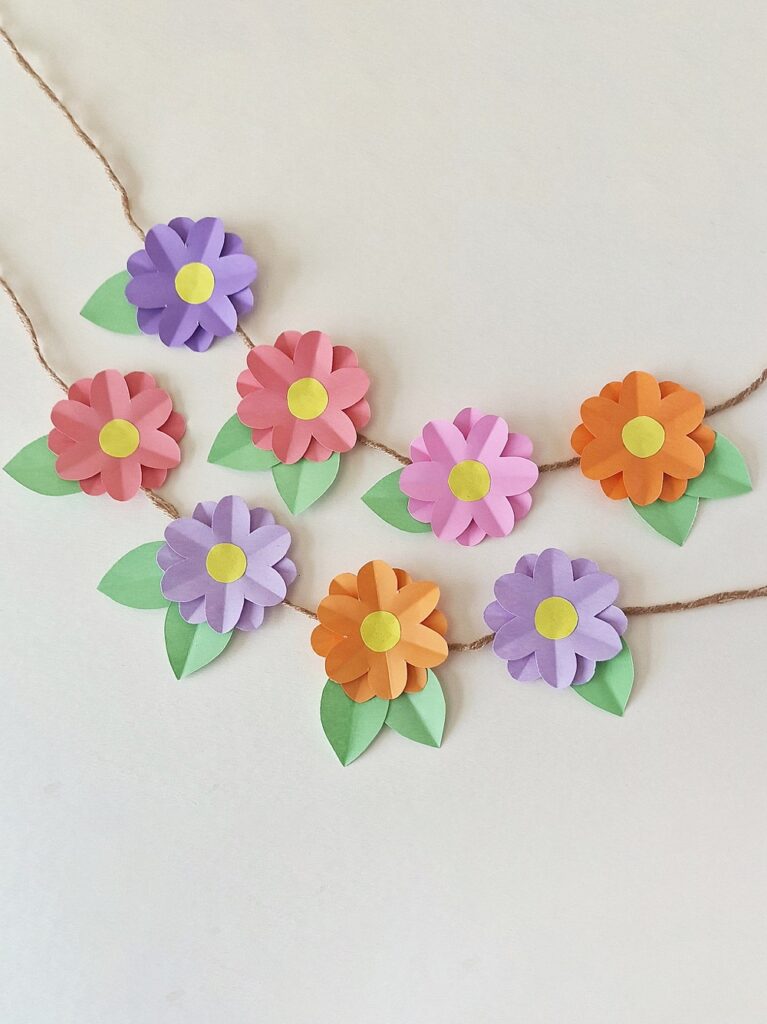
Continue making flowers and the leaves, until you have as many as you’d like for the garland.
Cut a few long strings or ribbons for the garland.
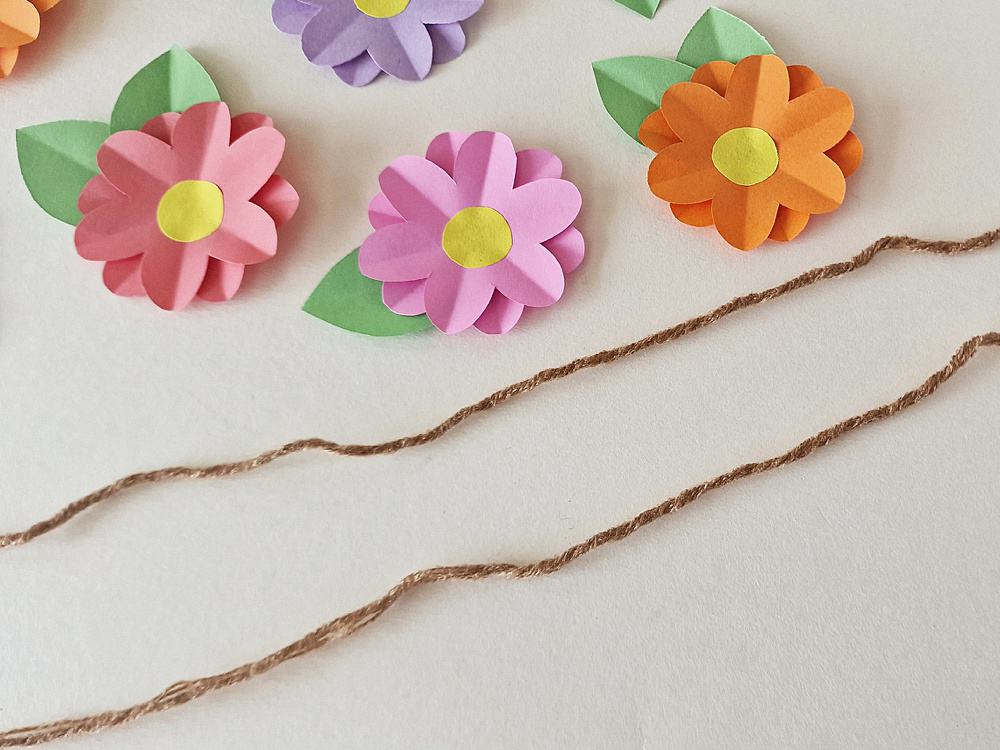
Glue or tape the string to the back side of the flowers.
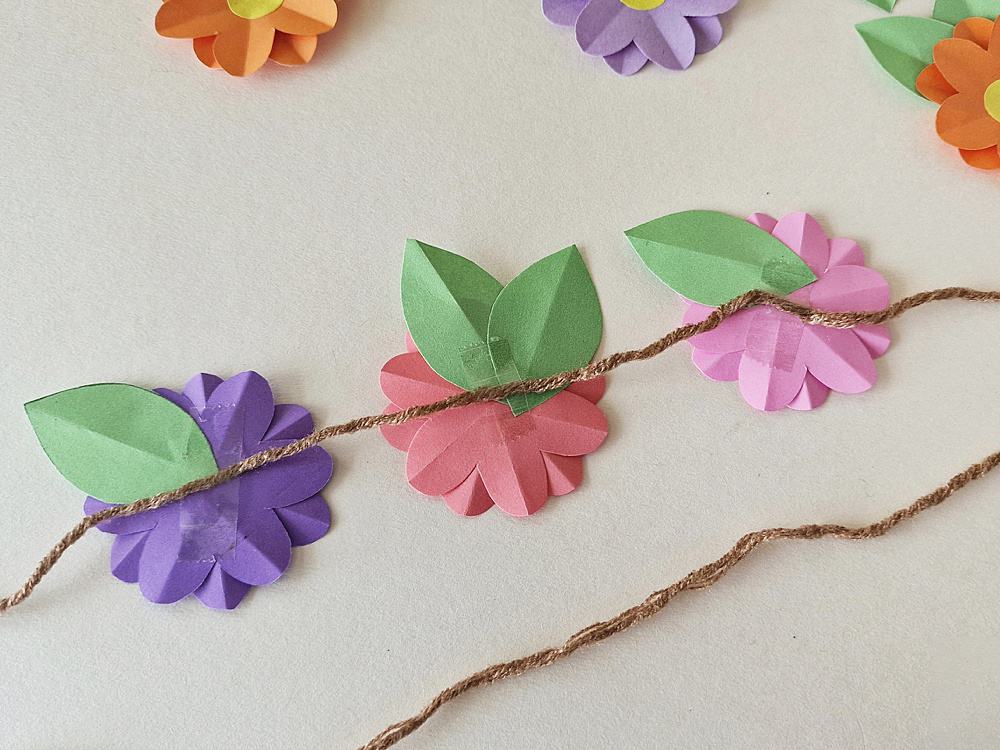
Allow the glue to dry and then carefully turn the garland to the right side.