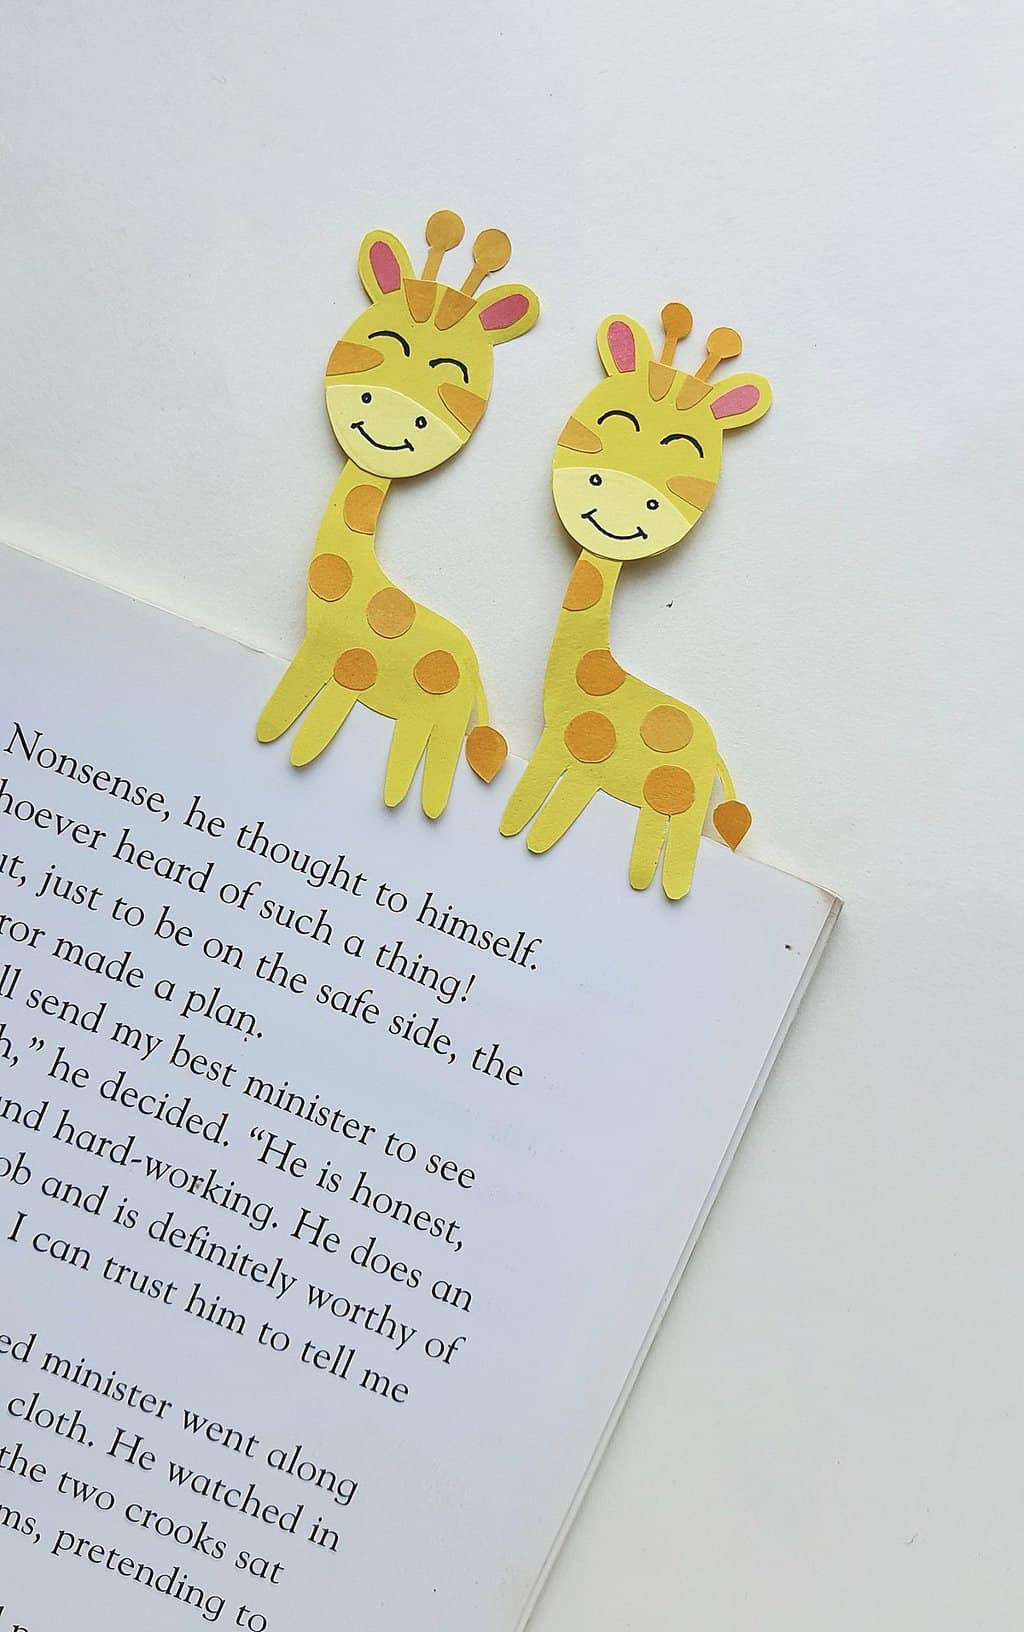
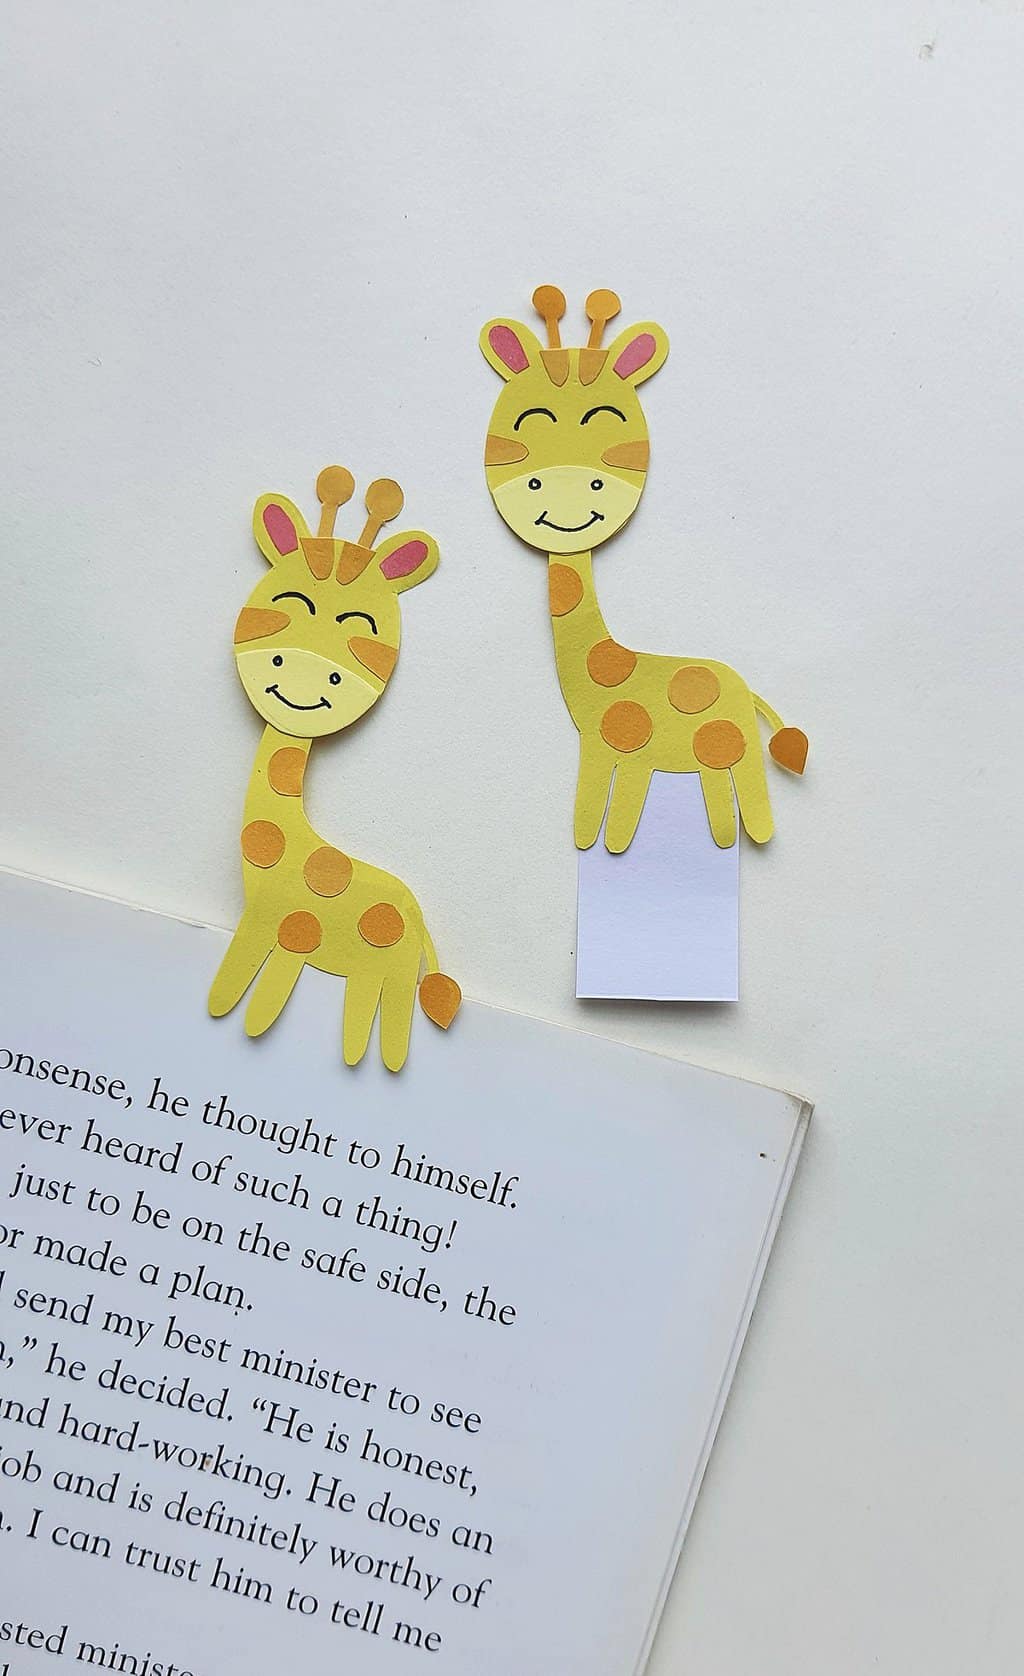
Giraffe Bookmark Craft
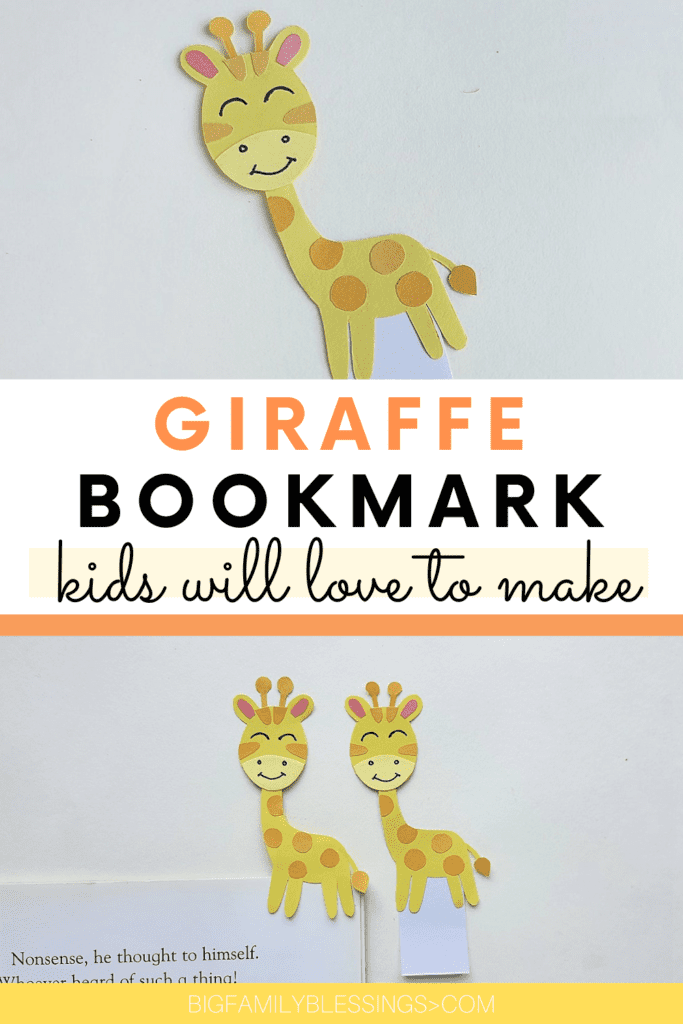
Reading just got a whole lot cuter with this adorable Giraffe bookmark craft.
Giraffe
How to make a Giraffe Bookmark
List of Supplies:
- Colored craft papers
- Card stock or heavy weight paper
- Marker or gel pen
- Craft glue
- Pencil
- Scissors
- Template
Instructions:
Download and print out the giraffe bookmark template. Cut out all of the pattern pieces
Select 2 different shades of yellow colored craft papers along with orange and pink colored craft papers.
You will also need cardstock paper for the bookmark base.
Trace and cut out the giraffe patterns from the selected craft papers.

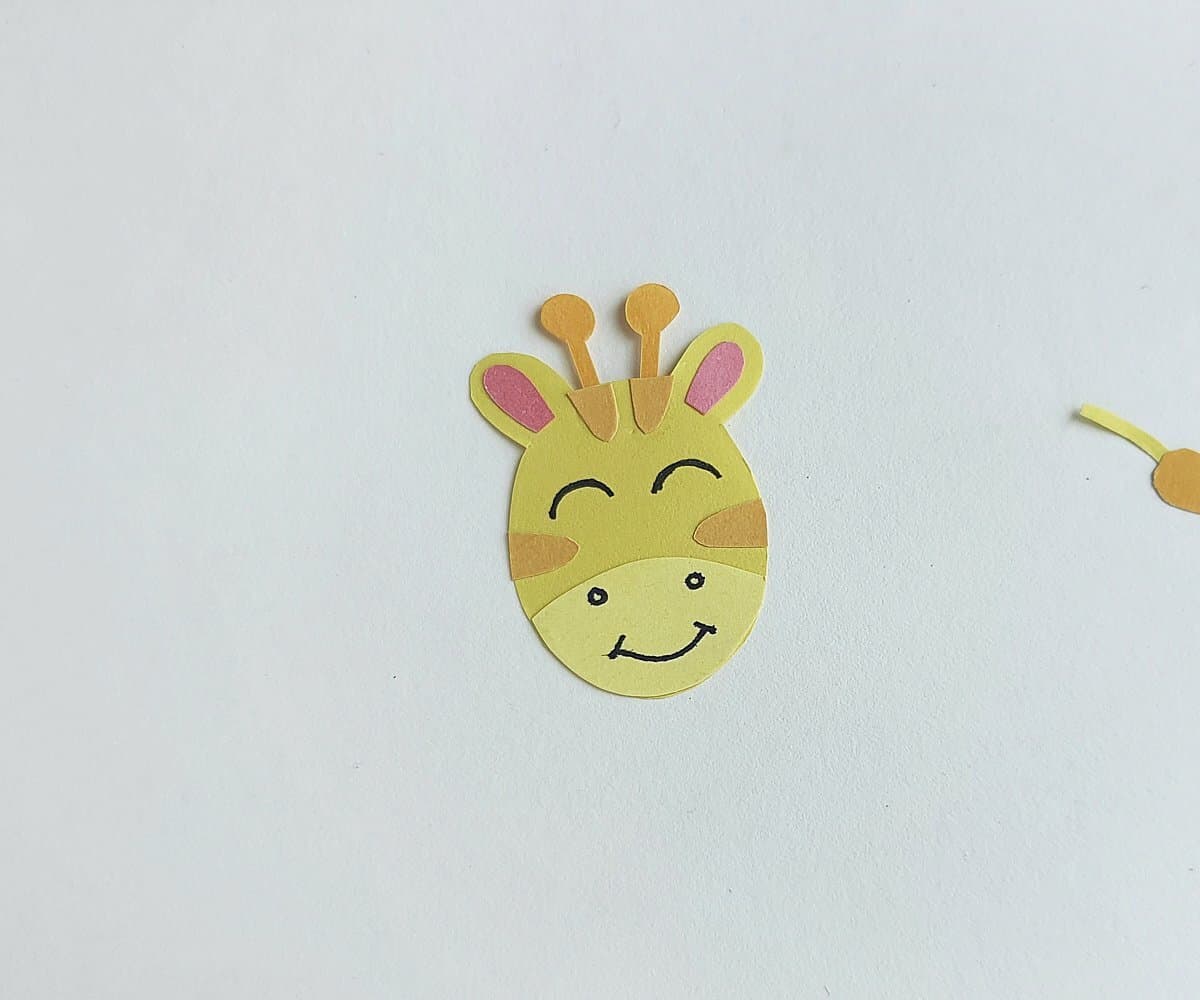
Attach the mouth on the lower part of the head cutout and attach the inner ear cutouts on the ear parts of the head cutout.
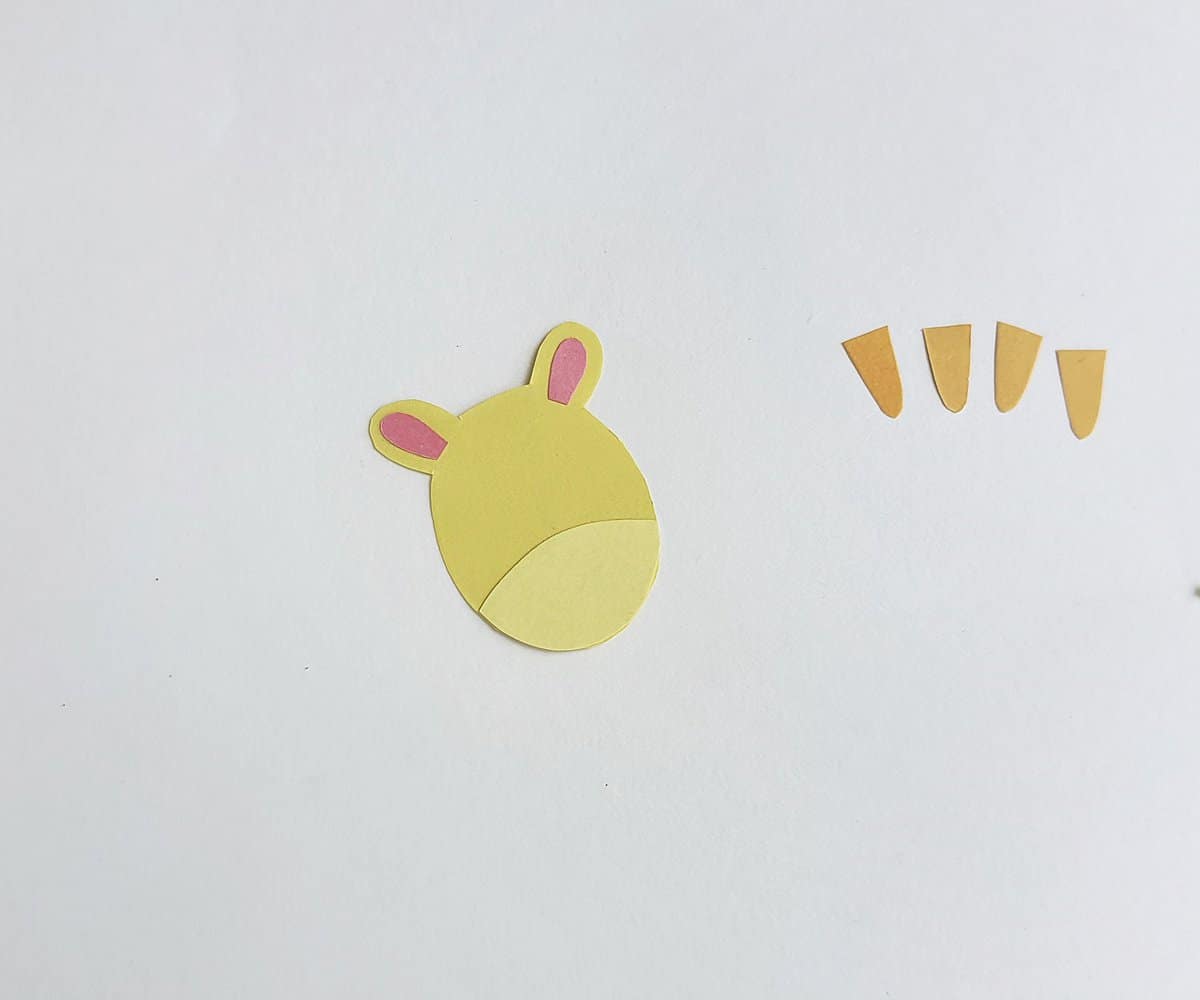
Attach the horn cutouts on the top of the head pattern.
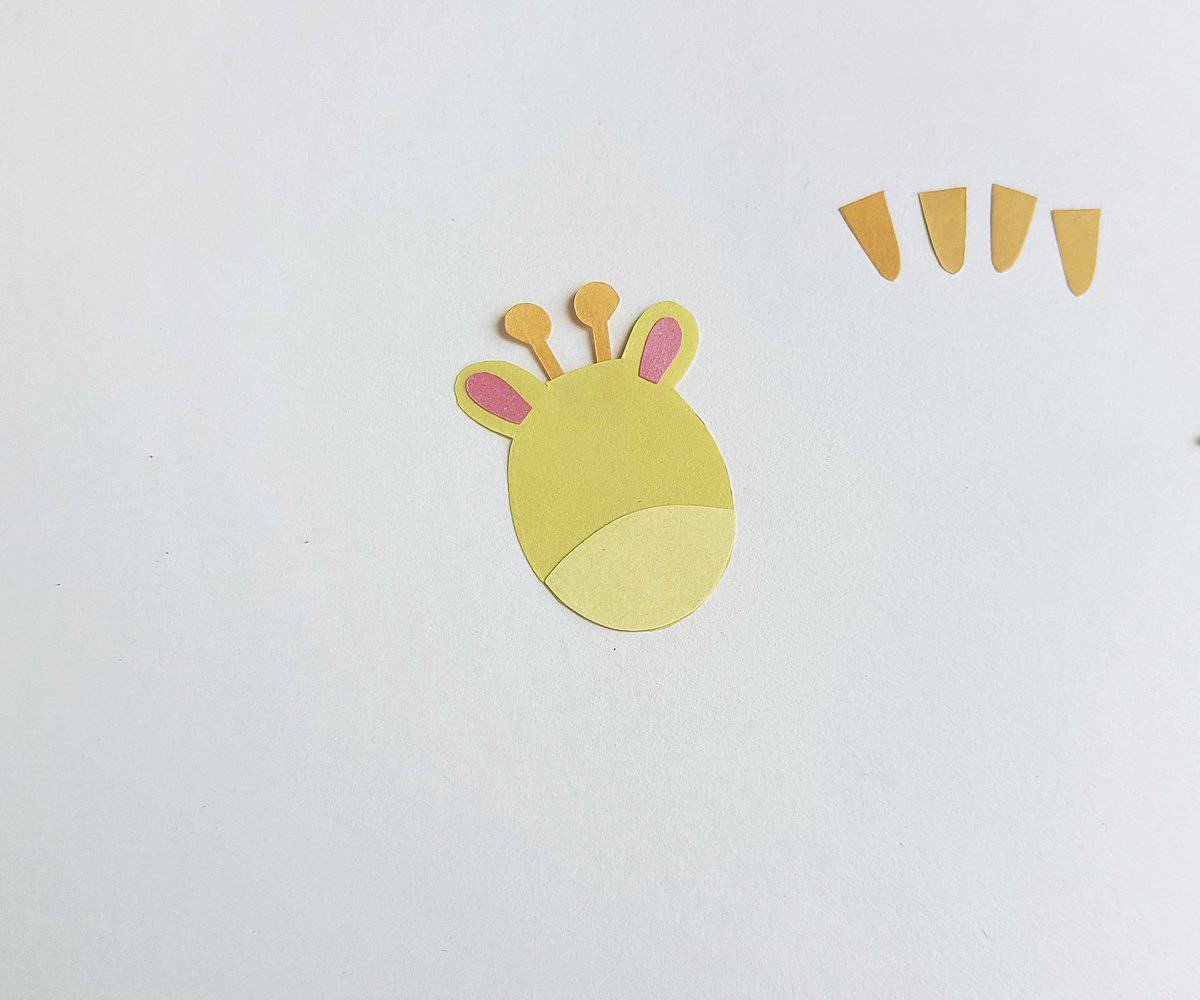
Attach a triangular spot cutouts on each sides of the giraffes face. Also glue two triangle cutouts just under the horns.
Use a maker or gel pen to draw the eyes, nose and mouth onto the giraffe.
Attach the tail tip on the end of the tail cutout and attach the spot cutouts on the body cutout.
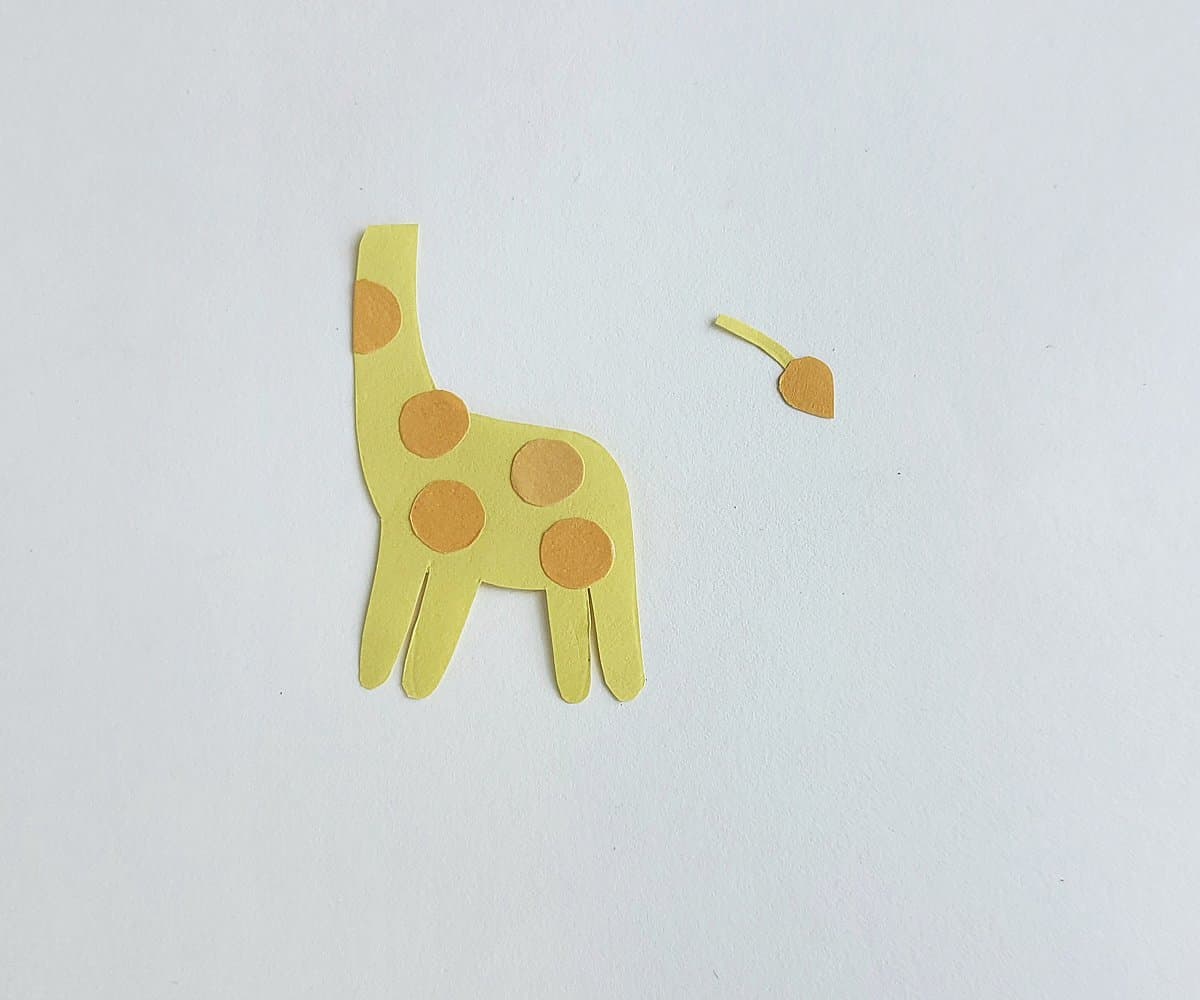
Attach the tail on the backside of the body piece.

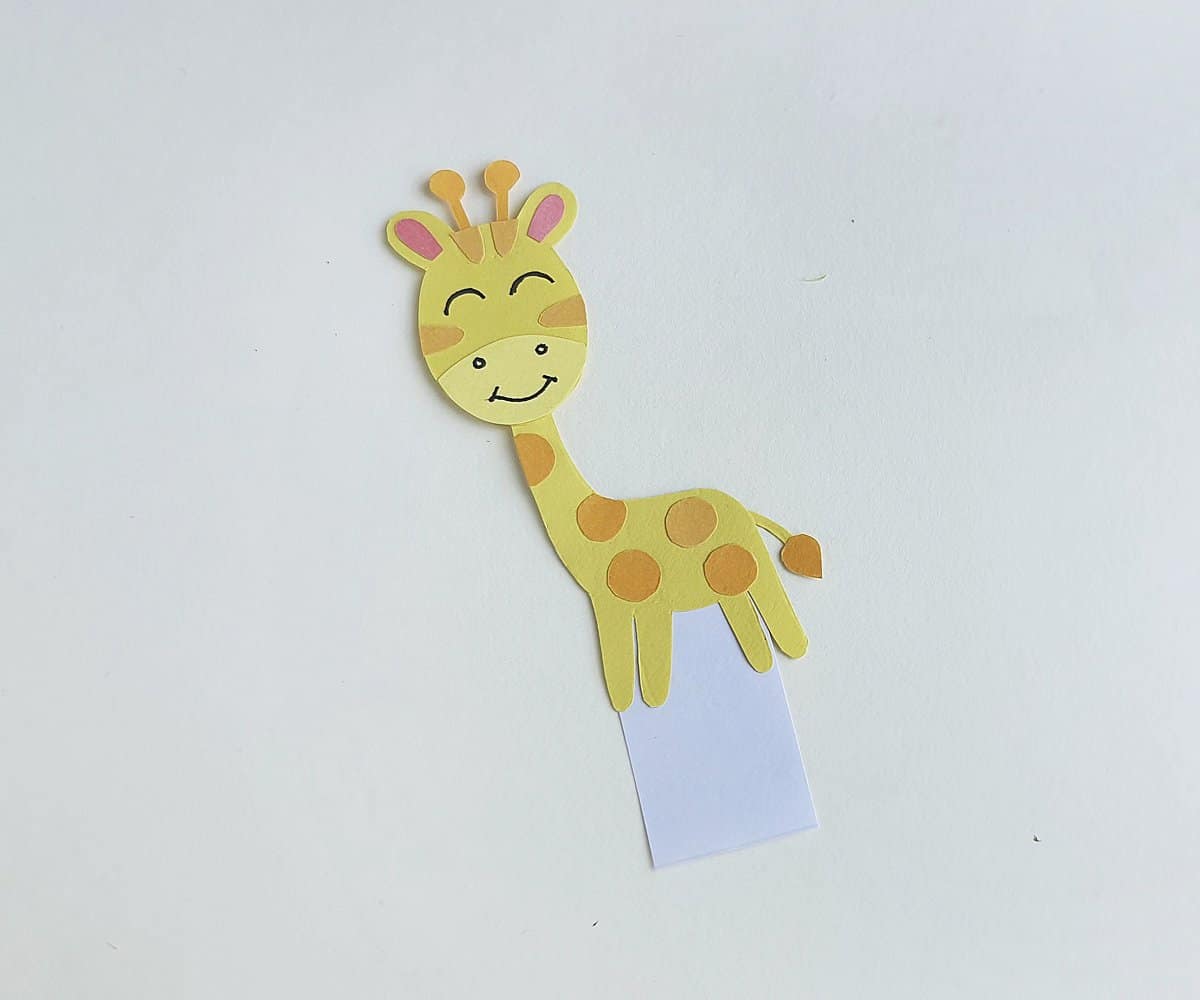
Attach the head to the neck of the Giraffe’s body.
Prepare a piece of sturdy paper or cardstock for the bookmark base, it should be rectangle shaped.

Add glue to the backside of the body but do not put any glue on the giraffe’s legs.
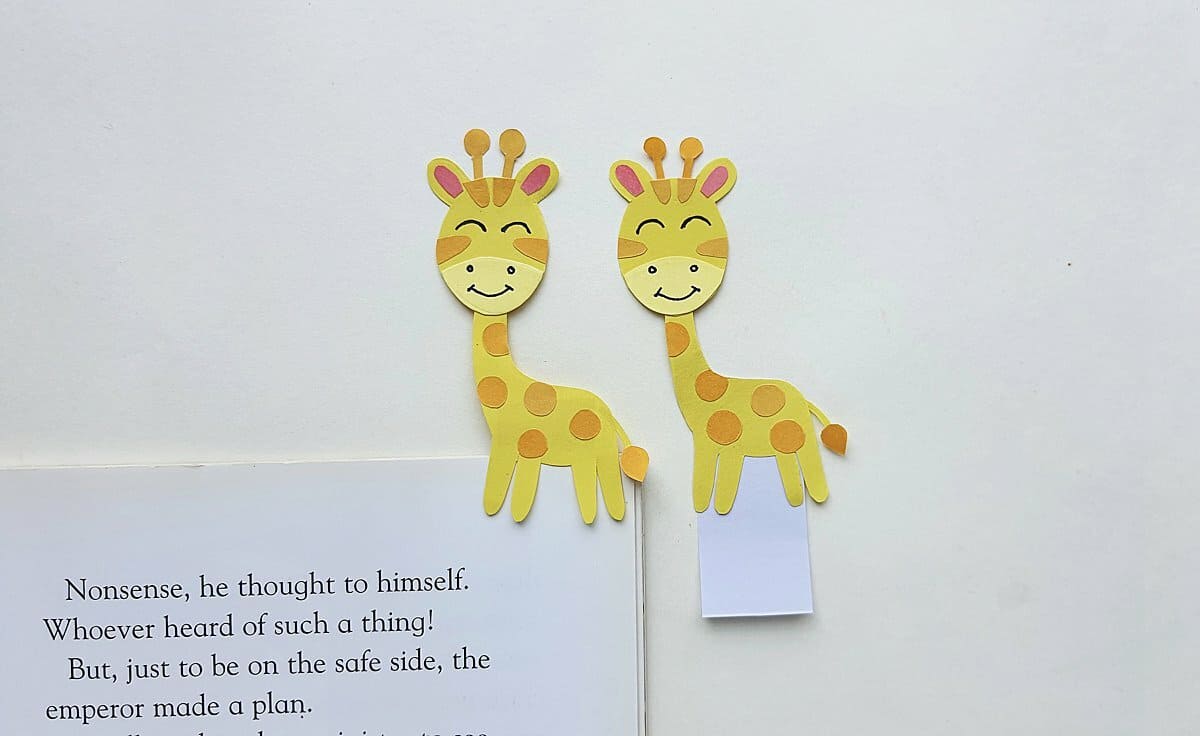
Secure the giraffe’s body to the rectangle piece.

Now, you can simply slide a page between the bookmark base and the legs to use the giraffe as a bookmark.
Isn’t it just adorable?