DIY Felt Santa Gnome Craft

This adorable DIY felt Santa Gnome Craft is perfect for gifting or hanging on your tree this Christmas. Find the free printable template and DIY instructions below!

Enjoy making and gifting this easy DIY felt Santa gnome craft this Christmas.
Simply add a ribbon to the top to make the cutest Santa Gnome Ornament.
If you enjoy sewing with felt, you’ll also want to make several of these festive felt Christmas ornaments with free patterns too!

How to make a felt Santa Gnome
Supplies:
- Felt fabric
- Matching threads
- Needle
- Pencil or fabric marker
- Scrap felt or cotton stuffing
- Scissors
- Template
Instructions:
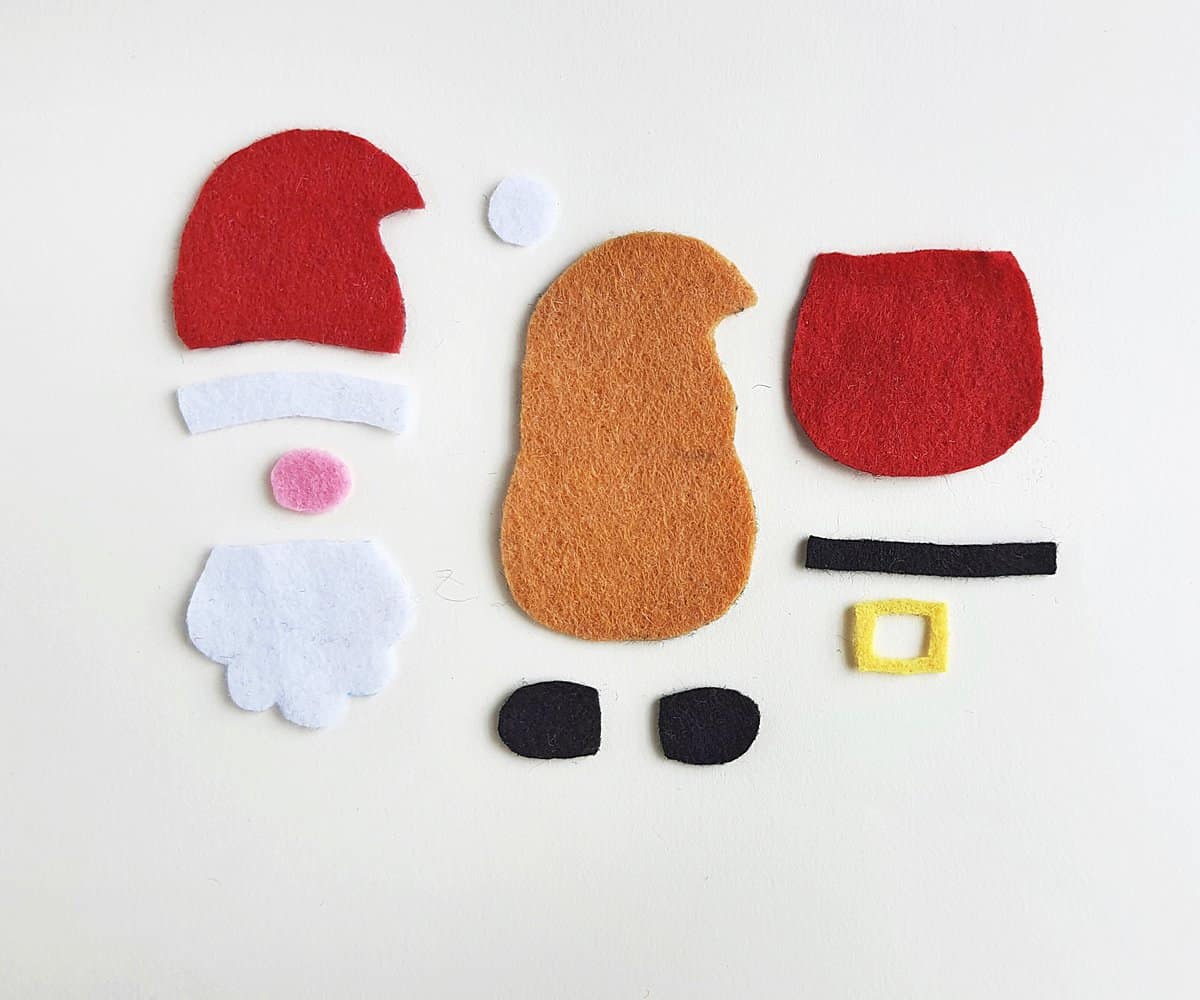
Print out the Santa Gnome Template, then cut out all of the pattern pieces.
Select red, white, yellow, pink and black felt fabrics for the Santa gnome plush.
Trace and cut out the patterns from the chosen felt fabrics.
Place the buckle cutout in the middle of the belt strip, then place the belt across Santa’s belly
Place the hat border along the bottom of the hat cutout and place the small round cutout on the pointy end of the hat.

Stitch the pompom and the border to the hat with matching thread.
Stitch the belt and buckle across the belly of Santa’s body with matching threads as well.

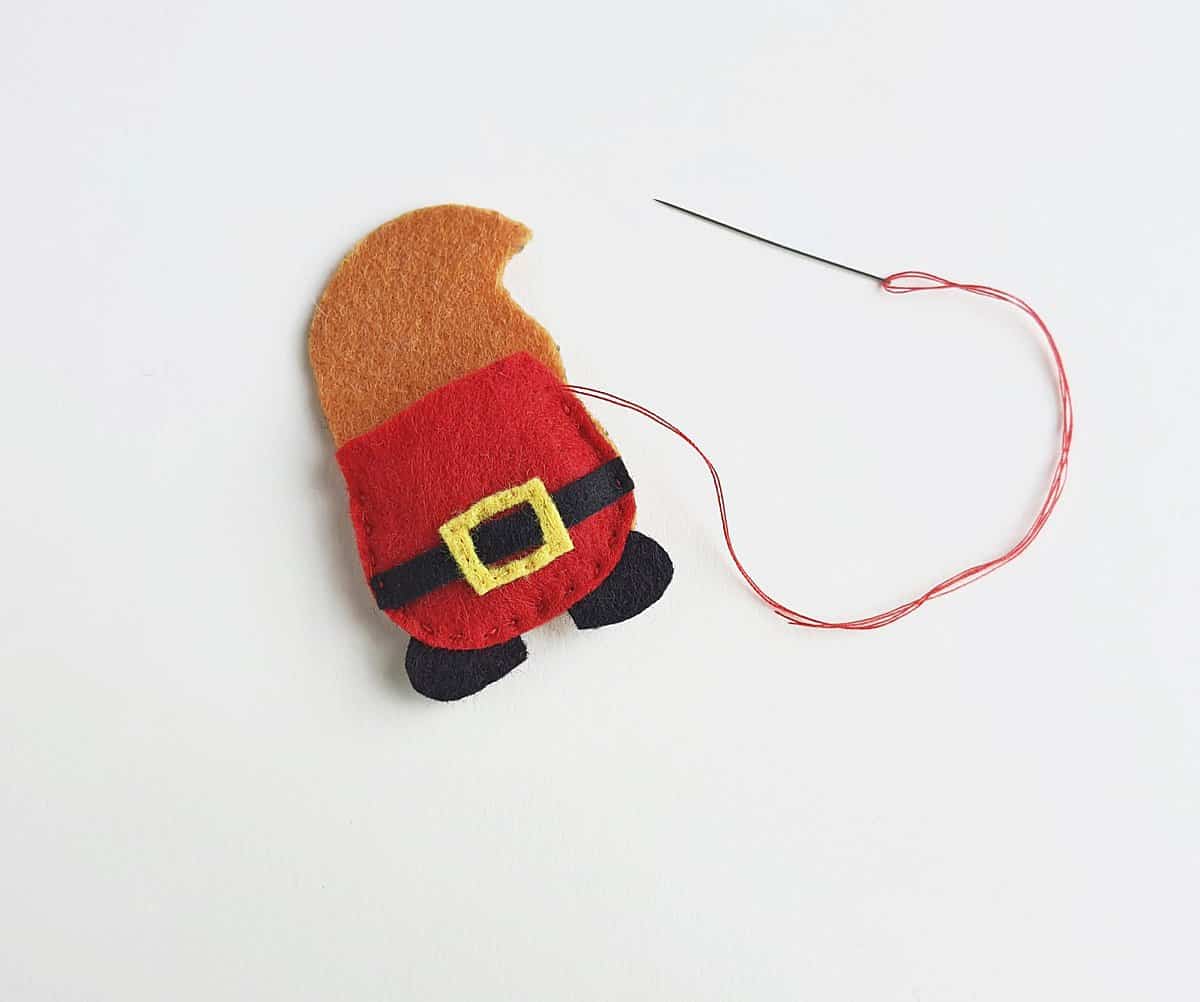
Place the shoe cutouts on the bottom of the ornament base, as shown below, so they just overlap the bottom edge of the base.. You’ll want to keep most of the shoes hanging below the ornament base.
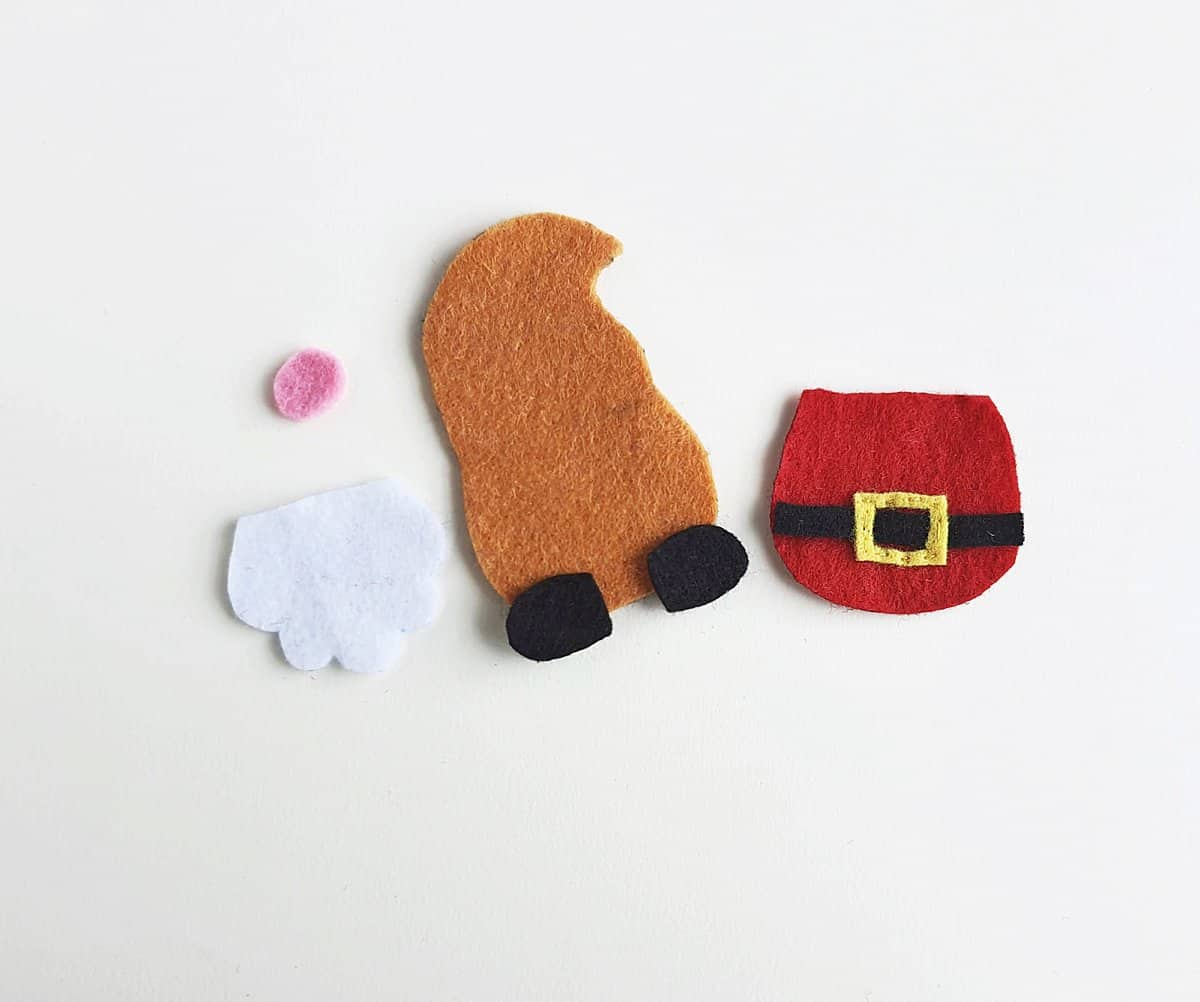
Place the red belly piece on the bottom of the ornament base, as shown below, being sure to keep the shoe cutouts between the base and belly pieces, hanging out below the bottom edge of the belly.

Use red stitching to stitch around the outside edges of the belly, connecting the belly to the ornament base and attaching the shoes at the same time. Leave the top of the belly unstitched to allow for stuffing.
Gather scrap felt or cotton stuffing to stuff the gnome’s belly.

Stuff the gnome’s belly through the open edge of the belly.
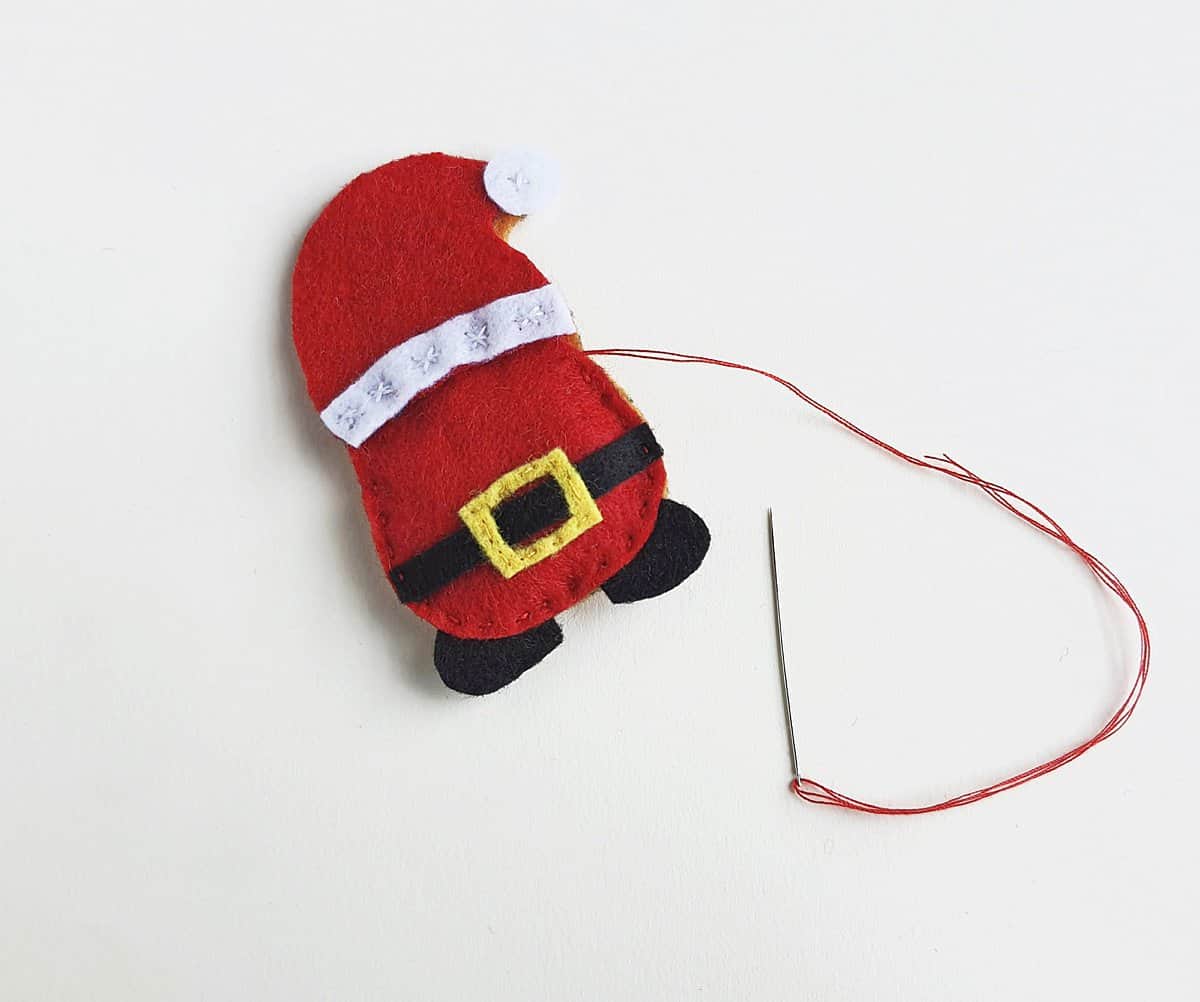
Place the hat piece on the top of the gnome base.
Stitch the sides and top of the hat to connect the hat to the gnome base.
(If you’d like for your gnome to be an ornament or gift tag, stitch a looped ribbon or string between the ornament base and the hat at the top of gnome as you stitch around the hat.)
Keep the bottom edge of the hat open for stuffing.
Stuff the hat part of the gnome craft with scrap felt or cotton batting through the hat’s open edge.
Place the nose cutout on the beard piece.

Once the hat is stuffed, place the beard on the gnome’s belly, keeping the nose on the beard, so that it slides just under the edge of the open hat edge.
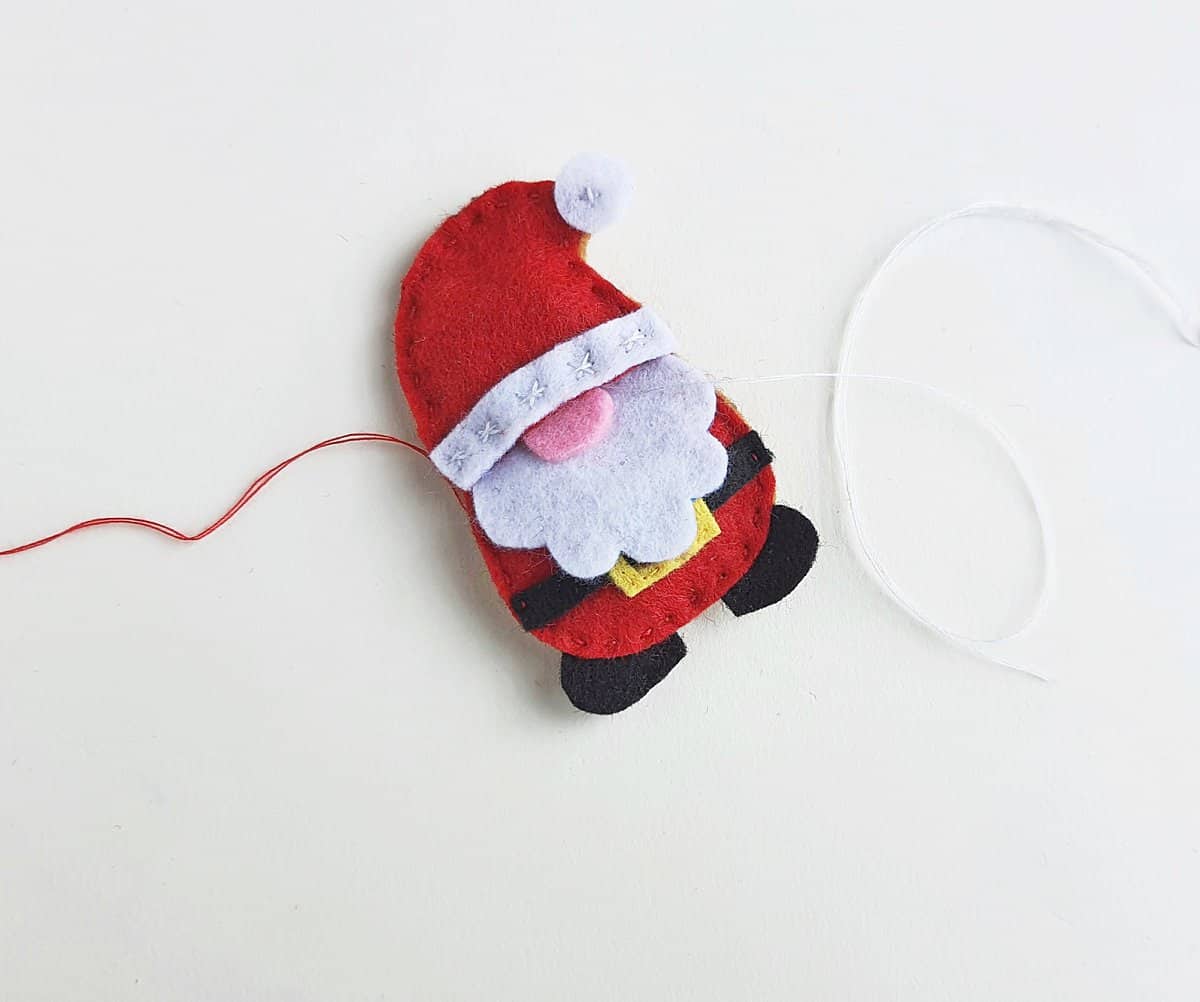
Stitch the bottom edge of the hat to connect the nose and beard while closing the gnome craft.

Cut your threads and tie secure knots to finish the gnome craft.
If you’d like for your Santa gnome to be an ornament, you can simply stitch a loop ribbon or thread behind the hat.

Your Santa gnome craft is complete! Now make many more to gift this Christmas.
If you loved this Santa gnome, you are sure to love this other Felt Christmas Gnome Ornament Craft too.