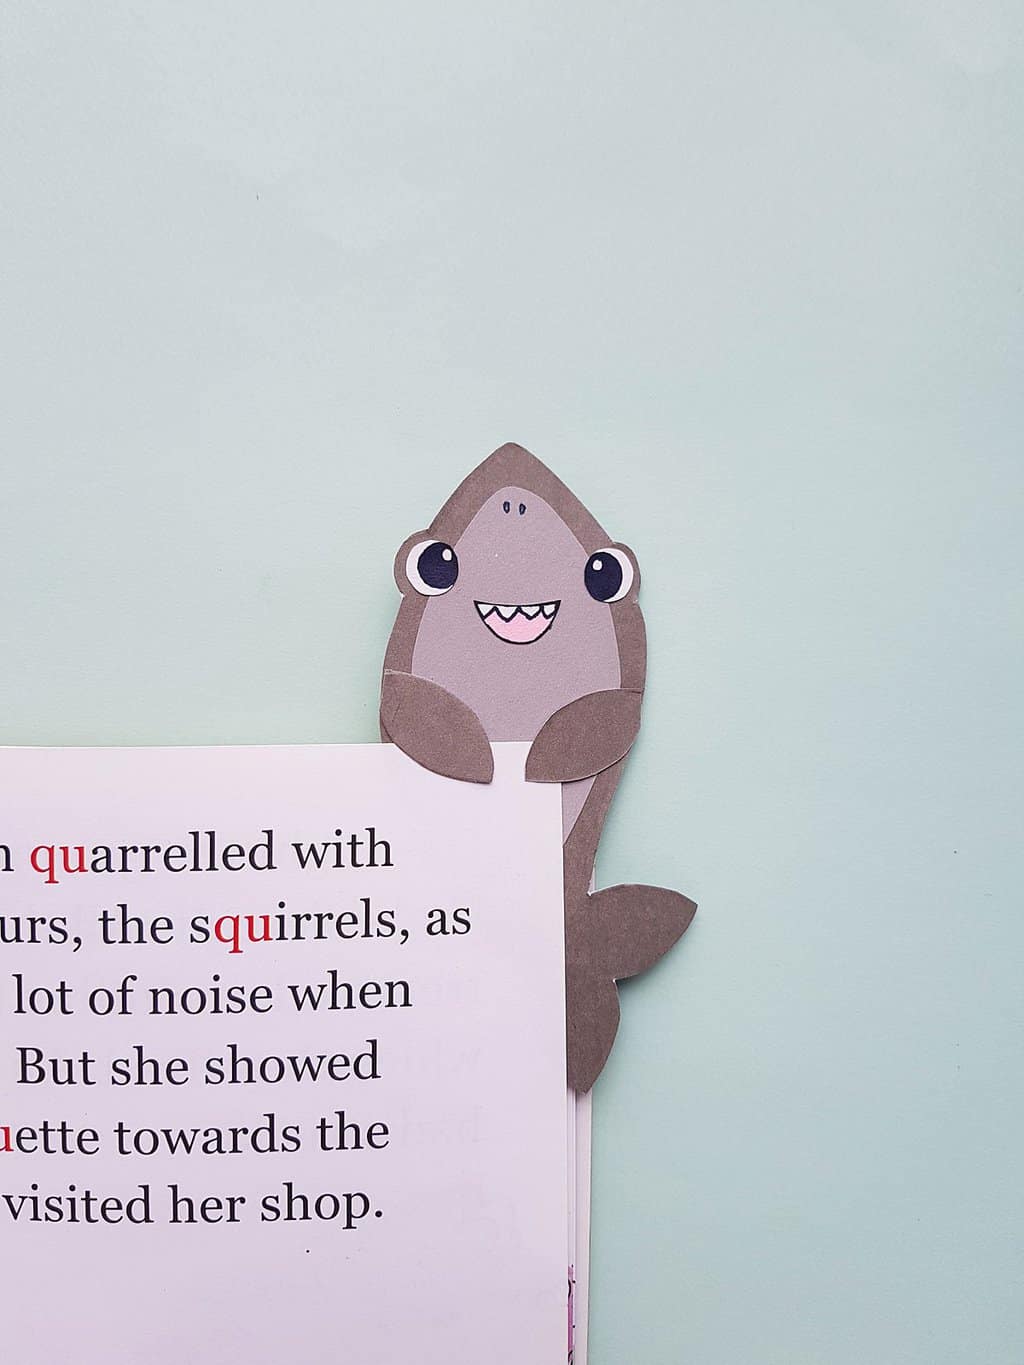
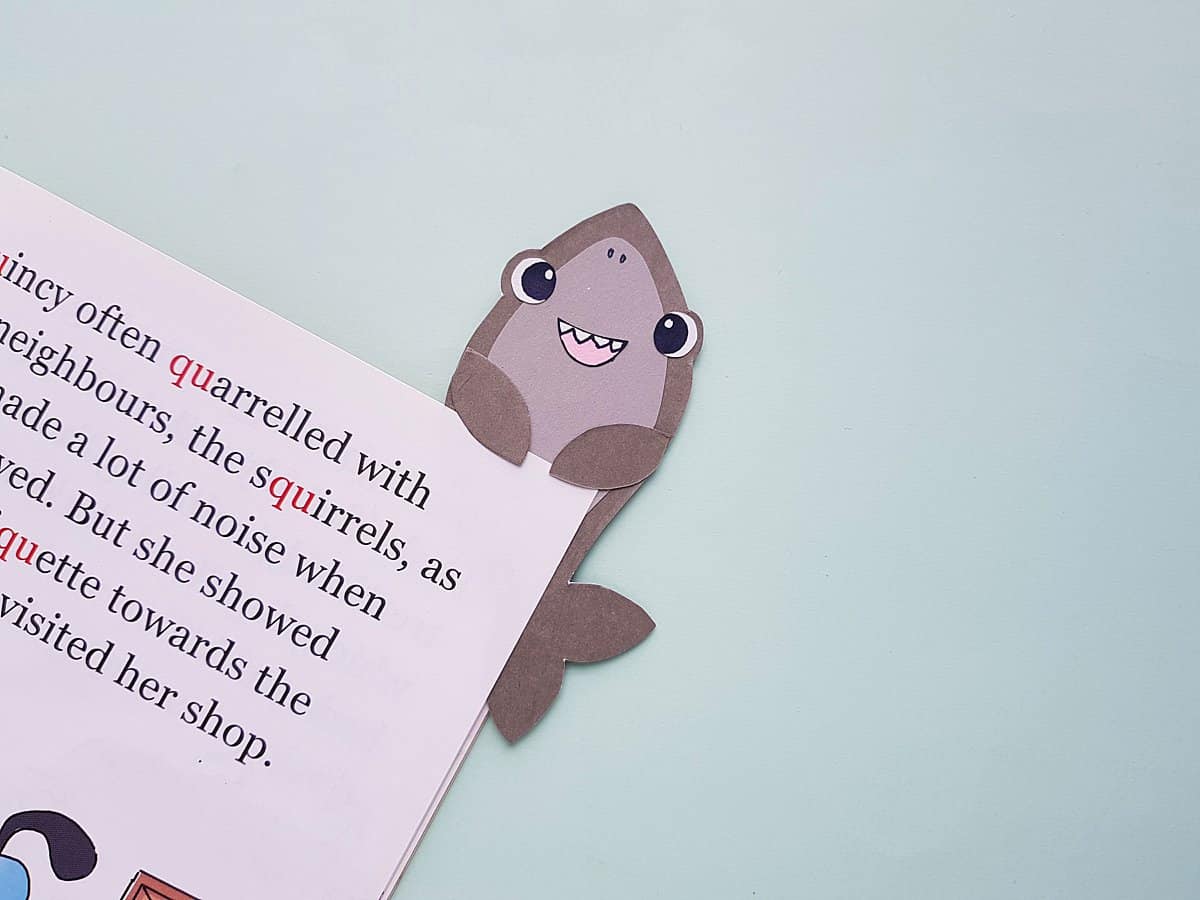
Shark Bookmark Craft
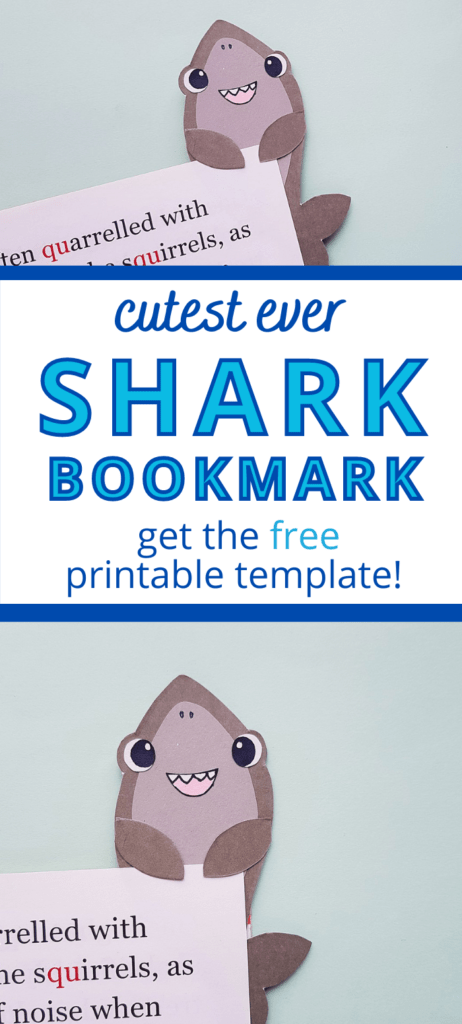
Make this adorable Shark Bookmark with your kids for a splashing Shark week craft.

We are a participant in the Amazon Services LLC Associates Program, an affiliate advertising program designed to provide a means for us to earn fees by linking to Amazon.com and affiliated sites.
This shark bookmark is great for a shark theme camp week, or any time you need a fun summer craft activity.
After making your Shark bookmark, choose a fun shark book to read!
How to make a Shark Bookmark
Supplies:
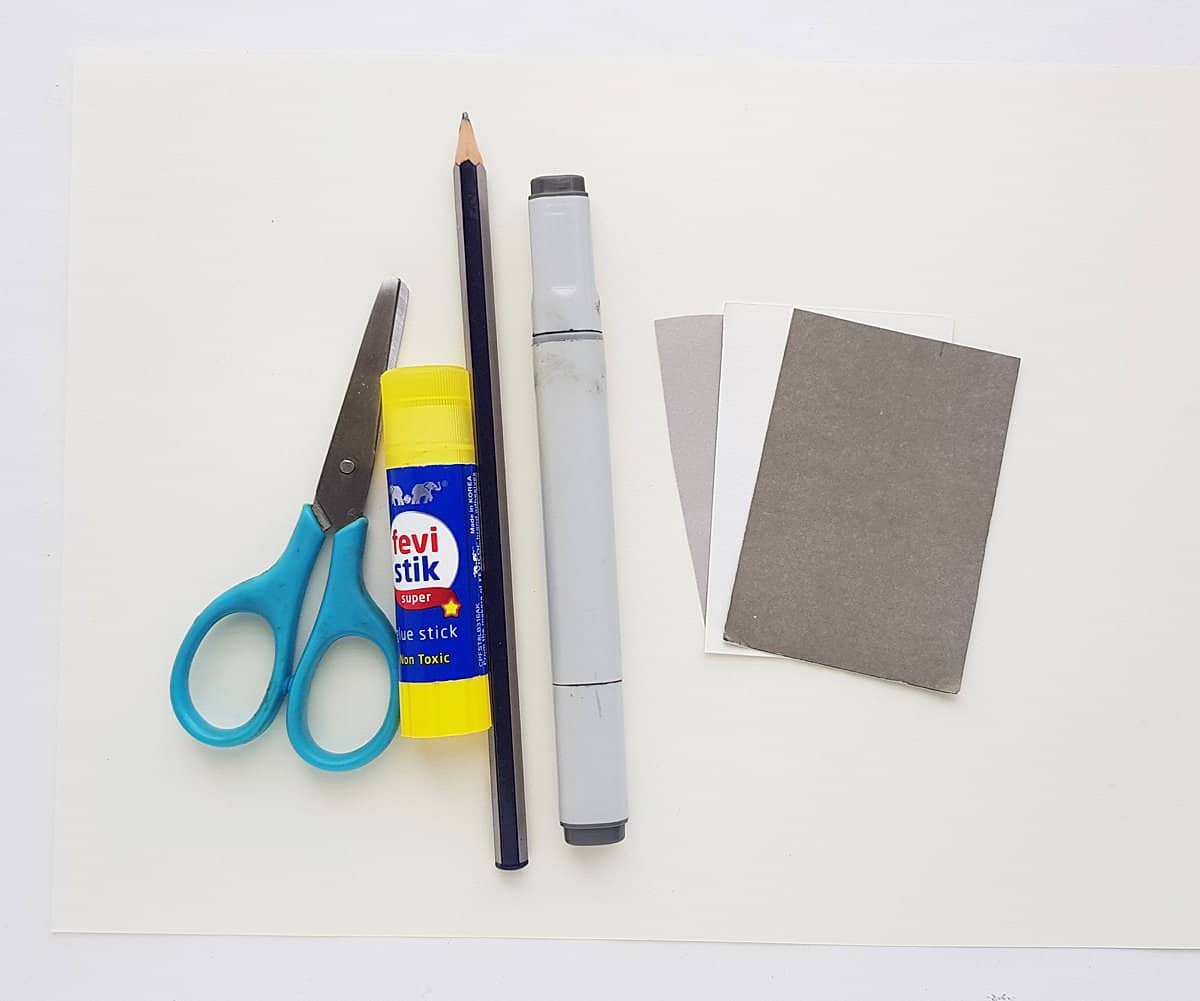
- Colored cardstock papers
- Craft glue
- Markers
- Pencil
- Scissors
- Template
Instructions:
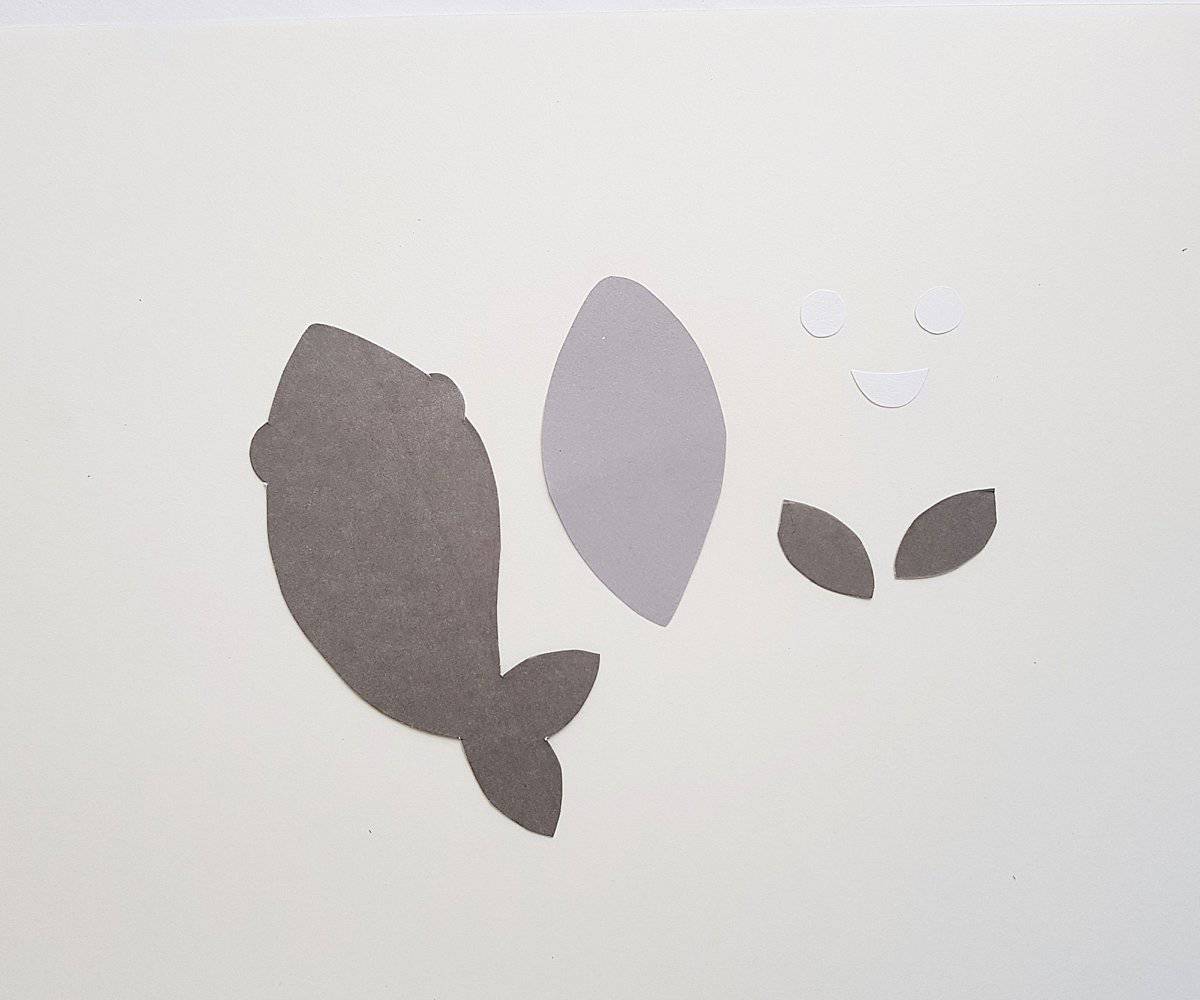
Print out and cut out the template pieces for the shark bookmark.
Choose 2 different shades of blue or gray colored cardstock paper.
Trace the shark’s body base and fins on the darker shade and the belly pattern on the lighter shade.
Trace and cut out the eye bases and the mouth pattern on white paper.
Glue the belly piece in the middle of the body cutout.
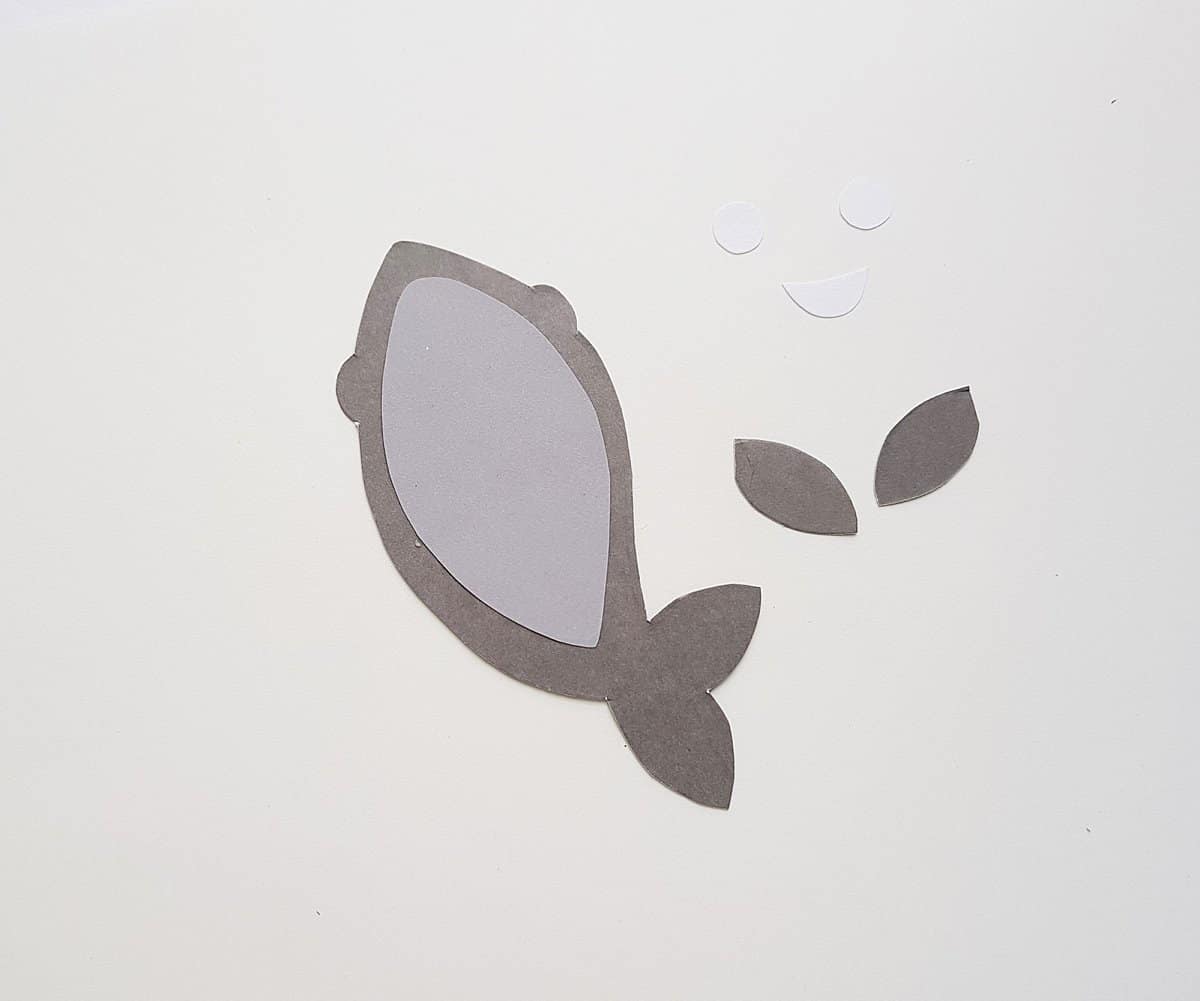
Take a fin cutout and apply glue on the yellow marked part.
Attach a fin by aligning the glued side with the outer side edge of the body base piece.
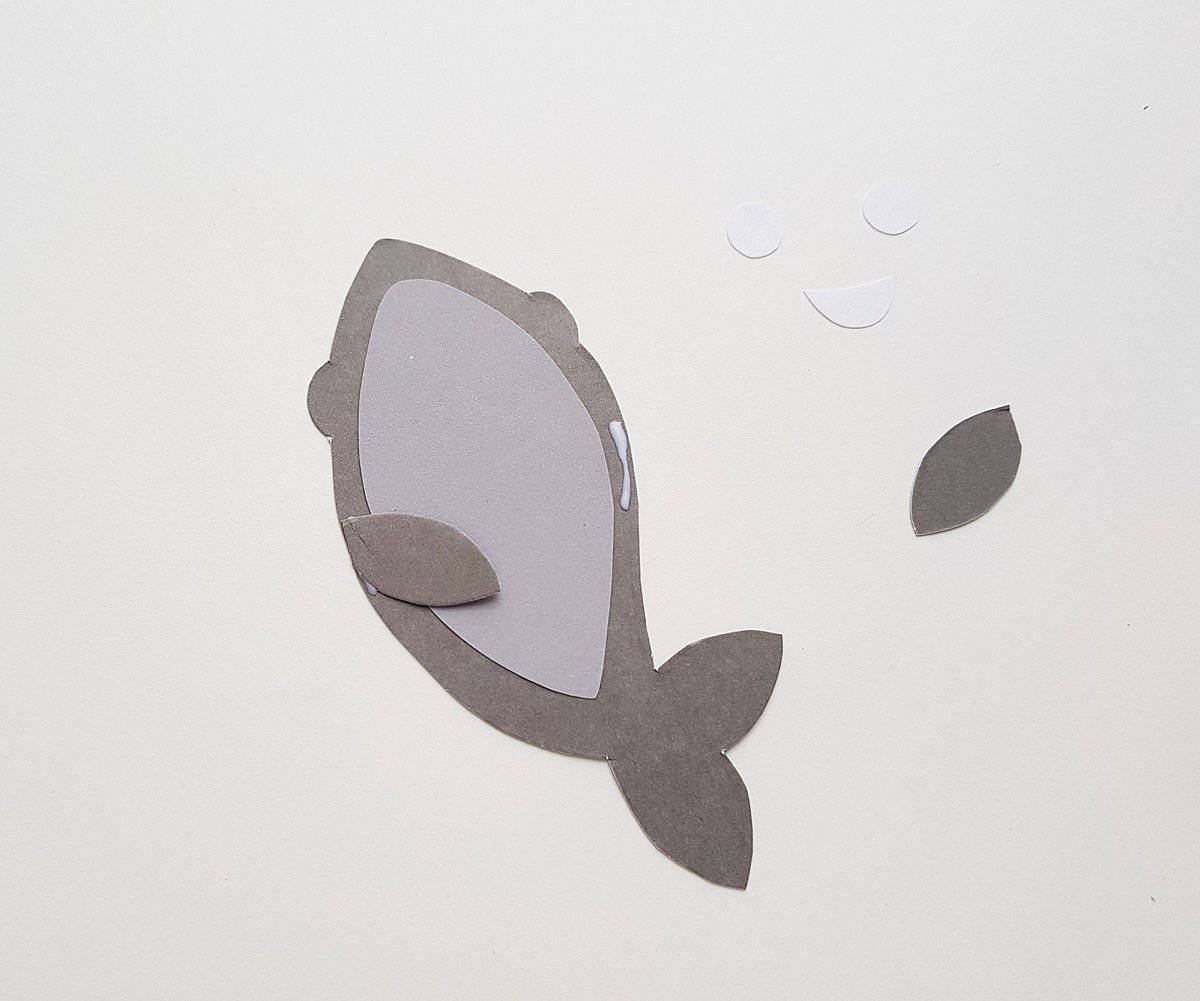
Attach the other fin on the opposite side of the first one.
Make sure to keep the rest of the fin part free from glue, only glue the outer edges.

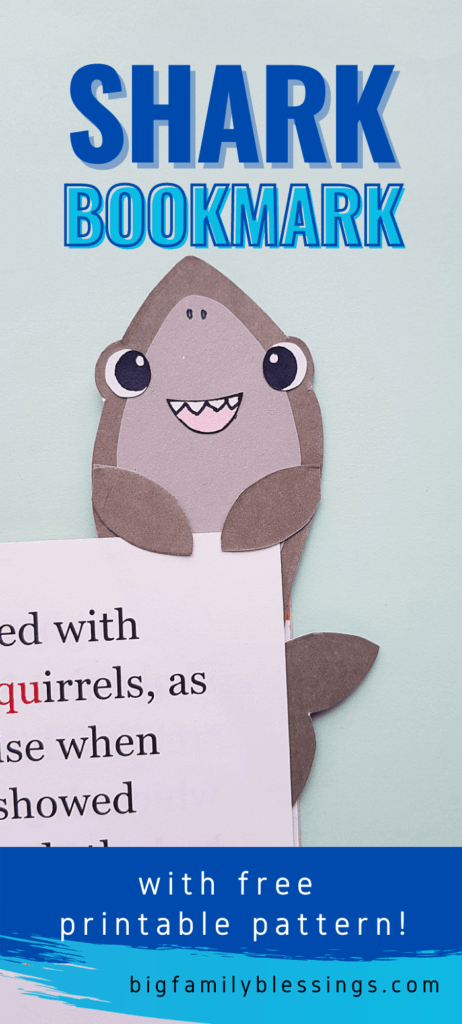
Use a black pen or marker to draw the eyes on the small white cutouts and teeth shapes on the mouth cutout.
Leaving the teeth shapes white, fill the rest of the mouth pattern with pink sharpie.
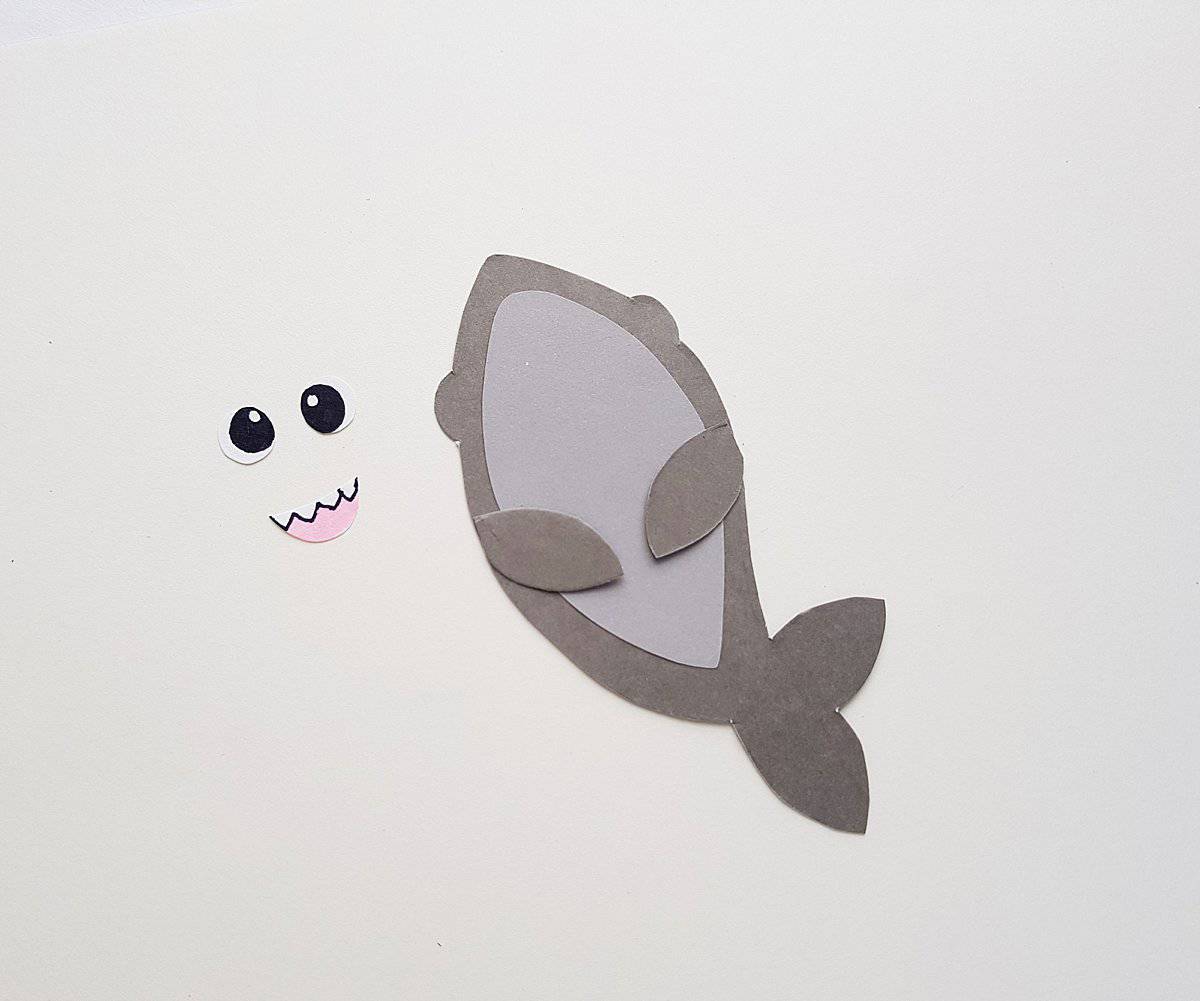
Attach the eyes on the circular parts of the body piece.
Glue the mouth on to the shark and use a black pen or fine marker to draw the nose near the top of the shark’s head.

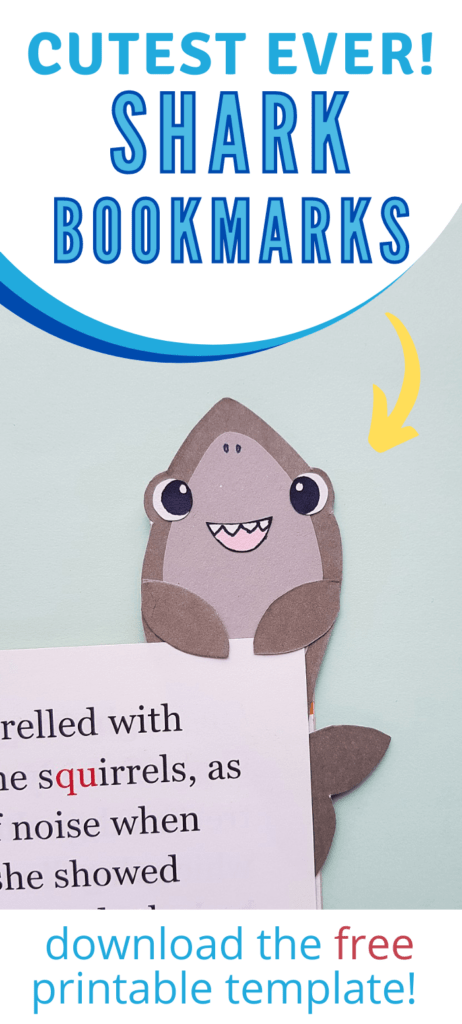
To use the shark as a bookmark, simply slide a page under the fins (between the fins and base).
So cute!!