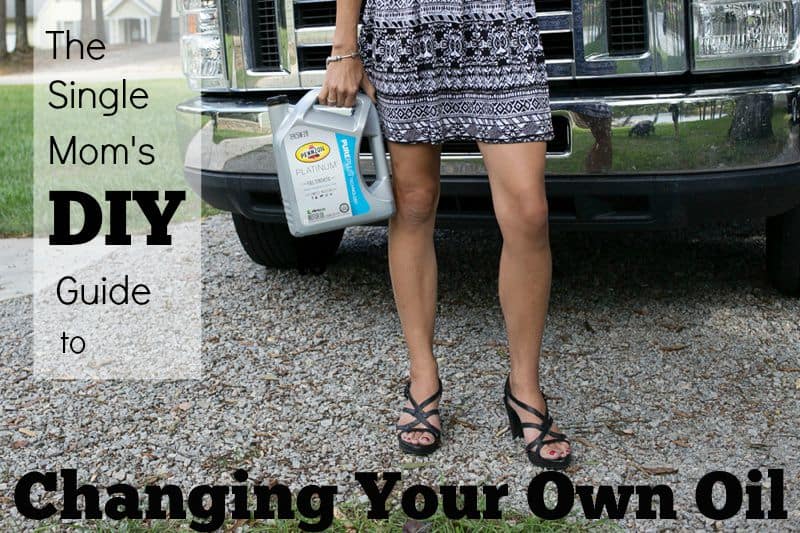
The Single Mom’s DIY Guide to Changing Your Own Oil
This shop has been compensated by Collective Bias, Inc. and its advertiser. All opinions are mine alone. #DIYOilChange #CollectiveBias
When you become a single mom, all these new jobs suddenly fall in your lap. Car maintenance, lawn care, fixing broken things, putting stuff together, taking out the trash. The realization that all this stuff is now yours to deal with is completely overwhelming!
The last time my car needed an oil change, my wonderful Father-In-Law noticed it, and changed it for me. But, suddenly 7 months went by… and warning lights began to flash… and then beep.
Eventually I couldn’t ignore the need for an oil change any longer.
I was intimidated- changing the oil seemed like a big deal. And, truthfully, after I destroyed my lawn mower I didn’t have much confidence in myself!
But, the financial advantage of changing my own oil, plus the thought of waiting in a dirty auto shop with 6 children eventually swayed me. Plus, my dad agreed to teach me and make sure I didn’t break my car!
And I did it! It wasn’t difficult at all, and better yet, I’ll be able to change the oil all by myself from this point on!
Trust me, deep breath… you can do it too!
Just think about the satisfaction of saying you did it- you changed your own oil- plus saved money! That’s a single mom win right there!
The Single Mom’s Guide to a DIY Oil Change
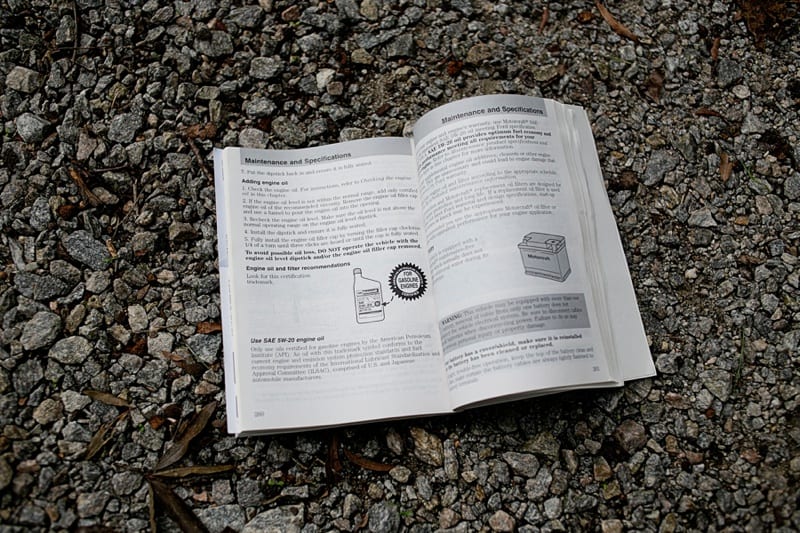
First, get out your car’s manual to find out what to buy. It will tell you what weight and grade oil to use (my car needed 5W-20), how many quarts you will need, plus what filter size to buy.
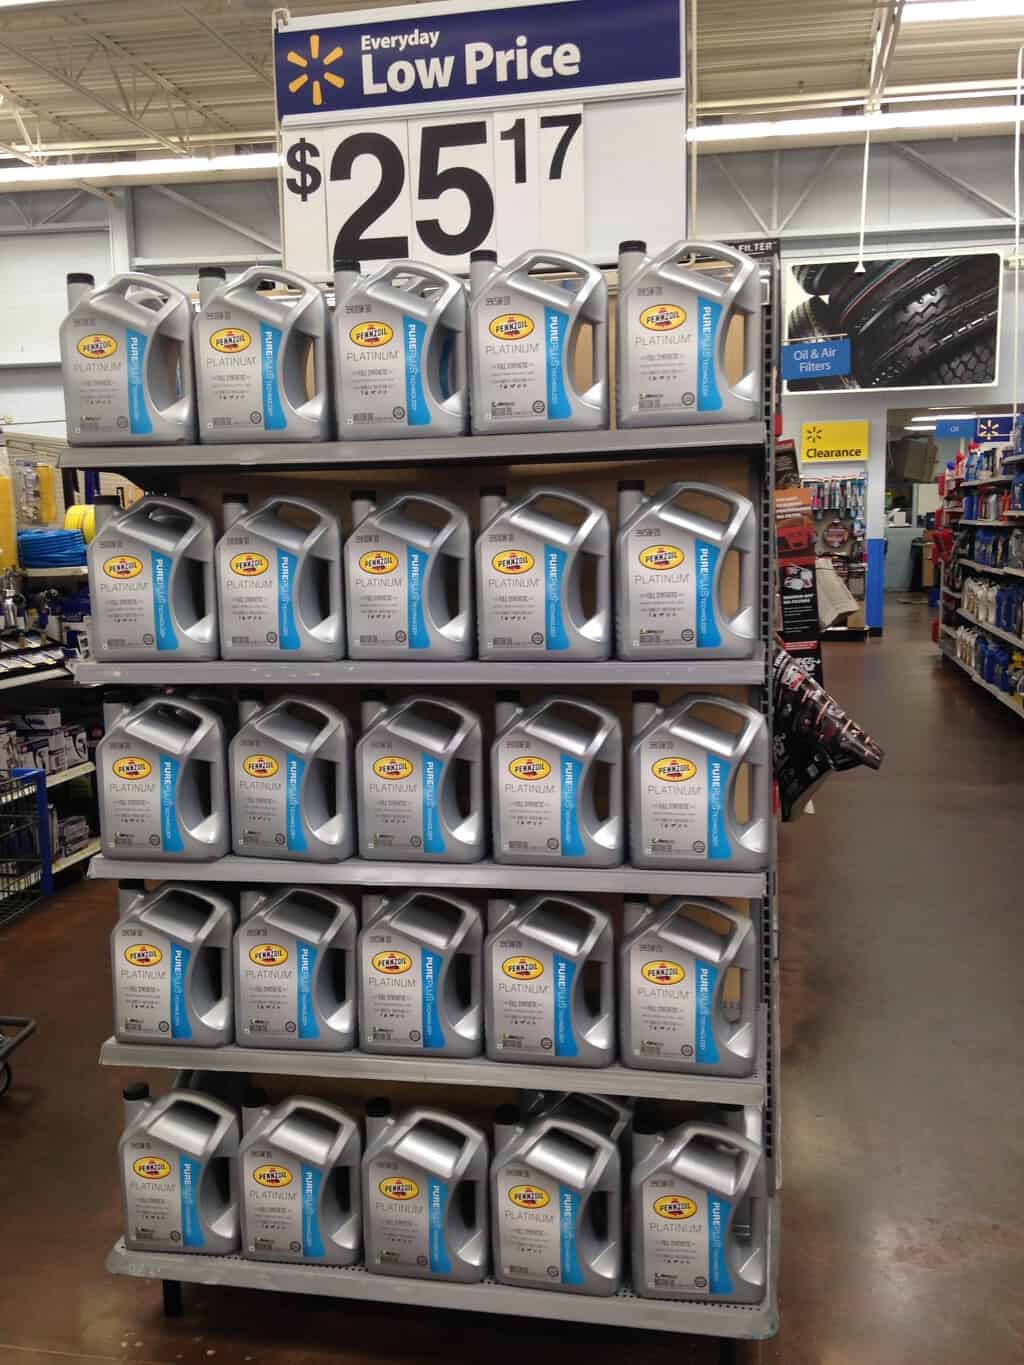
Next, go shopping. I find Walmart a great place to buy everything I need to change my oil, since I’m already there shopping for groceries. It means no extra trip to another store on errand day. I chose Pennzoil Platinum full synthetic motor oil because this high-quality oil is specially designed to give my engine complete protection.
Buy:
- oil (choose the weight/grade listed in your car’s manual, and buy as many quarts as the manual specifies)
- oil filter
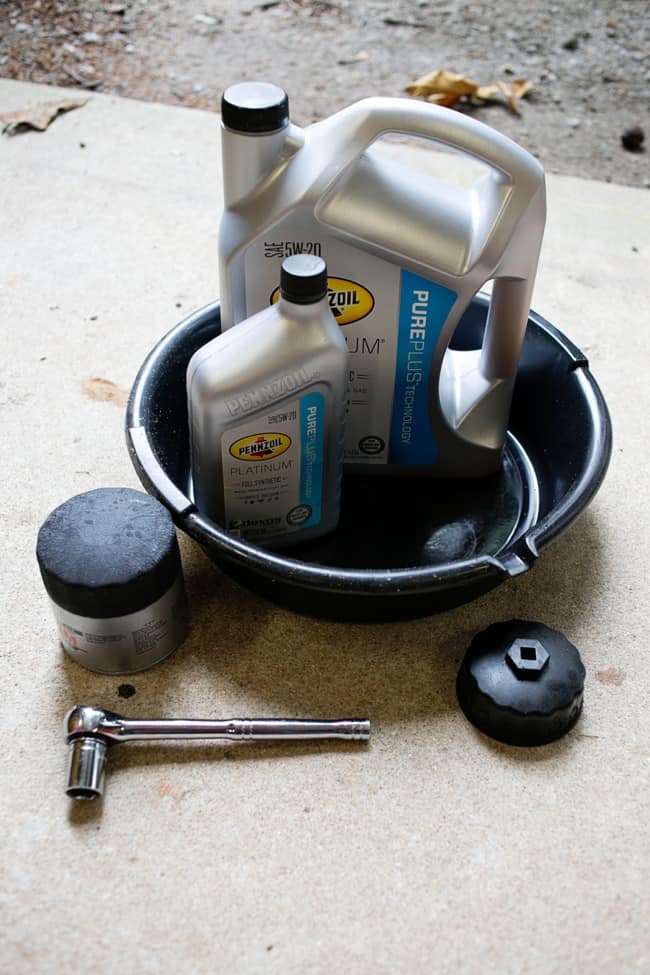
If this is your first oil change you’re going to need a few tools and accessories that you will use every time you change oil:
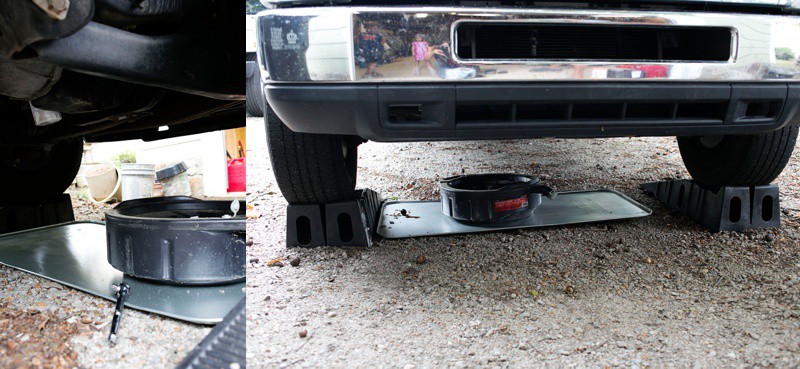
- drain pan or something to catch the old oil in
- socket wrench
- filter wrench
- Jack or ramp (optional)
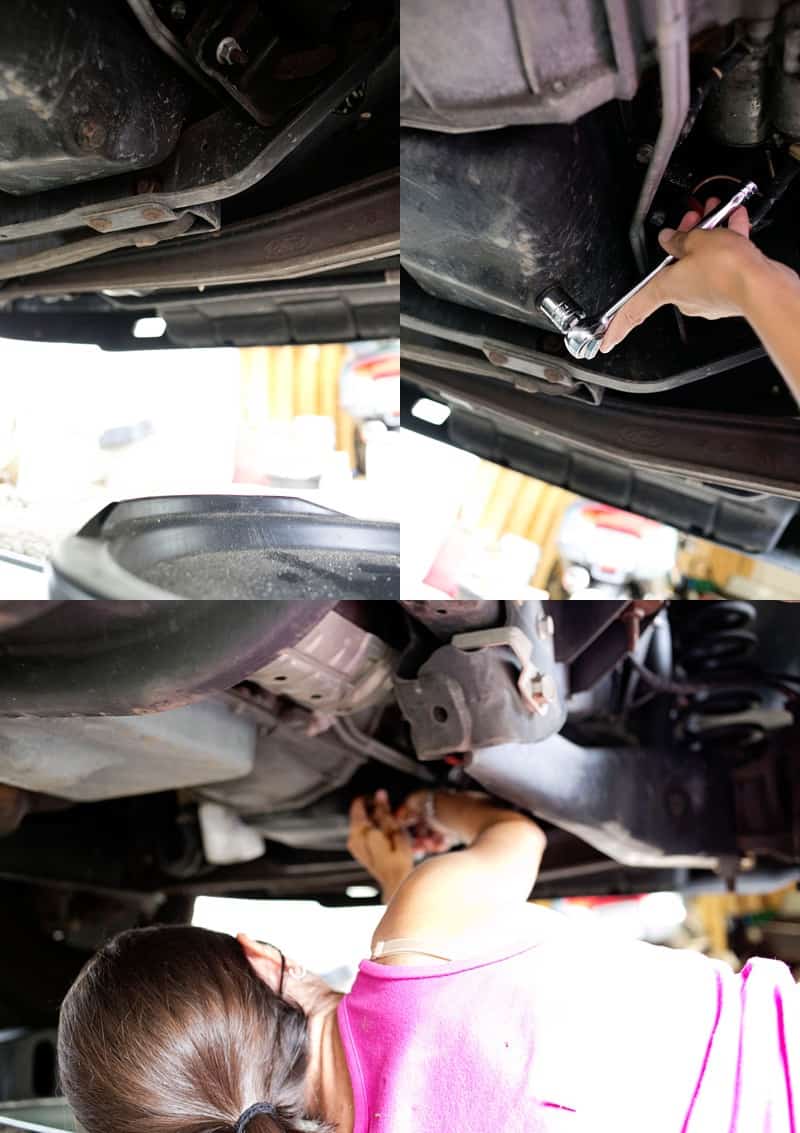
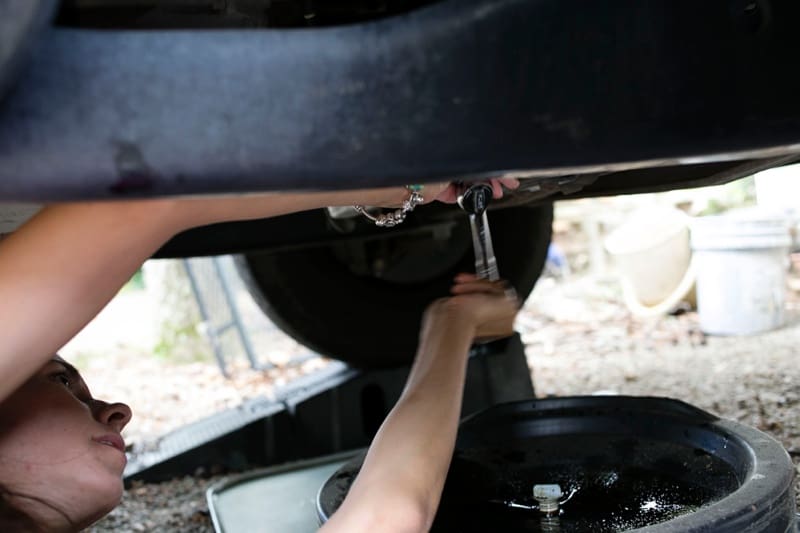
Using a socket wrench, loosen the oil pan drain bolt. If you don’t know where the bolt is, check your car’s manual. *Tip- use a socket wrench with a long handle. A longer handle will give you more power to loosen a tight bolt.
After turning several times with the socket wrench, you’ll be able to put the tool down, and finish unscrewing the bolt with your hand. Remove the bolt and place it on the edge of the drain pan.
The oil is going to come out with some force, so have the drain pan at a slight angle to the opening. Back up, it’s going to splash! As the flow slows down, you can center the pan to catch the last drips.
Once the flow is barely a drip, put the oil pan drain bolt back on, and tighten the bolt with your socket wrench.
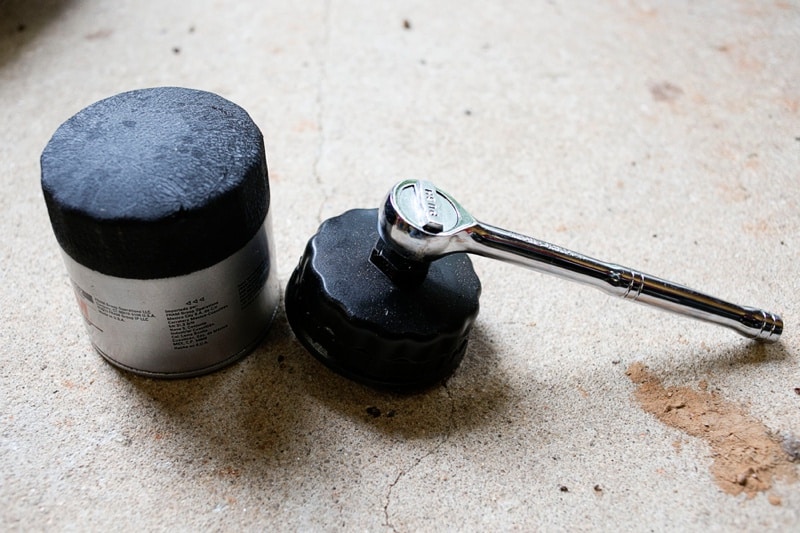
Next, change the oil filter. You will need a new filter and a filter wrench that fits your filter. You either buy the black tool pictured below in the same size as your filter, or you can use an adjustable filter wrench tool (Like the metal one, I ended up using, since my black one was too small)
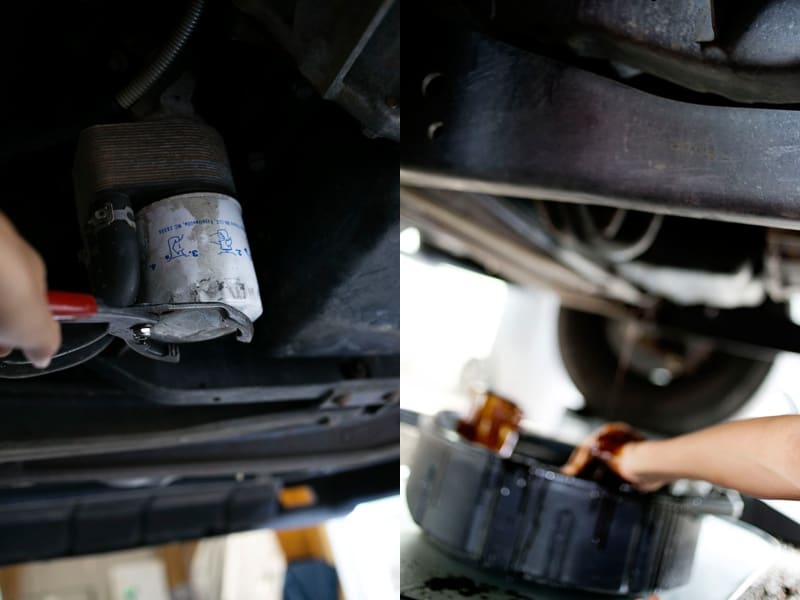
Place the oil pan under the filter. Use the filter wrench to loosen the filter, then finish unscrewing it by hand. Place the used filter upside down (so the oil can drain out) in the drain pan. Just warning you, this is going to be pretty messy so get ready!
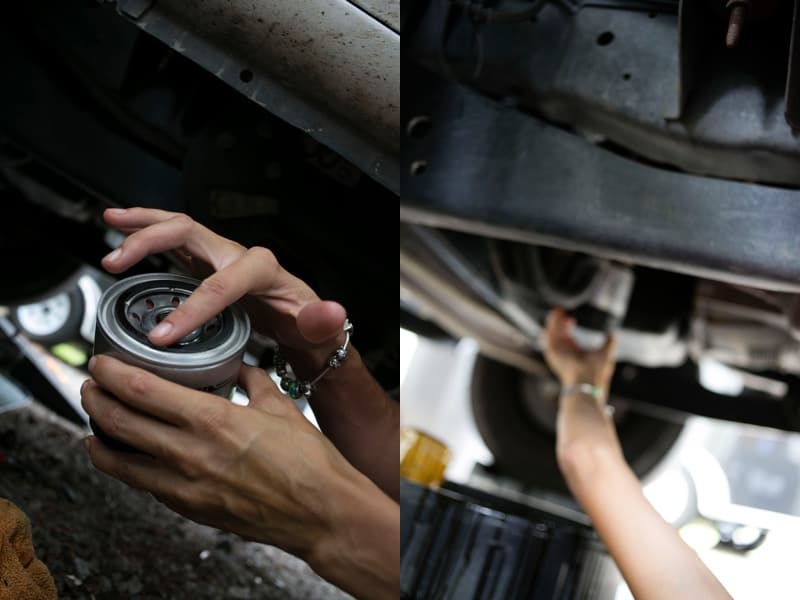
Rub a little of the old oil onto the oil filter gasket of the new filter. (This helps it supple up to create a good seal.) When the oil stops dripping from the car, put the new filter on the car. This new filter can be hand tightened. You don’t have to use the filter wrench tool to put it on.
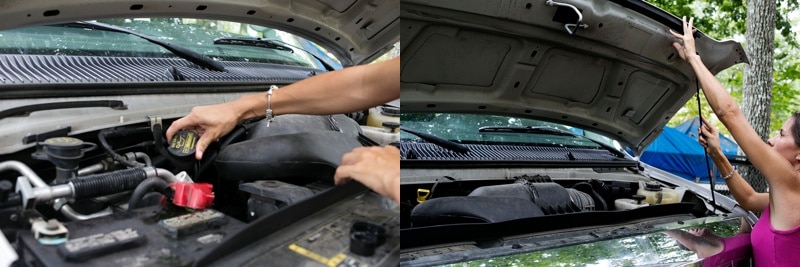
Now you’re all done under the car. Yay! Open the hood and find the oil cap.
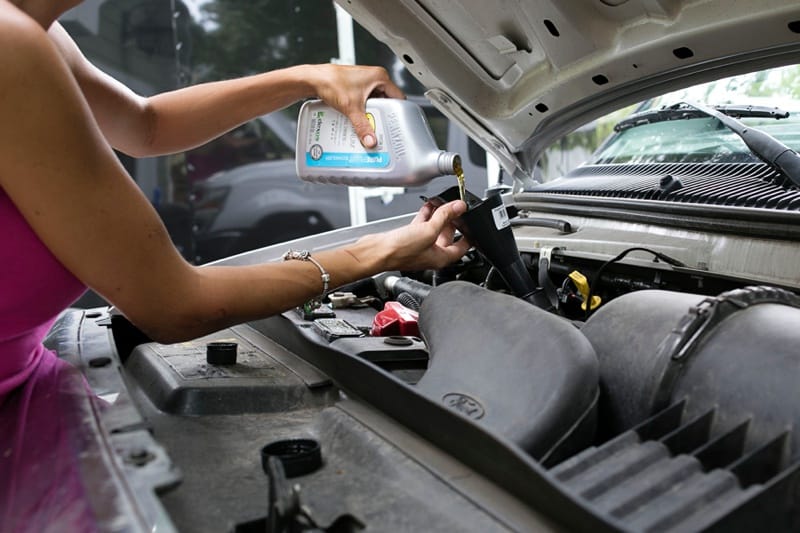
Pour in the amount of oil your manual specified. Replace the cap.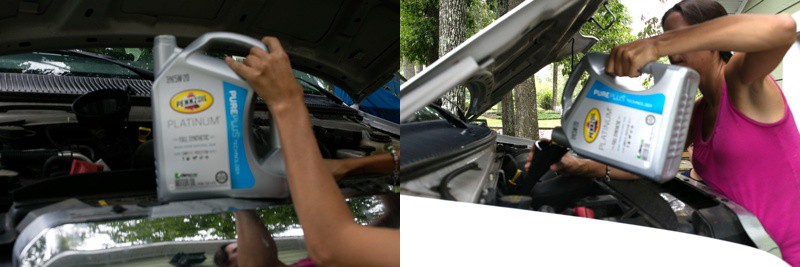
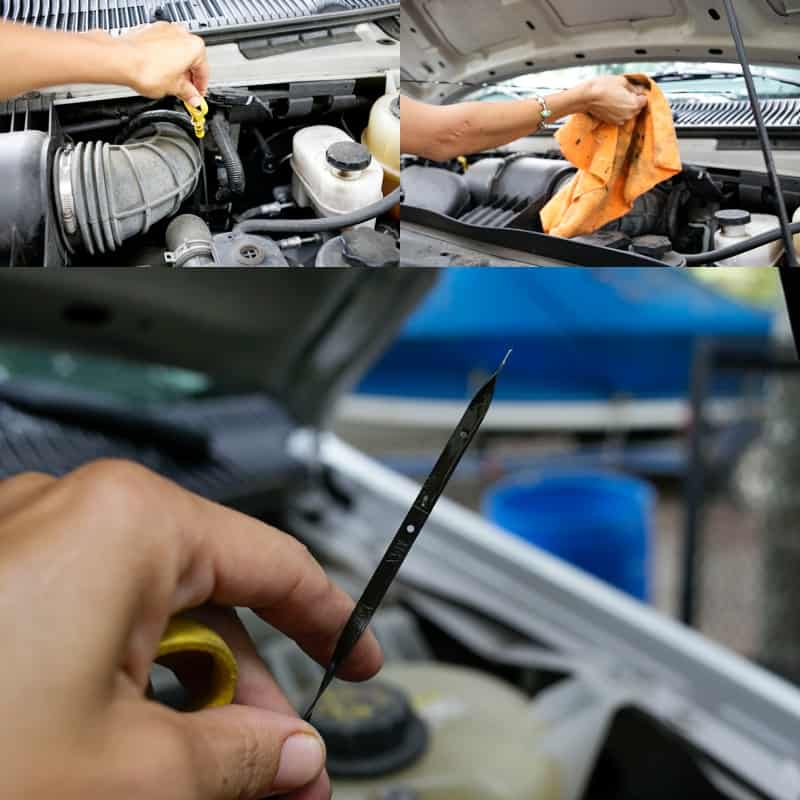
If not, you might need to add a little more. I had to add another half a quart. Now, replace the oil cap and the oil stick, close the hood, and Wa-lah!
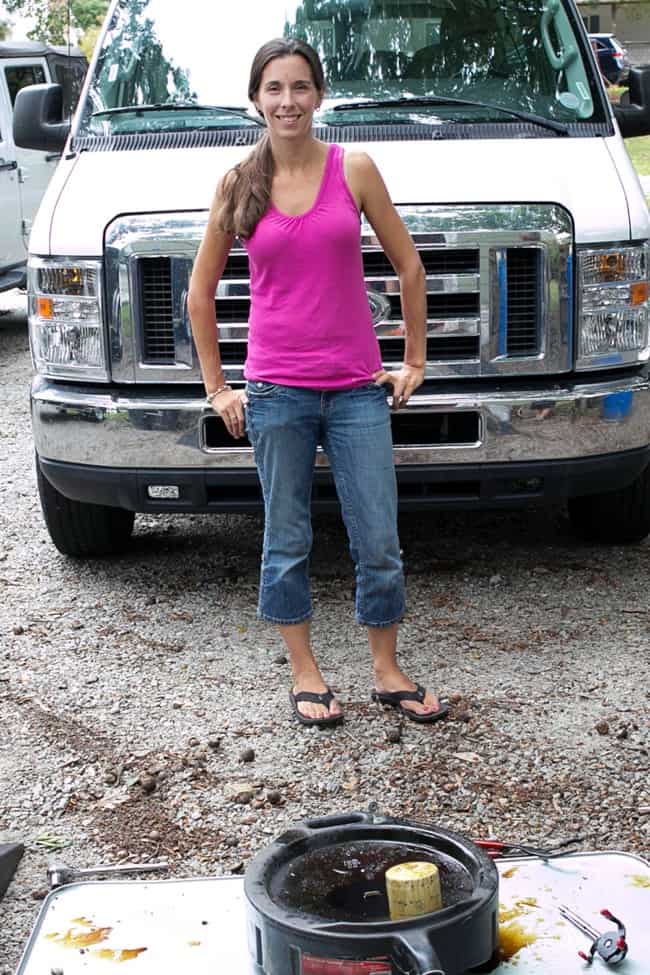
I did it! And you can too! (Yep, that’s oil on my forhead!)
Now clean up. Put everything away and dispose of the used oil properly. I used the oil funnel to put the used oil into the now-empty oil container. Most auto stores or shops will allow you to drop that used oil off to be disposed of correctly. I have to admit, that my car was so far past a needed oil change I only had 4 quarts to dispose of, even though I put 6.5 quarts into the car! But now that I know changing my own oil is no big deal, I’ll be changing it when I’m supposed to from now on!
Still nervous? Here are some more tips for a DIY oil change.
You’ll find even more tips and tricks for a DIY oil change here. Do you change your own oil?
Please use standard safety procedures when changing your oil. You should always refer to your own car’s manual before changing your oil.





Congrats! I have not done mine in years (not since I was single) and with the changes in vehicles I should probably brush up on it. And like you I think I would also have the child support group. I am sure you got asked a ton of questions about why mom was under the car.
Good for you!!
I have actually never changed my own oil. I got married young and my husband has always taken care of changing the oil. This is great information to have though if I ever need to do it.
This is a fantastic step by step tutorial!! I remember my dad always changing my oil. Now I just let Wal-mart do it (BLUSH).
This is an easy to understand guide for changing the oil in your car. I have never done this myself but only because I never knew how before! I am going to try this at my next oil change time.
You go girl! My dad taught us girl in high school, but I haven’t done it since. It is a skill that everyone should know
You constantly amaze me! You should be so proud of yourself!
Congrats Super Mama! You did a great job! I have always been intimidated to change the oil, honestly not knowing where to begin. This was a really easy visual tutorial and I may have just enough confidence to try to do this myself next time!
It’s crazy how fast those oil changes sneak up on you. This guide is super easy to understand though…I think I might need to give this a shot next time! #client
Awesome content and tips that everyone can refer and follow through on doing car changes oils.