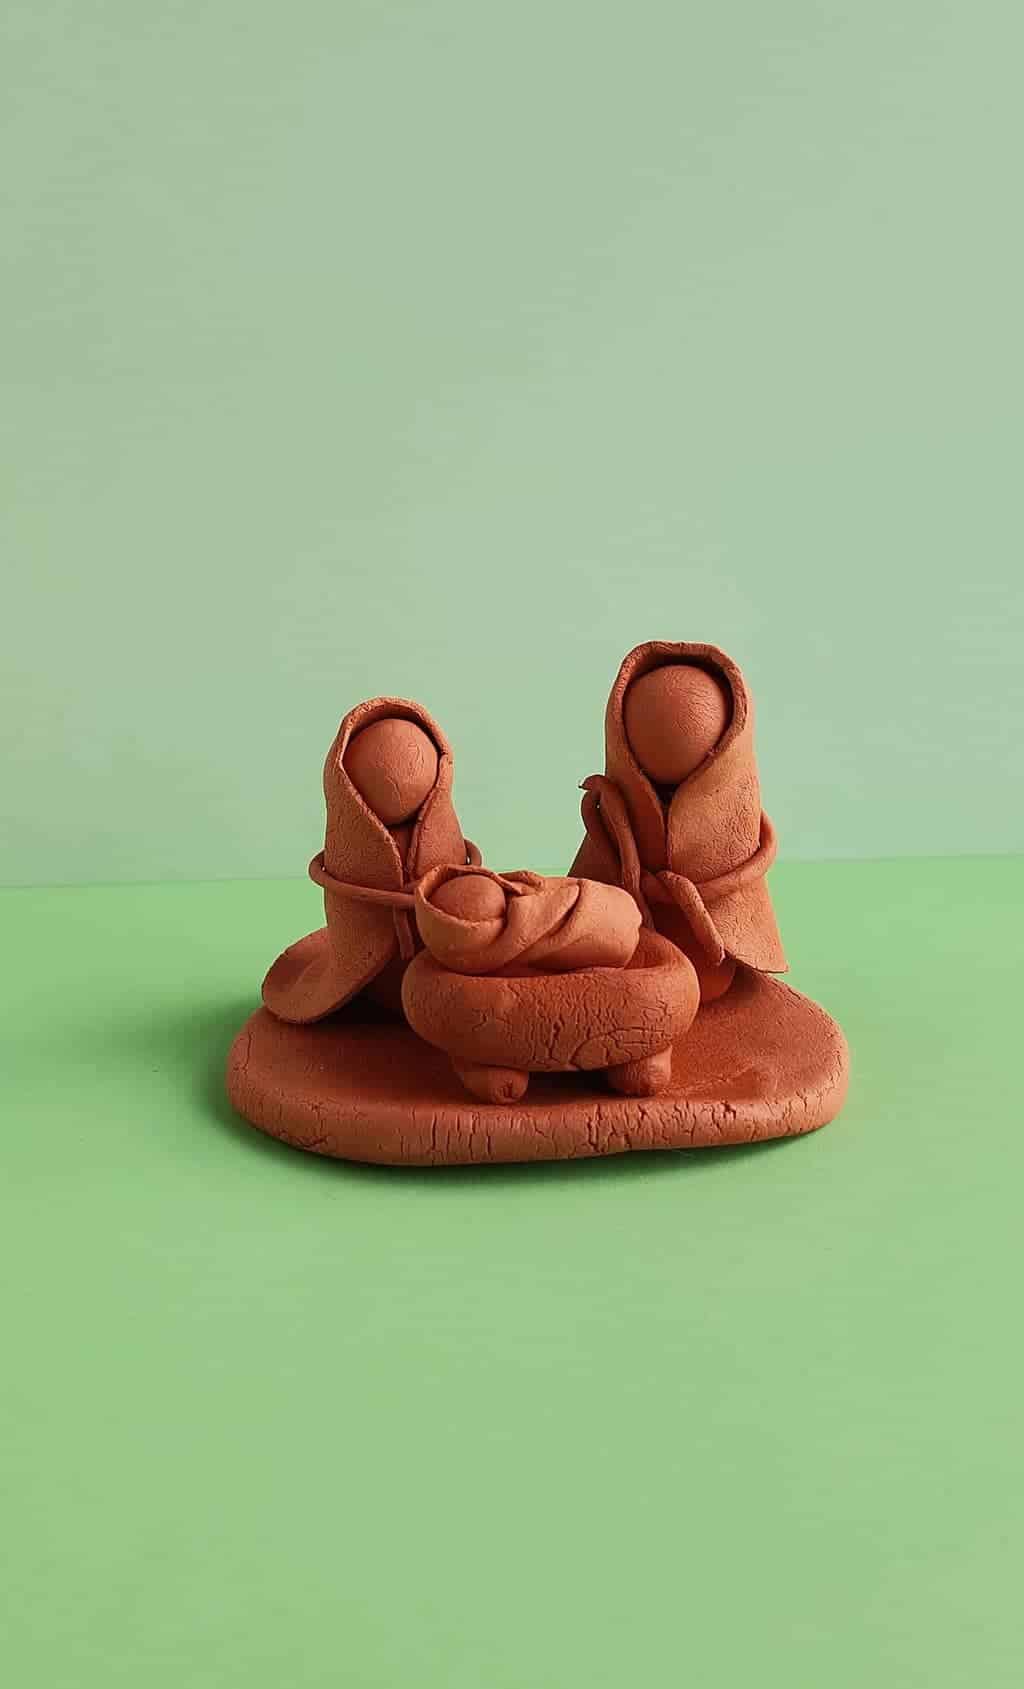
DIY Clay Nativity Scene Craft

Make your own DIY Nativity scene for this Christmas with this festive Air Dry Clay Nativity Scene Craft.
This fun Nativity craft is a great choice for teens and older kids. All you’ll need to make this DIY Nativity scene is air dry clay and a few tools (such as a rolling pin and knife to cut the clay with).
This craft takes a little creativity, as but with the instructions below you’ll end up with an adorable Clay Nativity Scene to display this Christmas.
How to make a DIY Clay Nativity Scene
Supplies:
- Air dry clay
- Rolling pin
- Clay cutting knife (a butter knife or plastic knife will work well)
Instructions:
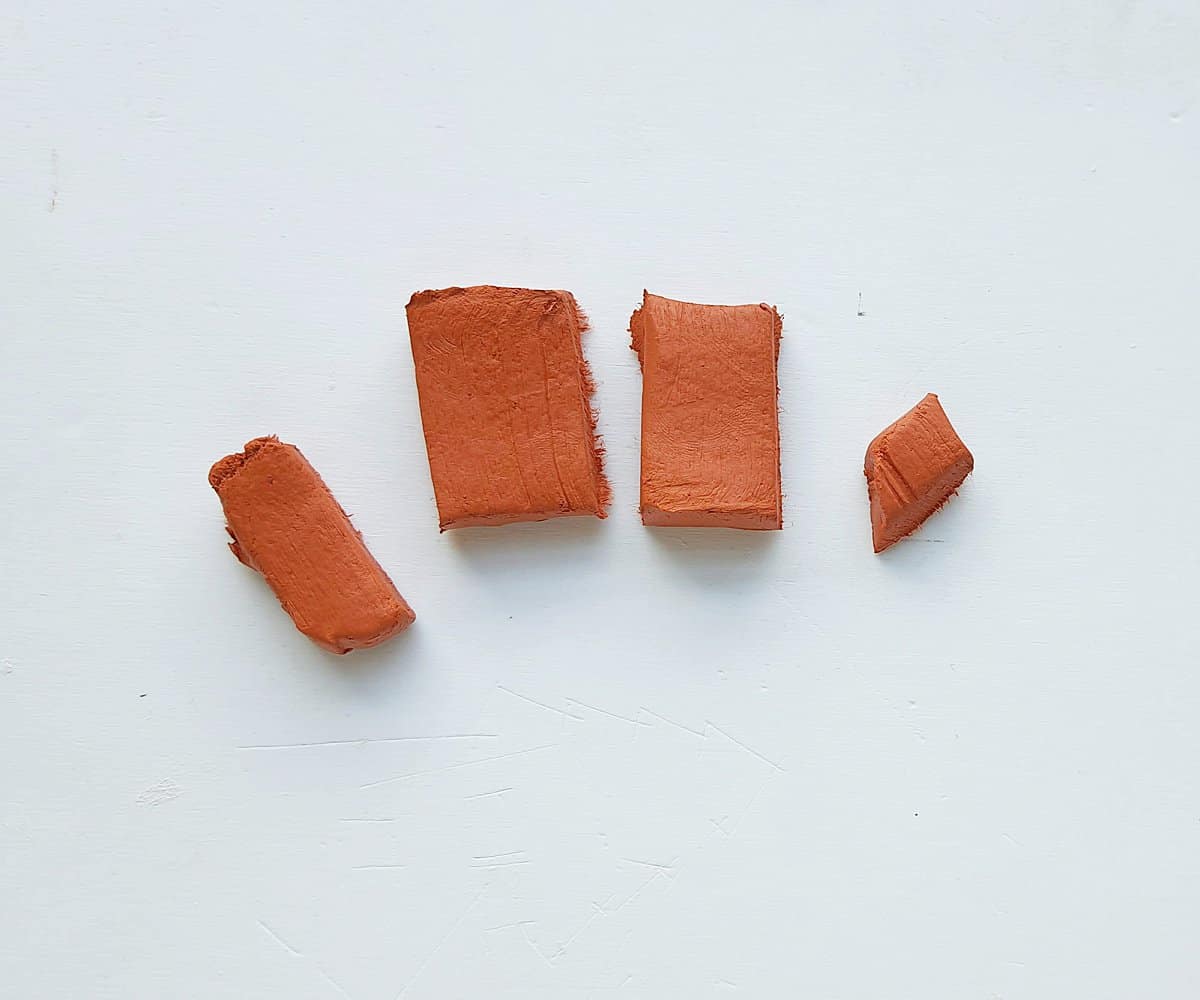
We are going to make Joseph first. You’ll need 4 pieces of clay. You’ll need to pieces similar in size for his body and head scarf. Then you’ll need a medium pice for his head and a small piece for his sash.
Cut one rectangle, about the size you’d like for Joseph’s body to be. Then cut another about the same size for his head scarf. The medium head piece should be just a little less than half the size of the first rectangles. Then you’ll need a piece about one fourth of the size of the big rectangles for the sash.
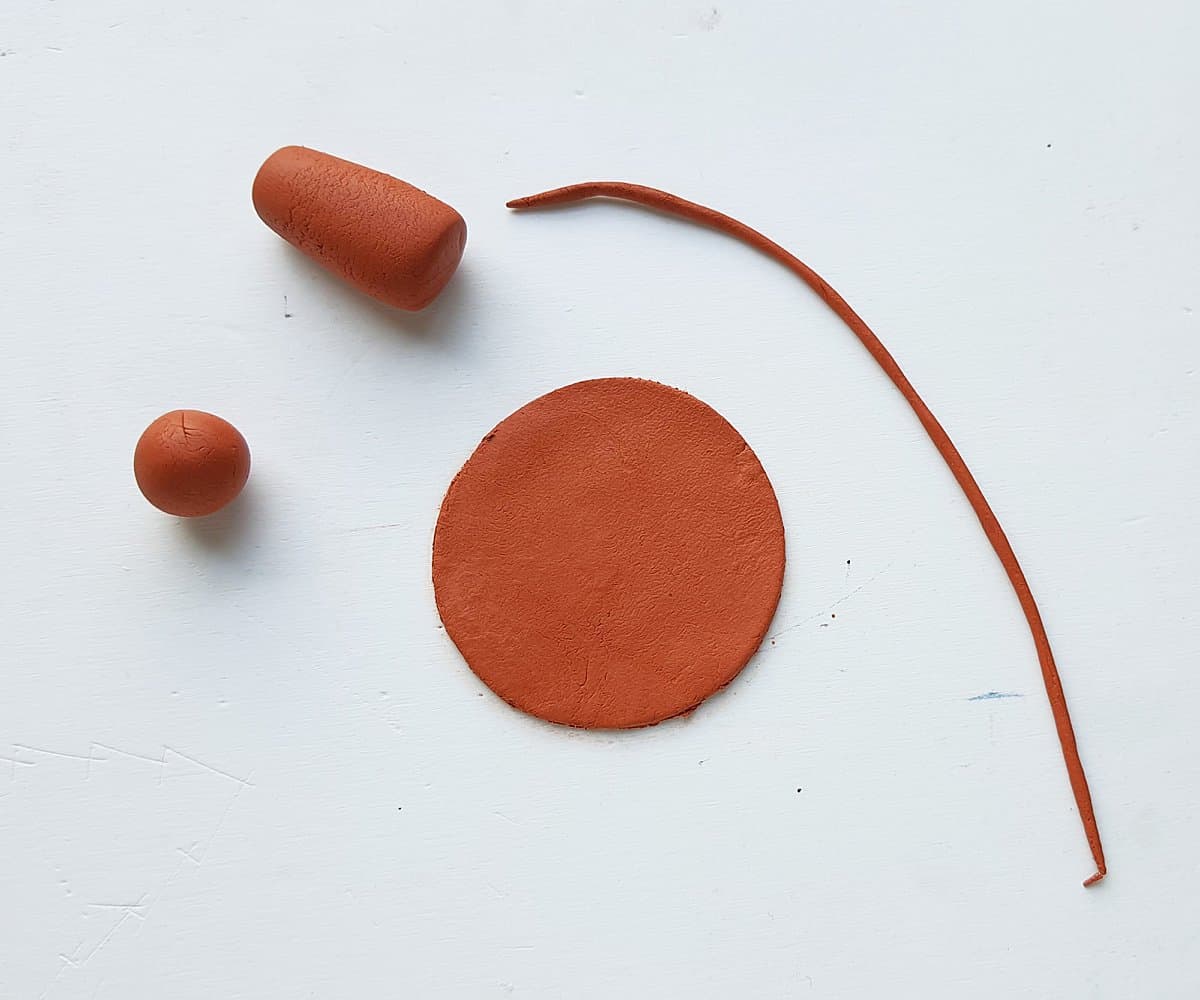
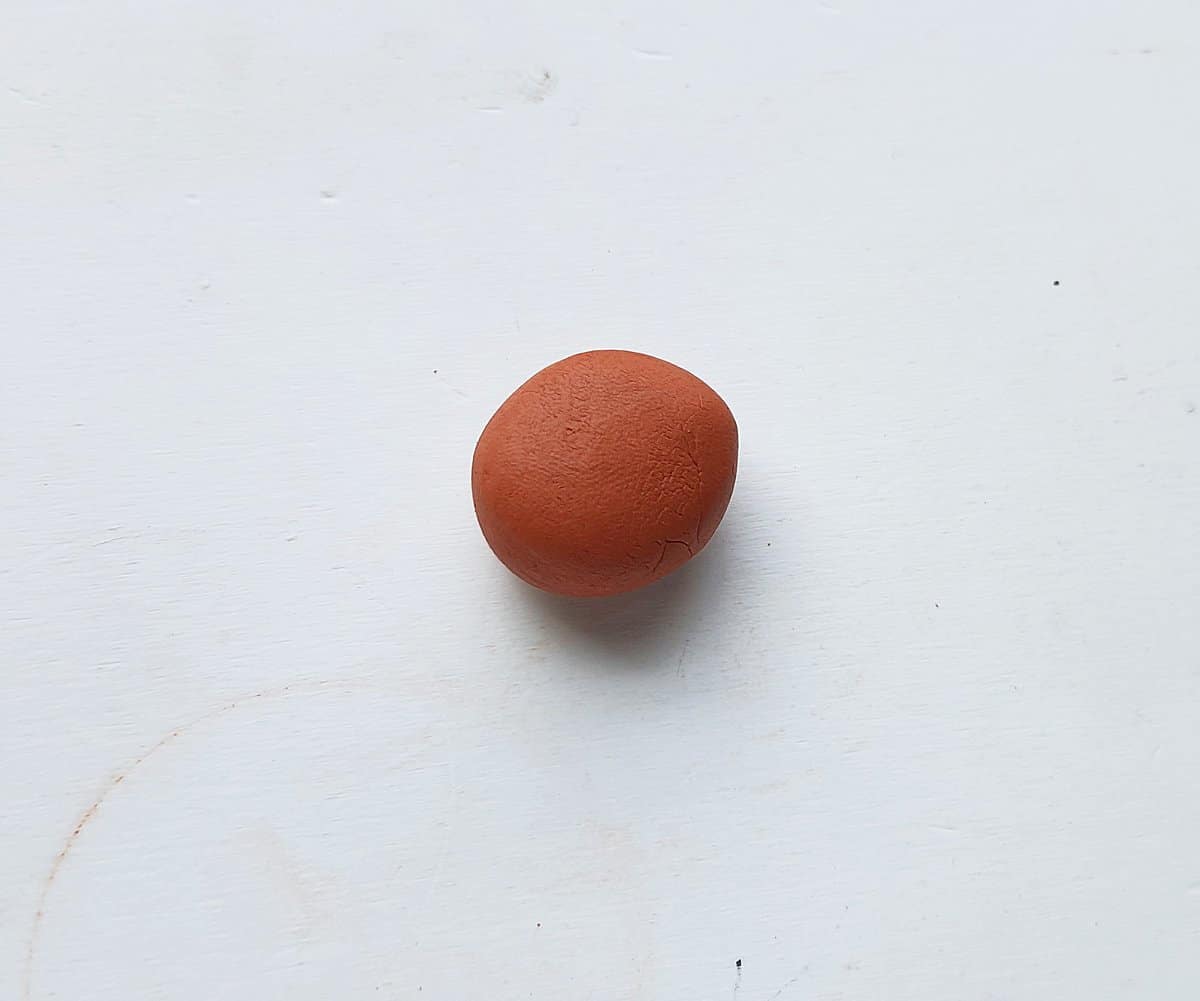
Knead and roll all the clay slices into round ball shapes.

Roll the smallest clay ball into a thin and long piece of clay rope.
Keep the clay ball for the head just as it is.
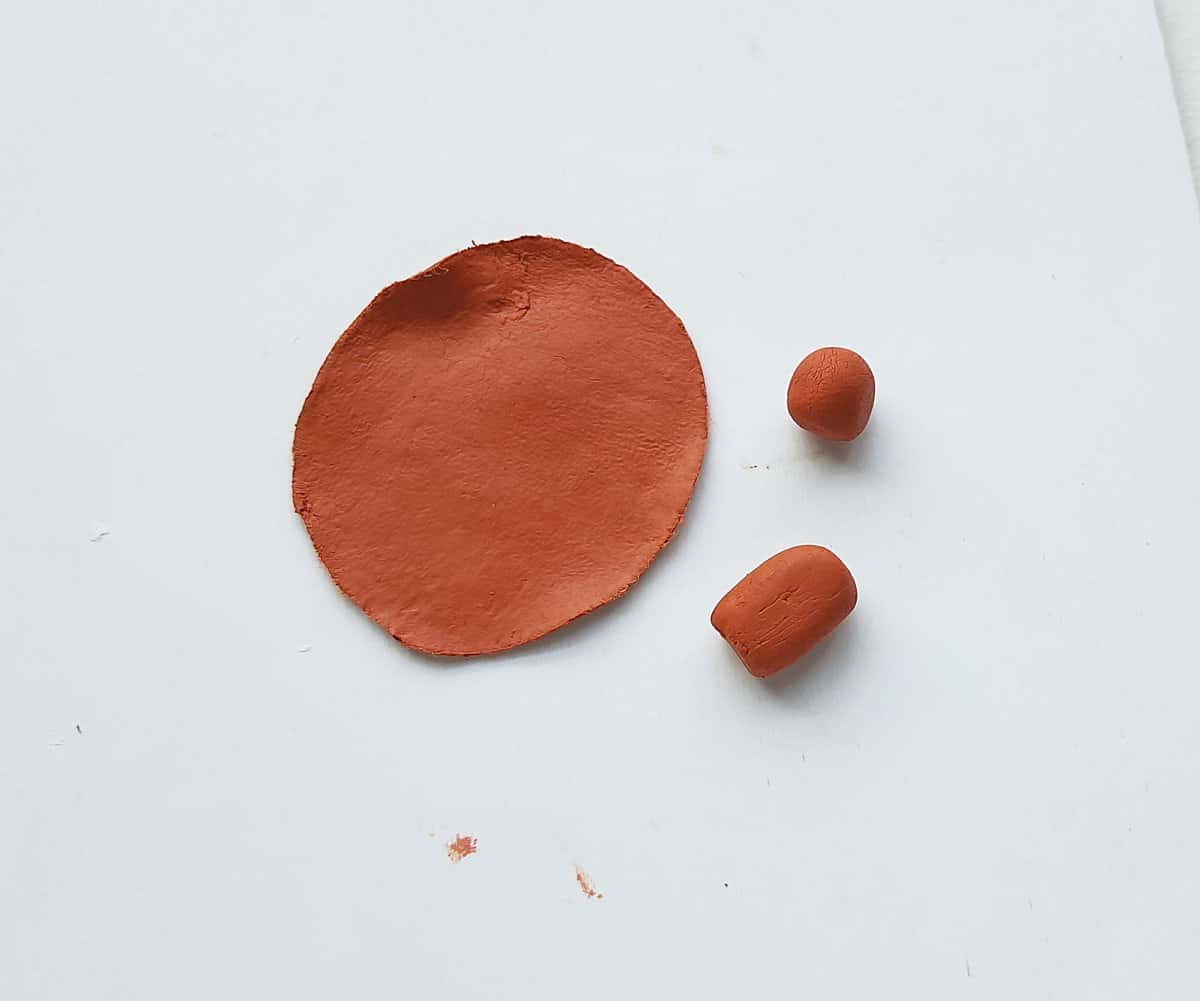
Roll one of the big clay balls into a flat circle and shape the other big clay ball into a cylinder-like shape (which will be Joseph’s body).
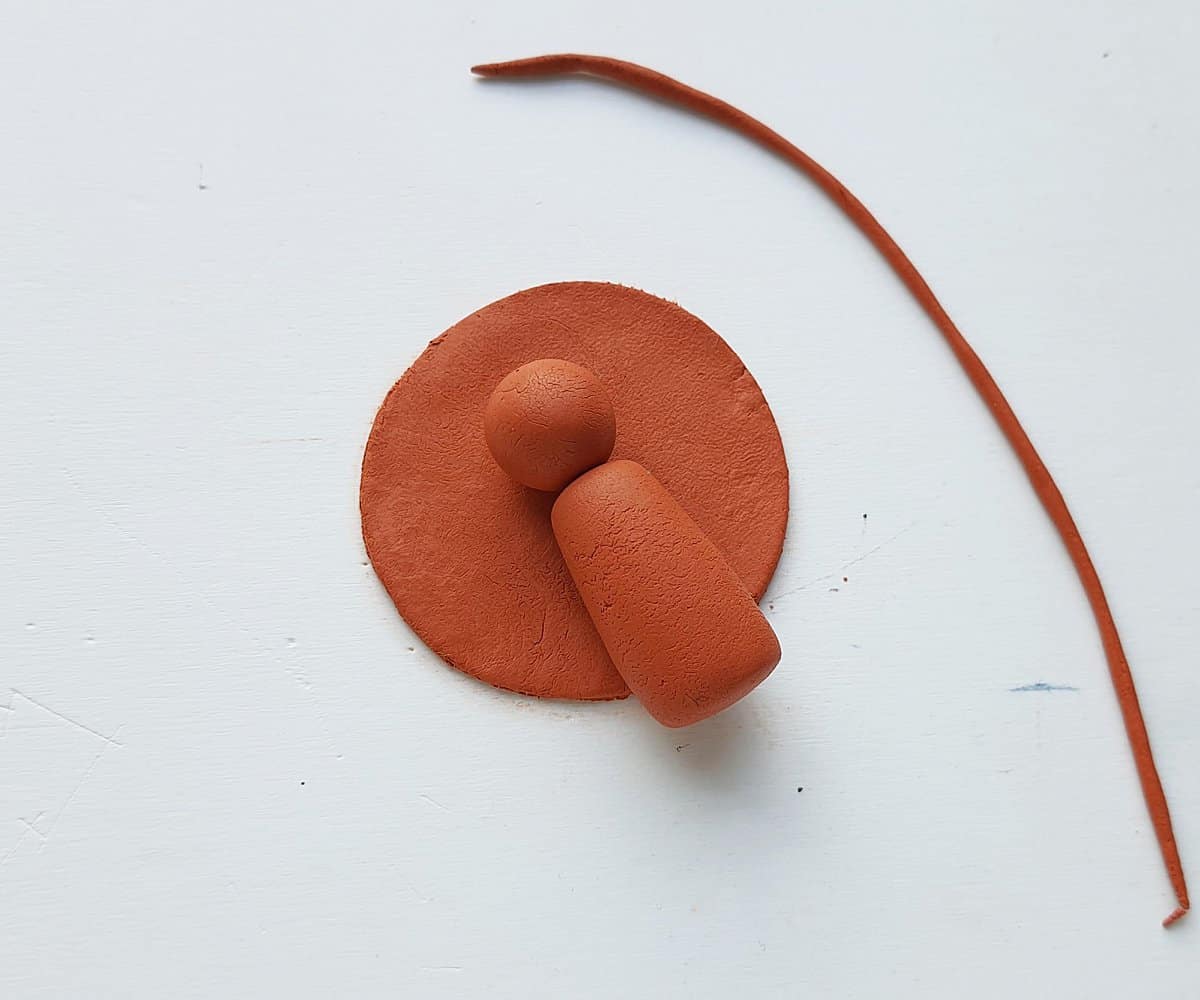
Place the clay ball that is Joseph’s head on the flat circle and place the body piece just below the head. (as shown below)
Wrap the flat circle piece around the head and body to create a head scarf.
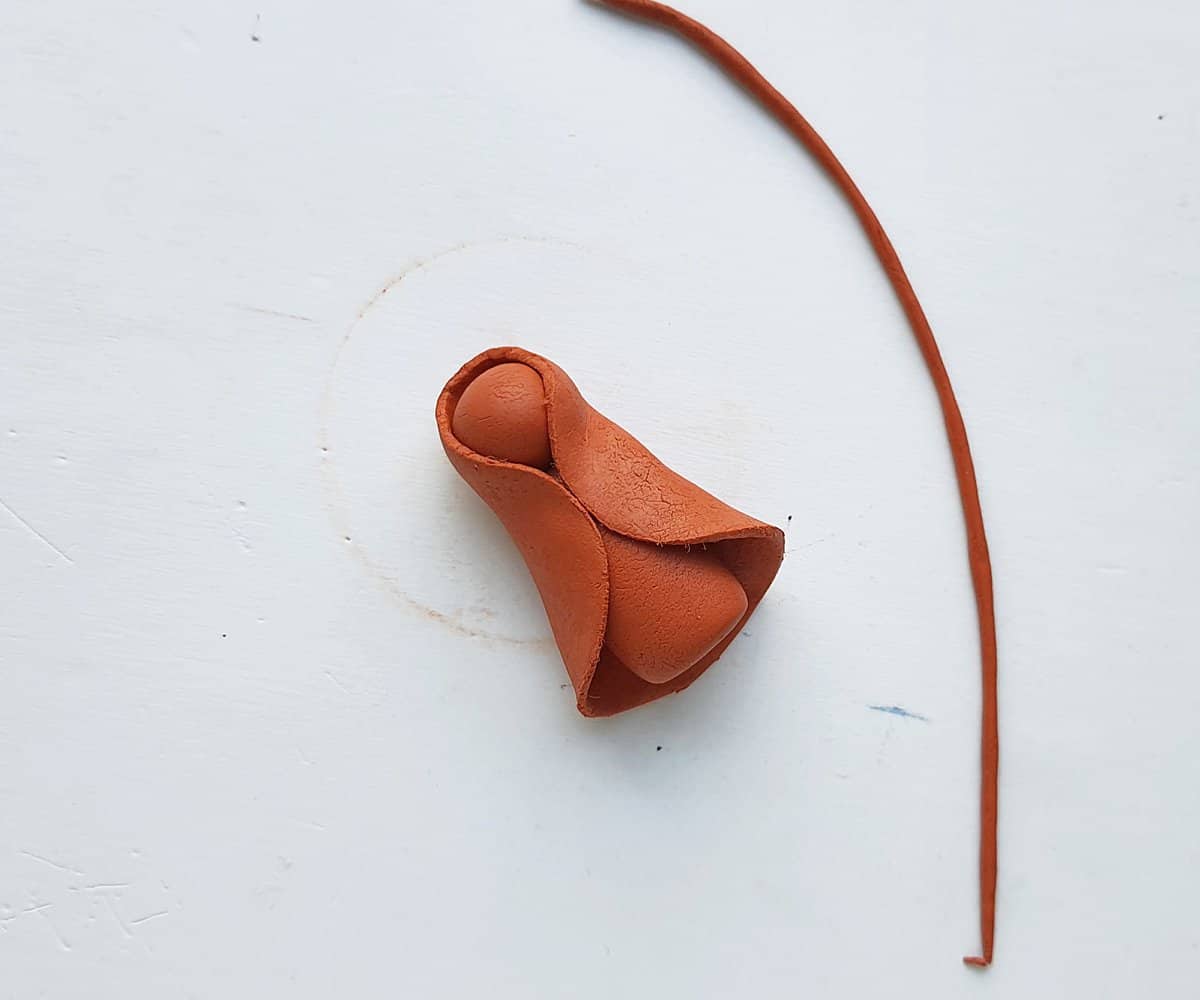
Now, wrap the clay rope around the waist of Joseph and tie it in the middle.
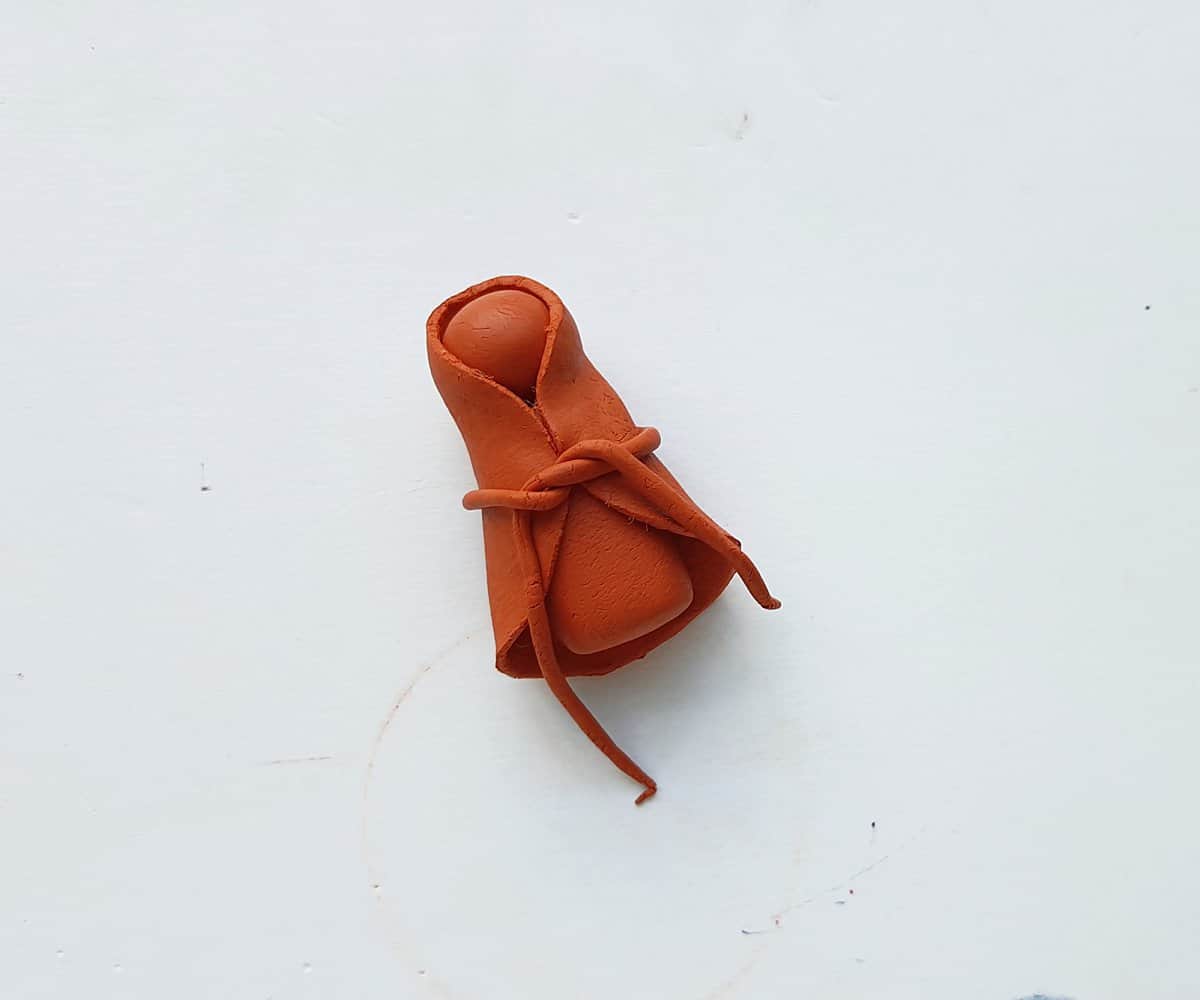
Cut off the excess rope and use that extra clay rope to form a staff for Joseph.. Attach the cane on one side of Joseph.

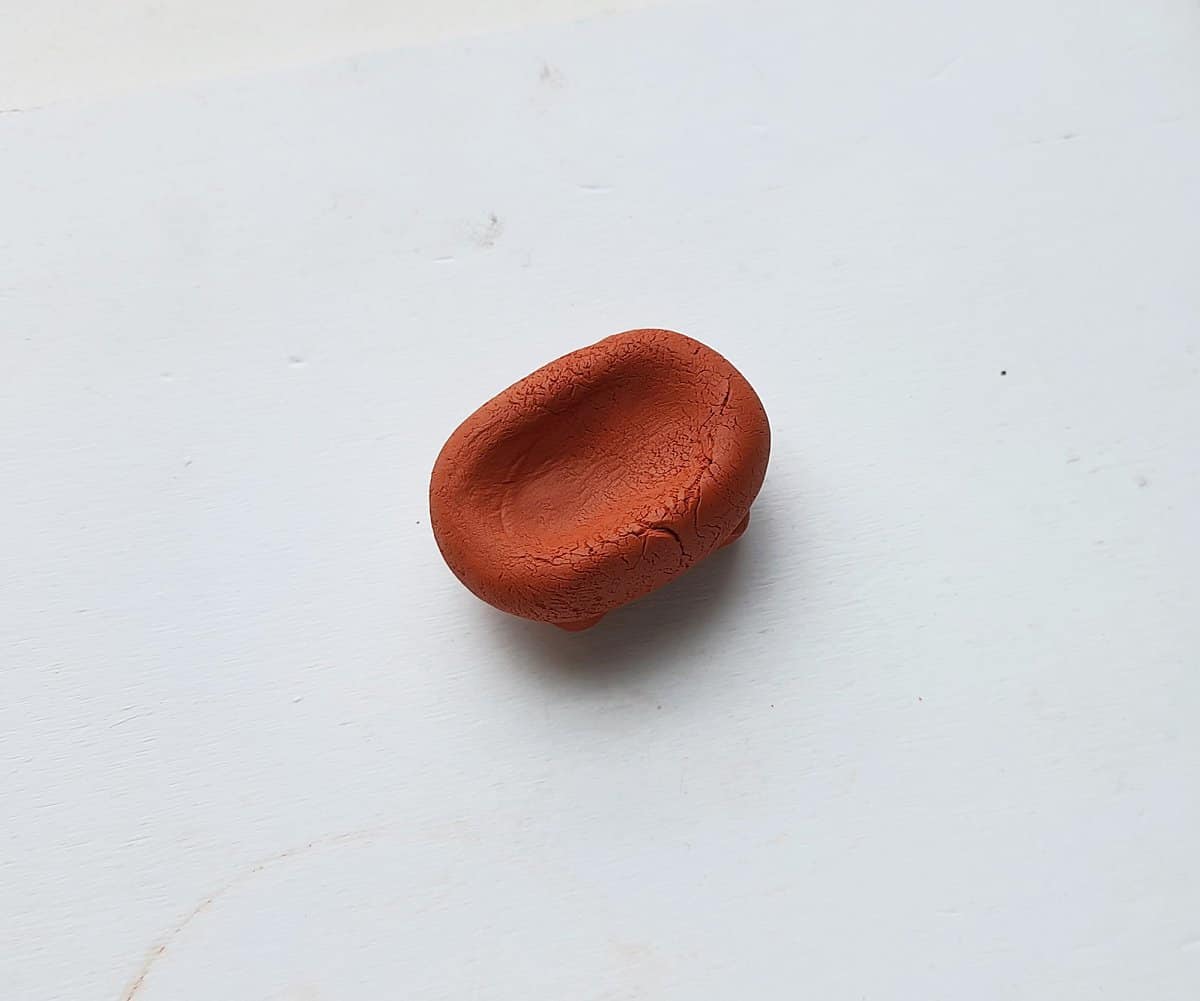
Cut off a slice of clay to make the manger.
Shape the clay piece into an oval and then use your finger tip to press an indention in the middle of the manger to hold baby Jesus.
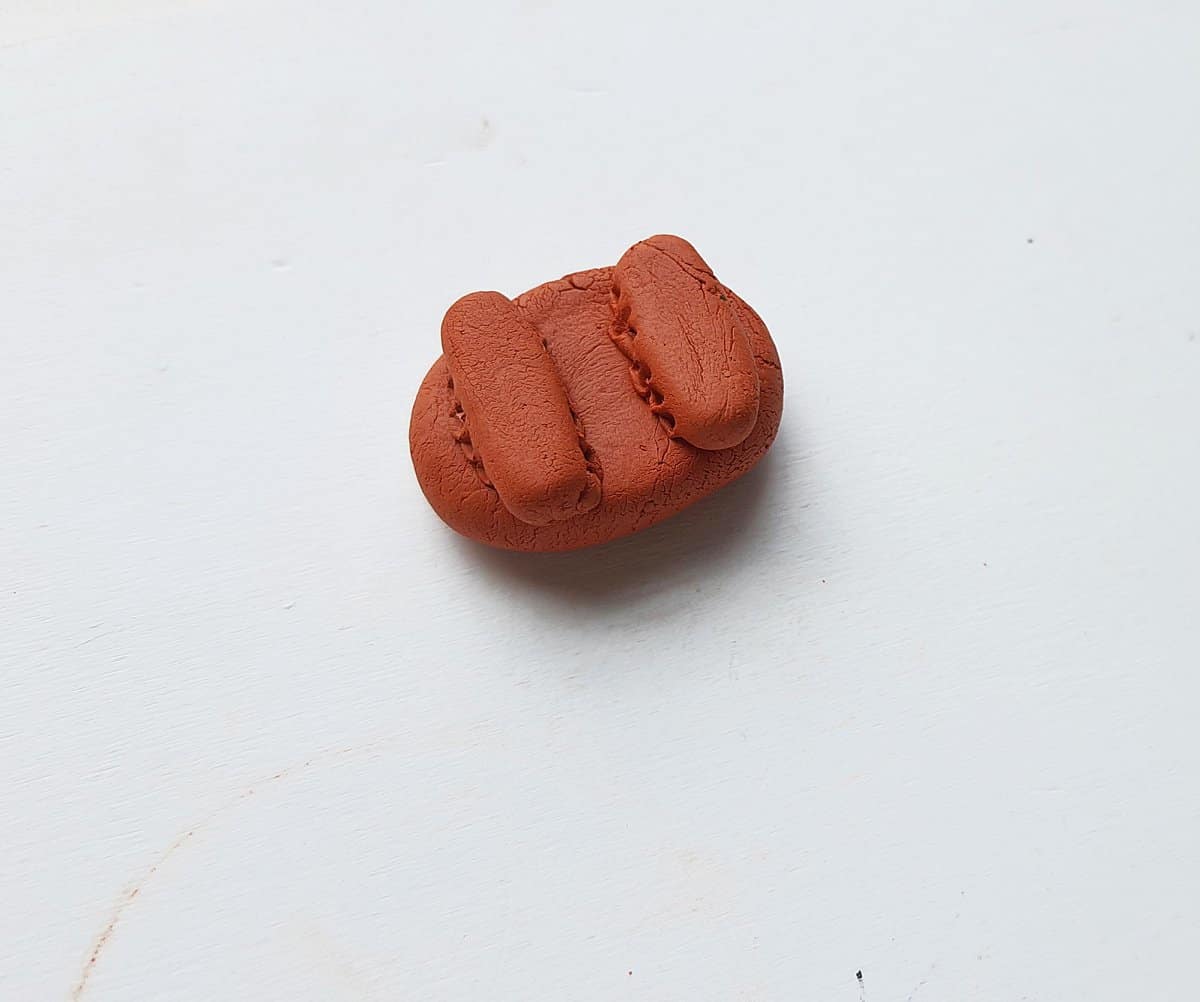
Use about 1/3 of the amount of clay you used for the manger to make 2 cylinder shapes. Attach the cylinders to the bottom of the manger for its legs.
Next make baby Jesus by cutting out three clay pieces. You’ll need two pieces about the same size for his body and his swaddling clothes. Then one slightly smaller piece for his head.
Roll the head into a circle, make a cylinder body shape, and roll out a flat circular piece.
Place the clay head and body towards the center of the flat circle.

Wrap baby Jesus with the flat circle clay piece.. Cut off any extra pieces of the flat circle clay piece after wrapping the baby Jesus.

Place the baby Jesus clay figure on the clay manger.
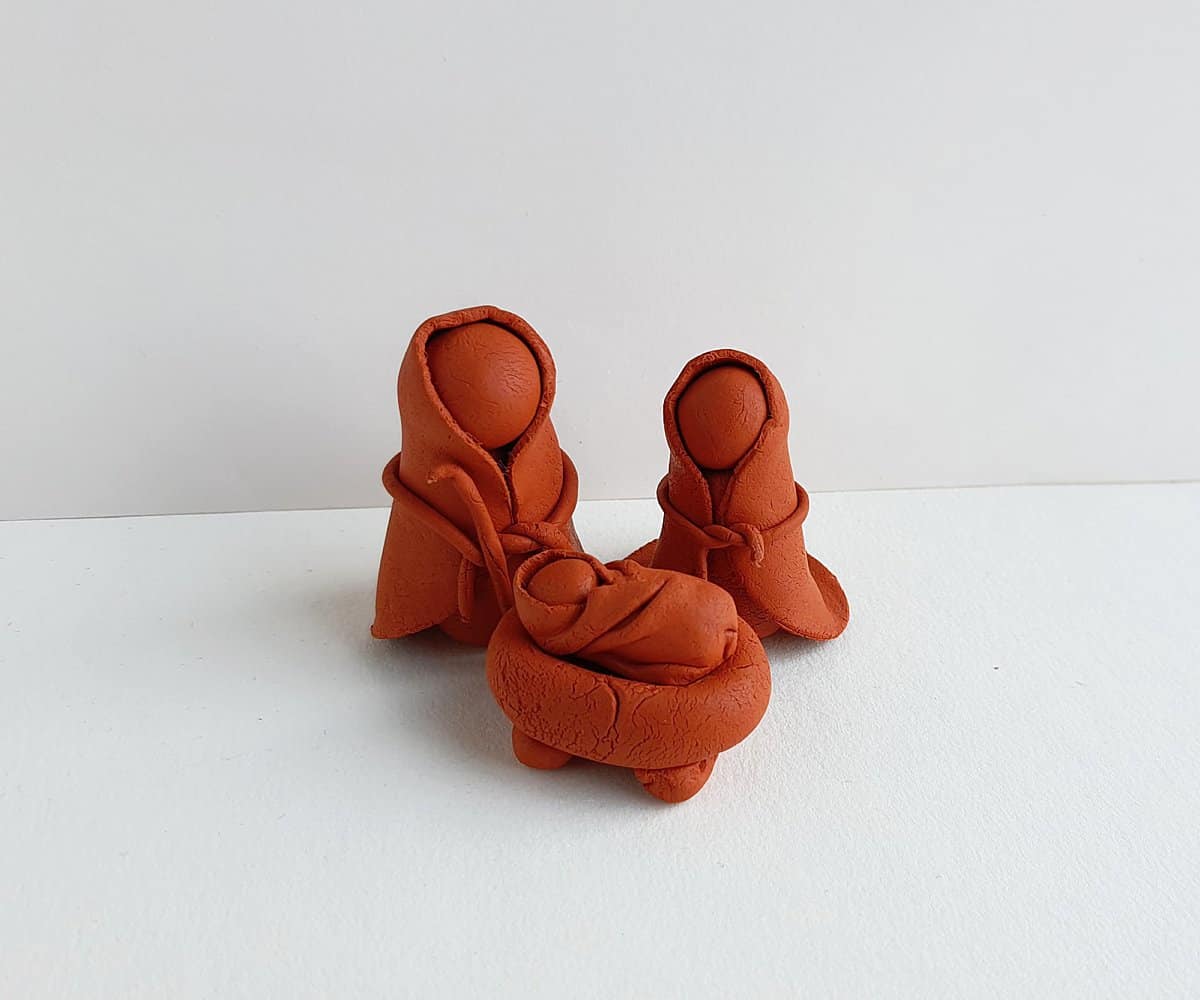
Follow the same instructions you followed to create Joseph to create Mary from clay. You’ll want to use slightly smaller pieces of clay to make her a little smaller than Joseph.
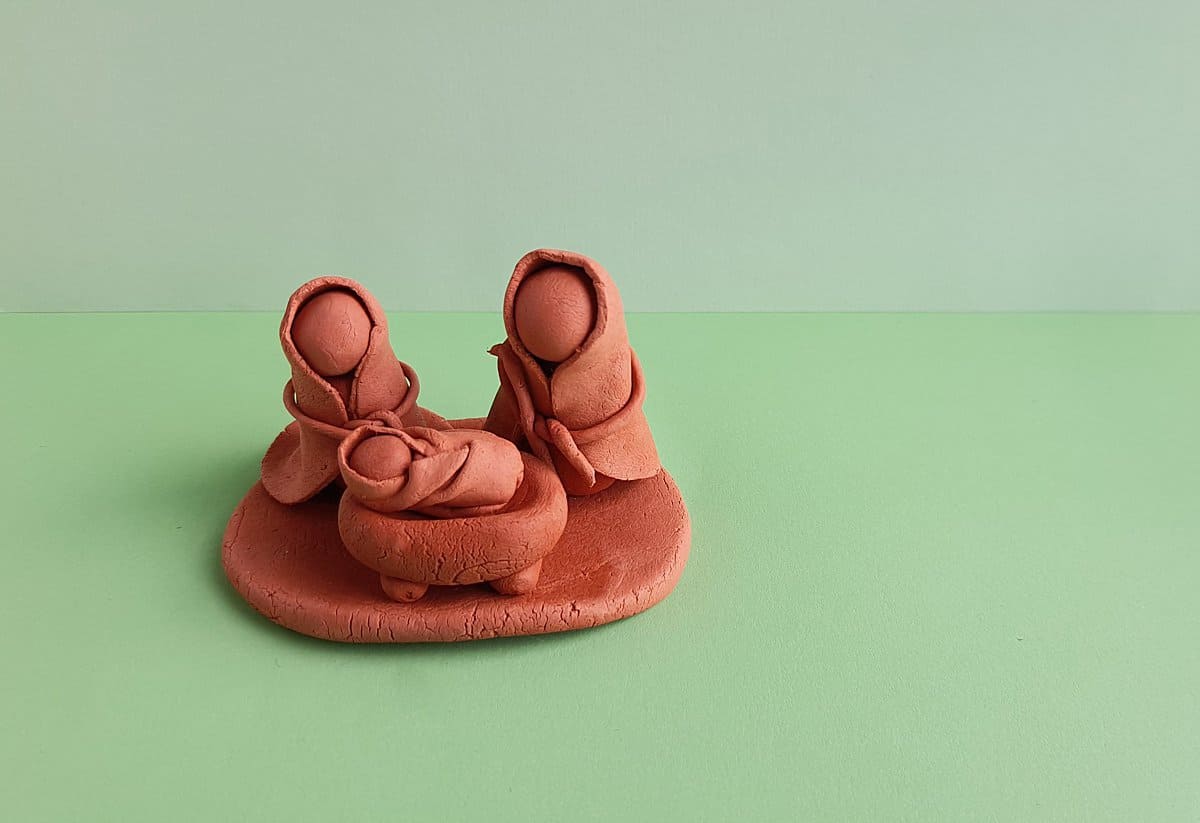
Make a flat clay oval with the rest of your clay to make a base to sit the Nativity figures on.
Attach the pieces how you like them, then allow the clay to dry entirely.
If you enjoyed making this Clay Nativity Scene, you’re sure to love this Clay Nativity Ornament too!
Find 15 more Nativity crafts that kids will love creating – from preschool all the way to teens right here.