DIY Butterfly Bookmark


I always love when my kids make bookmarks, since it encourages thme to grab a book and start reading when they finish crafting. This adorable DIY butterfly bookmark is the perfect choice for spring or summer crafting.
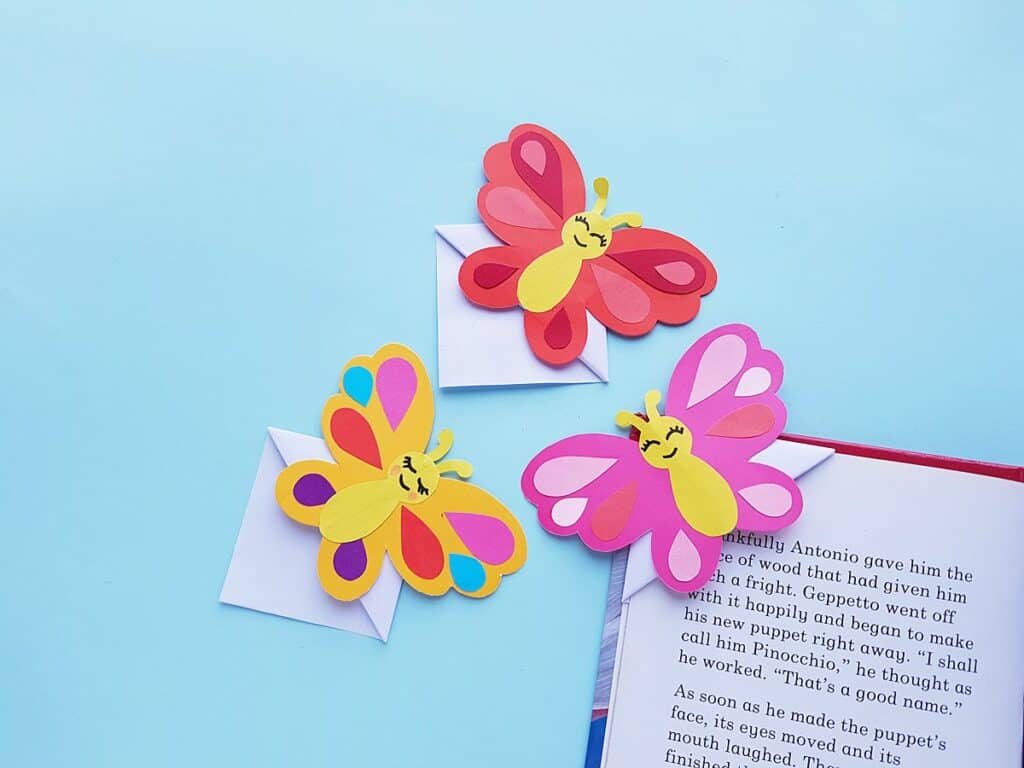
This bookmark is made with a corner bookmark- which have become my kids favorite way to make bookmarks. Folding the corner bookmark is so much fun, and even my teens enjoy making them!

If you’d like to make these DIY butterfly bookmarks with your kids, simply print the template and gather some colored craft papers.
How to Make a Butterfly Bookmark
Supplies:

- Colored papers (construction paper, cardstock, or any colored craft paper you have on hand will work)
- template
- Pencil
- Scissors
- Craft glue
- Black sharpie
Directions:
Choose the colored papers you’d like to use for your butterfly. Print and cut out the template pieces, then trace the template pieces on your chosen colored papers. Cut out all of the pieces.
The template includes pieces for wings, a body, antenna and teardrop shapes for the decoration on the wings.

Attach the tear drop pieces to one of the butterfly wings.

Create the same pattern on the other wing. Then attach the antenna to the butterfly’s body.

Attach the butterfly’s body to the middle of the butterfly wings. Using a black marker add a smiley face to the butterfly’s head. You can also add cheese with a pink marker.

Using an 8×8 piece of paper, make an origami corner bookmark. If you don’t already know how to make a corner bookmark, the easy instructions are here.
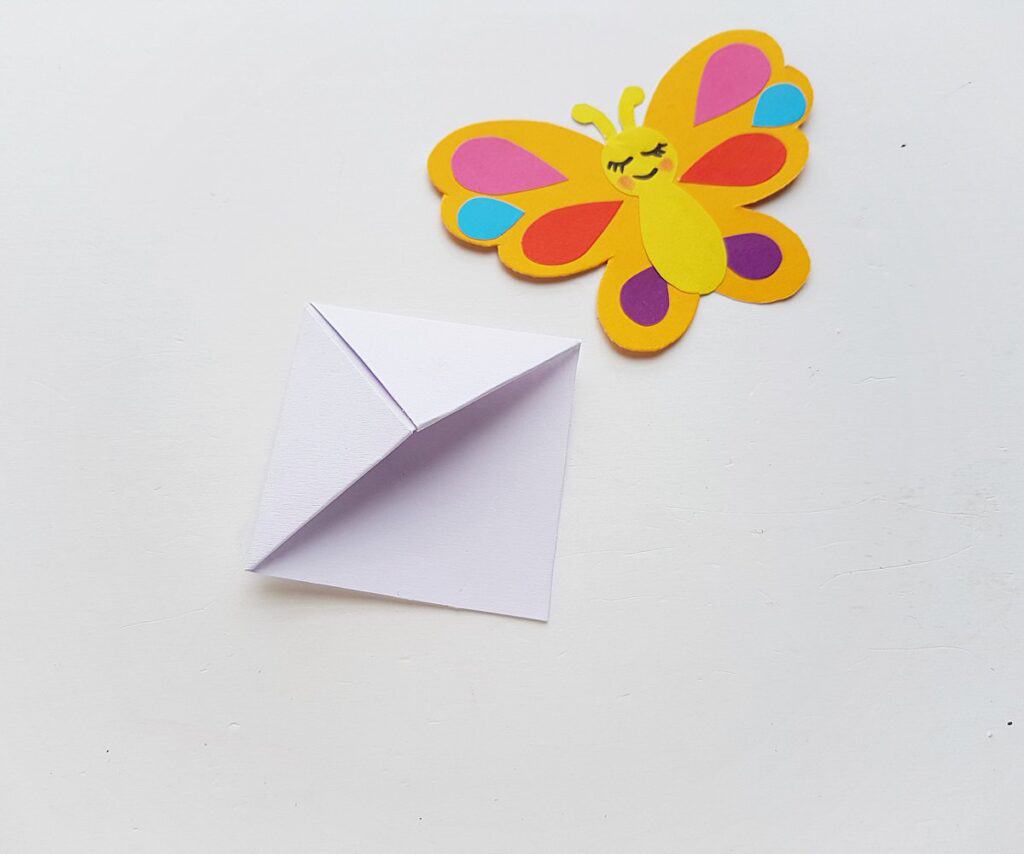
Attach the butterfly onto the triangle side of the corner bookmark.

Allow the butterfly to dry completely, and then you are ready to use your butterfly bookmark!