
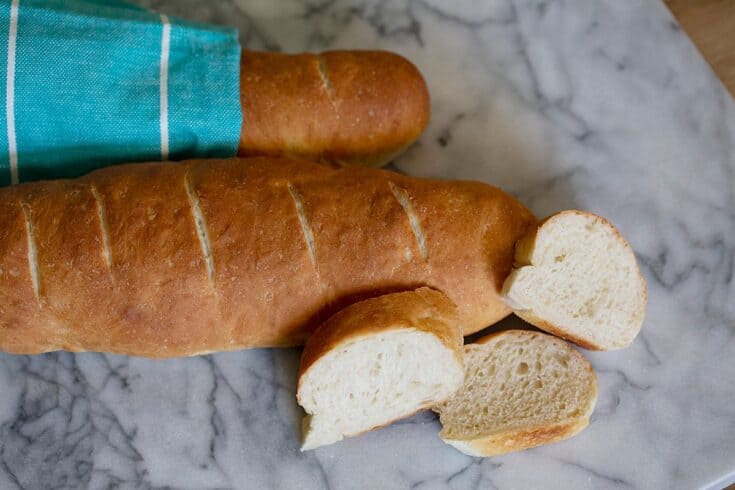
Easy Baguette Recipe (Dairy Free Bread)
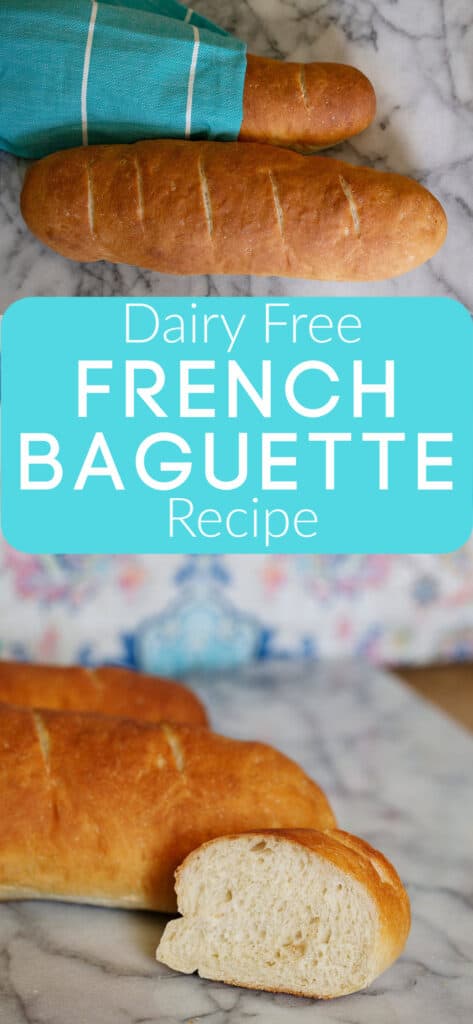
I’ve been making bread for my family for more than 15 years, but it took me over a decade to try to make my own Baguettes. I just assumed that they’d be a difficult to make. Once I finally started experimenting with Baguette recipes I could not believe I’d waited so long! French Baguettes are actually very simple to make at home, especially when using a bread maker to mix and rise the dough!
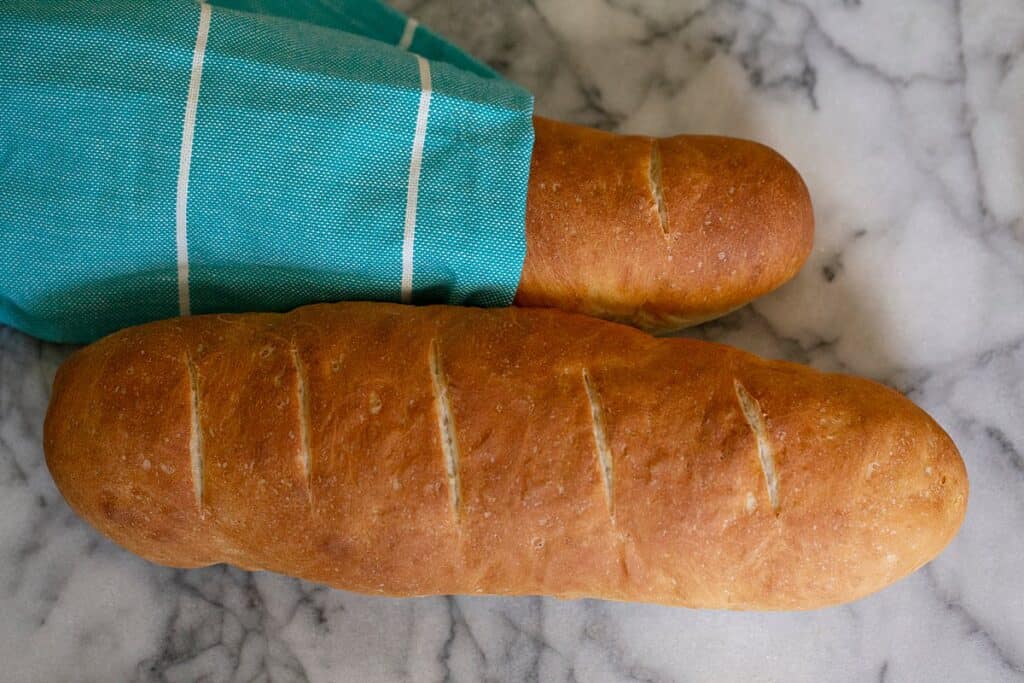
After several years of making Baguettes for my family, I’ve narrowed it down to the most delicious, easy recipe!
One thing I really love about these Baguettes, is that this is a dairy free bread recipe. Many of you know that I was dairy free for many years and spent much time figuring out dairy free breads. This is one of the bread recipes that I’ve continued making in the years since reintroducing dairy to my diet because there really is no better baguette recipe out there!
If you are specifically looking for dairy free bread recipes for your family, you’ll find all of my favorite dairy free bread recipes here.

You’ll find the printable recipe for easy Baguettes at the end of this post, but first let me share how to shape the baguette loaves.
I’ll share a video of the entire process first, but if you prefer photos you’ll find the step by step photos just below the video.
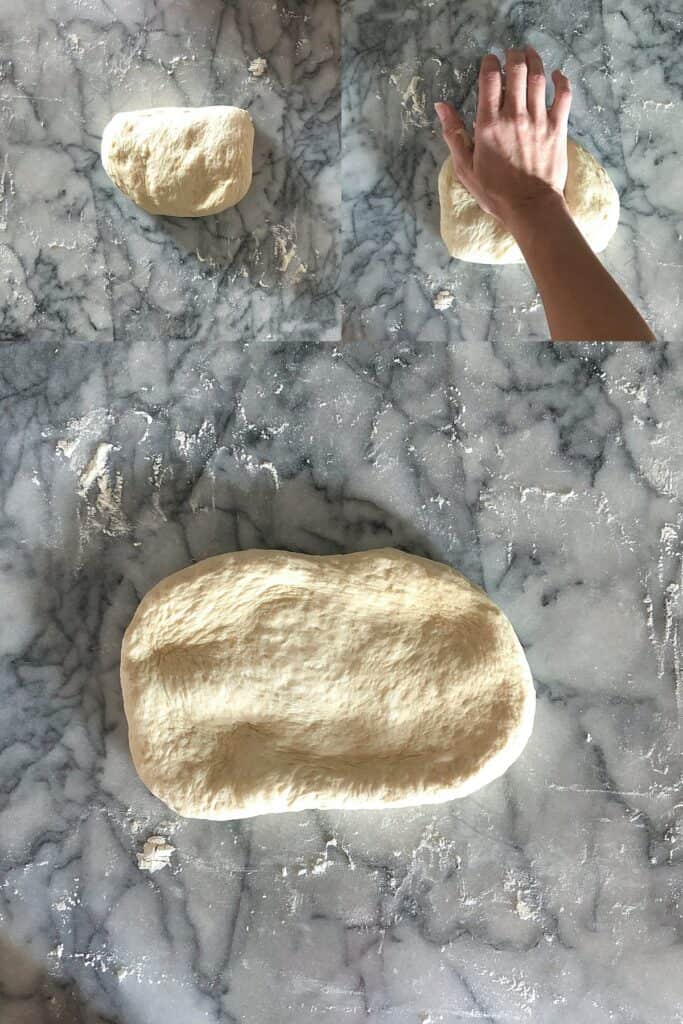
How to Shape Baguettes
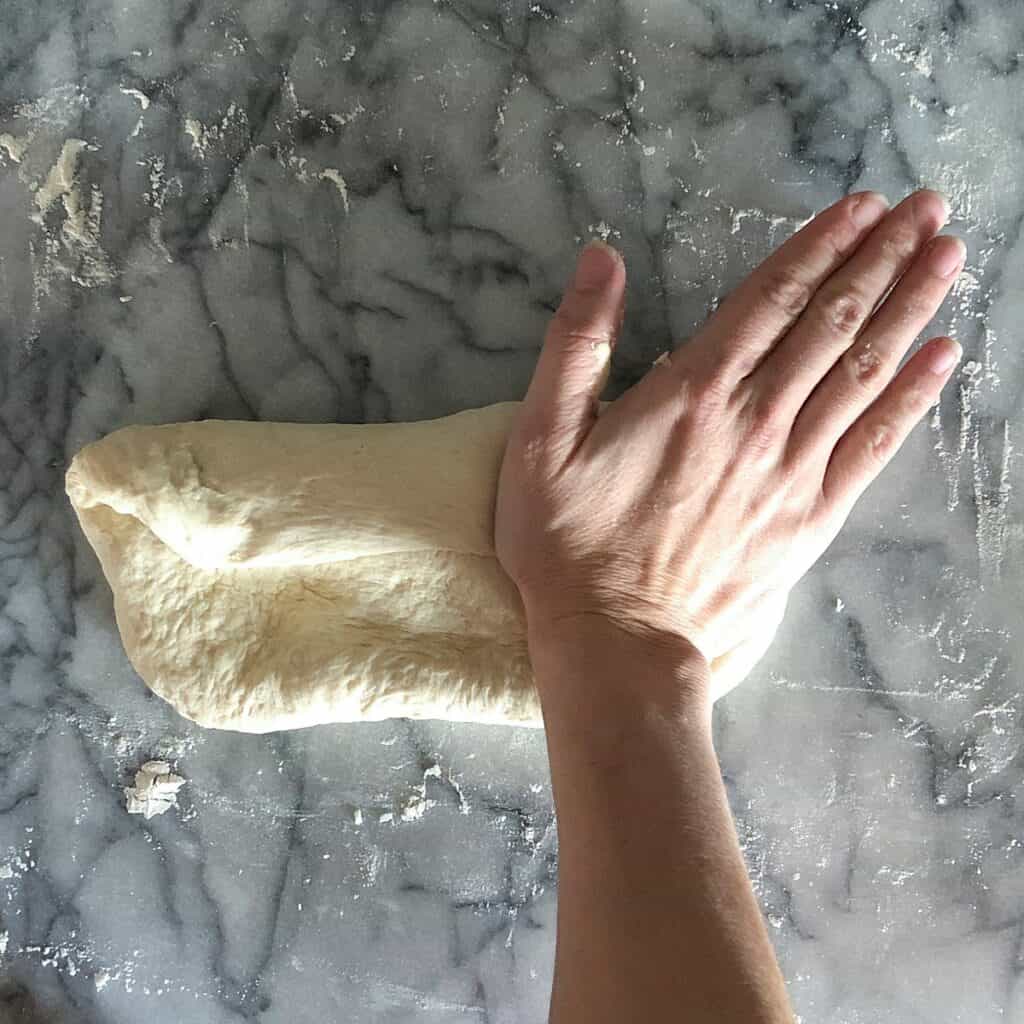
Separate the dough into 3 equal pieces. Use the heel of your hand to press each dough piece into a rectangle shape.
Fold the top third of the dough down.
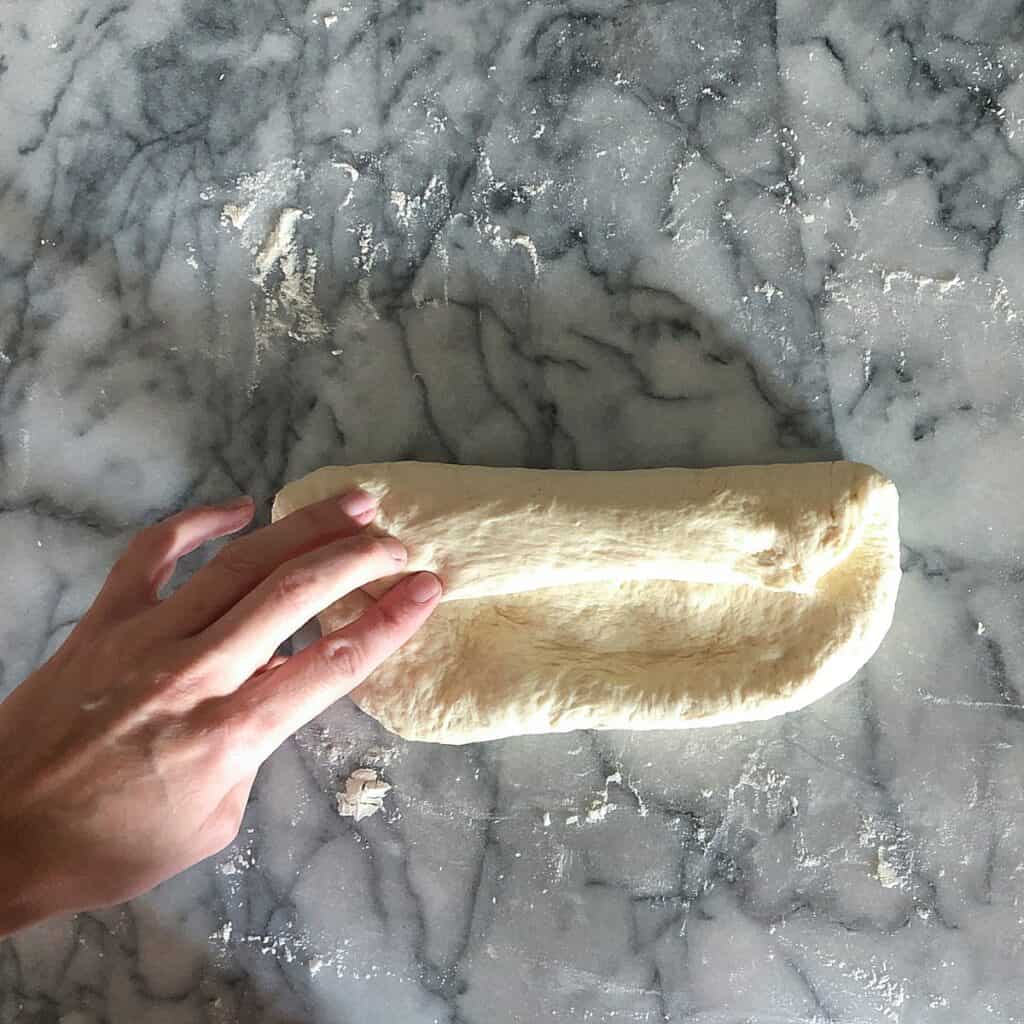
Use the heel of your palm to press the seam.
Fold the bottom third of the dough up, and use the heel of your palm to press the seam.
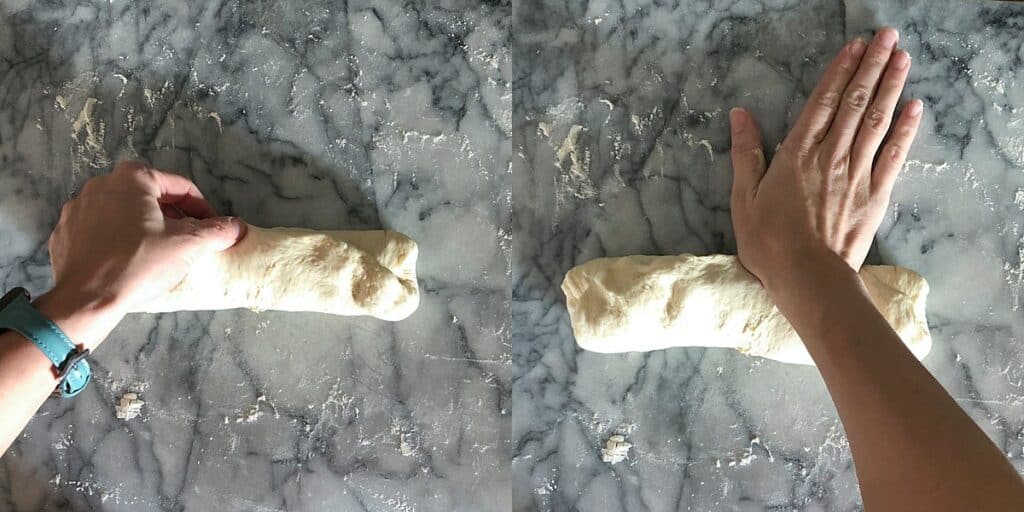
Fold the dough in half, and again use the heel of your palm to press the seam.
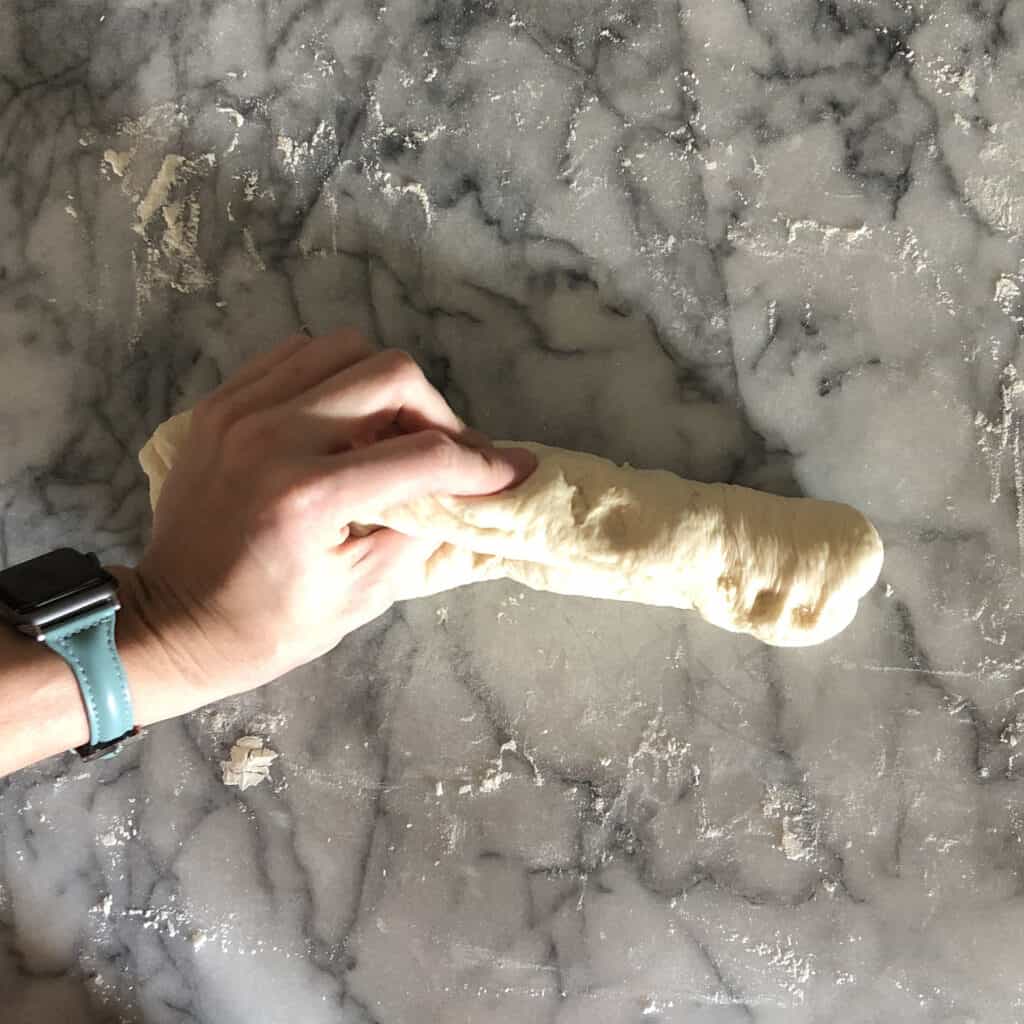
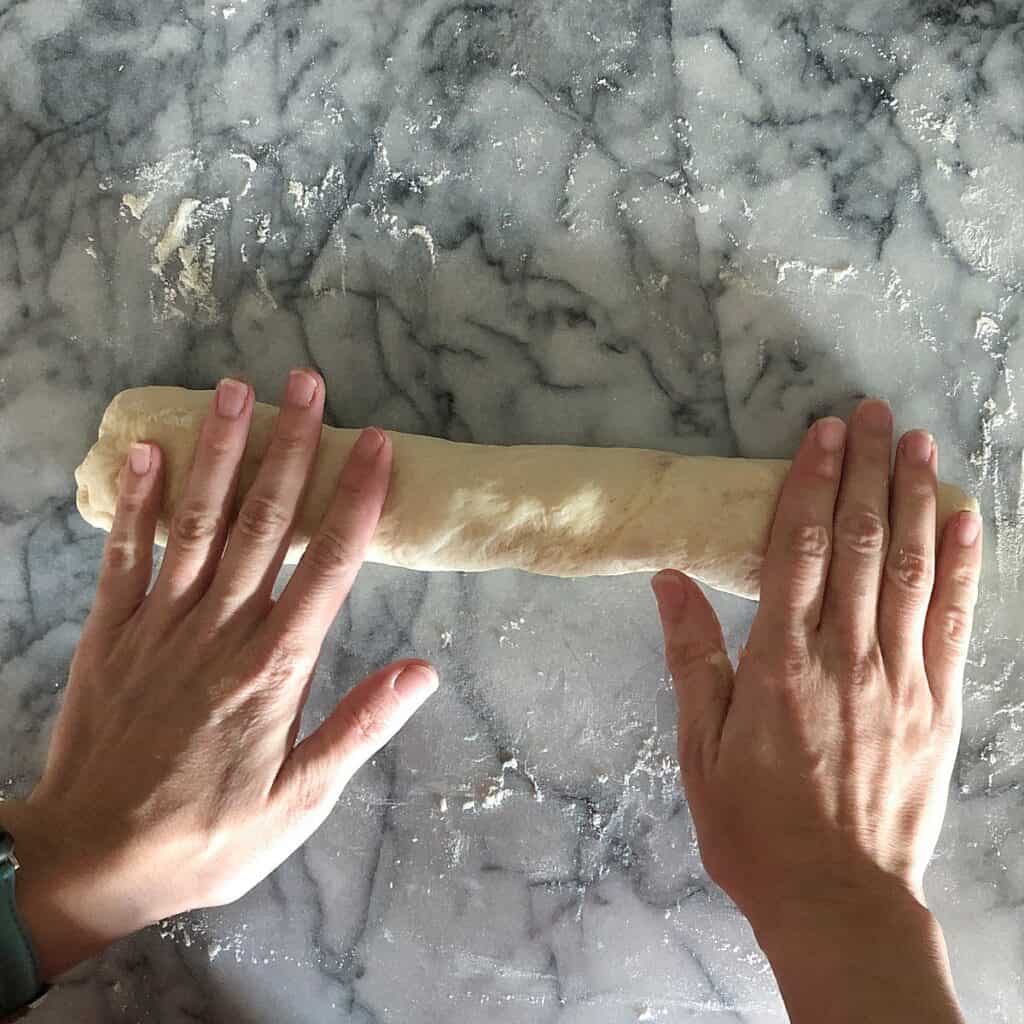
Lay the folded dough, seam side down on the counter or pastry board. Roll the dough like a snake, tapering the ends. Making each loaf about 12 inches long.
Easy Baguette Recipe
Easy Baguette Recipe (Dairy Free Bread)
Delicious Dairy Free Baguettes made using the dough cycle of a bread maker.
Ingredients
- 1.5 cups water
- 2 teaspoons salt
- 2 tablespoons honey
- 4 cups flour
- 1 tablespoon dry active yeast
Instructions
- Add water, salt and honey to the bread maker basket.
- Pour the flour into the basket creating a pile, then use the back of your measuring cup to make an indention in the top of the pile of flour.
- Add the yeast to the indention in the flour.
- Turn the bread maker on using the dough cycle.
- When the dough is finished, separate the dough into 3 equal portions.
- Make 3 long loaves and place them on a lightly greased baking pan, being certain to leave enough room for rising between the loaves.
- Preheat the oven to 450 ° F
- Allow the loaves to rise until doubled (approximately 30 minutes)
- Score the top of the loaves, making several diagonal slits on top of each one.
- Bake the loaves for 15 minutes, until golden brown.
Notes
If you don't have bulk dry yeast, you can use a packet of yeast instead. It is a little less than this recipe calls for, but it works just as well.

Do you used regular all purpose flour or bread flour?
I generally use regular all purpose flour. If I happen to have bread flour on hand, I’ll use it. But, I find it doesn’t make much difference which flour I use with this recipe.
Is this possible without a bread maker?
Yes, just use your favorite method for mixing bread dough. I prefer bread maker, but you can use a stand mixer or even work by hand.