Paper Cup Elf Craft
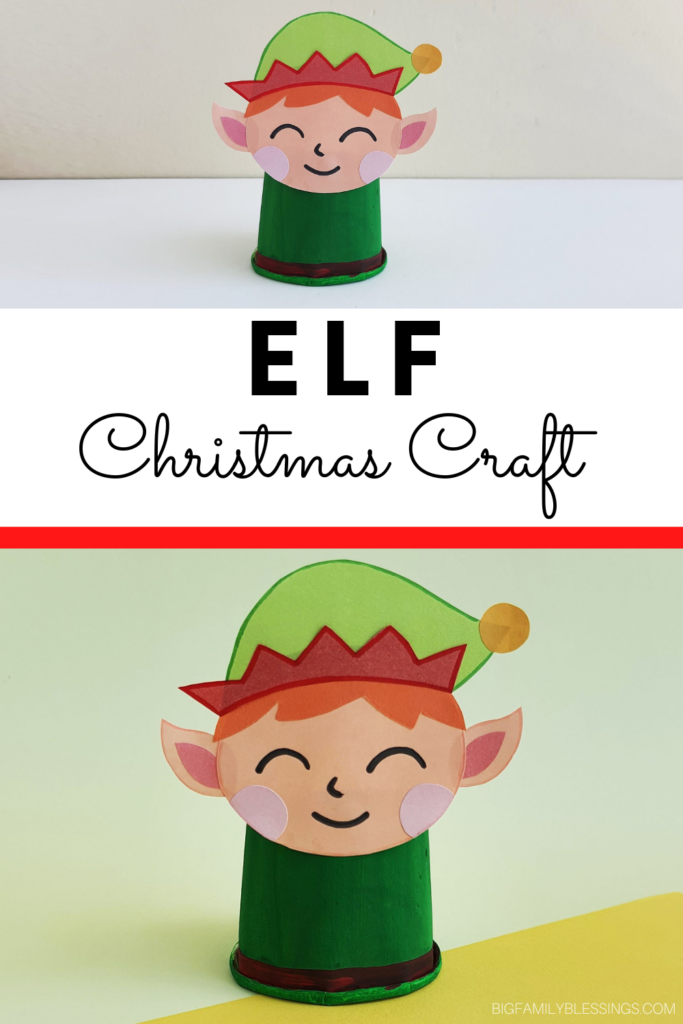
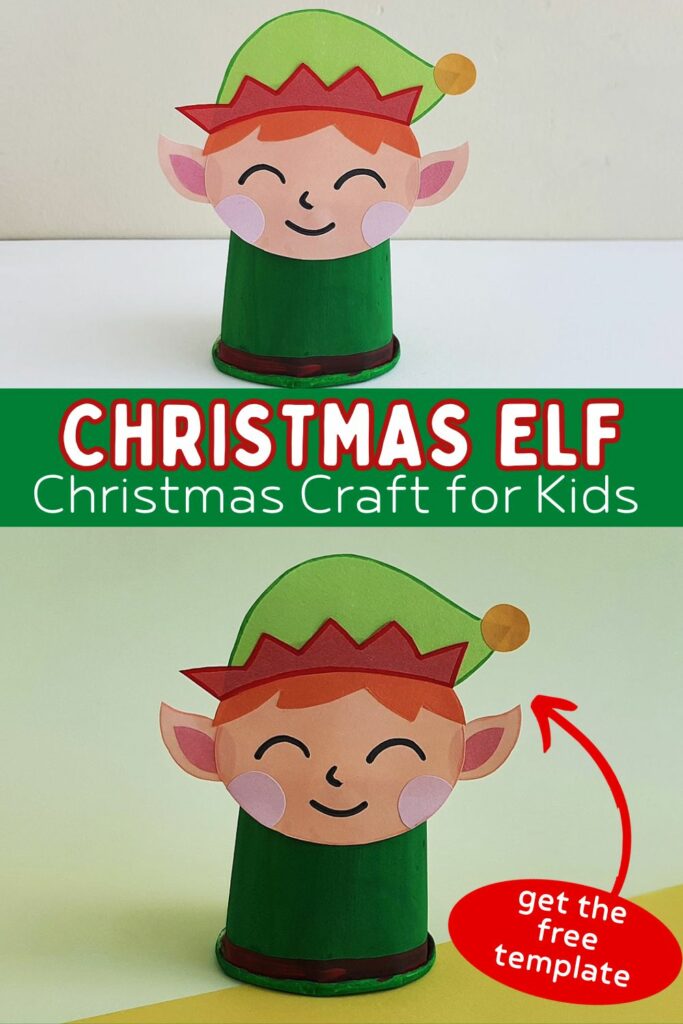
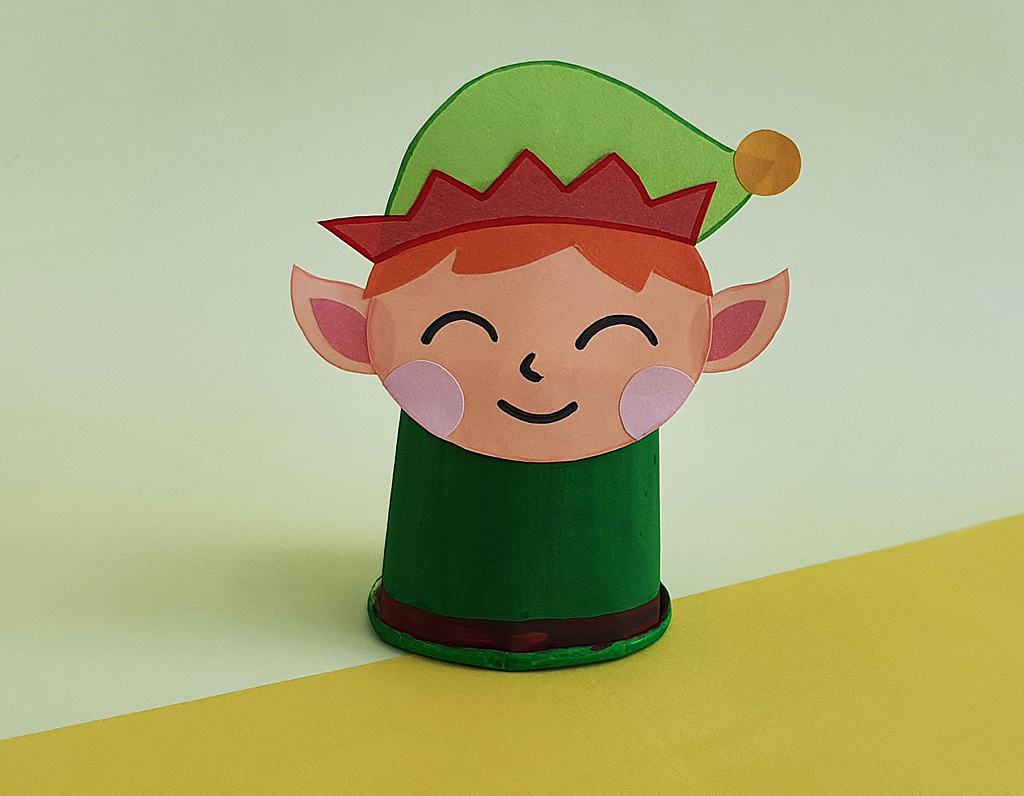
This adorable paper cup elf craft is a fun Christmas craft that kids will love making and playing with! Grab a paper cup and follow the fun and easy tutorial below to make a cute elf craft with your kids this holiday season.
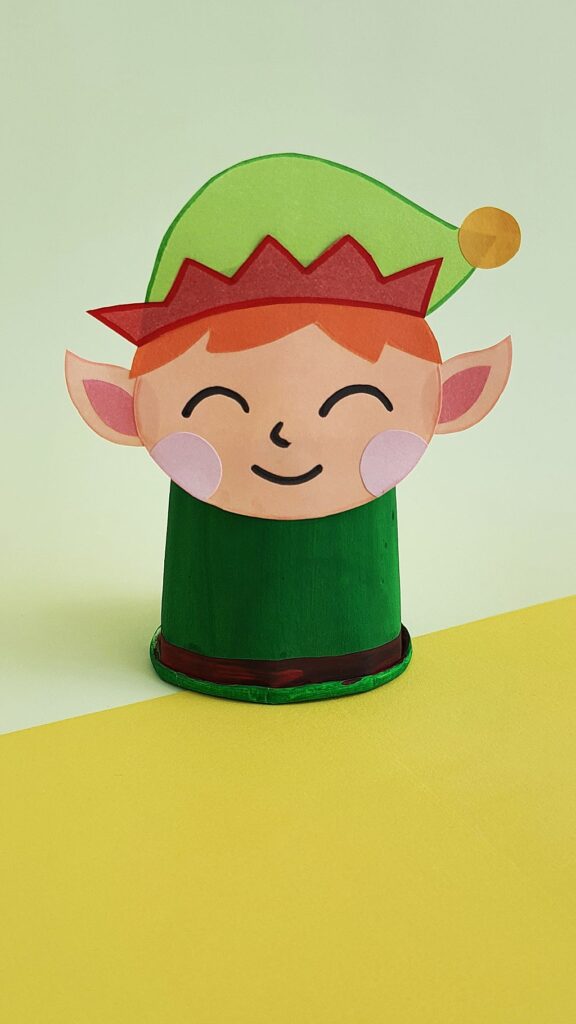
Making Christmas crafts is a great way to spend time with your kids during the busy holiday season. Imaginative crafts are even better, since kids can also play with them after crafting.
This paper bag elf is another cute elf craft for kids that they can also play with.
Or make these cute Christmas stick puppets. You’ll find patterns to make Santa Claus, Mrs. Claus, and an elf too!
How to Make a Paper Cup Elf
List of Supplies:
- Colored craft papers
- Acrylic paint (or your favorite craft paint)
- Paint brush
- Pencil – to trace the template
- Craft glue
- Marker or gel pen
- Paper cup
- Template
Instructions:
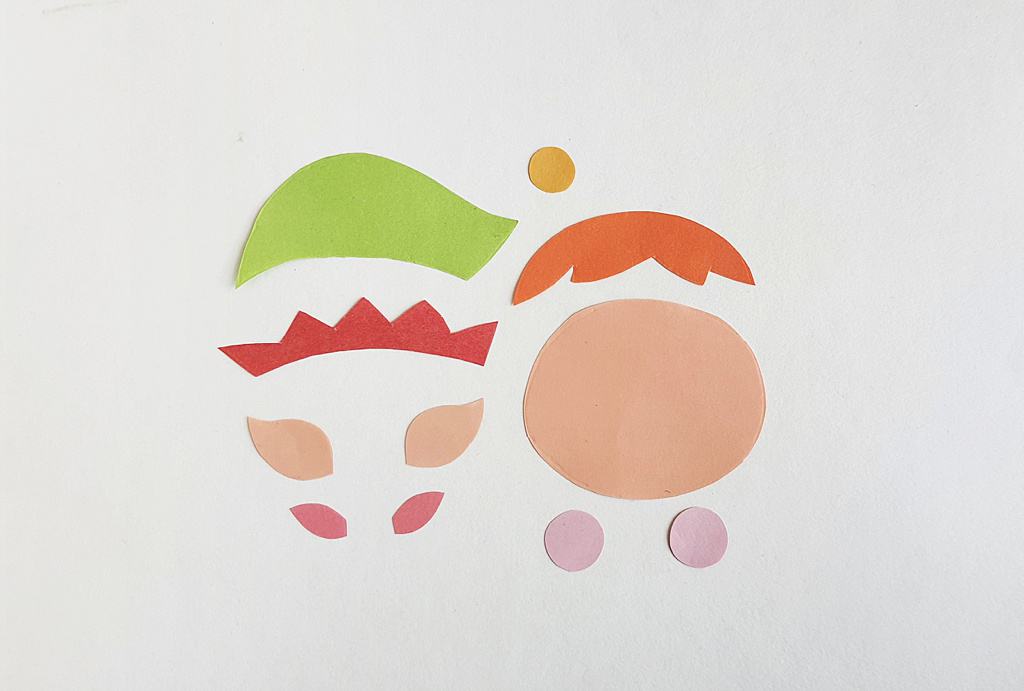
Download and print out the elf template. Cut out the pattern pieces.
Choose colored craft papers for the head pattern of the paper cup Elf craft.
Trace the template patterns on the chosen craft papers and cut out the traced pattern pieces.
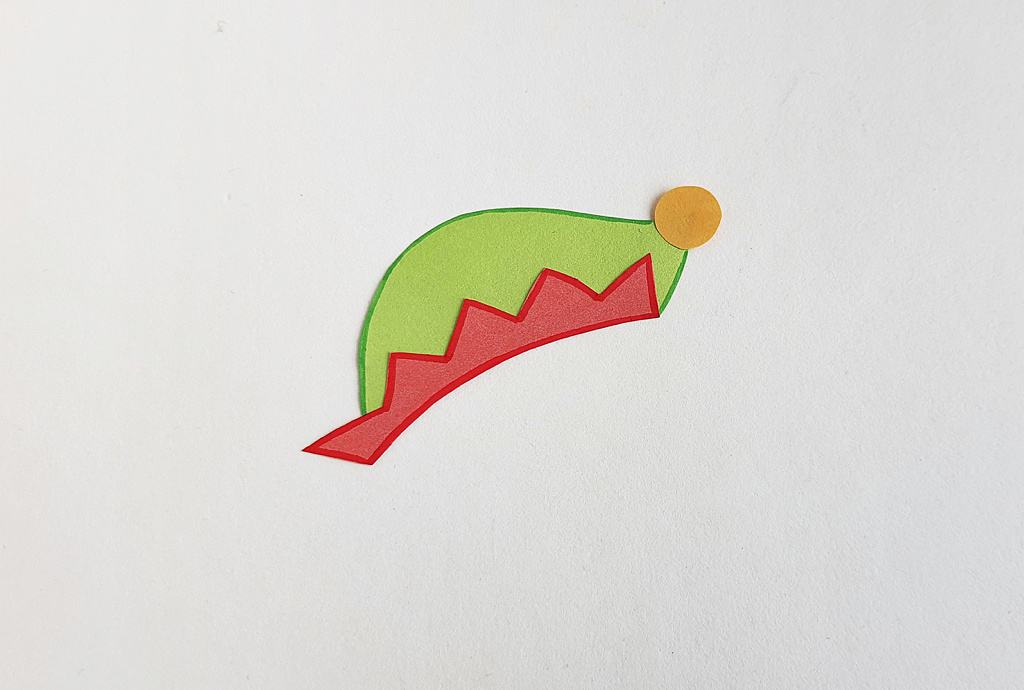
Glue the hat border along the bottom edge of the hat base.
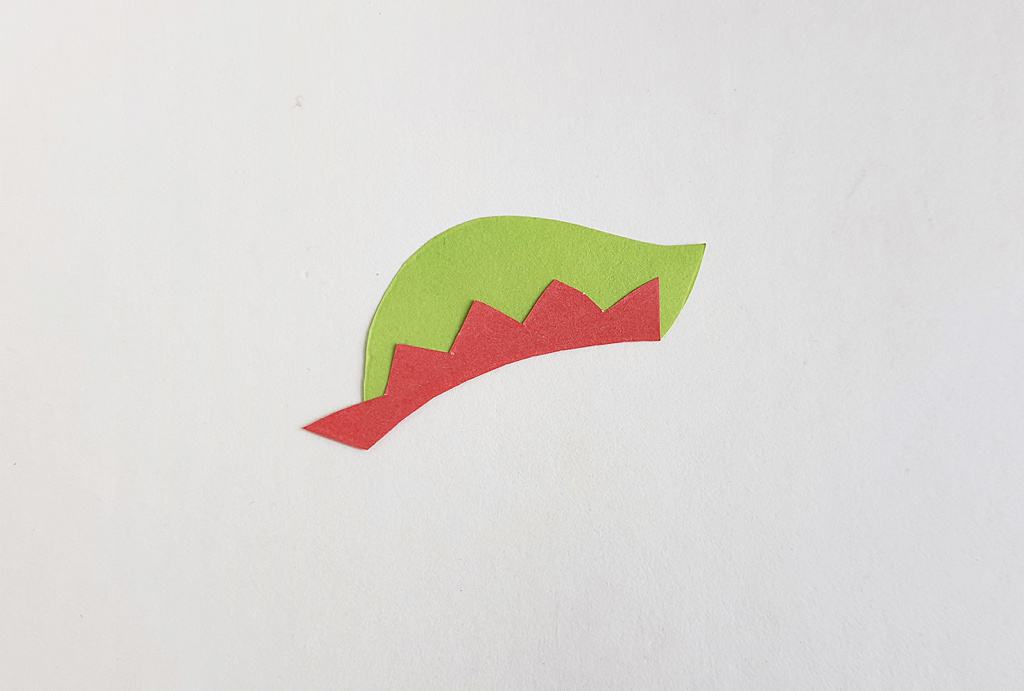
Glue the round cutout pompom on the tip of the hat base.
Glue the inner ear cutouts on the outer ear cutouts.
Glue the hair on top of the head.
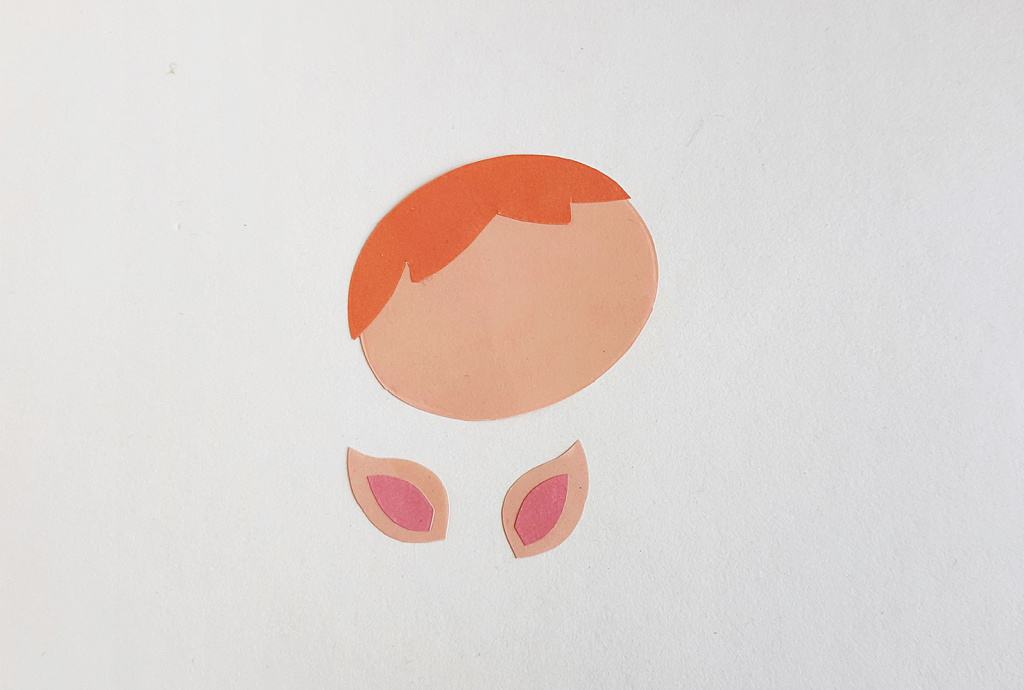
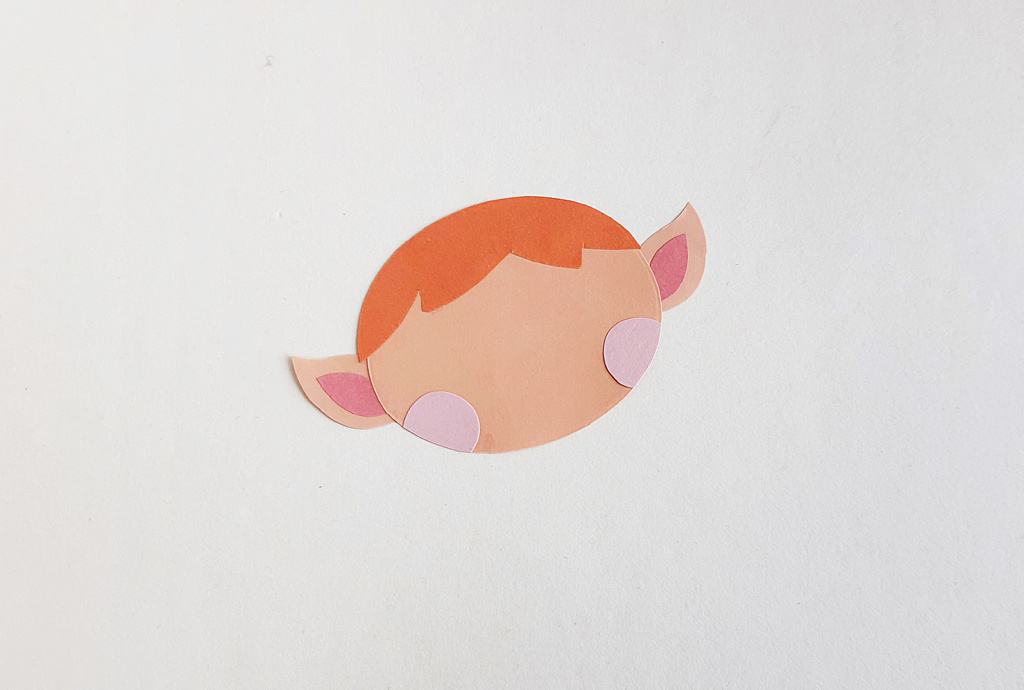
Glue the ear patterns on either side of the head piece.
Attach the blush cutouts on the cheeks as well.
Glue the hat to the top of the elf’s head.
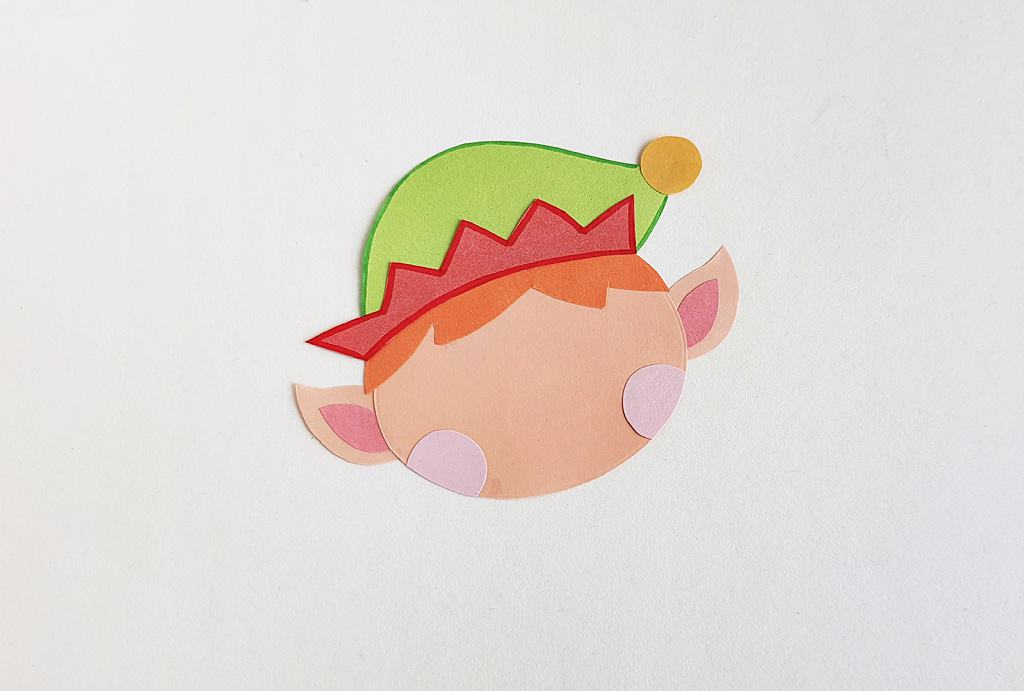
Use a marker or gel pen to draw the face onto the Elf.
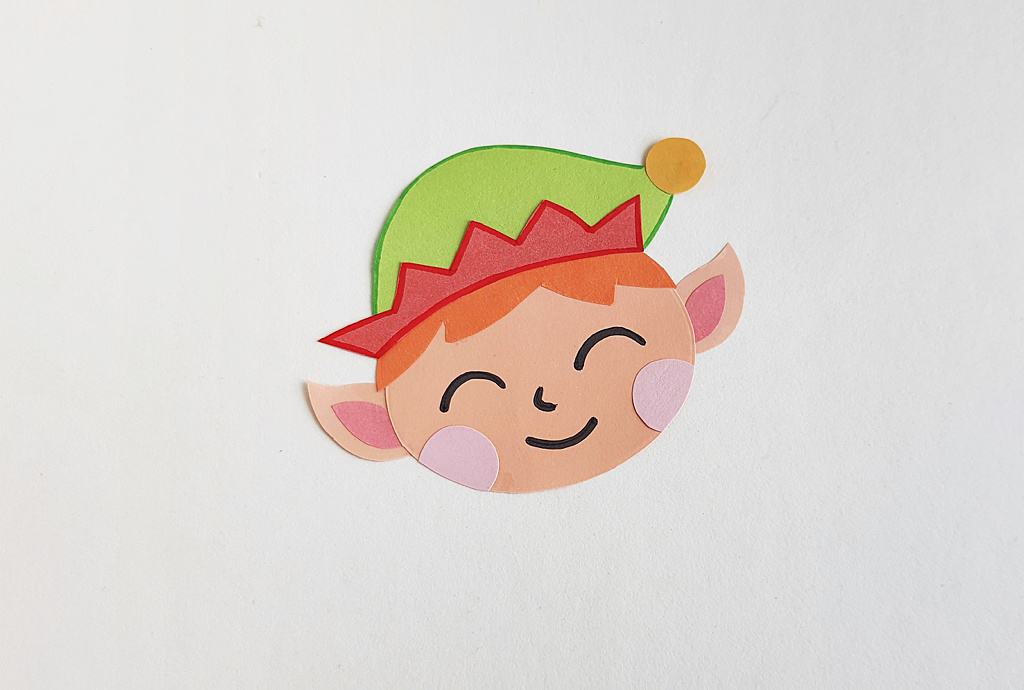
Select a paper cup and make sure that the outer surface is clean and dry. We used a small 8oz cup.
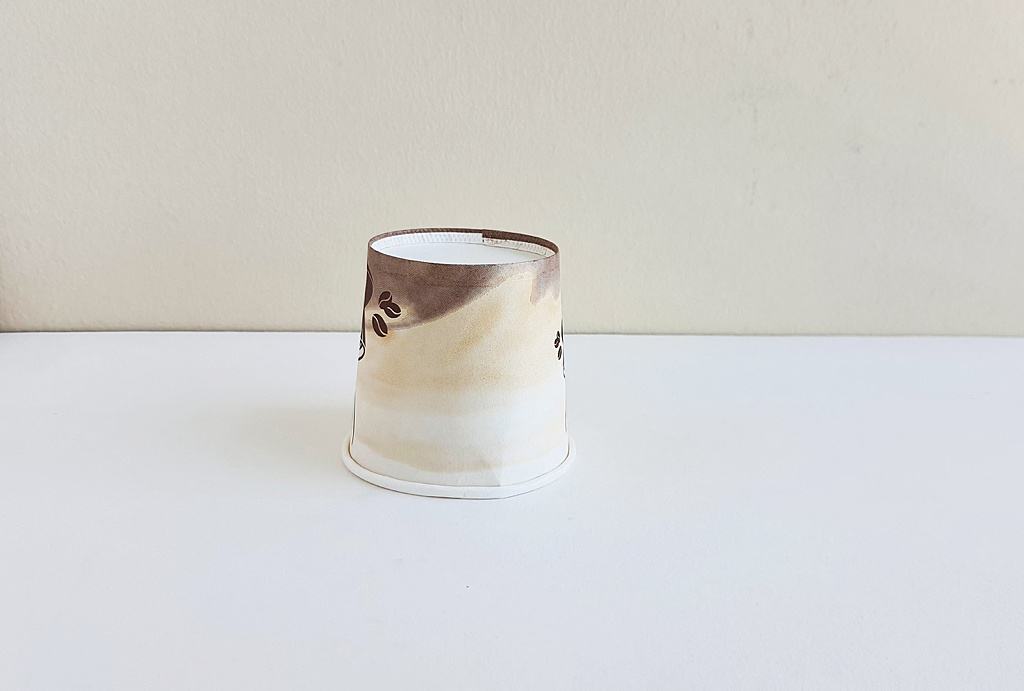
If the paper cup is a dark color, apply a coat of white paint as primer.
Allow the white base coat to dry and then apply the green paint to the cup. Allow the final coat to dry completely.

Flip the paper cup upside down and glue the elf’s head to the bottom of the cup as shown below.
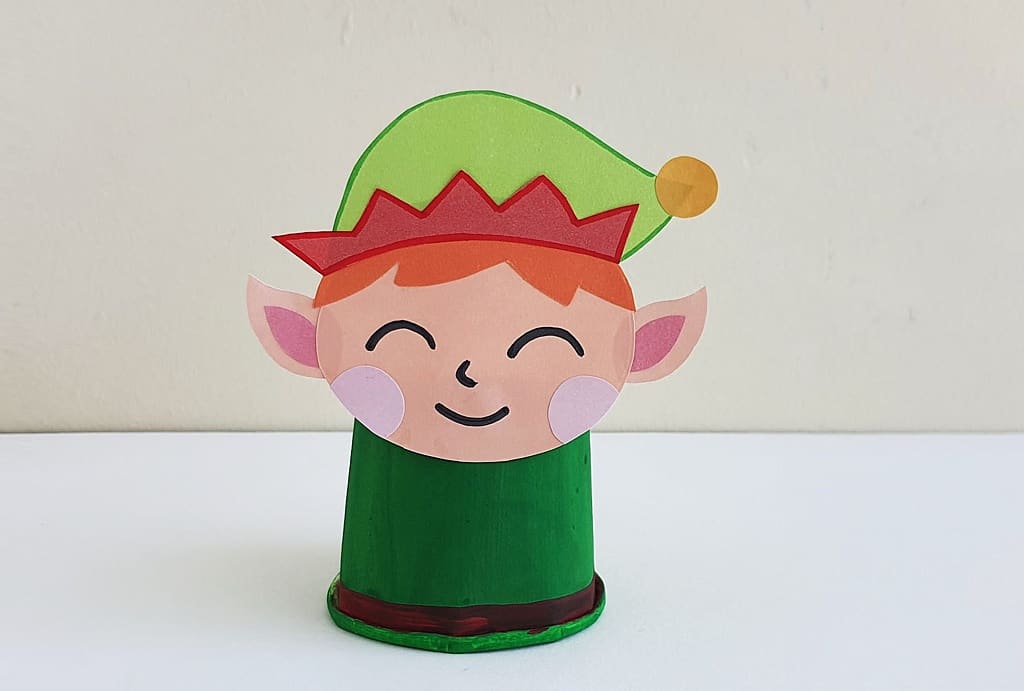
Enjoy your little Christmas Elf!
