
Paper Plate Peacock Craft
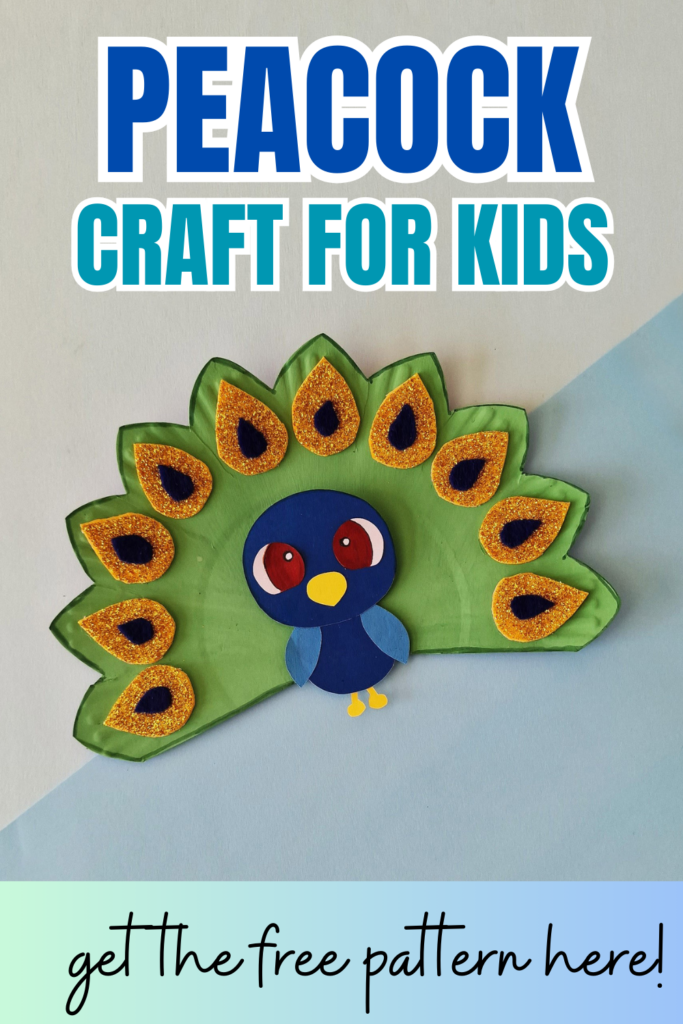
Are you ready to make the most adorable peacock craft ever? This paper plate peacock craft is so cute, and also pretty easy to make!
This peacock craft is perfect for kids of all ages! Learn how to create a paper plate peacock with the free template and easy instructions below.
How to Make a Paper Plate Peacock Craft
List of Supplies:
- Paper plate
- Paint brush
- Craft paint
- Pencil
- Craft glue
- Markers
- Colored craft papers
- Glitter paper (optional)
- Cardstock paper (optional)
- Craft foam sheet or a piece of scrap cardboard
- Template
Instructions:
Download and print out the peacock template. Cut out the pattern pieces.
For this craft, you can use different kinds of materials of your choice.
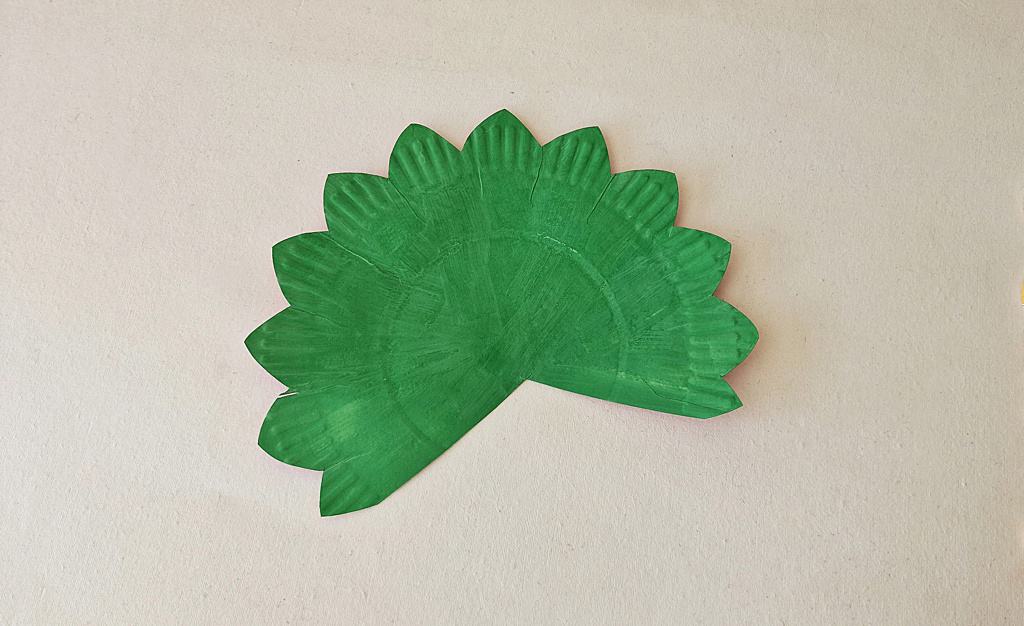
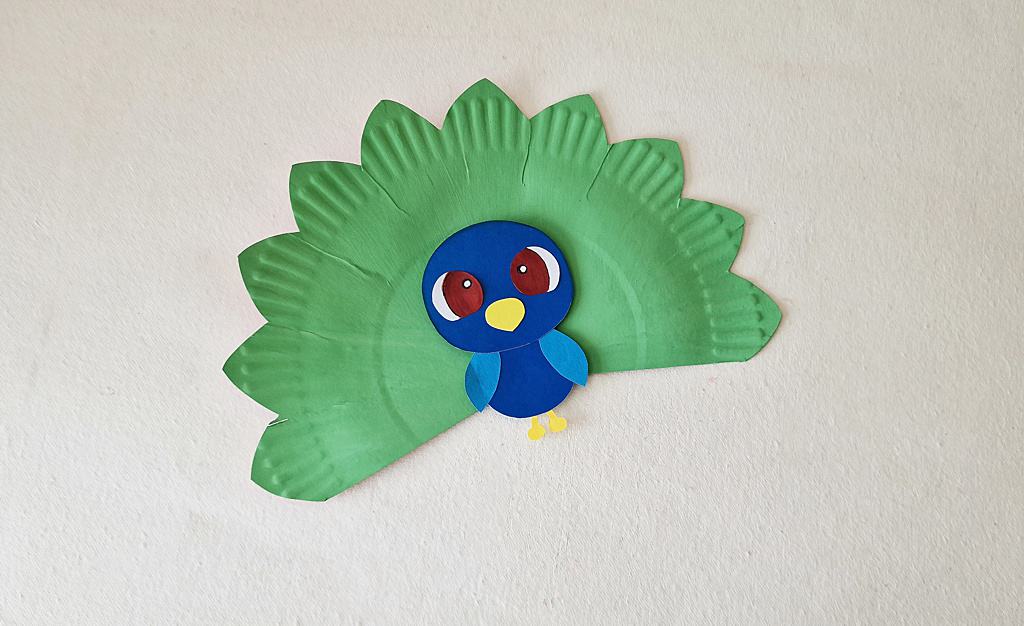
For the tail feather of the peacock, we’re using a paper plate. Take a paper plate and trace the tail feather pattern on the paper plate.
Use scissors to cut out the traced tail feather pattern from the paper plate.
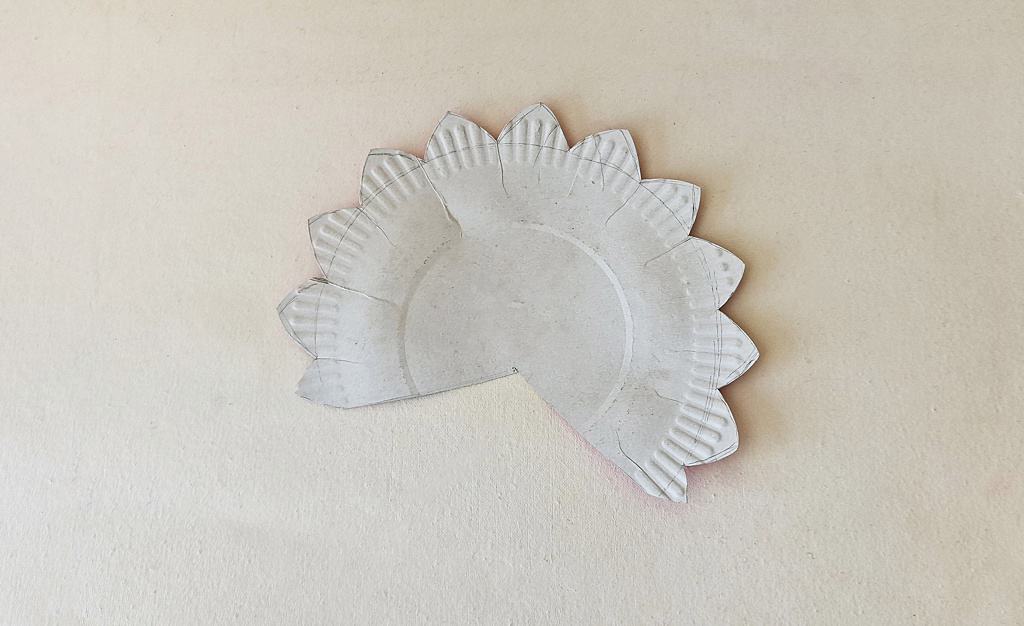
Apply a coat of green paint on the paper plate tail pattern. Add a second coat if necessary. Allow the paint to dry.
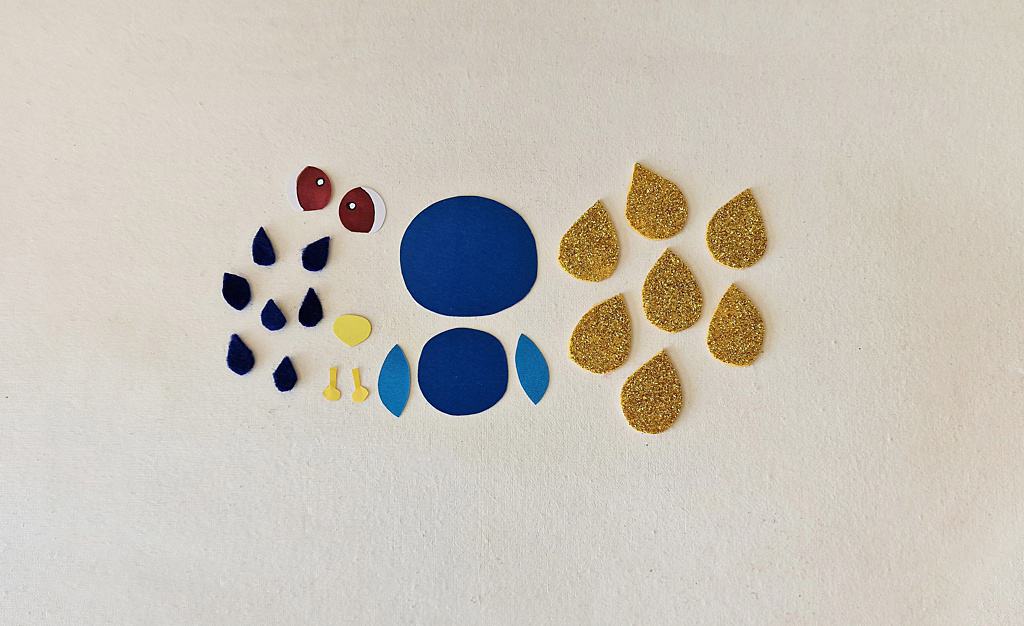
Select different craft papers for the peacock details. You can simply use colored craft paper to keep this craft super simple if you choose.
We used some glitter paper, craft foam and colored card stock for some of our feather details.
Trace the peacock patterns onto the craft papers you chose, then cut the pieces out.
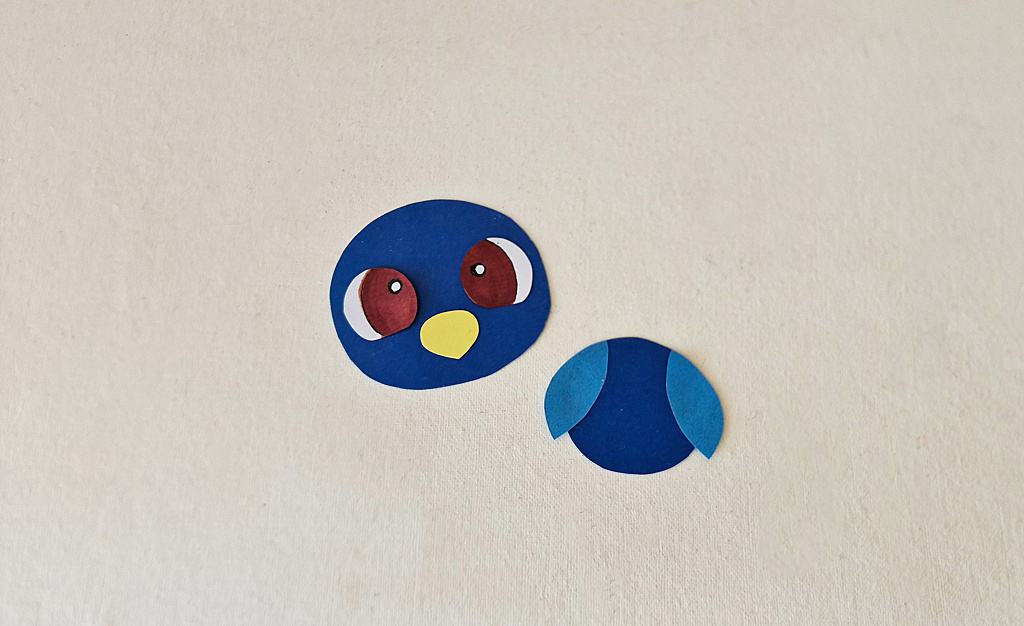
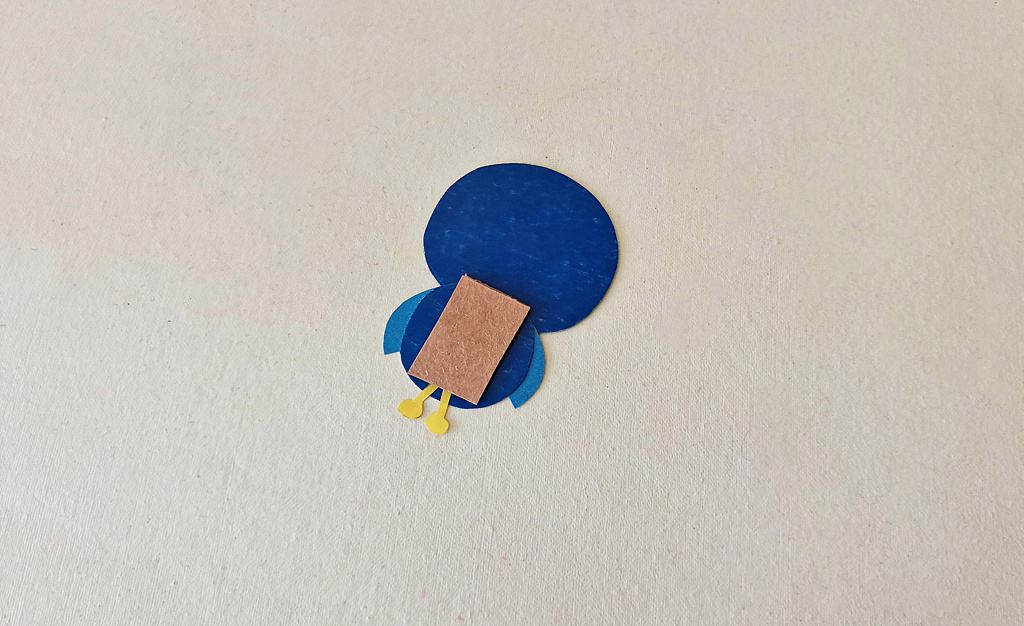
Glue the wing cutouts on either side of the body cutout.
Glue the eye and beak cutouts onto the head cutout.
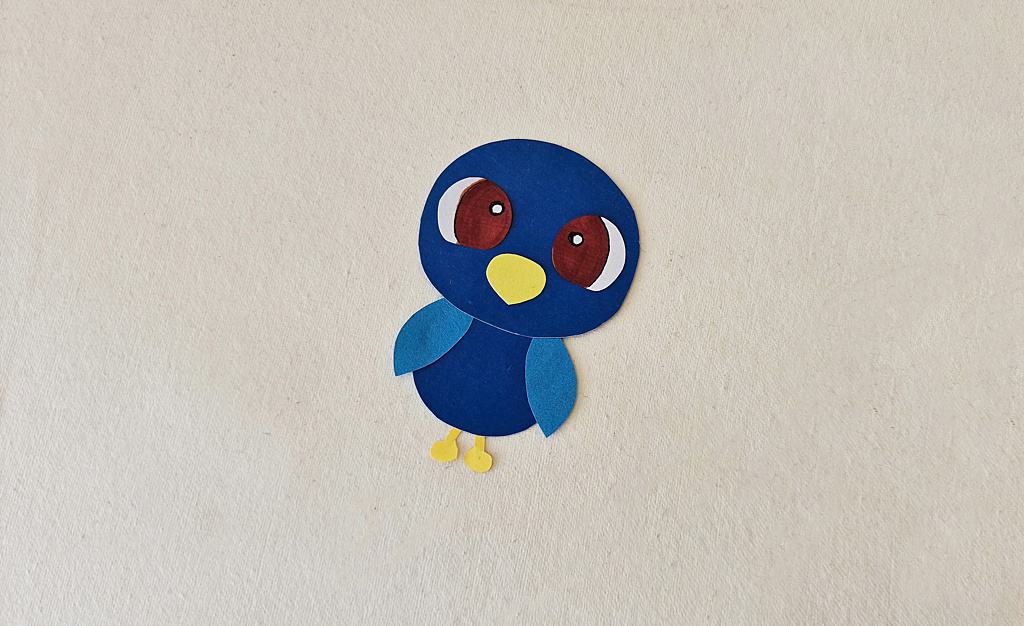
Glue the head onto the body.
Glue the leg cutouts to the bottom edge of the peacock’s body.
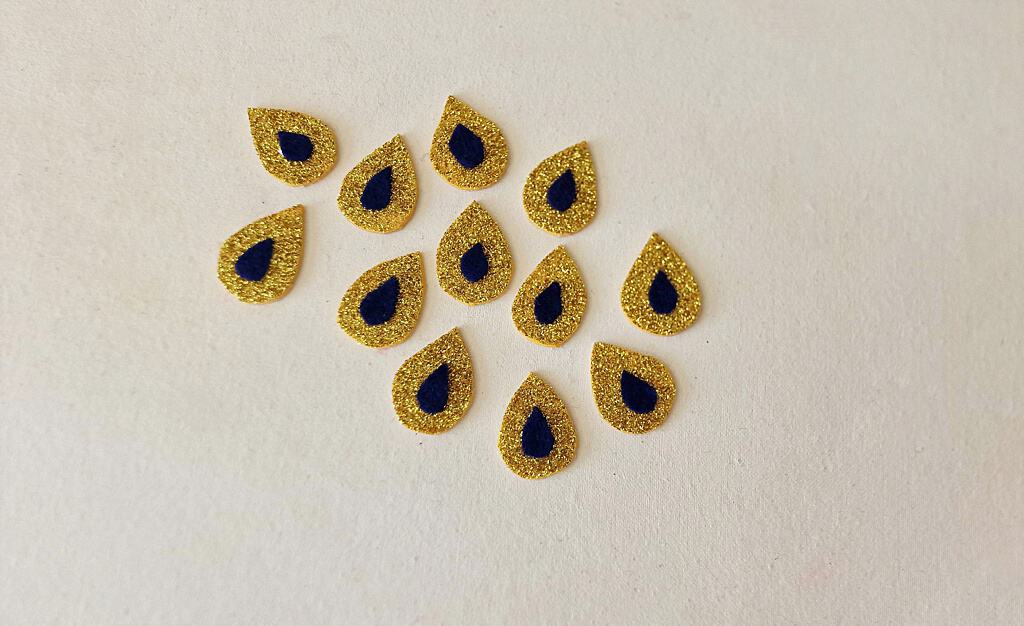
Glue the small teardrop shaped cutouts on to the big teardrop shaped cutouts.
Cut a small piece of craft foam, or a piece of scrap cardboard, a little smaller than the peacock’s body.

Glue the foam or cardboard onto the back of the peacock’s body.
Place glue on the back of the piece of foam or cardboard, then attach the peacock’s body to the paper plate tail.
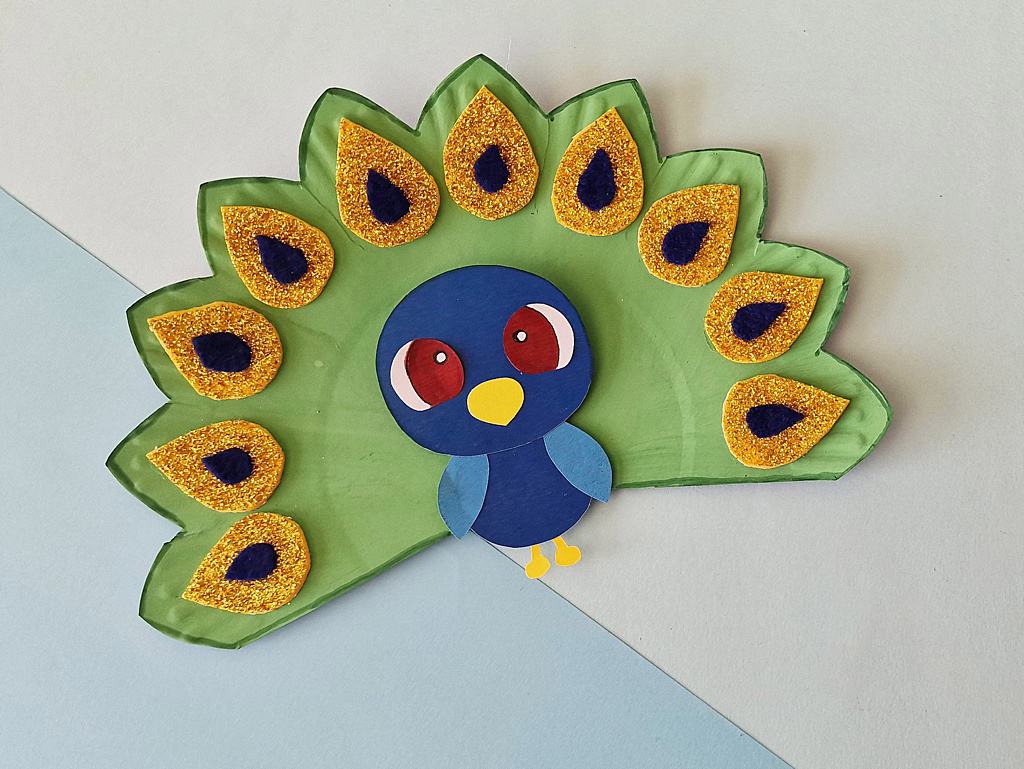
Begin gluing the teardrop shapes on the edge of the tail feathers.
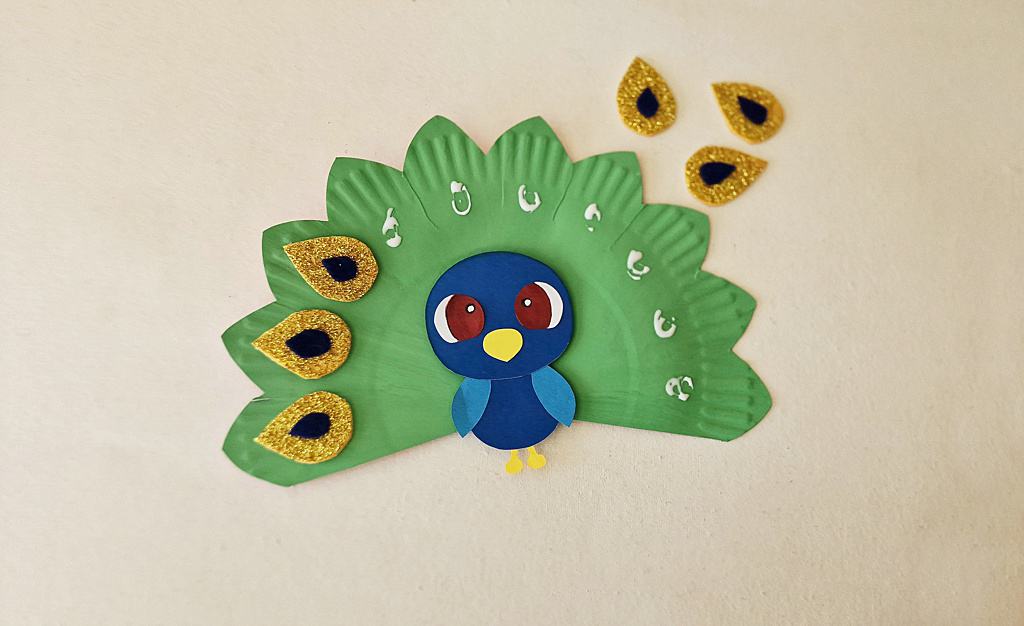
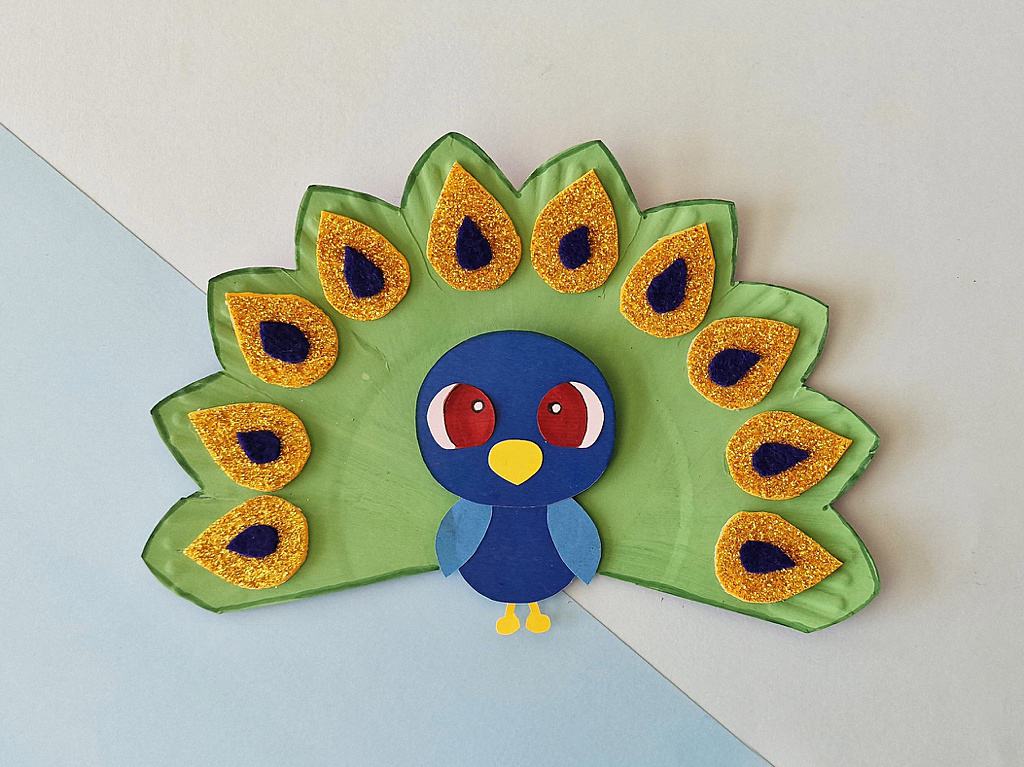
Continue glueing the teardrop details to the tail until the peacock’s tail is complete.
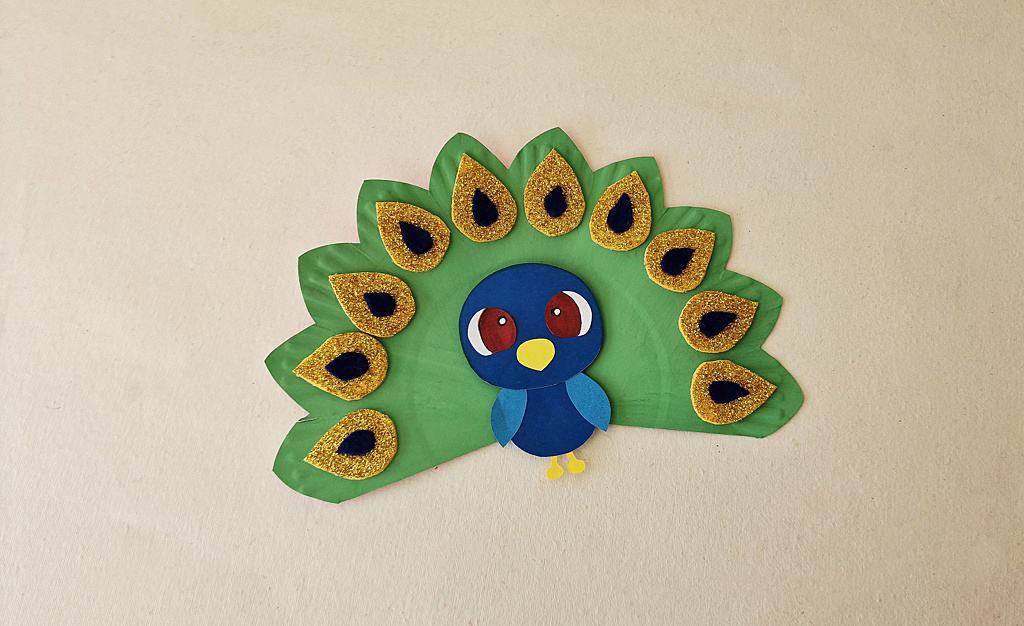


Really cute