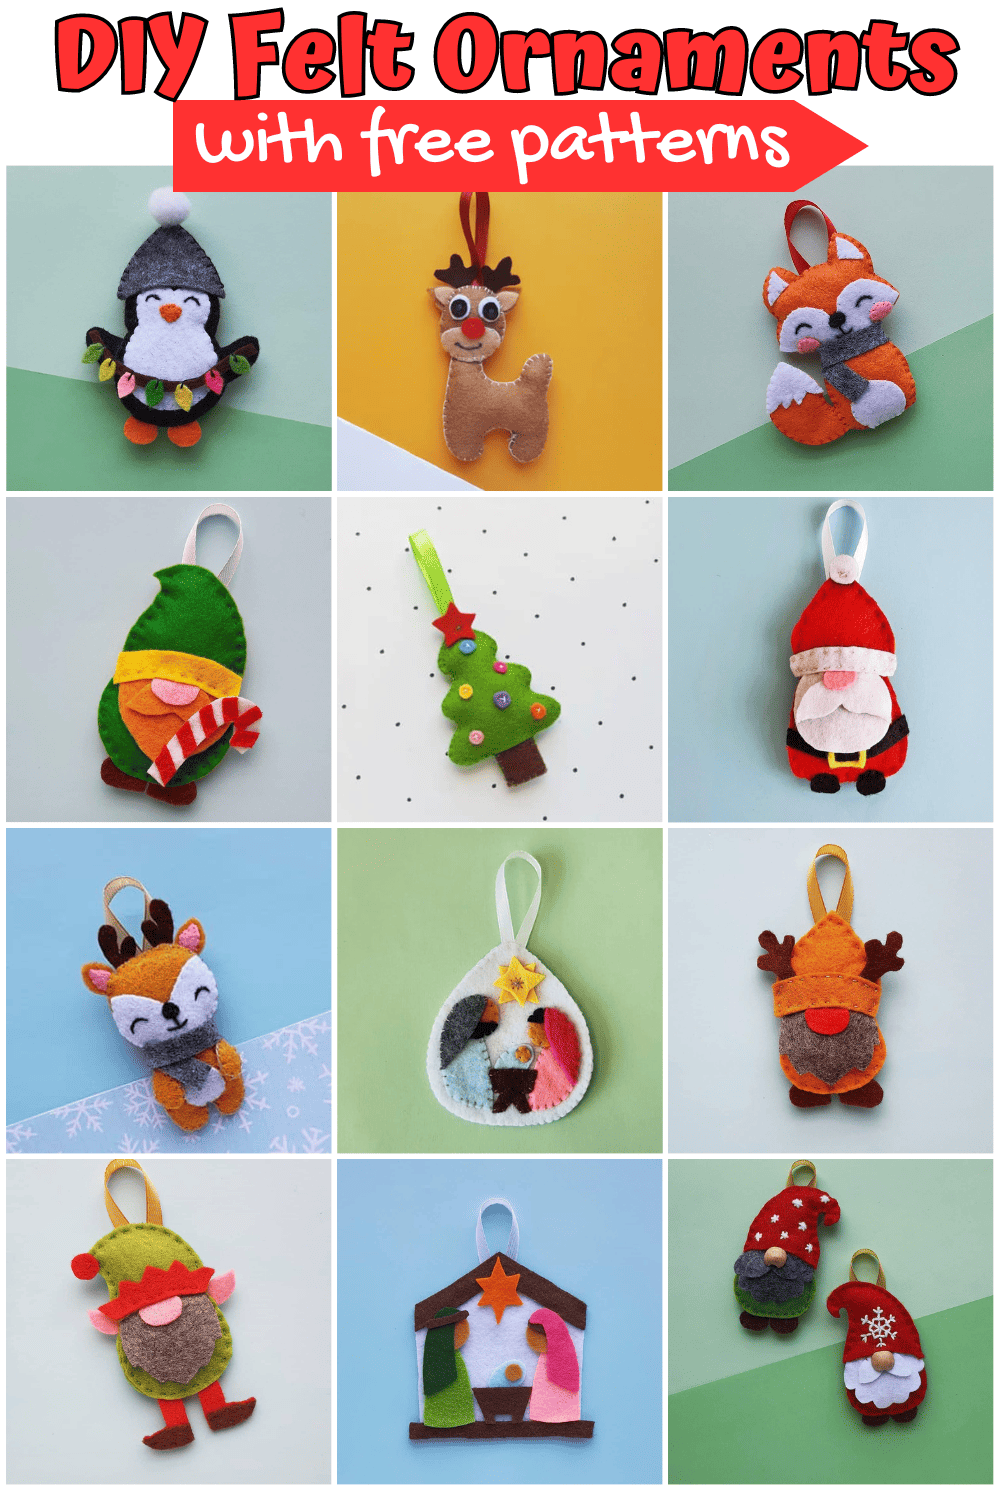
DIY Penguin Bookmark Craft
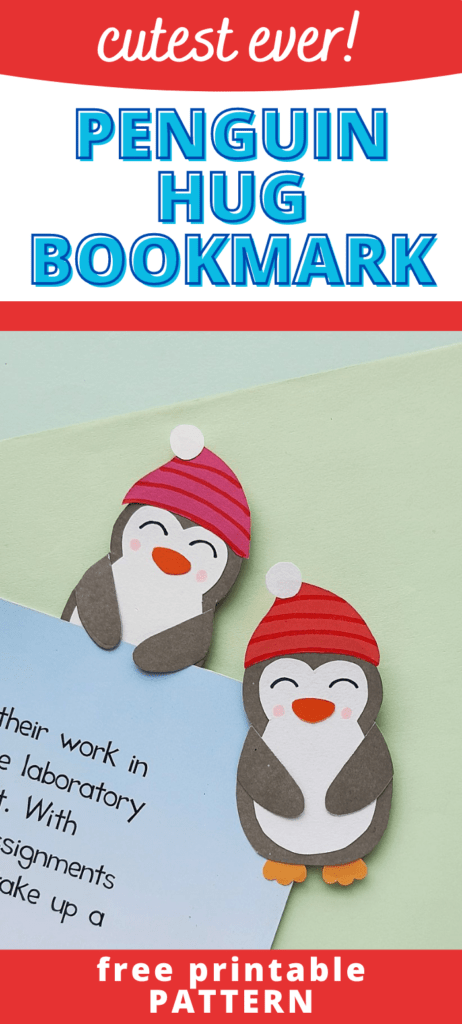
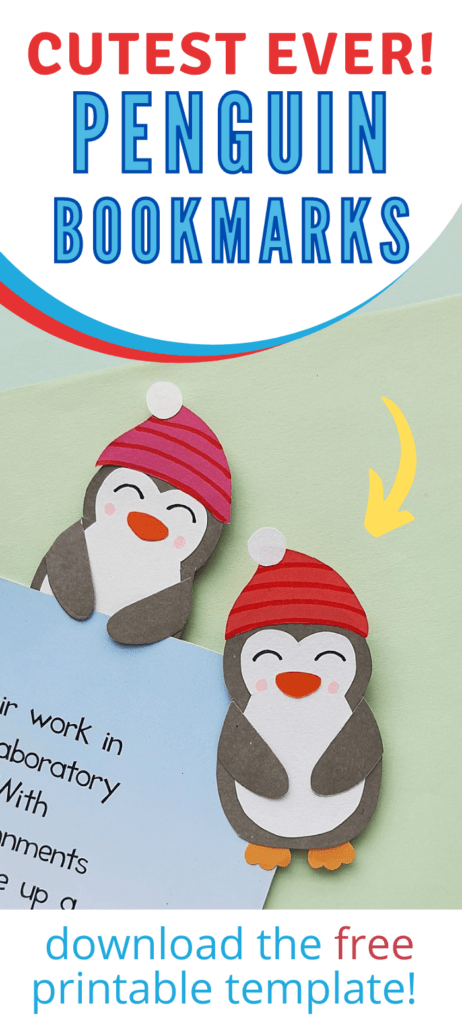
These adorable Penguin Bookmarks are the cutest penguin craft for kids this winter!
Simply print out the template and follow the easy instructions below to create these penguin hug bookmarks.
How to make a Penguin Bookmark
Supplies:

- Colored craft papers
- Craft glue
- Pencil
- Sharpie
- Scissors
- Template
Instructions:
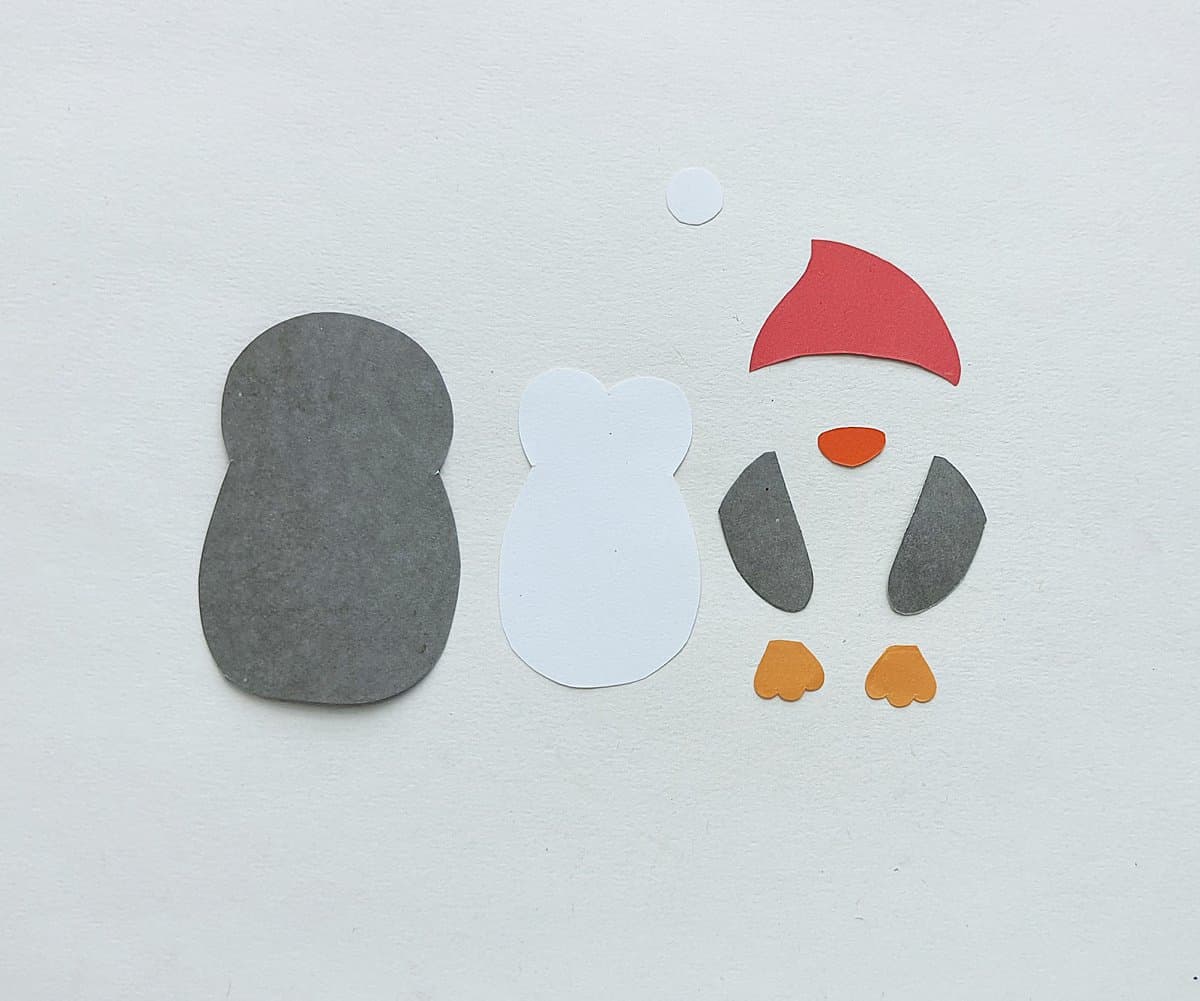
Print out the penguin hug bookmark template. Cut all the template pieces out.
Choose grey or black colored craft paper for the penguin’s body and wings, white paper for the front the penguin’s body, orange or yellow paper for the feet and beak and any color paper of your choice for the hat.
Trace and cut out all of the penguin pattern pieces.
Glue the pompom (small circle piece) on the top of the penguin’s hat
Use a marker to add details to the hat if you’d like.
Glue the white inner body piece onto the black or grey body piece.
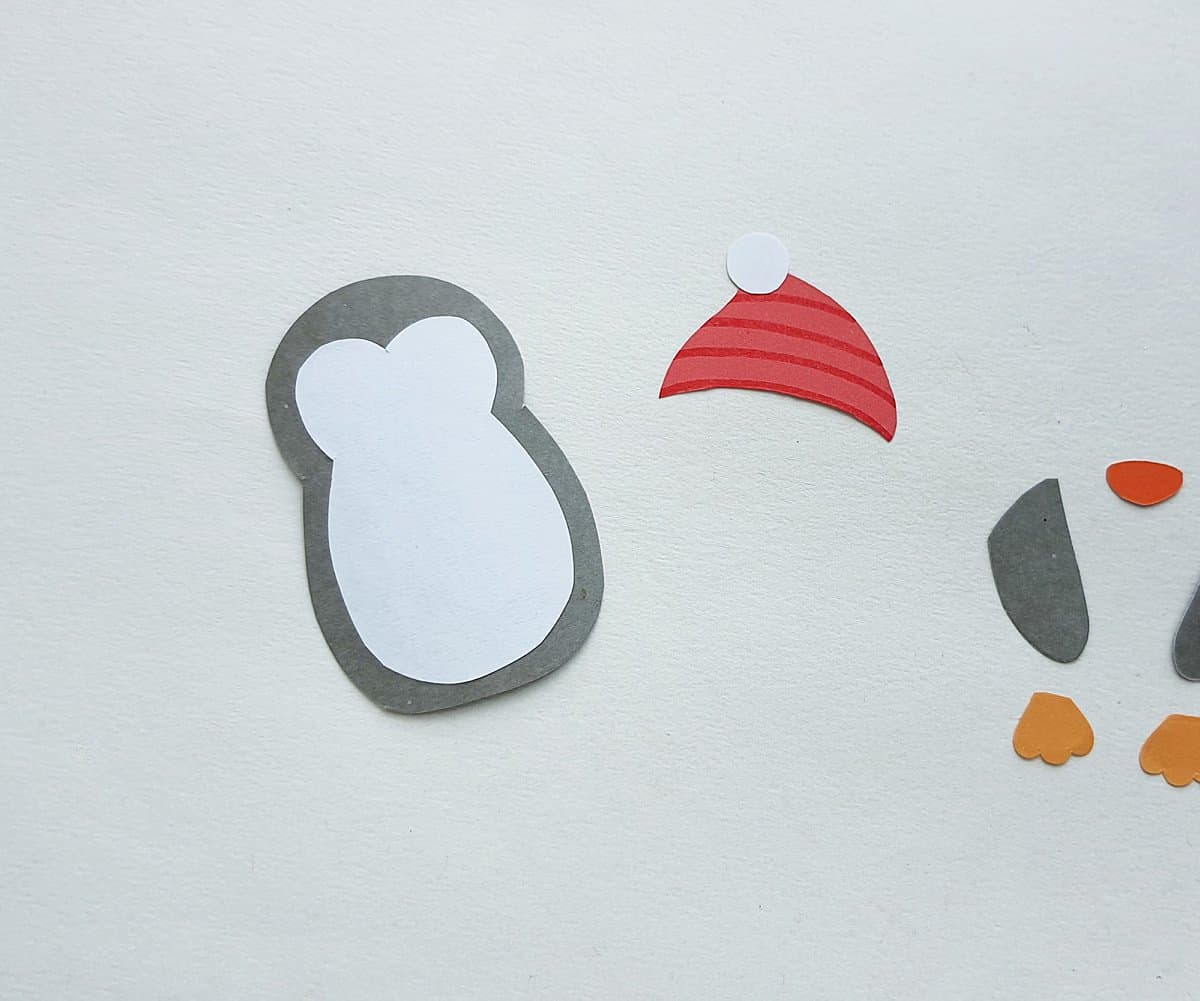
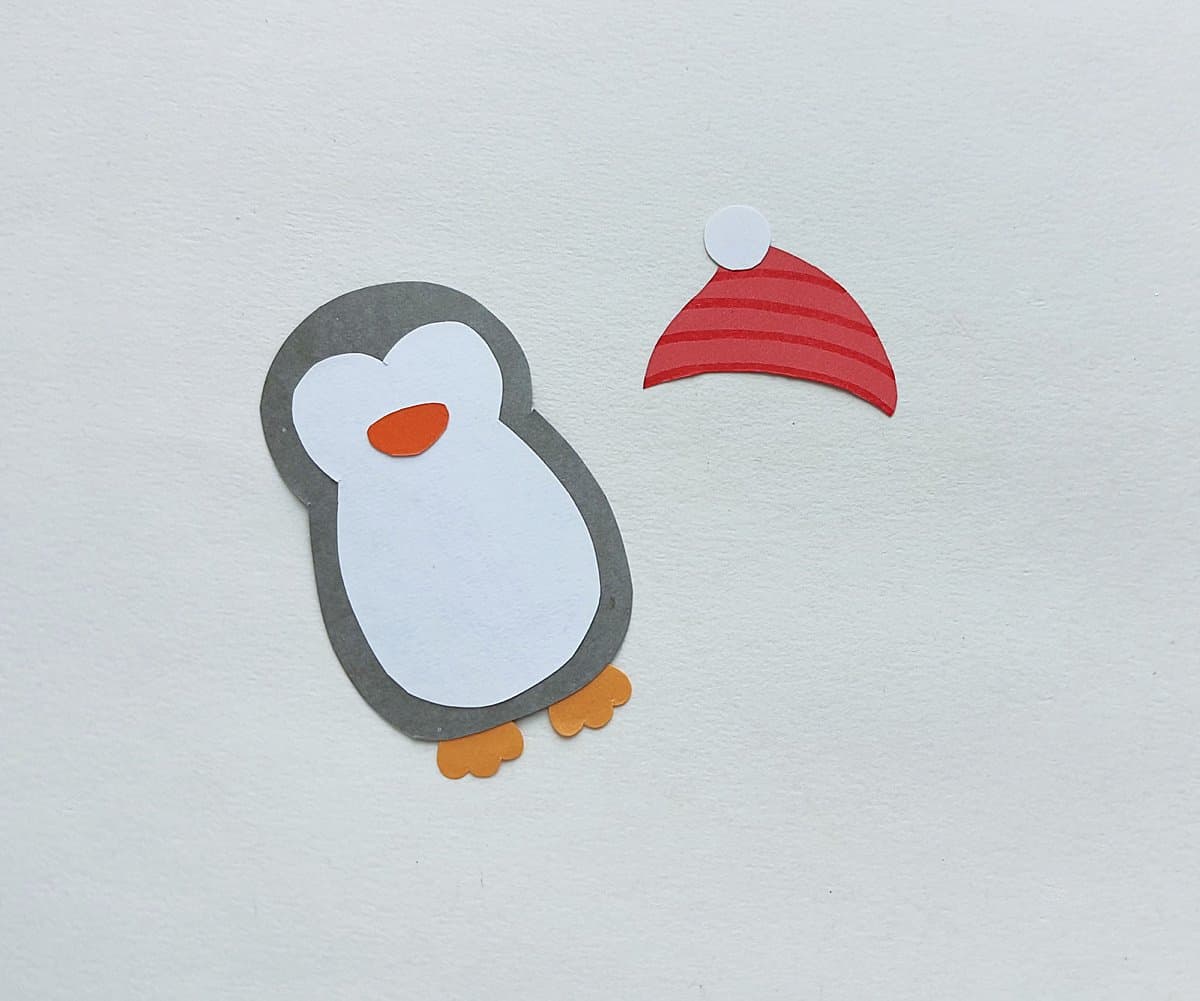
Glue the feet pieces on the bottom of the penguin’s body.
Glue the beak on the penguin’s head as shown below.
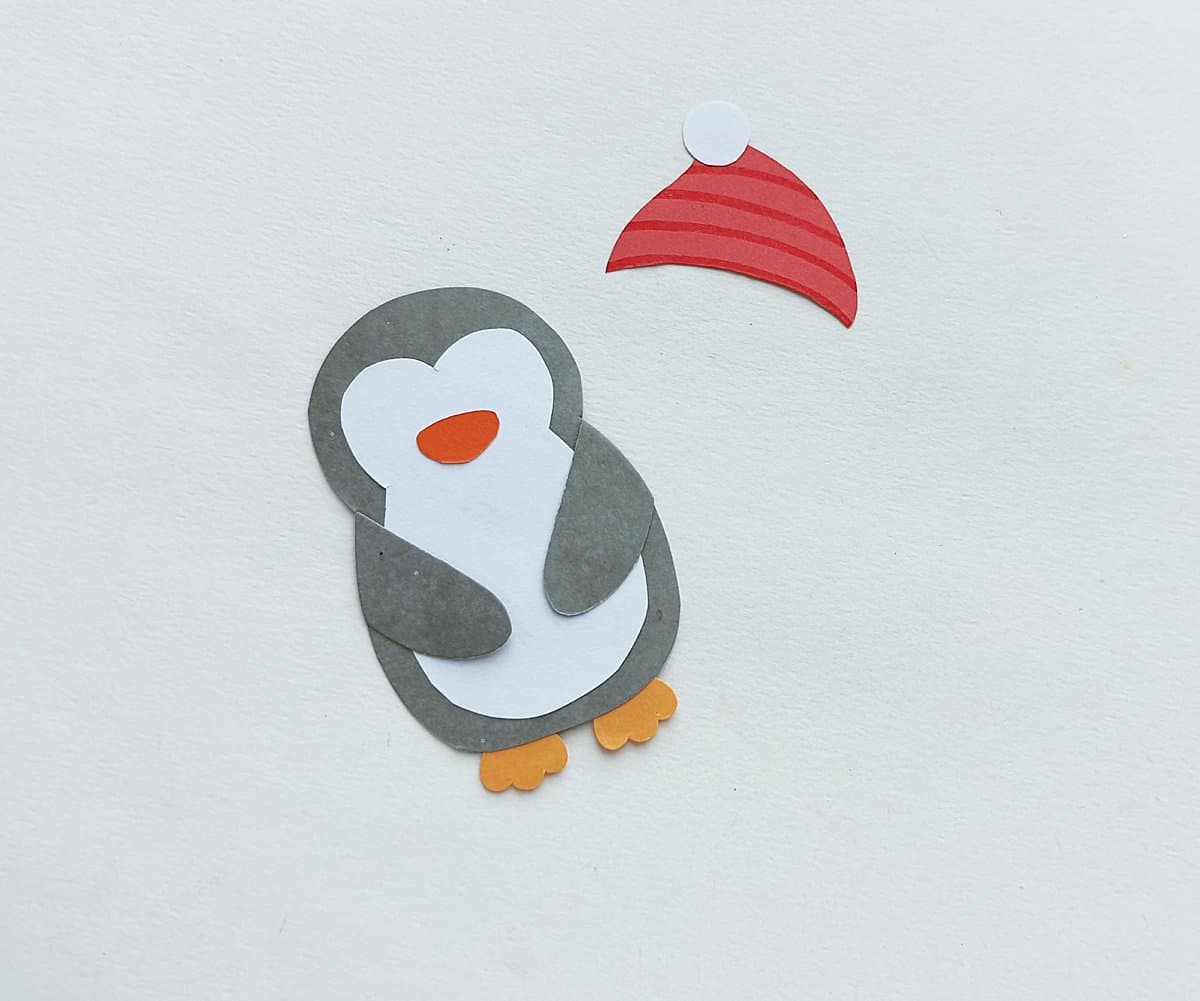
Apply glue ONLY along the outer edge of the wings and attach them on the sides of hte penguin’s body. Be sure to keep most of the wing free from glue, so the pengin’s wings can “hug” your bookpage.
Trim the extra wing so it fits nicely around the penguin’s body, as shown below.
Glue the hat on the top of the penguin’s head.
Use a marker to draw eyes and cheeks on the penguin’s face.

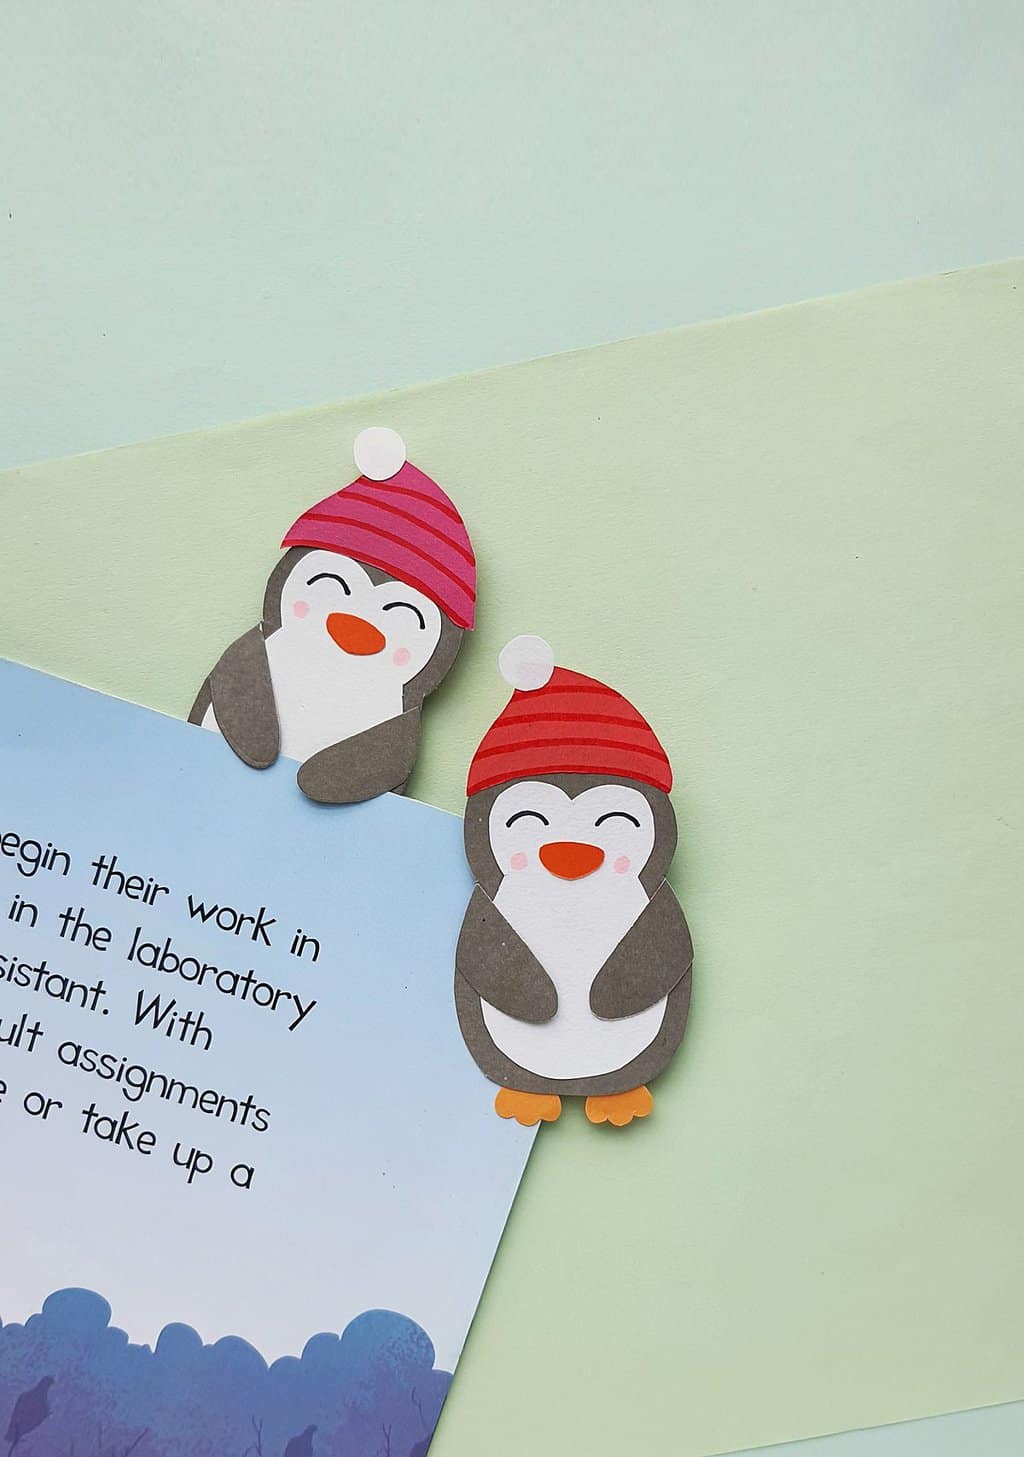
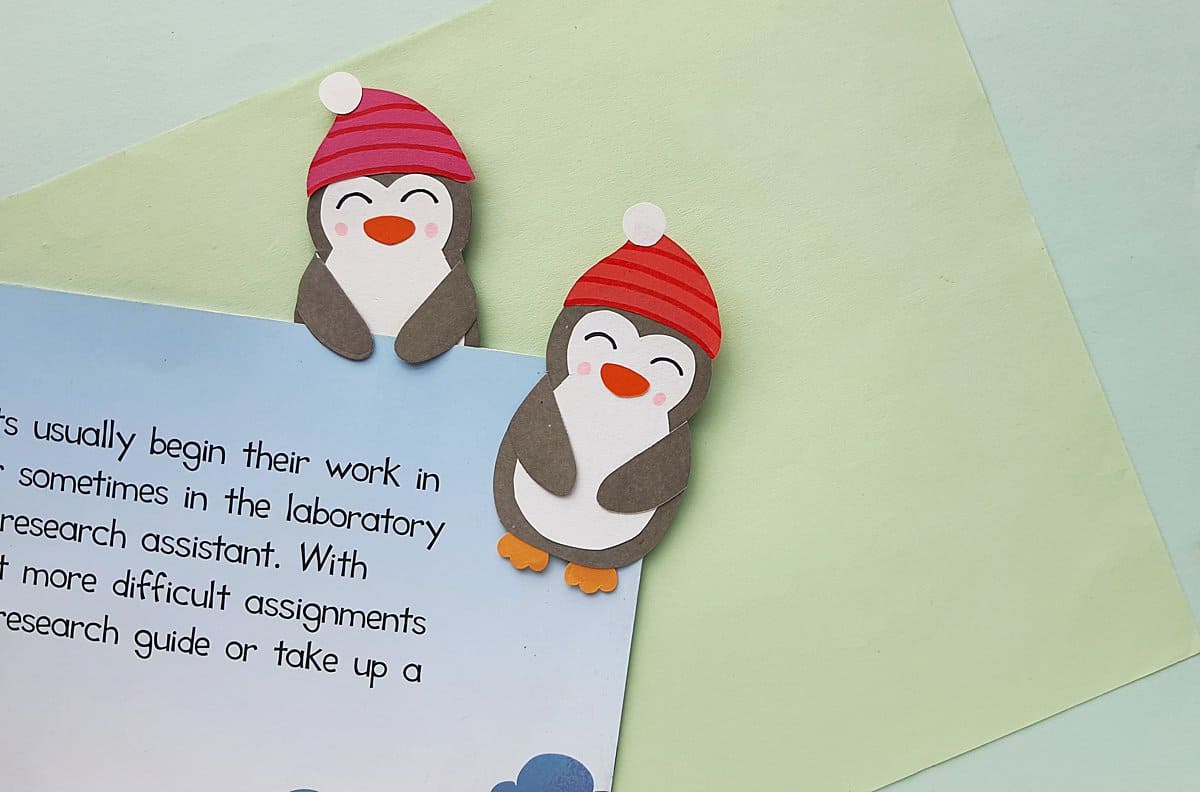
To use the penguin as a bookmark, simply slide a paper under the wings.

If you love this penguin craft. You are sure to love these super simple penguin cupcakes!