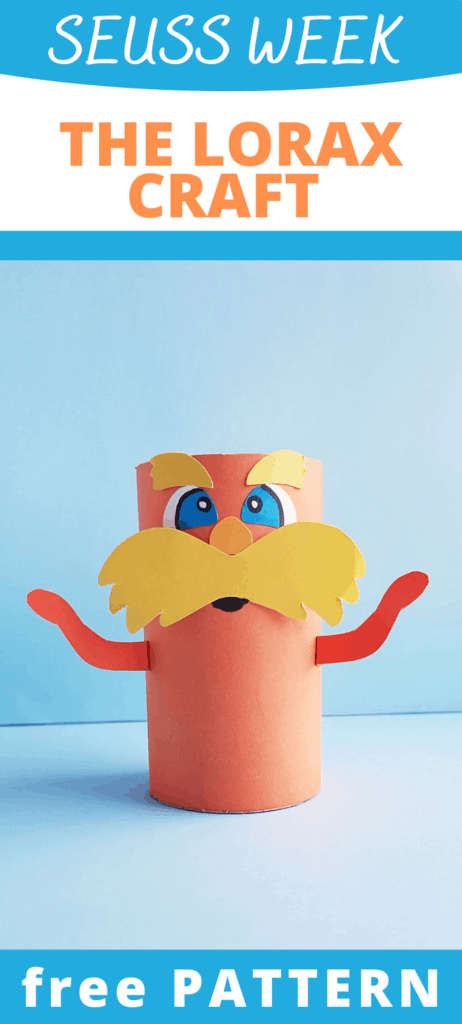
The Lorax Craft
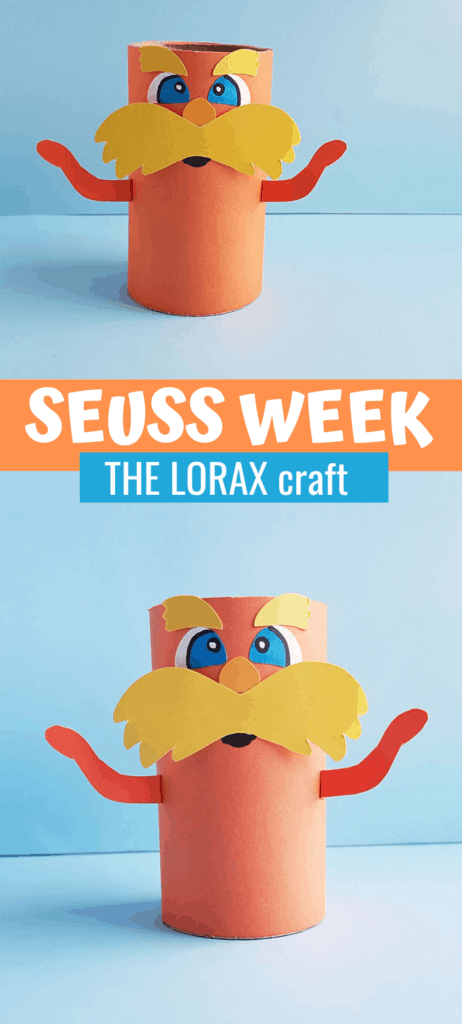
This adorable Dr. Seuss inspired craft is a great way extend learning activities for kids after reading The Lorax.
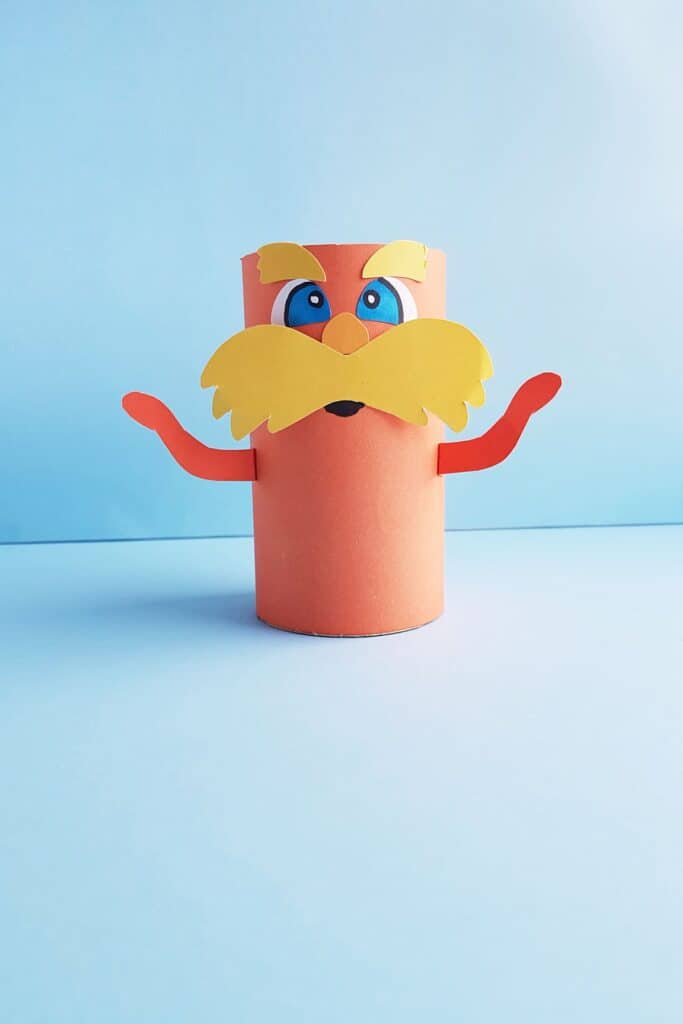
This The Lorax Craft is fun and easy to make, thanks to the free printable template you can download below.
How to Make The Lorax Craft
Supplies:
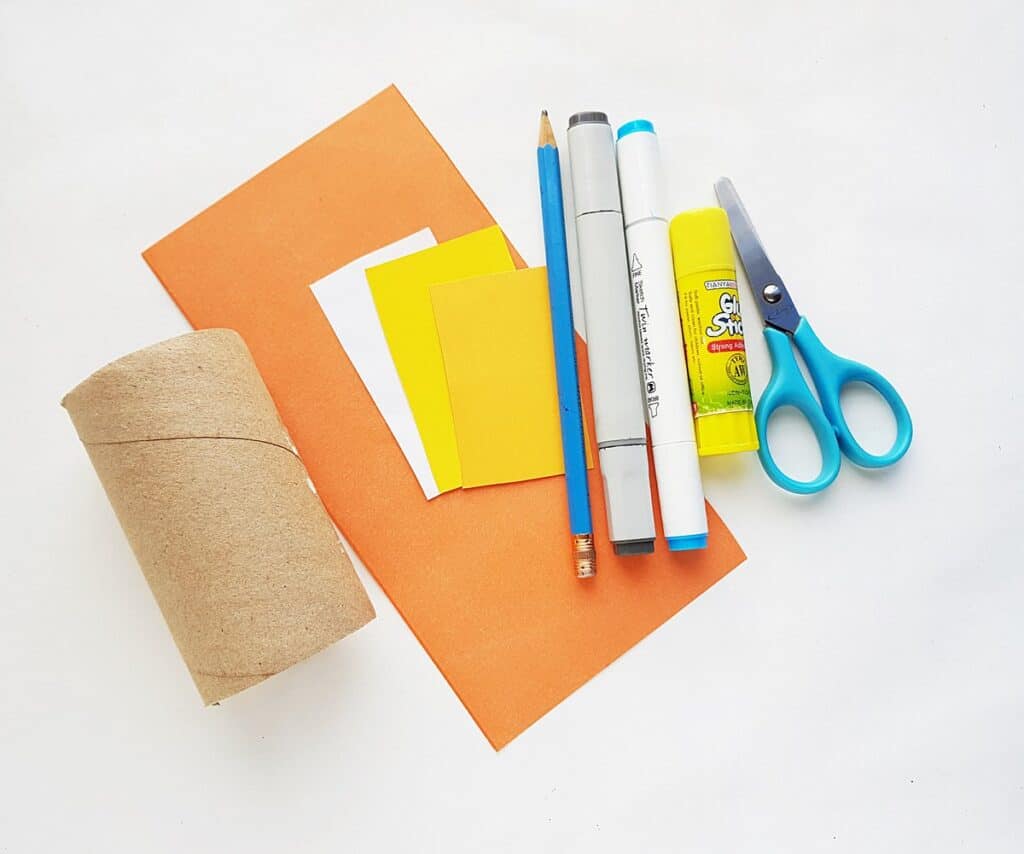
- Colored papers
- Craft glue
- Black and blue markers
- Toilet paper roll
- Pencil
- Scissors
- Template
Instructions:
Print the template for this Lorax craft, then cut out all the template pieces.
Choose two different shades of yellow and an orange shade for the Lorax.
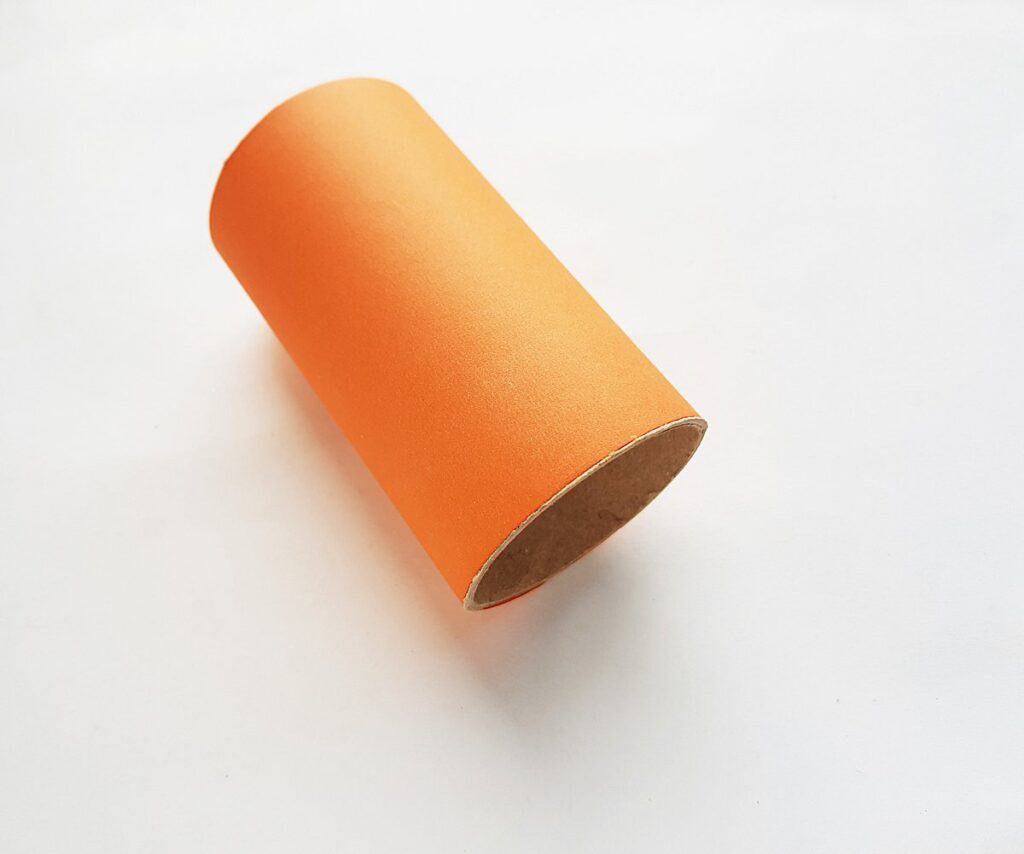
Measure and cut a piece of orange paper to cover the outside of the toilet paper roll.
Cover the roll with the orange paper and glue the paper onto the toilet paper roll, as shown below.
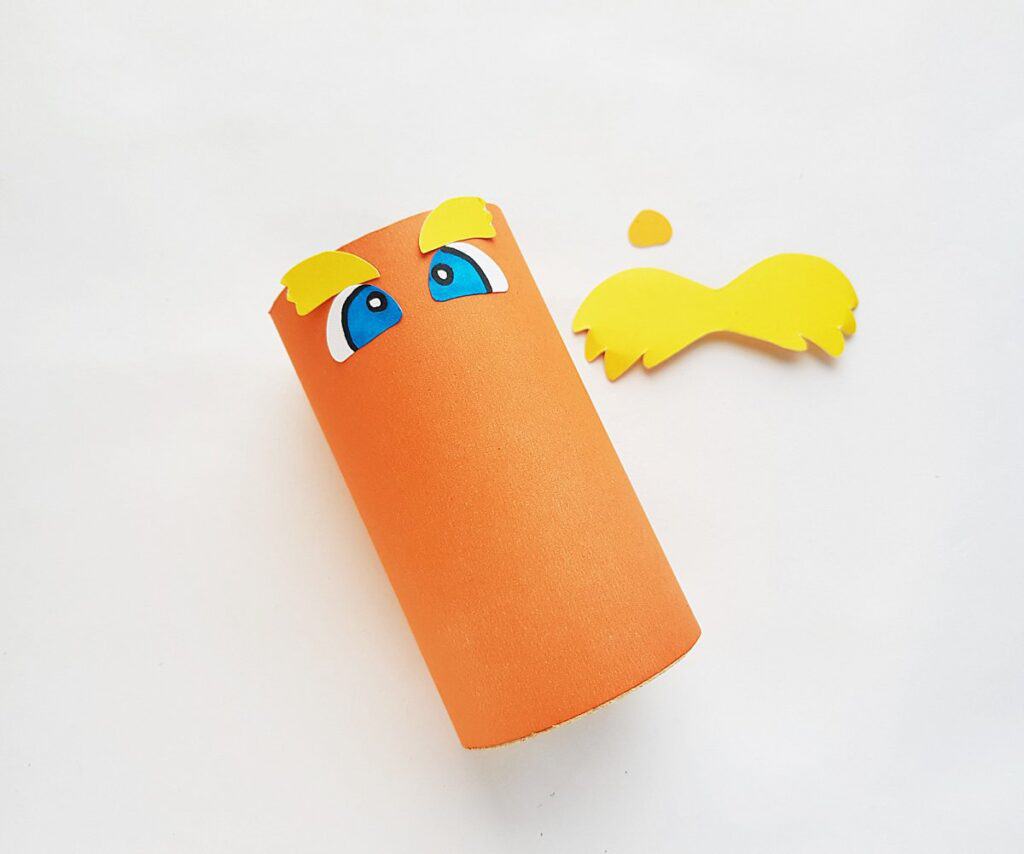
Trace the Lorax’s eyebrows and mustache on yellow paper, trace nose on a different shade of yellow paper (if possible). Cut out the pieces, then draw the Lorax’s eyes using black and blue markers.

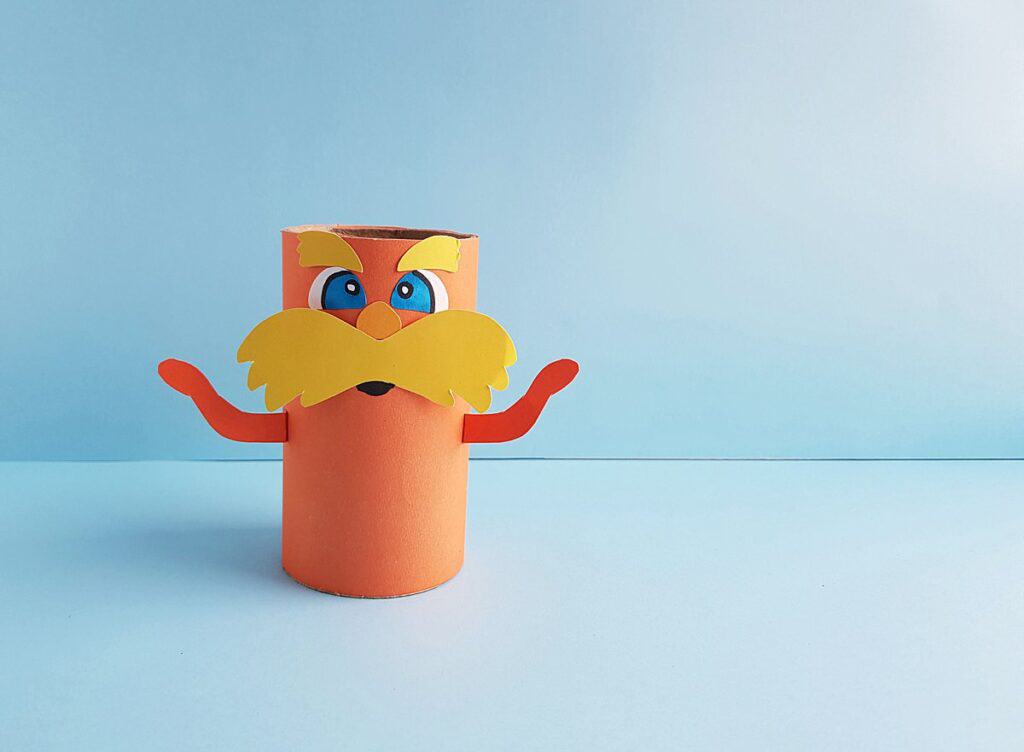
Glue the eyebrows and eyes to the toilet paper roll. See below for placement.
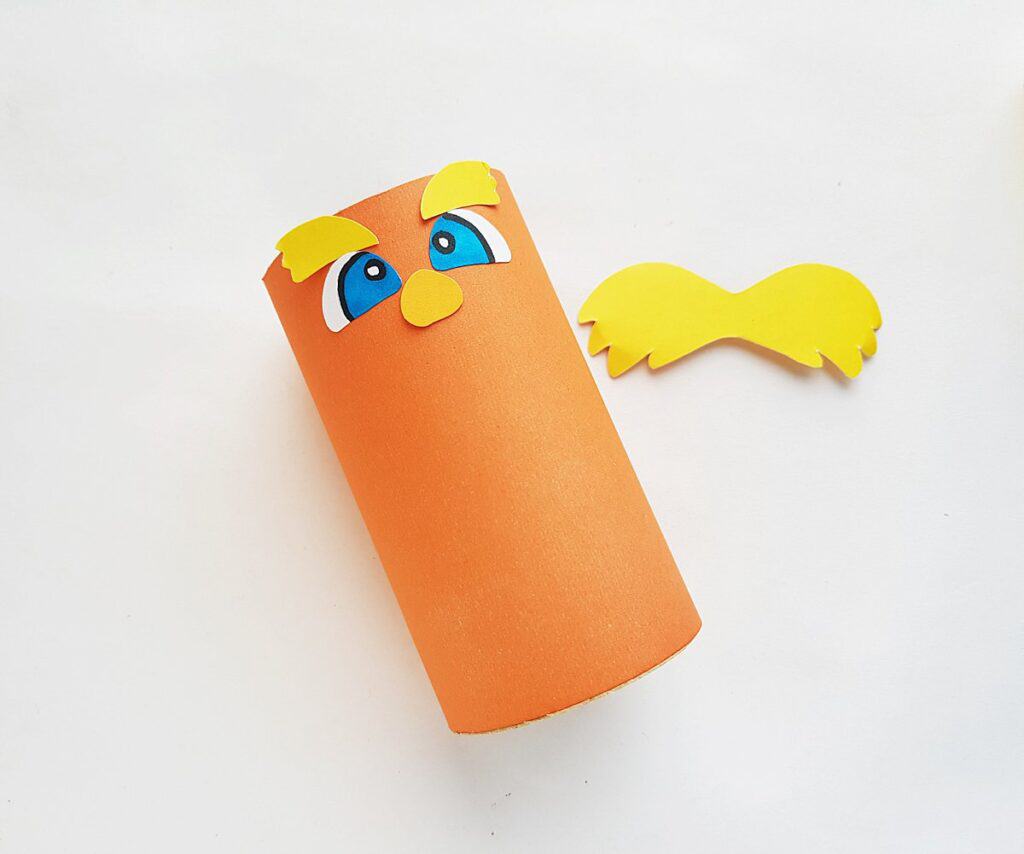
Glue the nose between (and slightly below) the eyes.
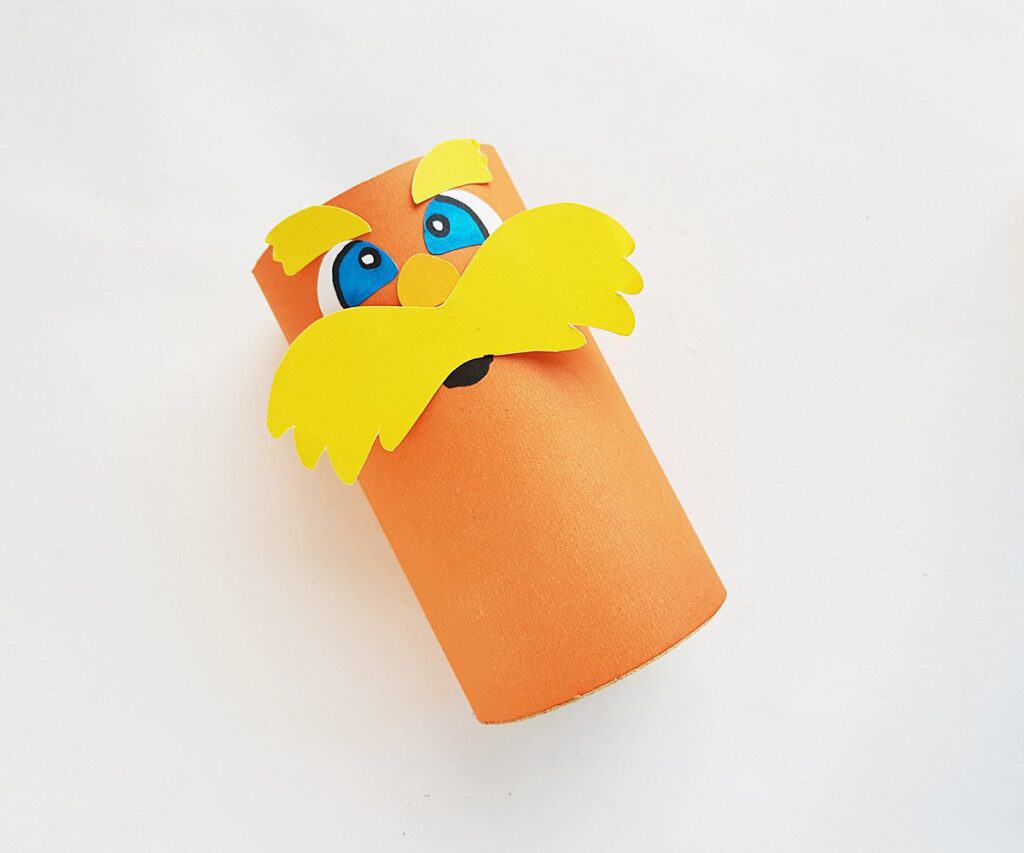
Now, glue the mustache just below the nose.
Draw a mouth on The Lorax with a black marker.
Trace and cut out the arms from orange paper.
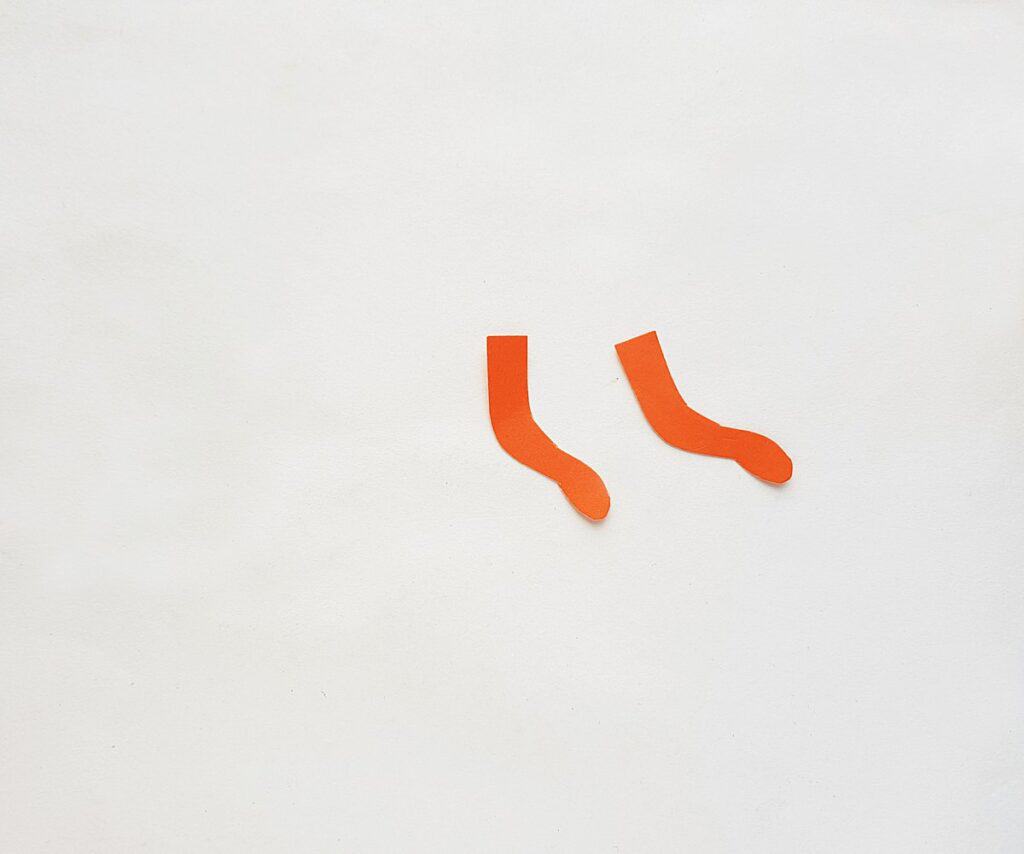
Glue the arms to your Lorax.
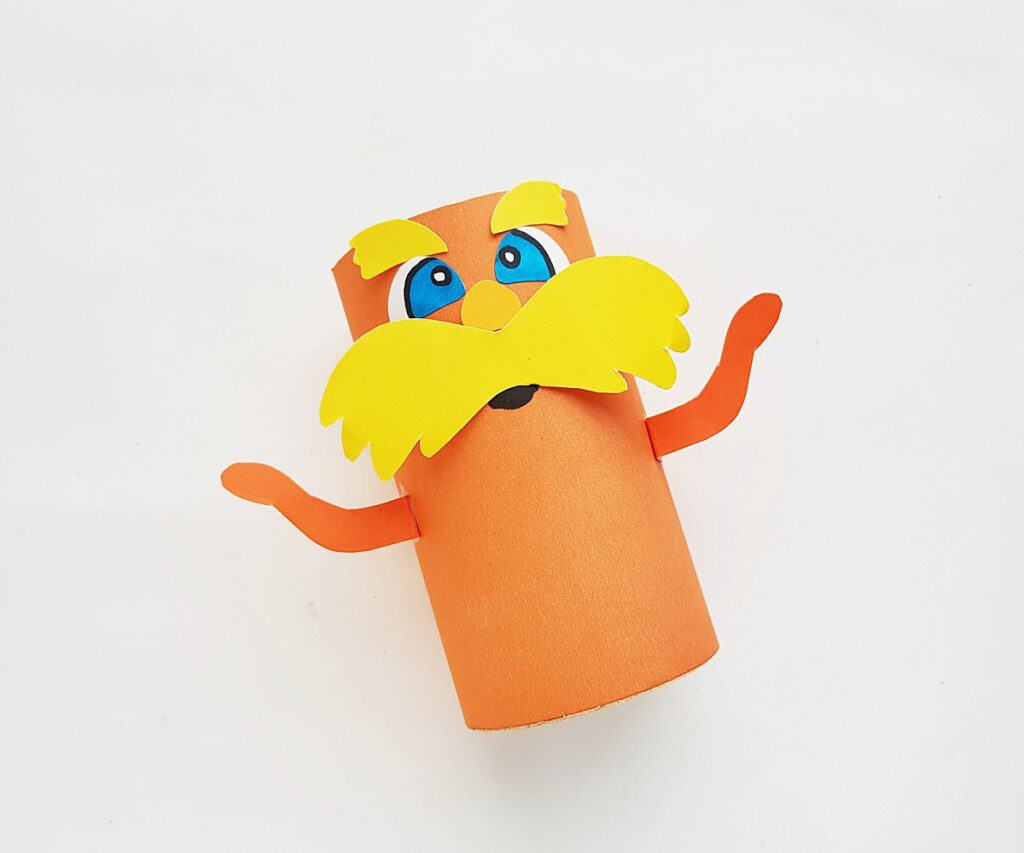
Now your Lorax craft is finished! You might also want to try this fun Lorax pencil jar craft too!