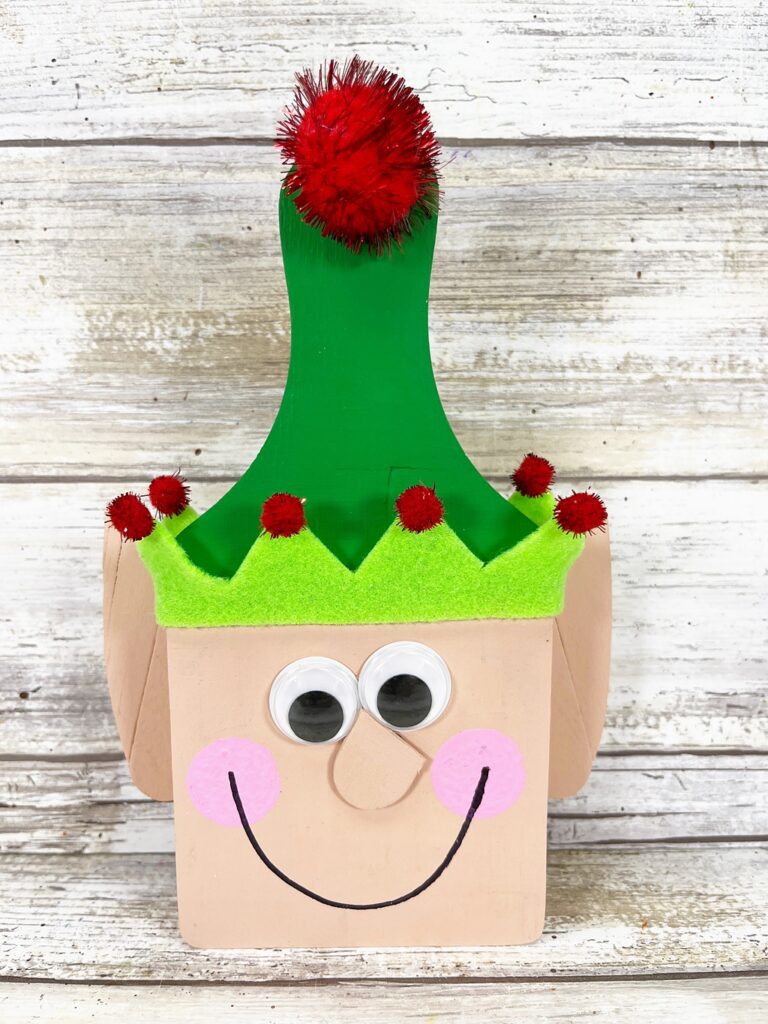
Cutting Board Elf Craft
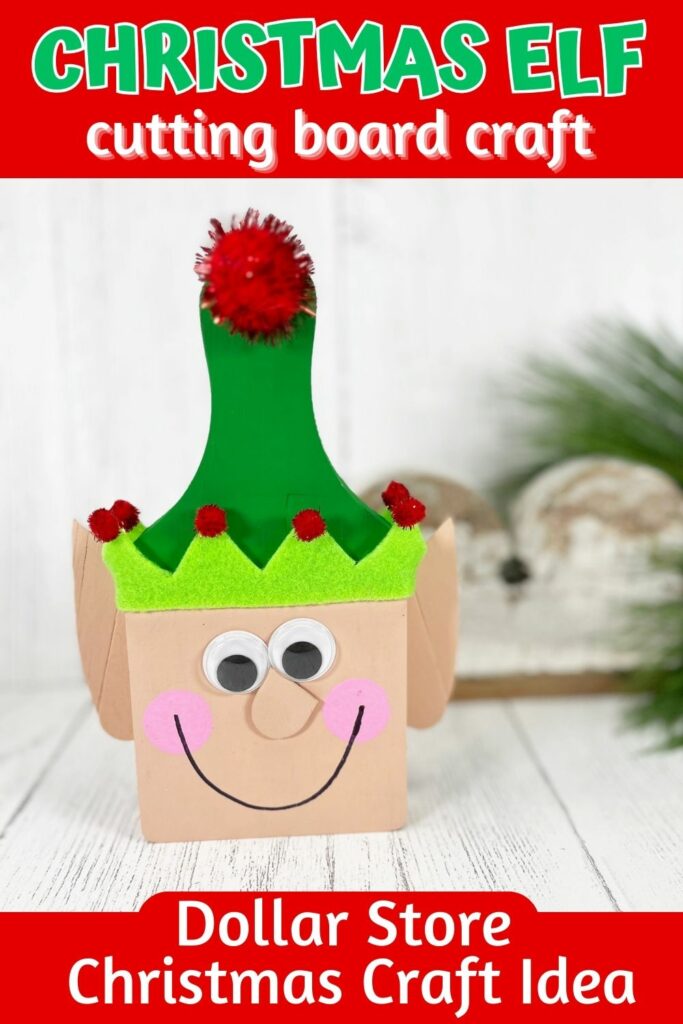
It doesn’t get any cuter that this mini cutting board DIY Christmas decoration! This Elf Cutting Board craft is sure to make your Christmas decor merry and bright this holiday season!
We got our mini cutting board from the dollar tree, but just about any small, unfinished wooden cutting board will work for your Christmas Elf.
You’ll want to make a whole stack of these adorable Cutting Board Elf Crafts, because everyone is doing to want one this Christmas!
How to make an Elf Cutting Board Christmas Decoration
Materials:
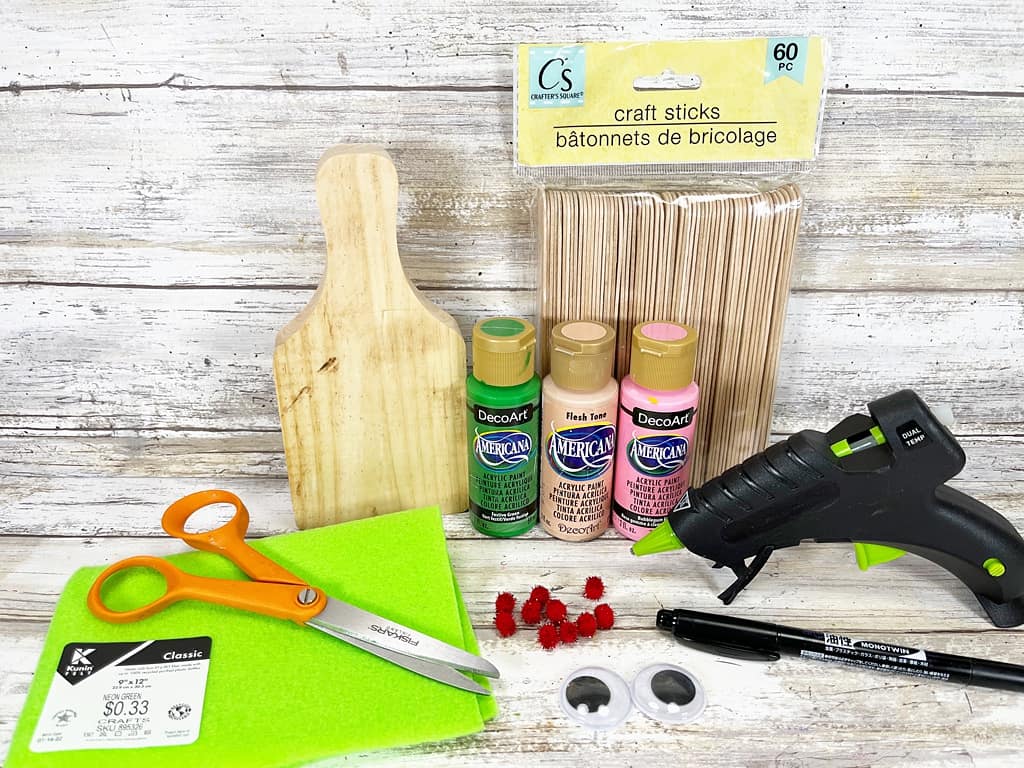
- Jumbo Craft Sticks
- Small Unfinished Wooden Cutting Board
- Wiggle Eyes
- Red Tinsel Pom Poms, Red Tinsel
- Acrylic Craft Paint – Green, Pink, and a Flesh Tone Color of Choice
- Neon Green Craft Felt
- Glue Gun and Glue Sticks
- Sponge Dabber Paint Brush
- Scissors
- Paintbrush
- Permanent Black Marker
- Ruler
- Pencil
- Elf Pattern
Instructions:
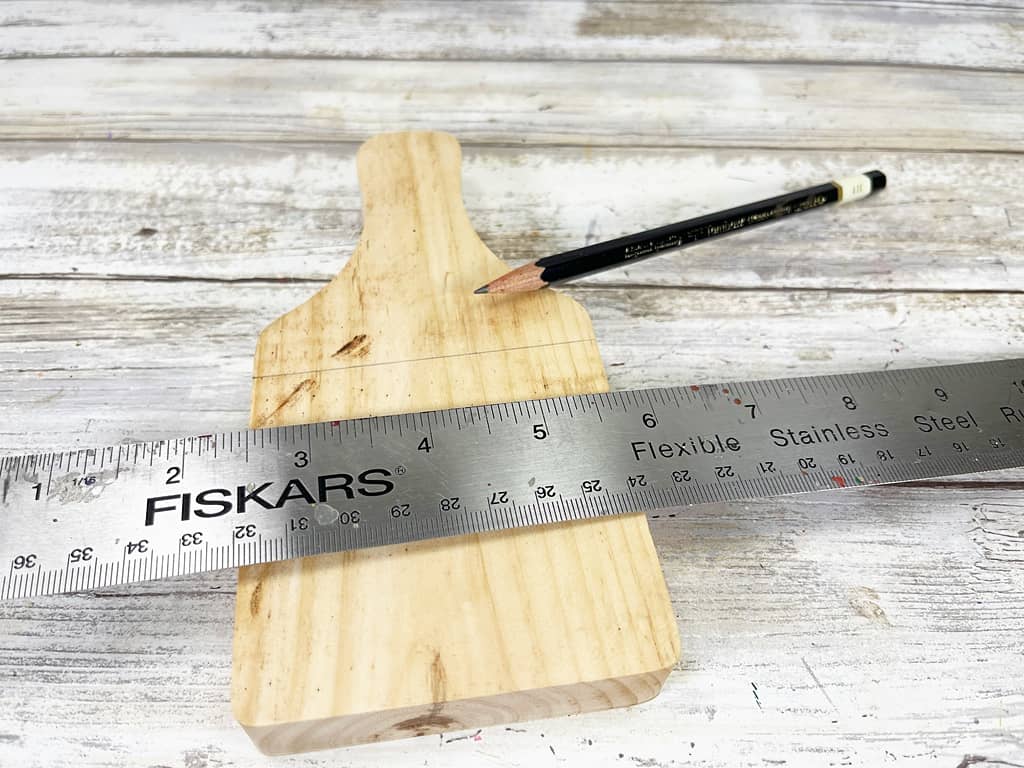
Place the ruler toward the top of the cutting board and draw a line with a pencil.
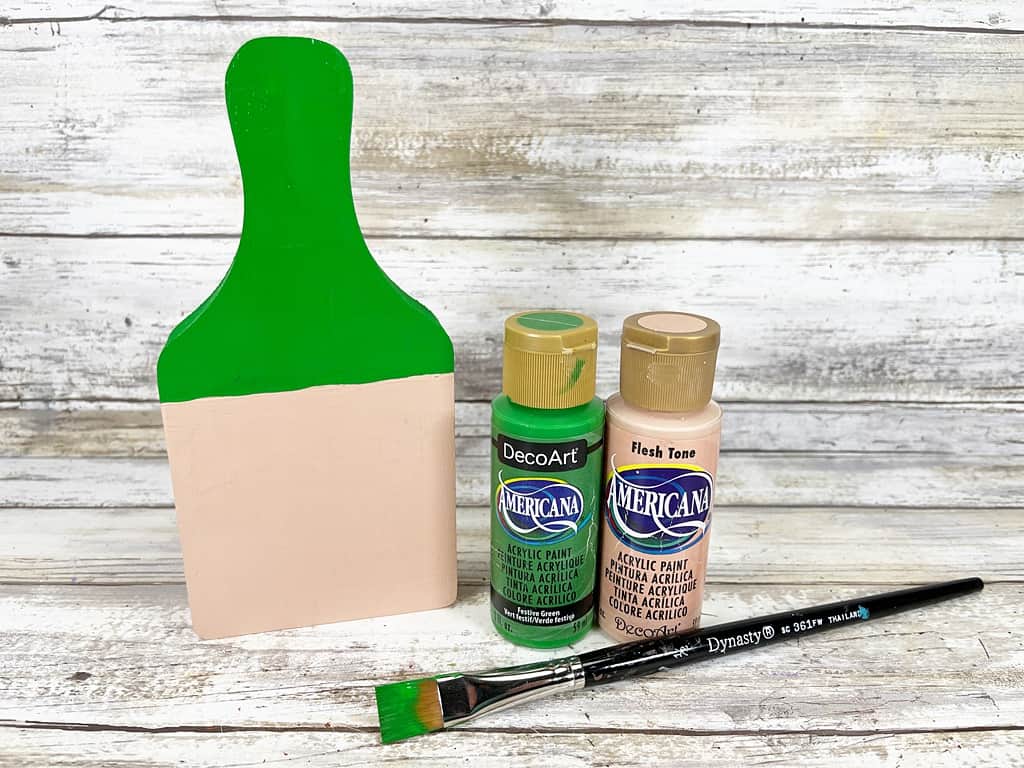
Paint the bottom half of the cutting board with flesh tone color of choice.
Paint the top half of the cutting board with green acrylic craft paint.
Let the paints dry and apply a second coat, if necessary.
Download, print, and cut out the Elf Patterns.
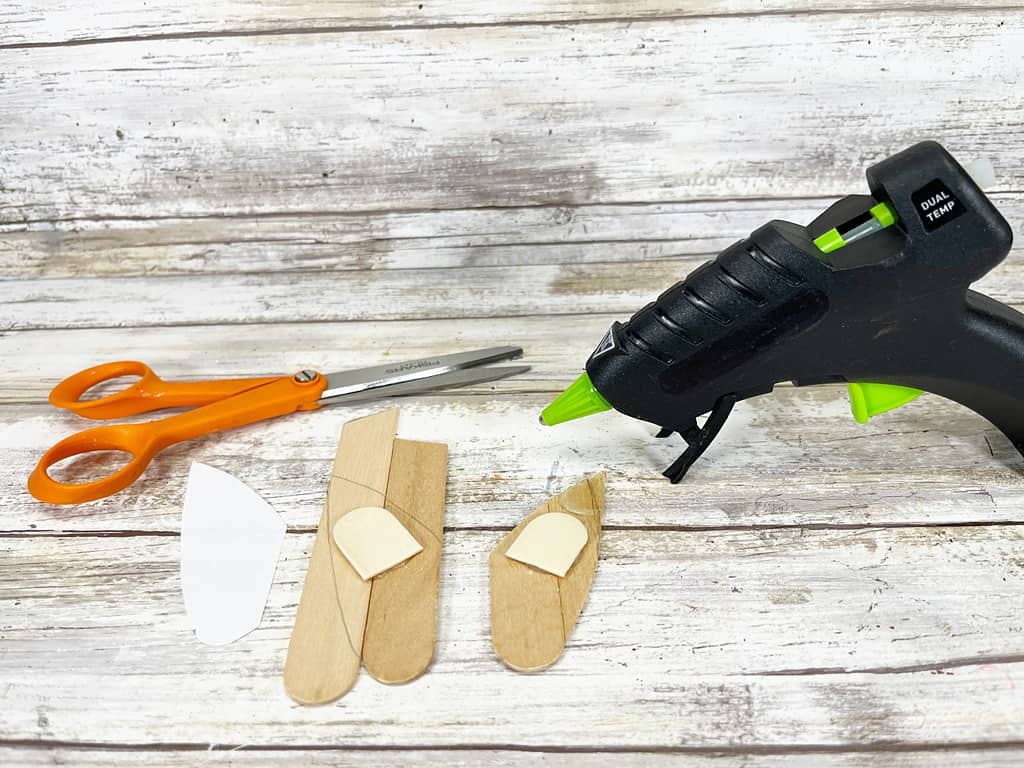
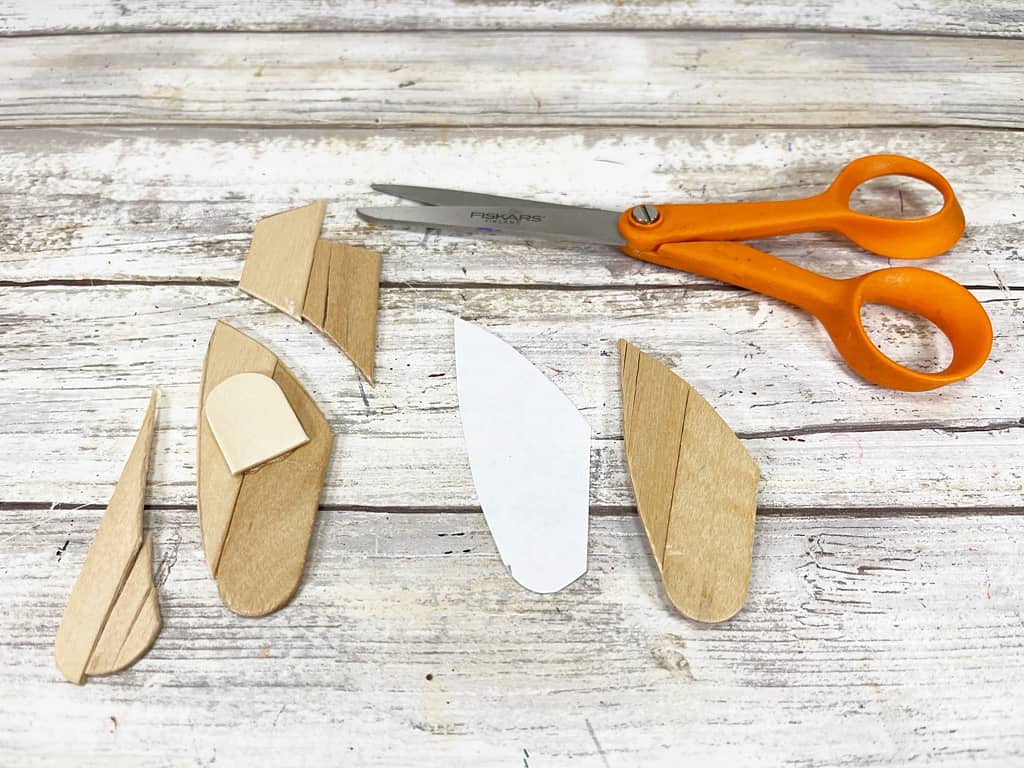
Cut two jumbo craft sticks in half, attach both sets of halves together with an additional piece of jumbo craft stick using a glue gun and glue sticks.
Trace the elf ear pattern onto the double craft stick with a pencil.
Flip the pattern, and trace on the other double craft stick.
Make sure that you have a right ear and a left ear. Cut out the elf ears with scissors.
Trim the rounded end from a jumbo craft stick to become the nose.
TIP: You can use liquid craft glue for this project, but you will have to wait for it to dry.
Paint the elf ears and nose with flesh tone color of choice. Let the paint dry and apply a second coat, if necessary.
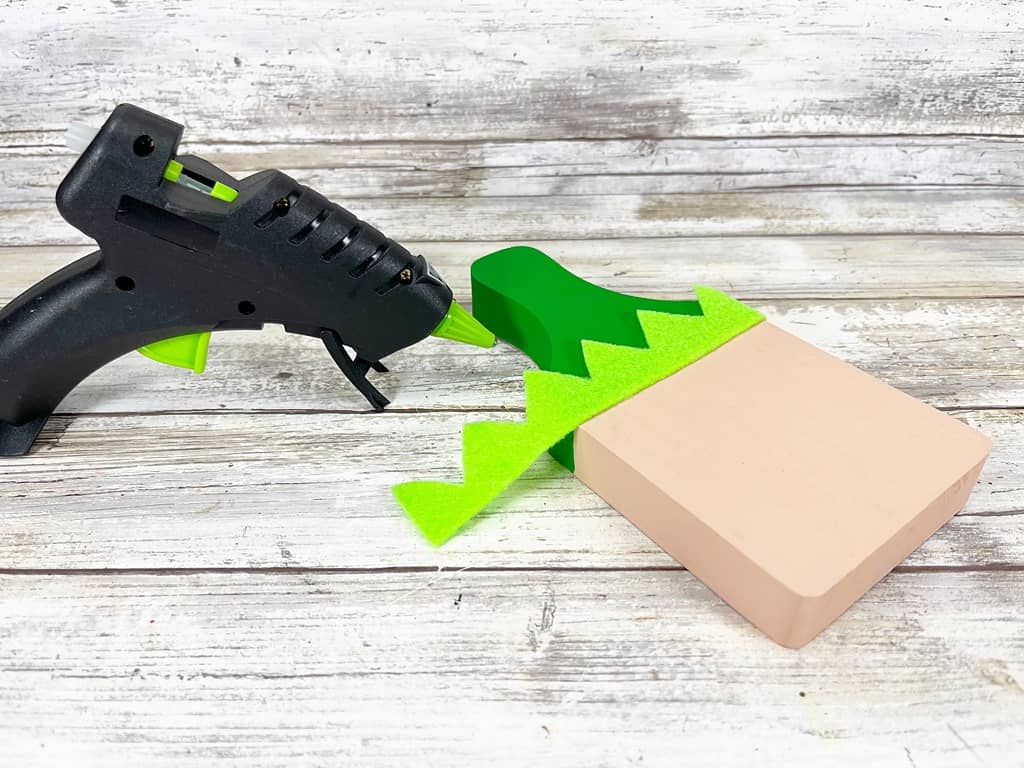
Trace the elf hat pattern onto neon green craft felt with a marker. Cut out inside the traced lines for a clean, finished project.

Attach the felt hat trim to the bottom edge of the painted hat with a glue gun and glue sticks.
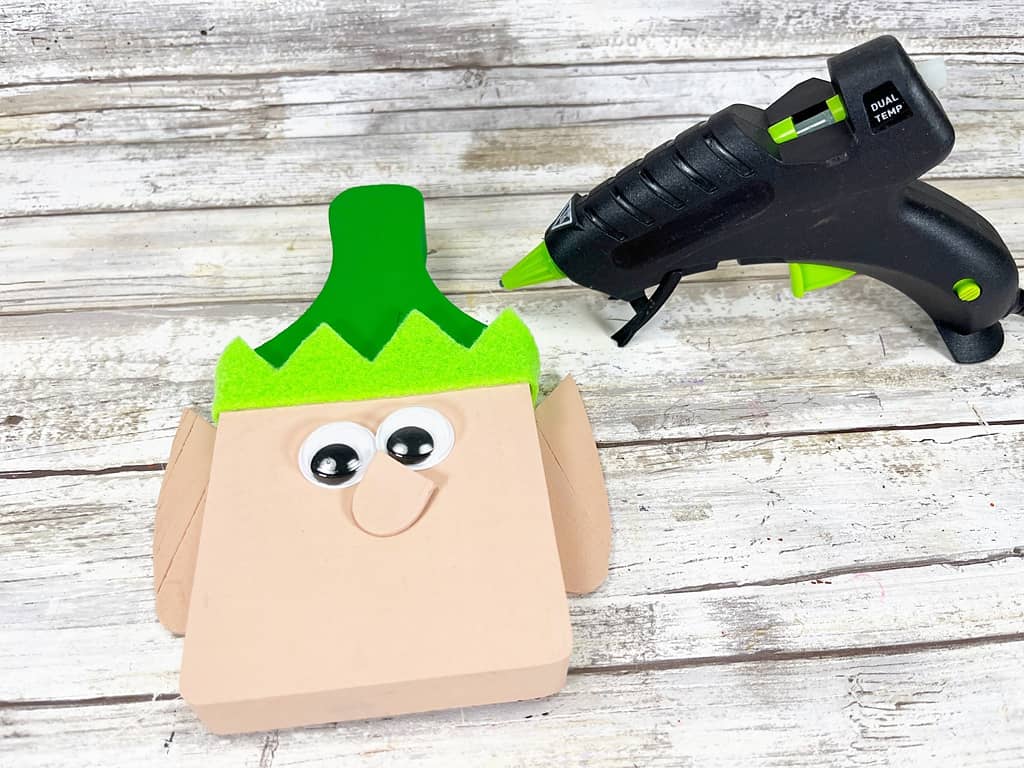
Wrap the felt around the sides and secure it on the back of the cutting board.
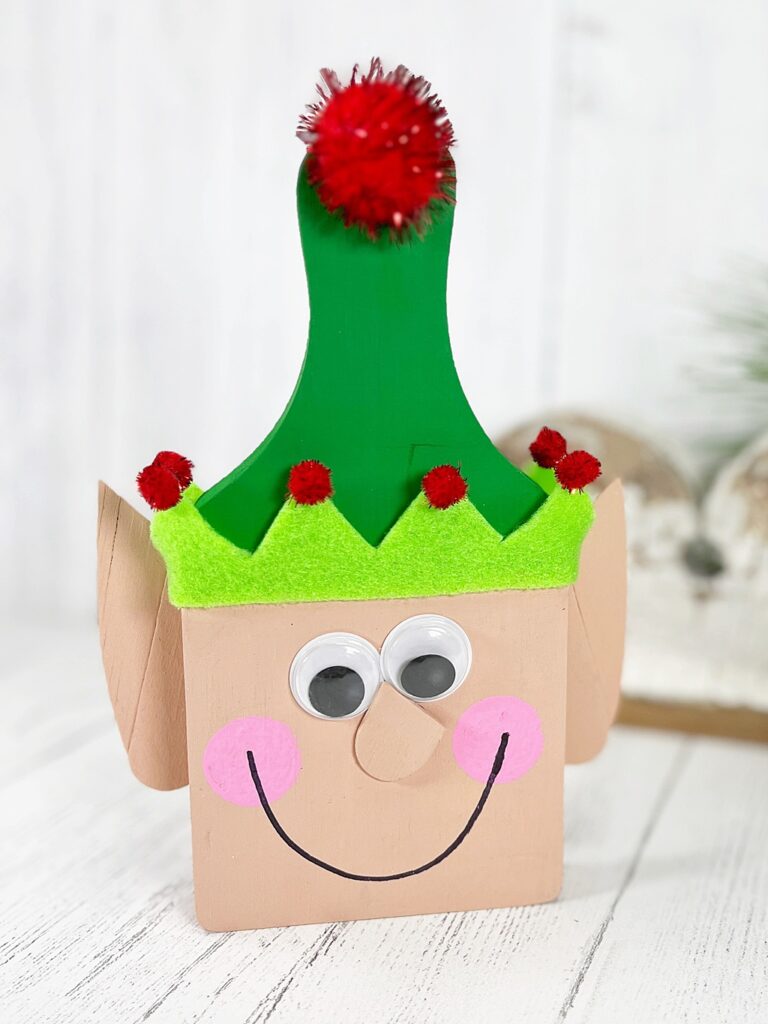
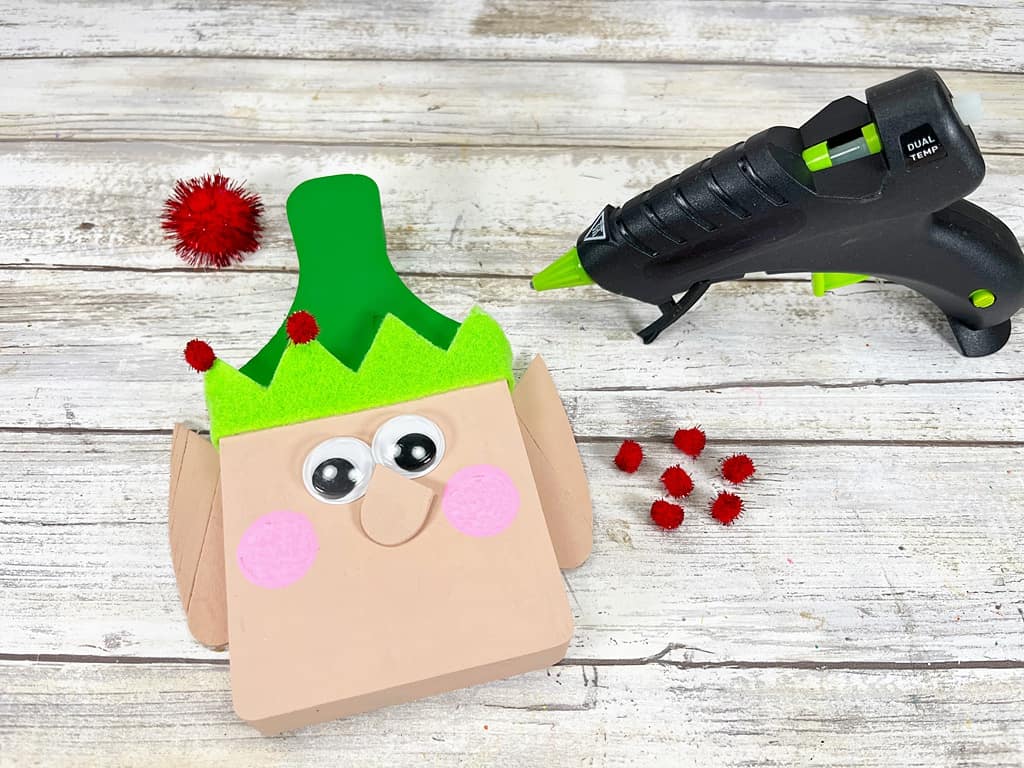
Attach the craft stick ears to the right and left side of the elf’s face with a glue gun and glue sticks. Use the photo below as a guide for placement.

Attach two wiggle eyes and the nose to the elf with a glue gun and glue sticks.
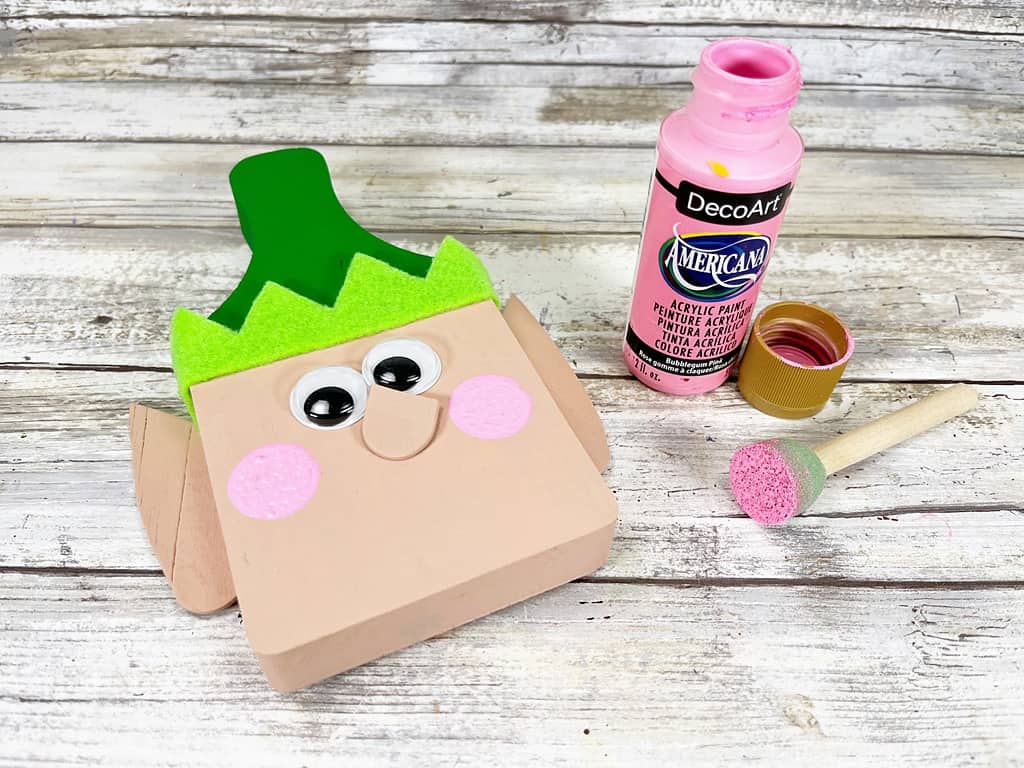
Create cheeks by dipping a sponge dabber into pink craft paint. Stamp on either side of the elf’s face and set aside to dry.
Glue six mini red tinsel pom poms to each point of the elf’s hat.
Attach one jumbo red tinsel pom pom to the top of the cutting board handle with a glue gun and glue sticks.
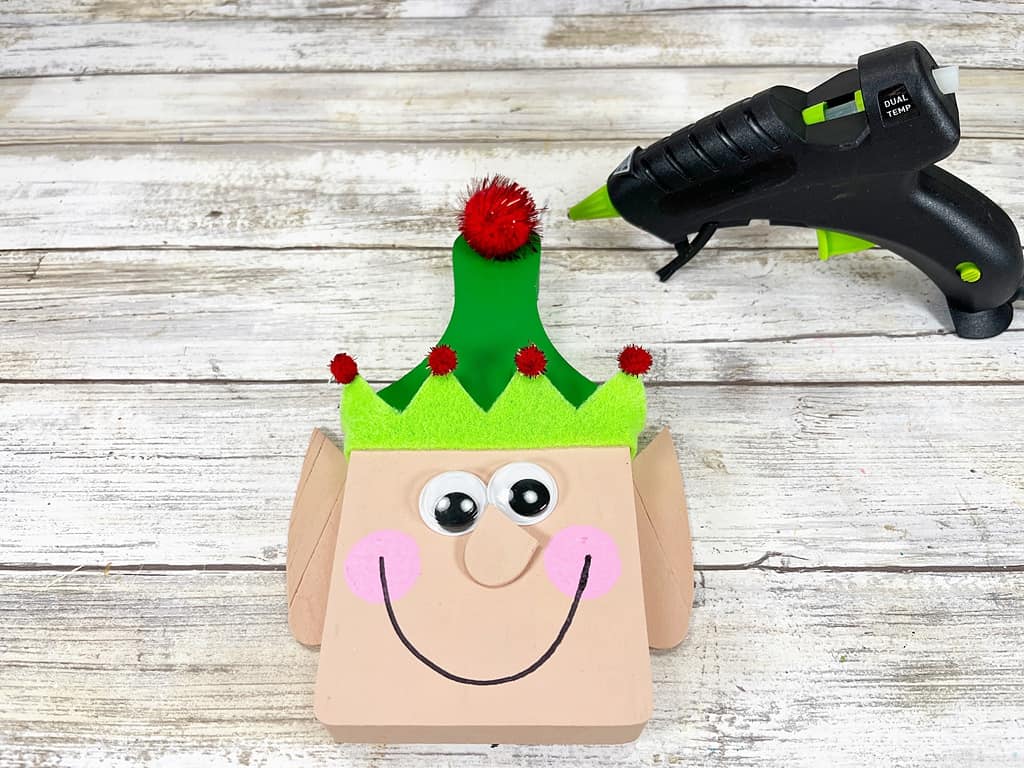
To finish, draw a smile from cheek to cheek with a permanent black marker.
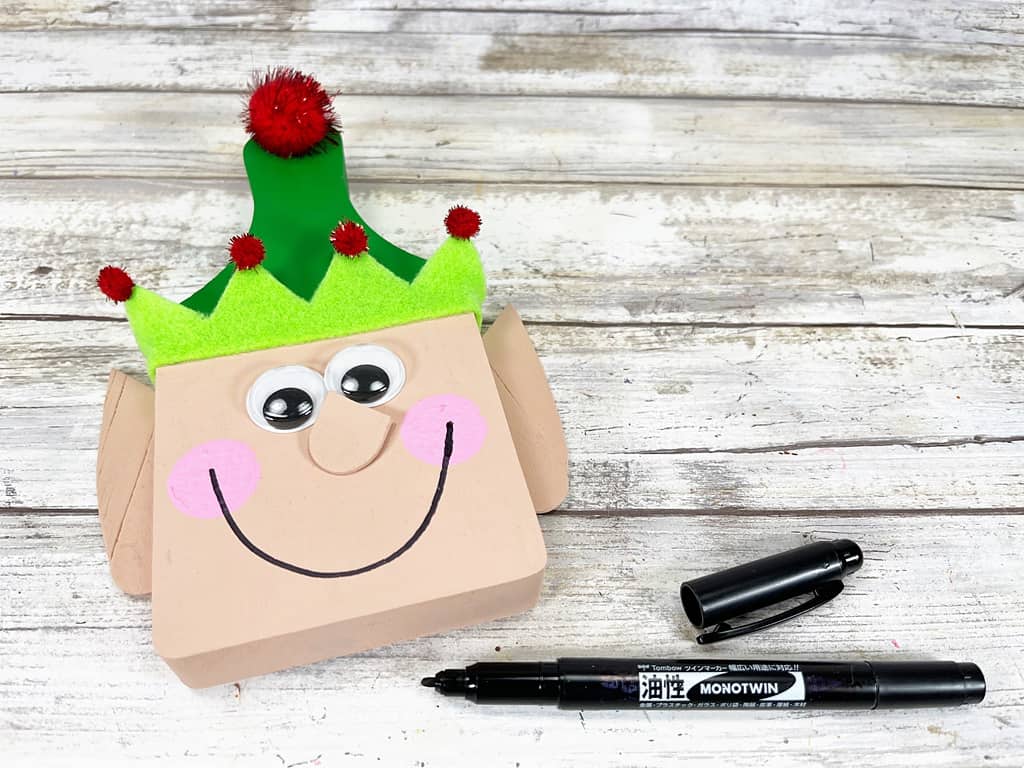
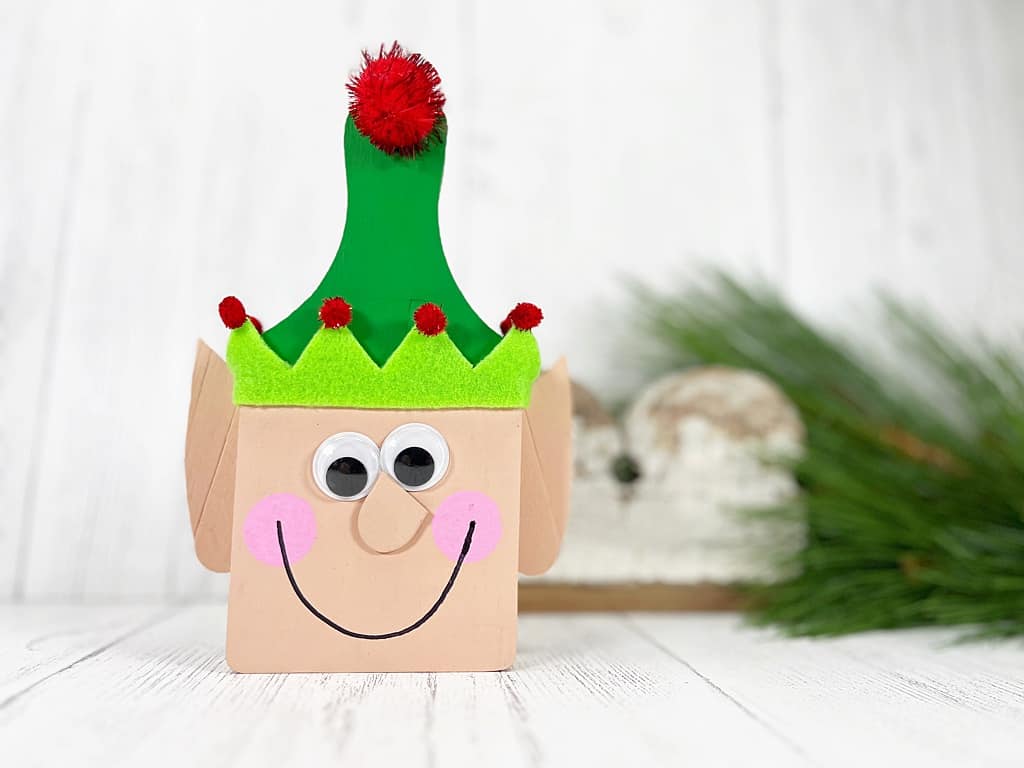
Enjoy your adorable Cutting Board Elf displayed in your Christmas home décor or wrap him for the cutest DIY Christmas gift ever!