
Lightyear Craft
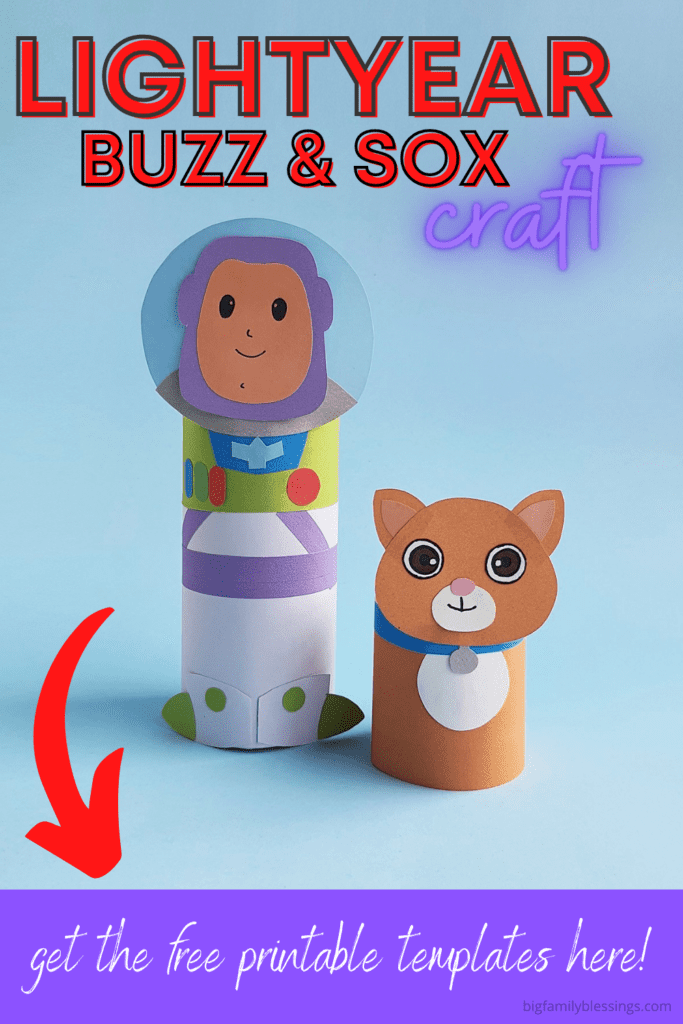
The Toy Story movies have been a huge part of childhood for more than a decade. With the new Lightyear movie this year, I thought it would be fun to make a Lightyear Craft to celebrate.
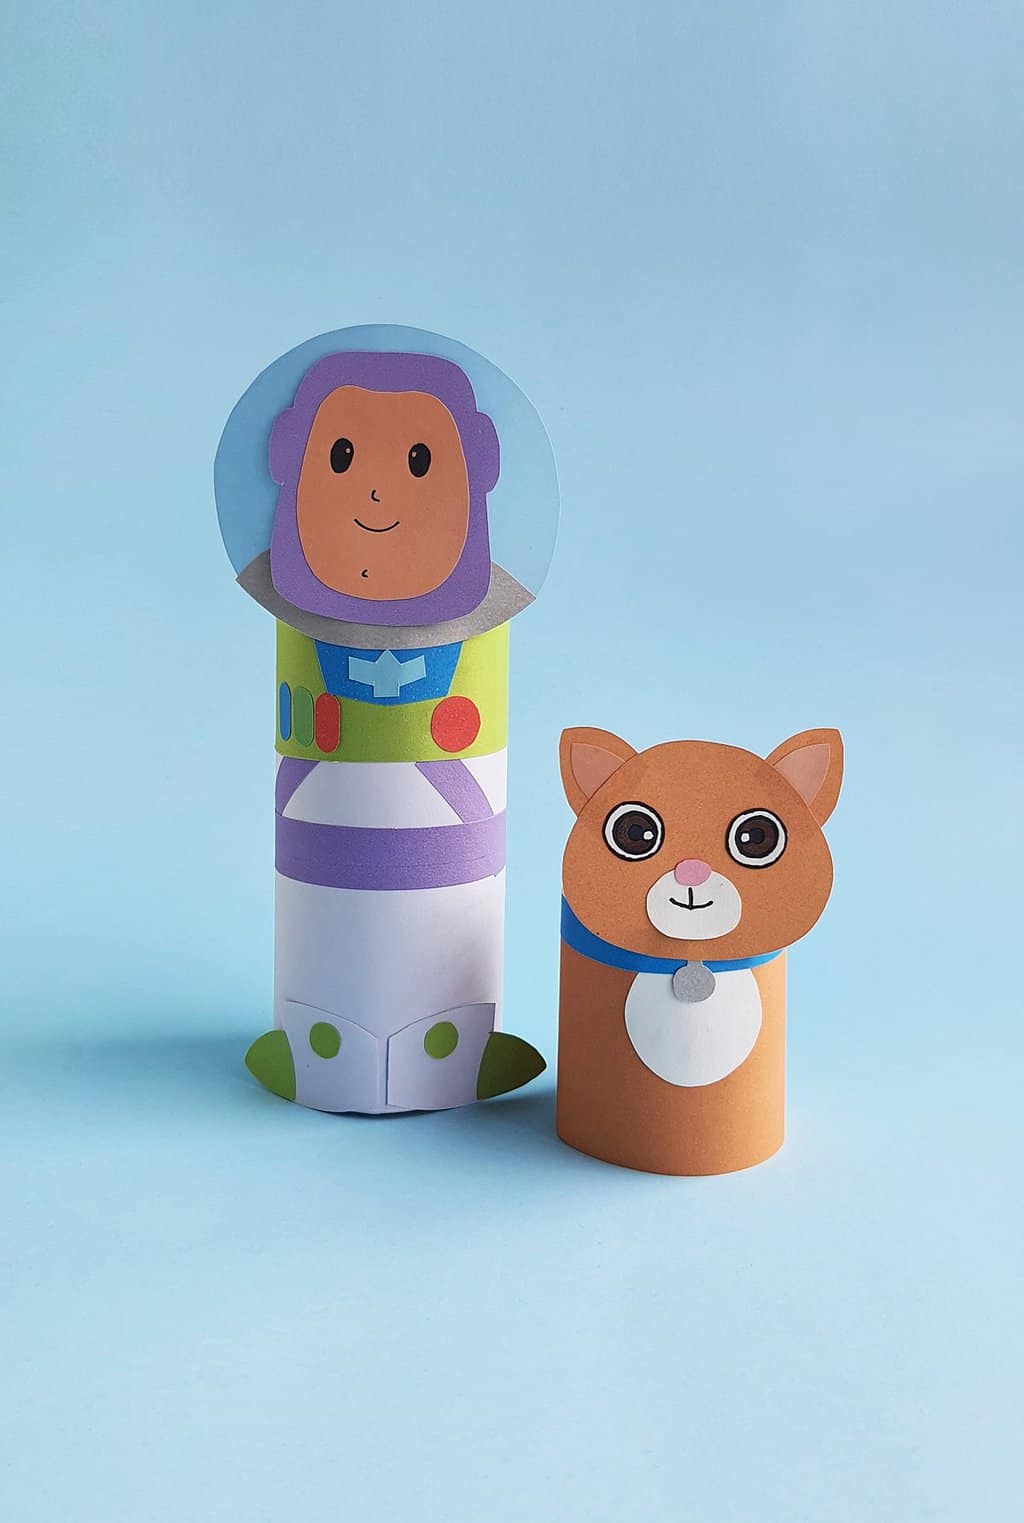
Kids will love making this Toy Story themed craft which includes a toilet paper Buzz Lightyear and his little cat buddy Sox too!
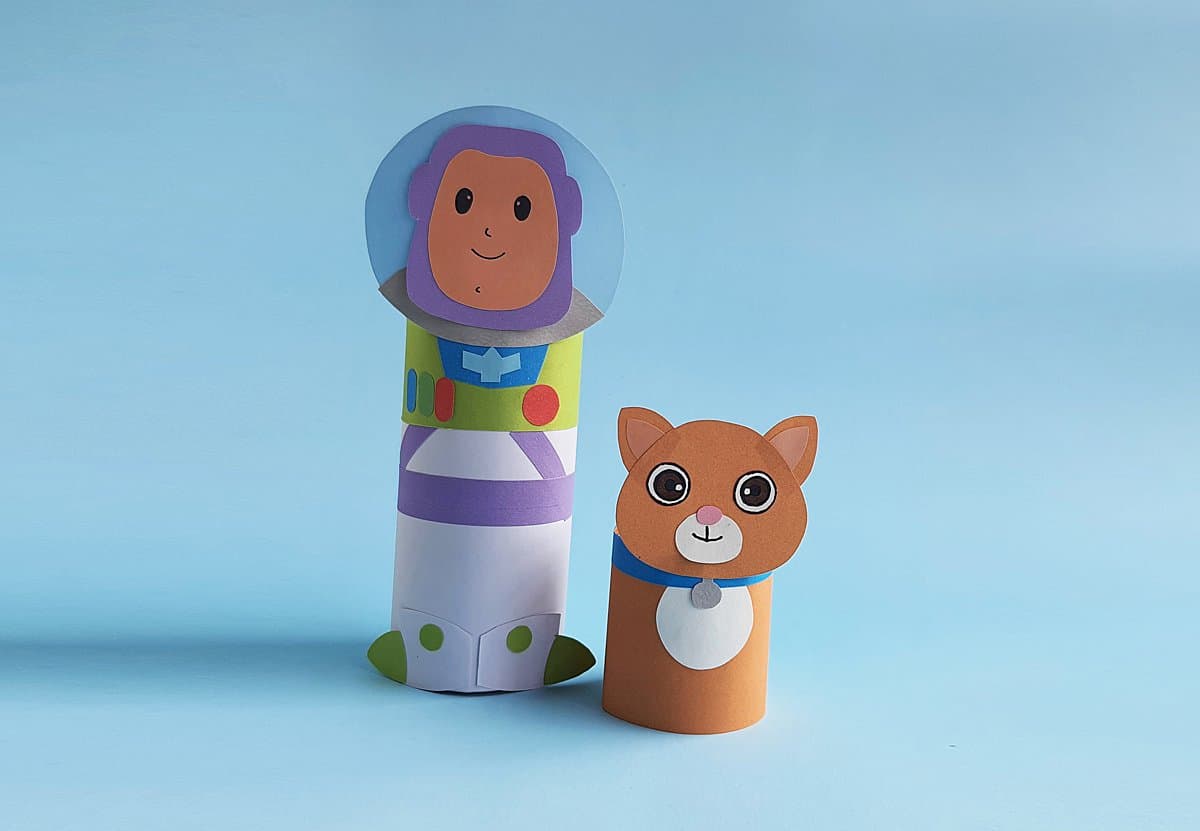
First let’s make the Buzz Lightyear Craft
Supplies:
- Colored craft papers
- Toilet Paper Roll
- Marker
- Craft glue
- Pencil
- Scissors
- Template
Instructions:
Print out the Buzz Lightyear template, then cut out all of the template pieces.
Select colored craft papers to recreate the Buzz character from Toy Story. We’re using light pink colored paper for the skin tone, thick white paper for the suit and shoe bases; and green, red, blue, yellow, and grey, purple for the rest of the patterns.
Trace the template patterns on appropriate colored craft papers and cut them out.

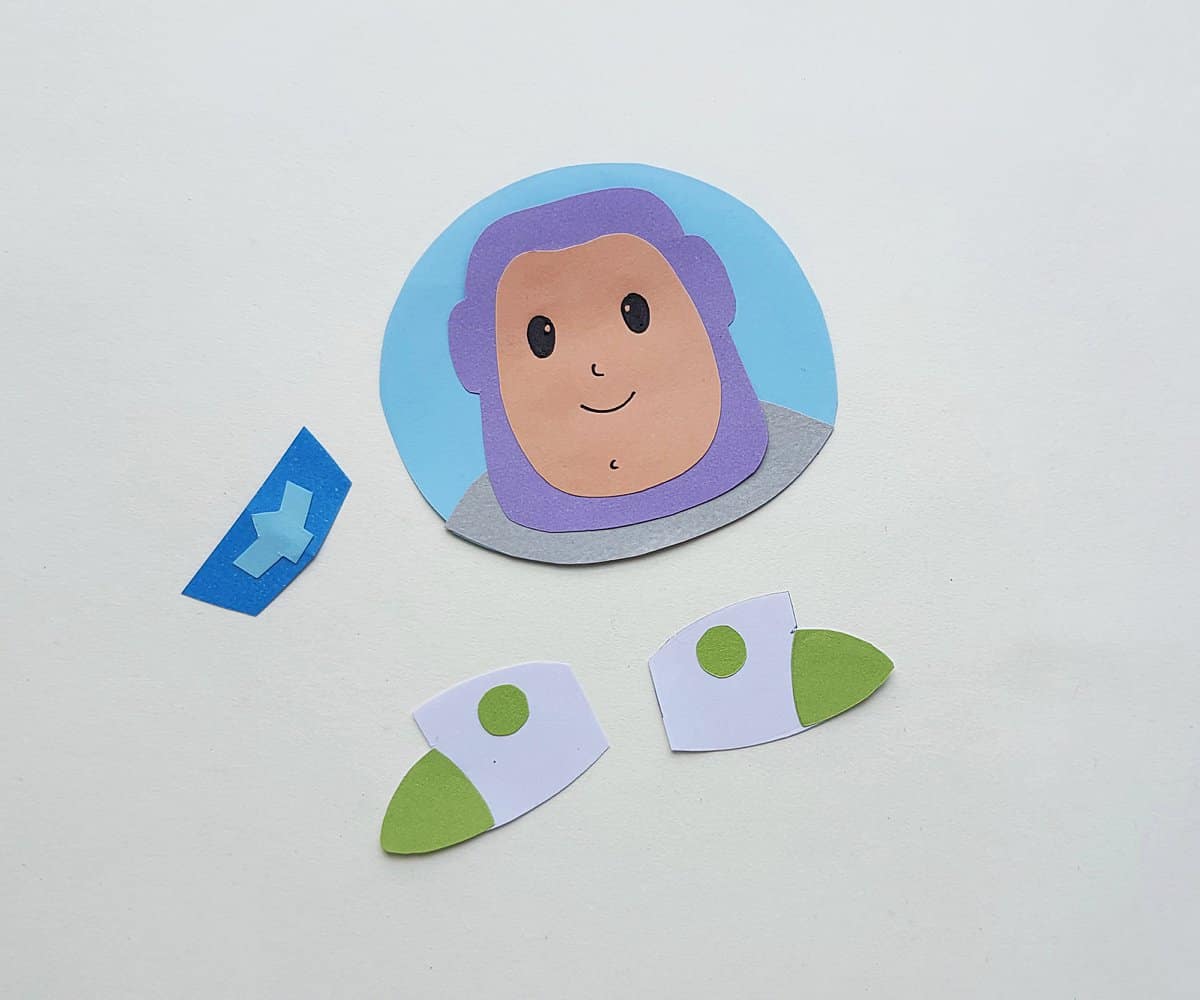
Attach the neck ring cutout on the bottom of the helmet cutout.
Glue the head cutout on the communication device.
Attach the rocket symbol cutout on the badge cutout.
Glue the shoe detail pieces on the shoe cutout.
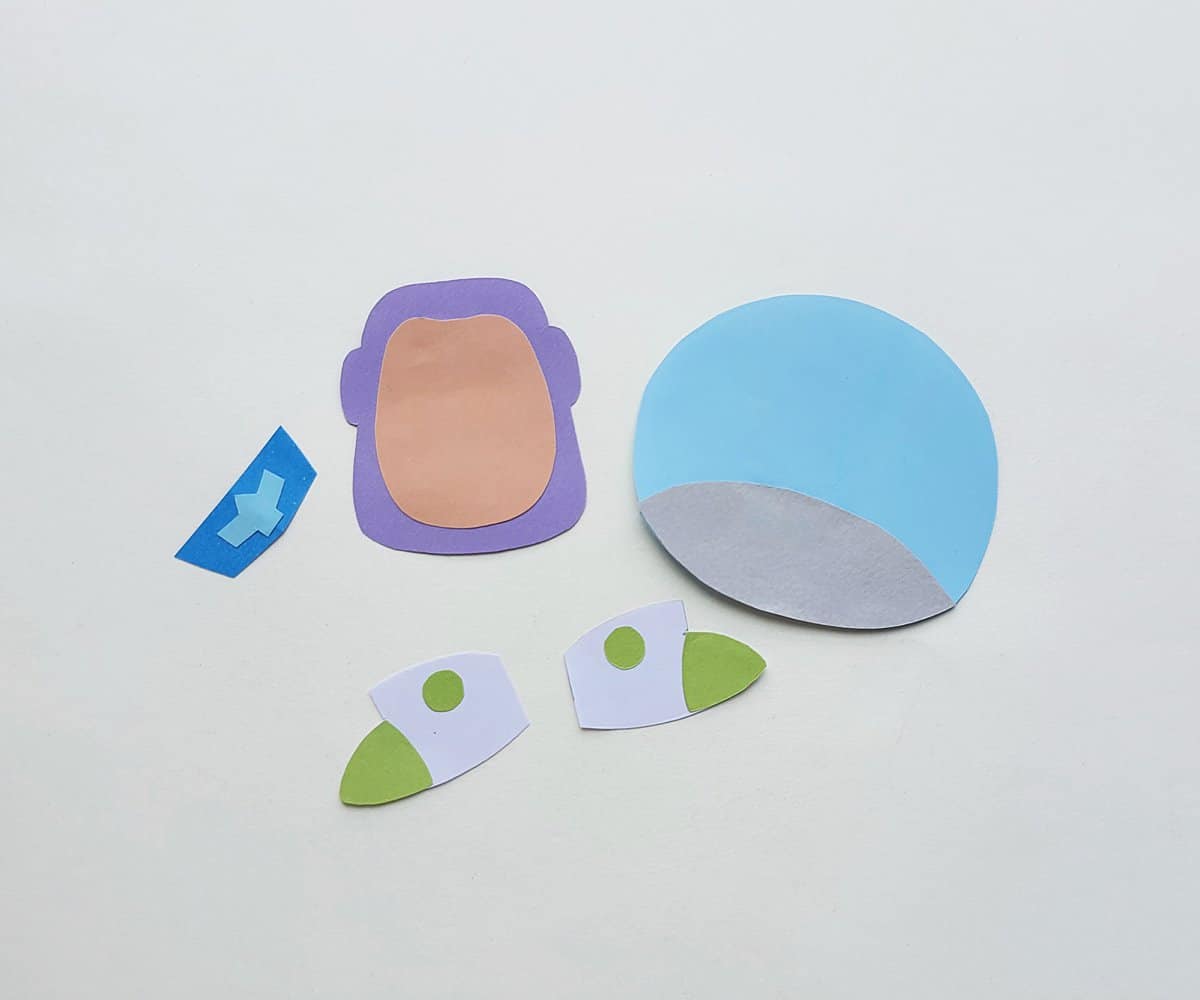
Attach the head in the middle of the helmet. Use a marker or gel pen to draw the details on Buzz’s face.
Measure and cut a piece of white paper to cover your toilet paper roll.
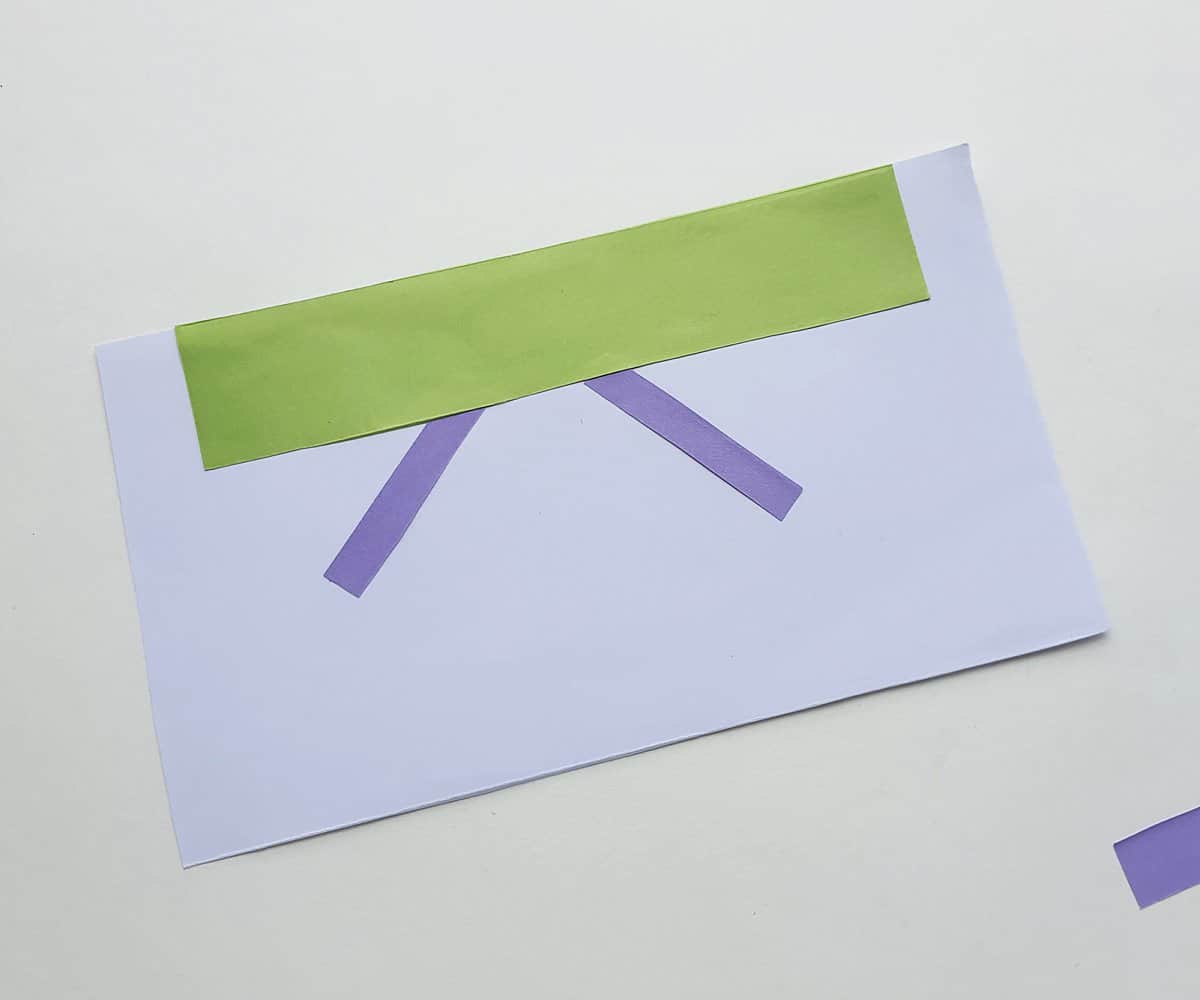
Attach the 2 thin purple strips on the white paper. The purple strips should be attached like a ‘V’ pattern, but upside down and wider part should be somewhat along the middle of the white paper. (See below)
Now, attach the big rectangle along the top of the white paper, covering the narrow side of the upside down “V” formed with the purple strips.
Attach the button, light and badge patterns on the green rectangle, and attach the other purple strip along the middle of the white paper, overlapping the open ends of the diagonal purple strips.
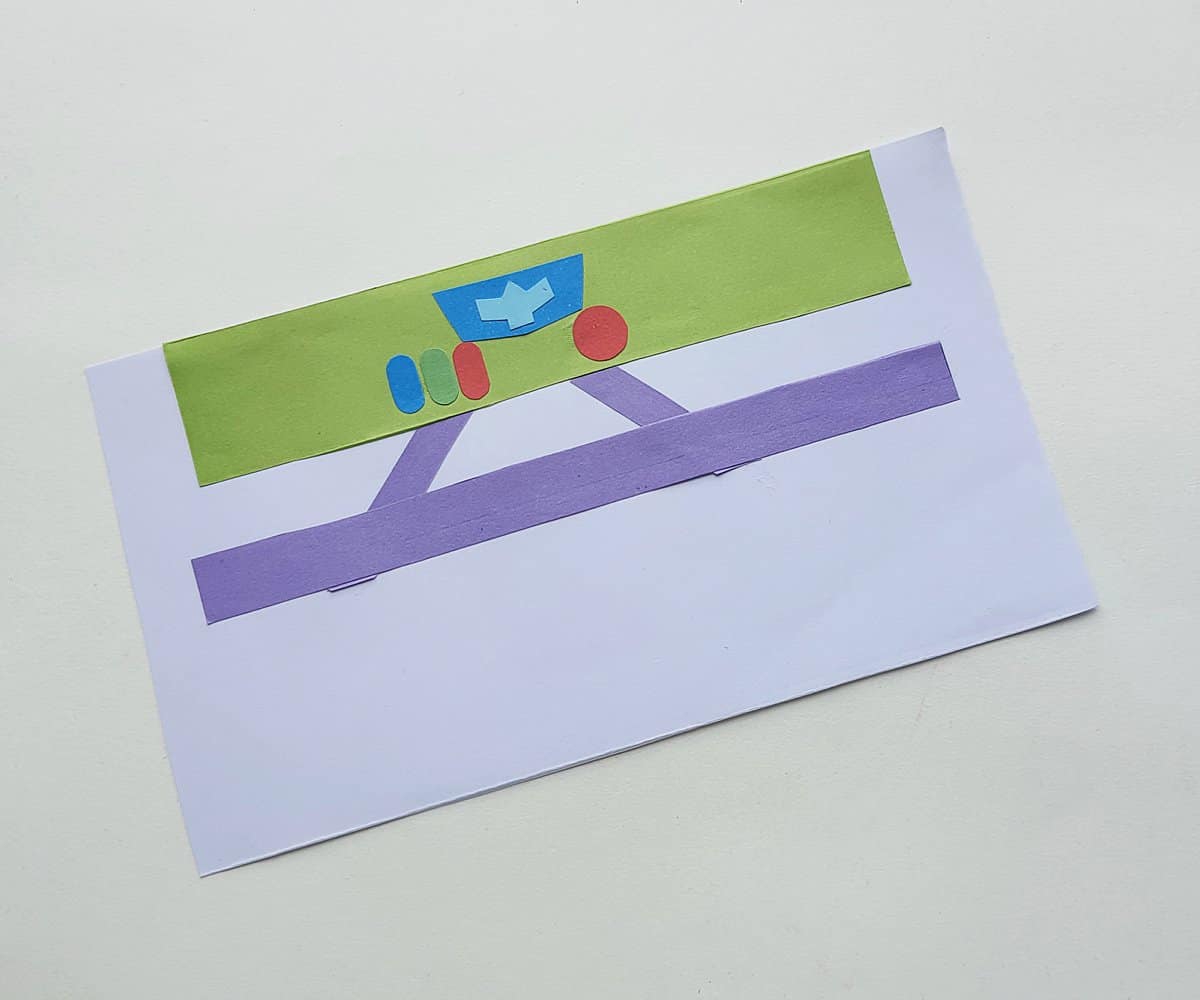
Attach the head pattern on the top of the white paper, overlapping the green part slightly.
Attach the shoe patterns on the other side of the white paper.

Cover the toilet paper roll with Buzz and apply glue on open ends to secure the craft.

Now let’s make Buzz’s cat, Sox
Supplies:
- Colored Craft Papers
- Toilet Paper Roll
- Marker
- Craft glue
- Tape (optional)
- Pencil
- Scissors
- Template
Instructions:
Print out and cut out the pattern pieces of the Sox template. (The pdf includes the pattern pieces to make 2 cats- if you have two kids making this craft, simply cut that paper in half so each one can have a template without printing 2)
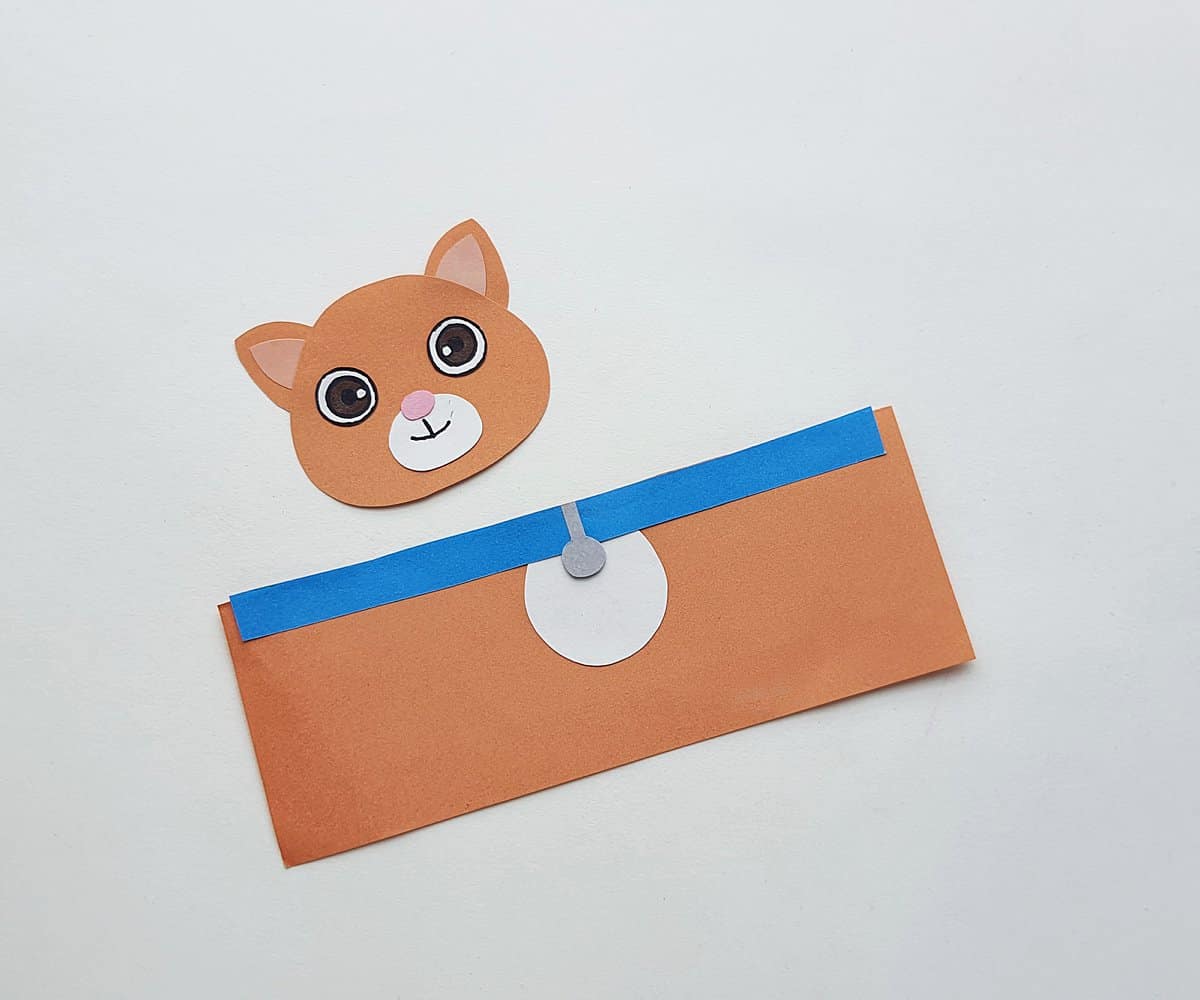
Select orange, gray, pink, blue and white colored craft paper for the Sox craft.
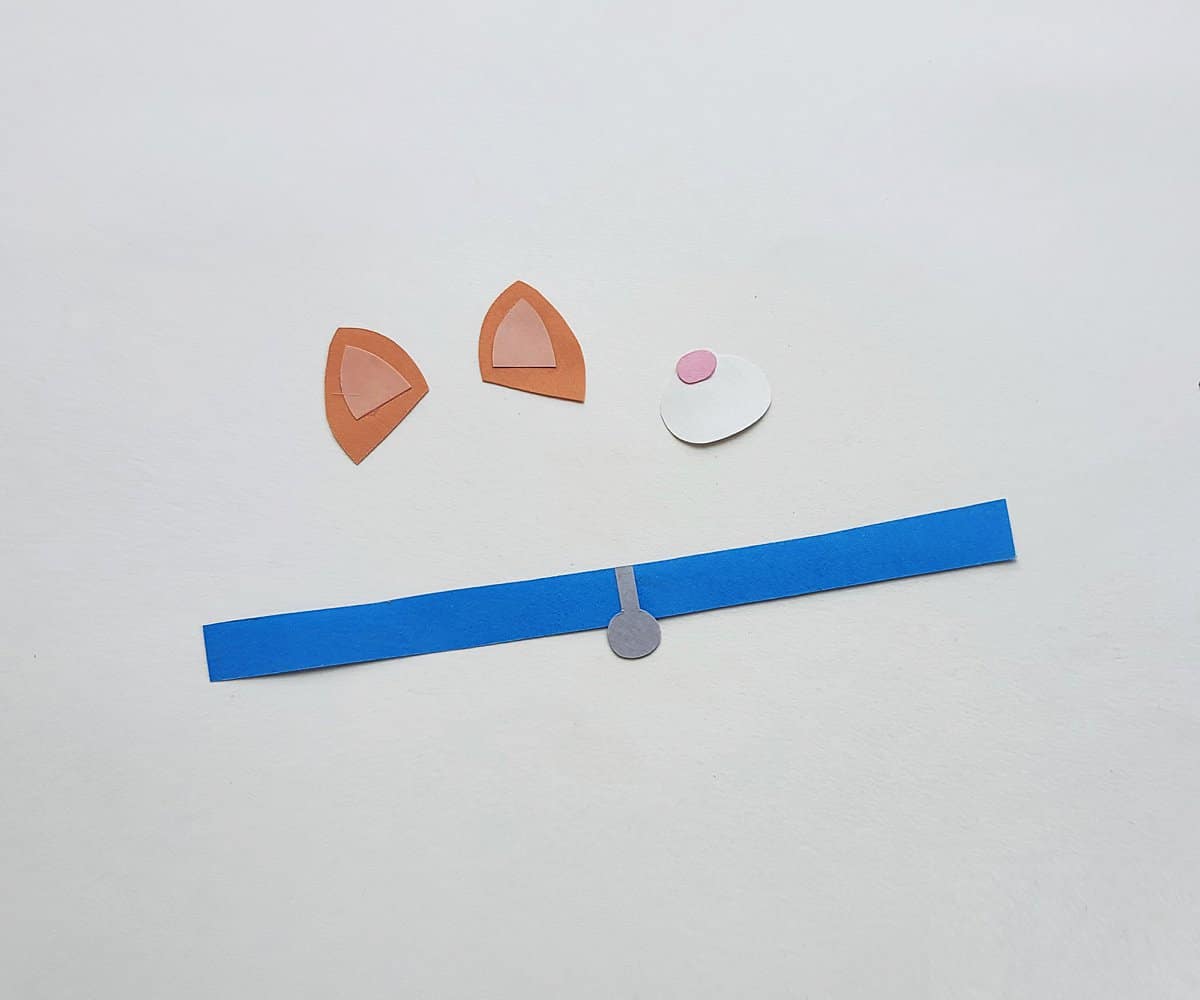
Trace the head, base, and outer ear patterns on the orange paper, trace the inner ear and nose patterns on the pink paper, trace the belly and mouth parts on white paper, and trace the collar strip on blue and collar-locket on gray paper.
Cut out the traced patterns.

Attach the inner ear cutouts on the outer ear cutouts.
Glue the locket in the middle part of the collar strip.
Attach the nose cutout near the top of the mouth cutout.
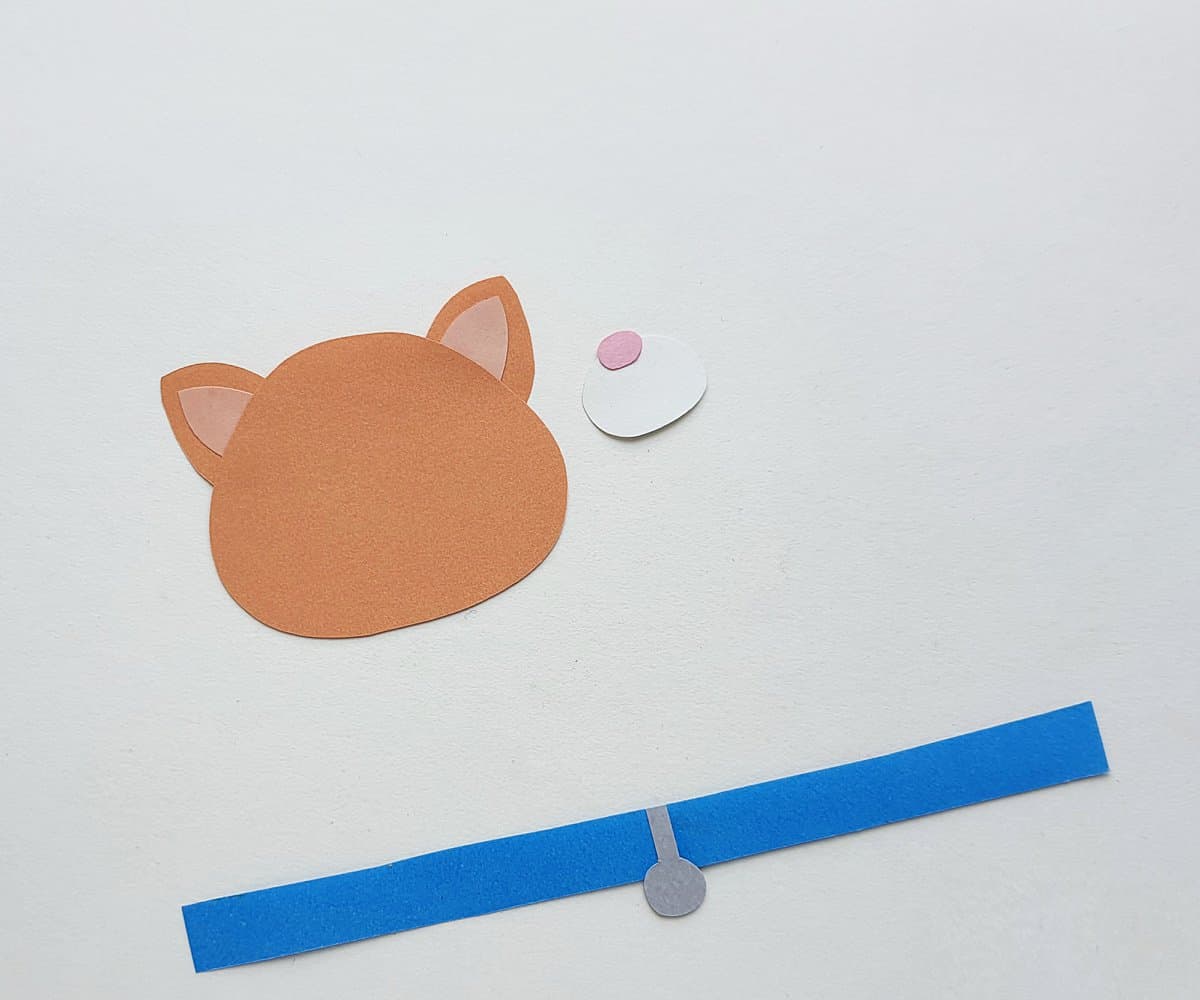
Attach the ear patterns on the top of the head cutout, gluing them behind the head.
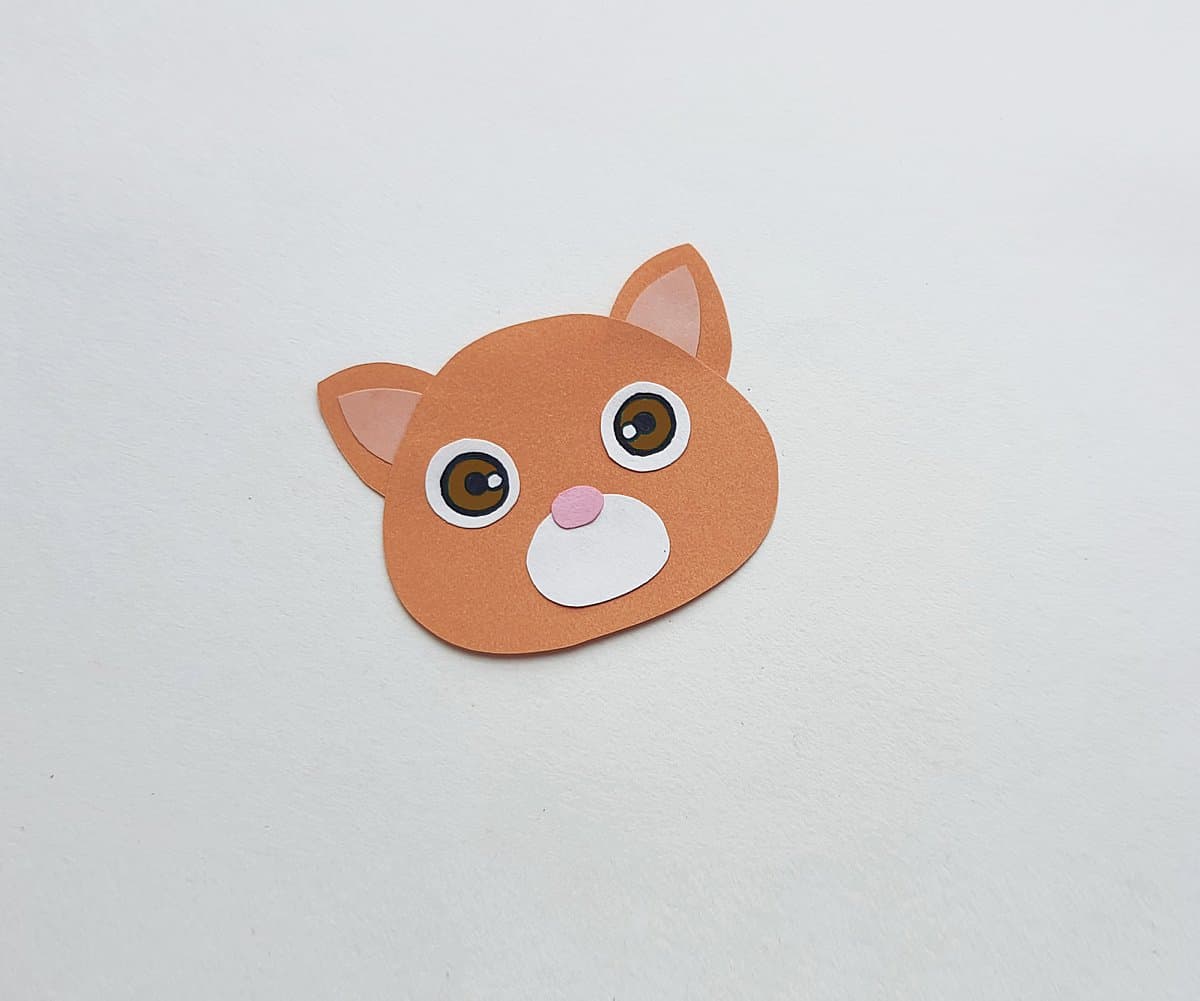
Use markers to color the cat’s eyes.
Attach the eyes and mouth pieces on the head pattern.
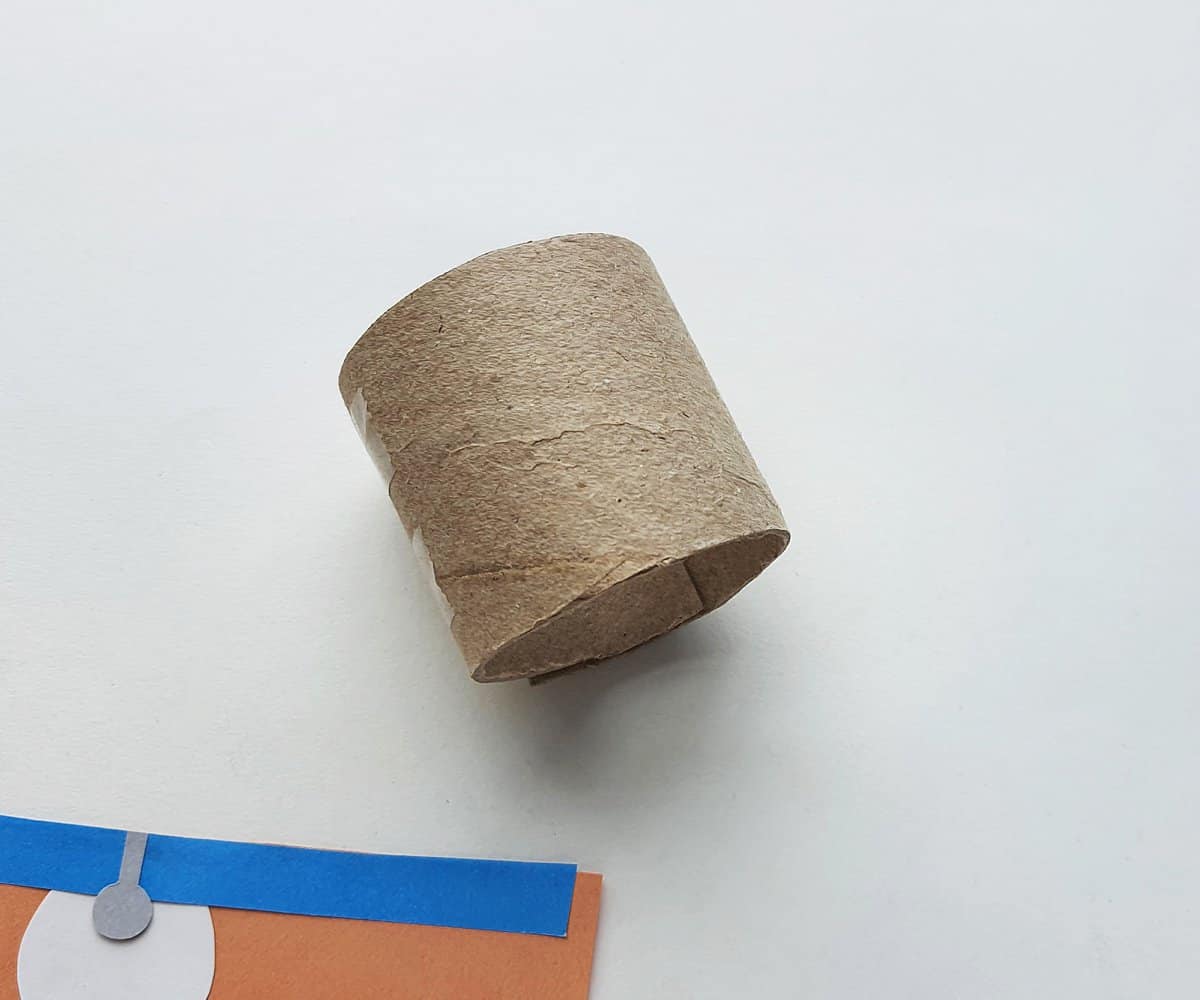
Cut a toilet paper roll into half. Next, cut the toilet paper roll open and then decrease its diameter by overlapping the edges an inch.
Use a clear tape or craft glue to attach the open sides together.
Measure and cut a piece of orange paper to cover the toilet paper roll.
Attach the belly cutout in the middle of the orange rectangle.
Attach the collar along the top side of the orange rectangle, covering the top part of the belly slightly.
Use a gel pen or marker make the mouth of the cat.
Cover the toilet paper roll with the orange rectangle.
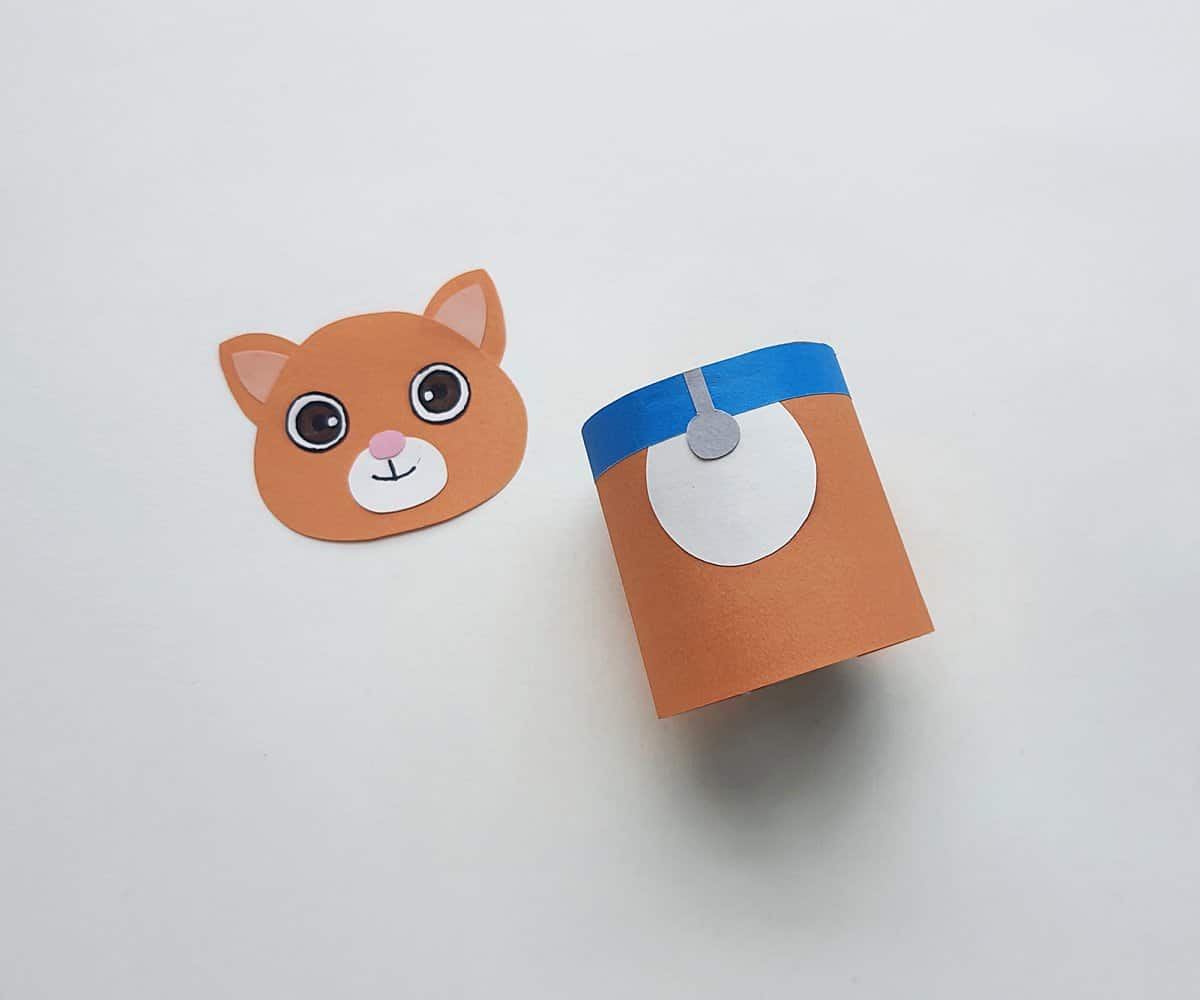
Attach the head on the top of the toilet paper roll, by slightly covering the blue collar.
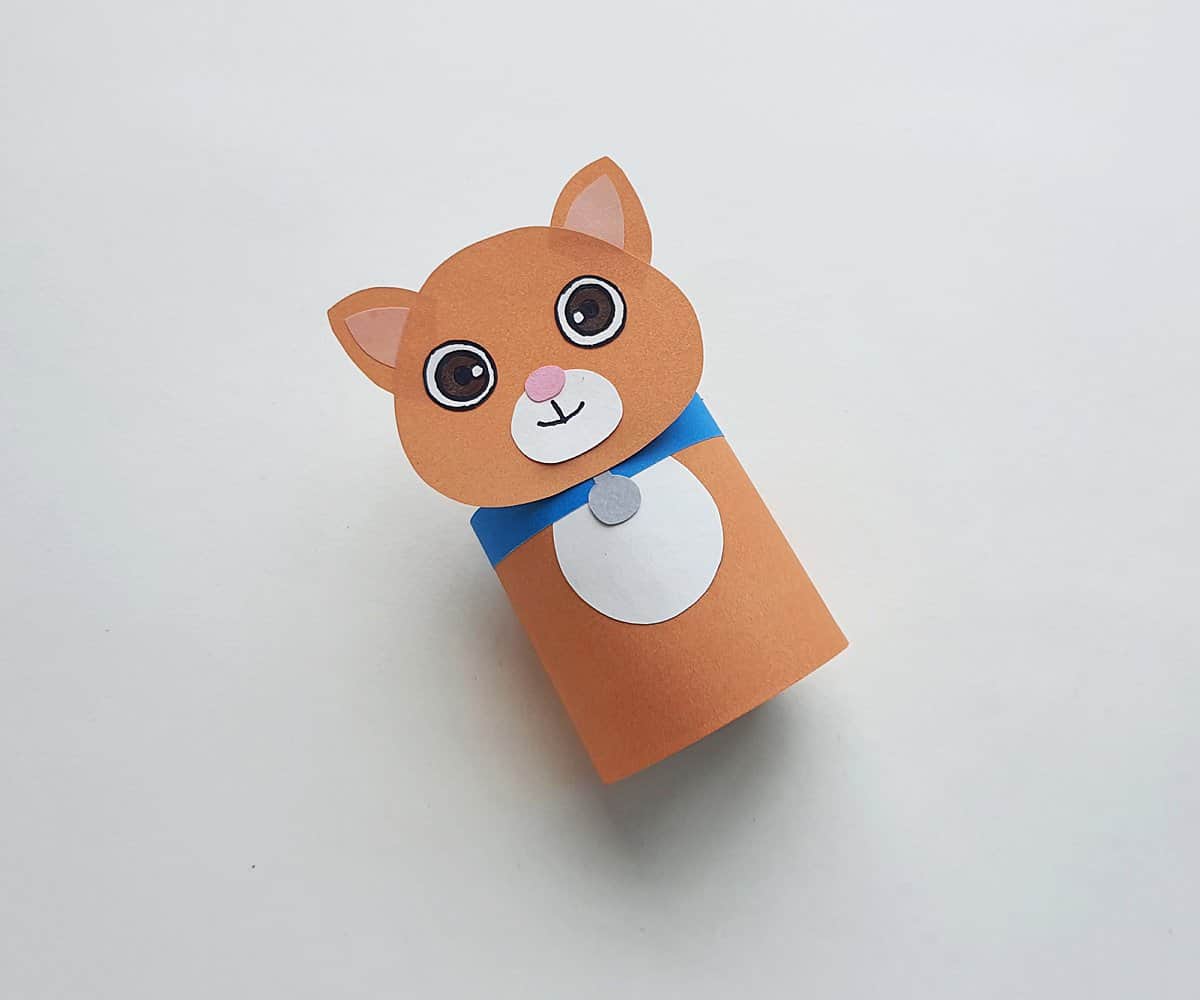
Now, enjoy playing with your Lightyear and Sox crafts!

Pin this craft for later:


