Paper Plate Moon Phases Craft with Free Printable Template
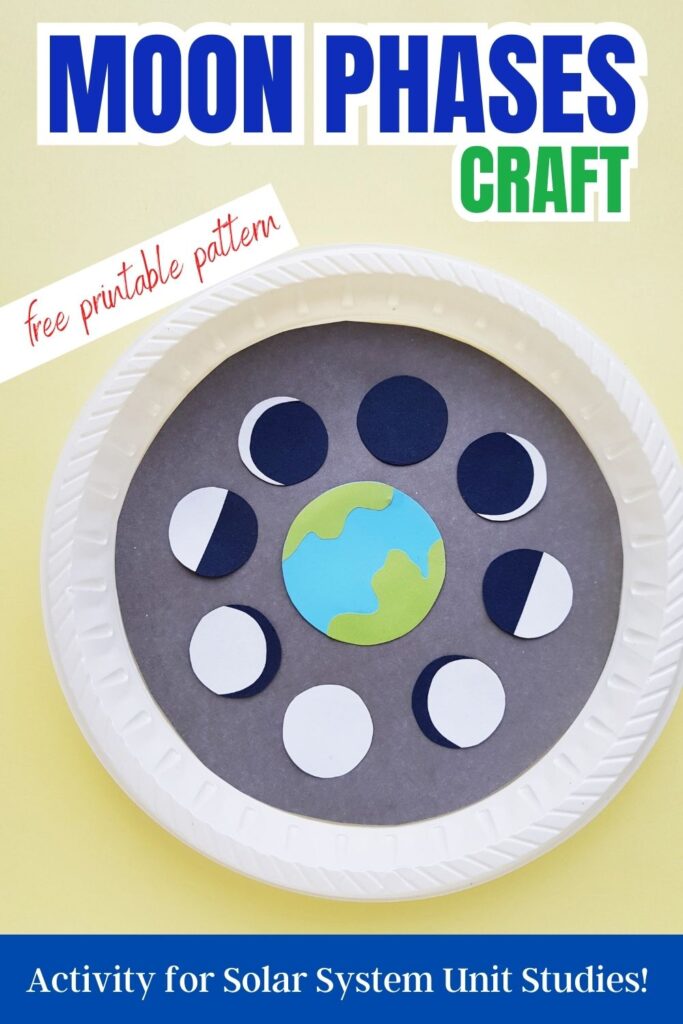
This Paper Plate Moon Phases Craft is perfect for solar system unit studies. Kids can learn all about the moon phases with this easy hands-on moon phases activity.
Help kids learn about the different phases of the moon with this super cute phases of the moon craft. You’ll find the free printable and easy instructions for this Moon Phases craft below.

Make this moon craft even more educational for older kids by helping them label each moon phase with it’s name.
You’ll also love these 51 other fun outer space themed crafts for kids.
Big Family Blessings is reader supported. When you purchase through links on our site, we may earn affiliate commission at no additional cost to you. Learn more.
What are the Phases of the Moon?
The phases of the moon refer to the different appearances of the illuminated portion of the moon as seen from Earth. As the moon orbits around the Earth, the amount of sunlight that it reflects changes, causing it to appear different shapes and sizes.
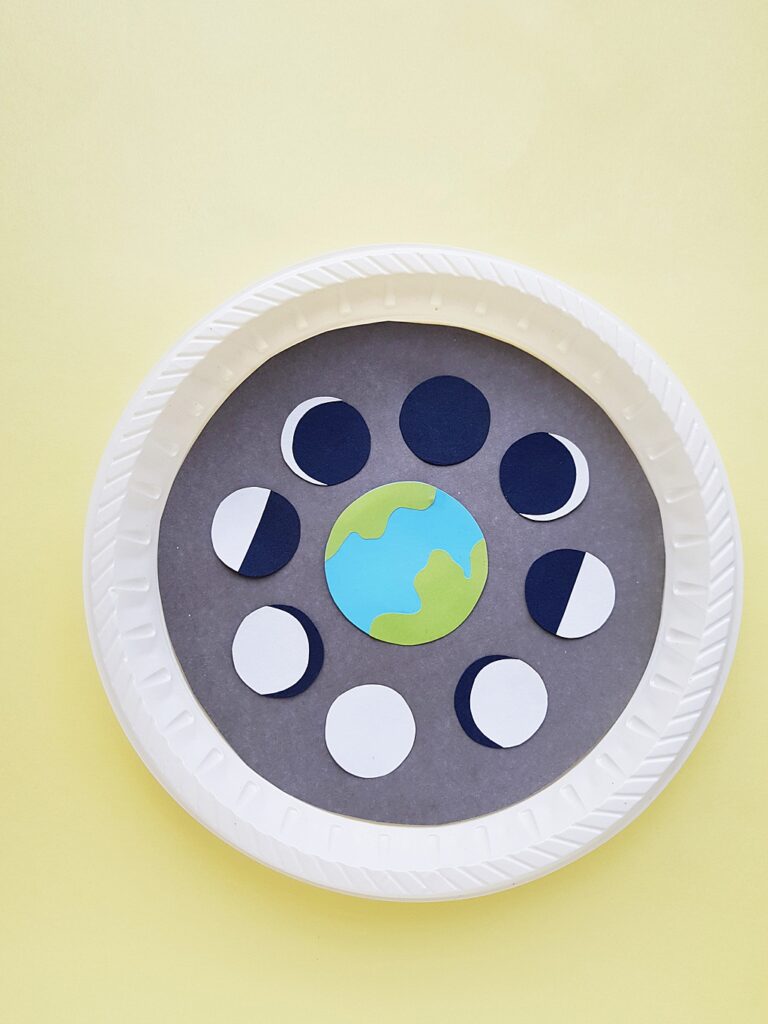
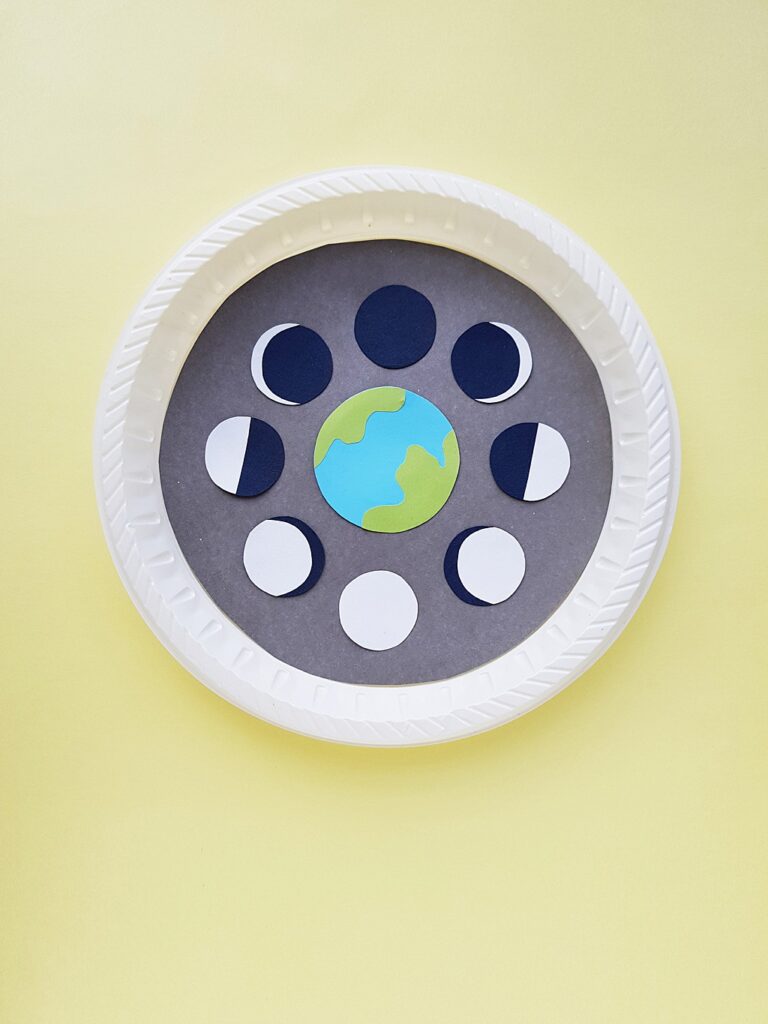
To help your kids label the phases of the moon on their paper plates, the list below names the 8 phases of the moon in order, beginning with the solid black moon at the top of the paper plate, going clockwise around the paper plate:
- New Moon: This is when the moon looks like it’s completely gone! That’s because the side of the moon that faces us is not lit up by the sun. This phase occurs when the moon is positioned between the Earth and the Sun, and as a result, the side of the moon that faces the Earth is not illuminated. The new moon phase marks the start of a new lunar cycle.
- Waxing Crescent: After the new moon, a tiny sliver of the moon starts to appear. It looks like a little smile in the sky! This phase occurs after the new moon, when a small sliver of the illuminated side of the moon becomes visible from Earth. The crescent shape of the moon is formed as the illuminated portion gradually increases.
- First Quarter: This is when the moon looks like it’s been cut in half. We can see the right half of the moon lit up. This phase occurs when the moon has completed one-quarter of its orbit around the Earth, and half of the illuminated portion is visible from Earth. The term “first quarter” can be a bit misleading, as it actually marks the midpoint between the new moon and the full moon.
- Waxing Gibbous: After the first quarter, the moon gets bigger and more of it is lit up. It looks like a big smile in the sky! This phase occurs after the first quarter, as the illuminated portion of the moon continues to increase. The term “gibbous” refers to the moon appearing more than half but not fully illuminated.
- Full Moon: This is when the entire moon is lit up and looks like a big round ball in the sky. It’s very bright and beautiful! This occurs when the Earth is positioned directly between the Sun and the Moon, and as a result, the entire illuminated side of the moon is visible from Earth. The full moon phase marks the middle of a lunar cycle.
- Waning Gibbous: After the full moon, the lit-up part of the moon starts to get smaller, and it looks like a shrinking smile. This phase occurs after the full moon, as the illuminated portion of the moon begins to decrease. The term “waning” refers to the decreasing illumination.
- Third Quarter: This is when the left half of the moon is lit up, and the right half is dark. It looks like the opposite of the first quarter. This phase occurs when the moon has completed three-quarters of its orbit around the Earth, and once again, half of the illuminated portion is visible from Earth. This is the opposite of the first quarter, marking the midpoint between the full moon and the new moon.
- Waning Crescent: After the third quarter, just a tiny sliver of the moon is lit up, and it looks like a little smile again. This phase occurs after the third quarter, as the illuminated portion of the moon continues to decrease. The crescent shape of the moon is formed again as the illuminated portion gradually disappears.
And then, the moon goes back to the new moon phase, and the lunar cycle starts all over again!
Moon Phases Educational Resources
Also consider these great resources to help kids learn about the moon.
This moon phases poster includes the 8 phases of the moon plus fun facts about the moon you can display on the wall.
This moon phases calendar poster allows kids to track the phases of the moon day by day all year long.
A night sky almanac is a great way to find cosmic events to look out for each month, with sky maps, moon phase charts and info about the planets.
Read I am the Moon to younger kids (pre-K to 1st grade) to help them learn all about the moon with bright, colorful illustrations and easy to understand facts.
Learn all about landing on the moon while reading Destination: Moon an exciting account of the famous 1969 Moon landing with clear text, vibrantly colored pages, engaging sidebars, and stunning full-color photographs.
How to Make a Paper Plate Phases of the Moon Craft
Supplies:
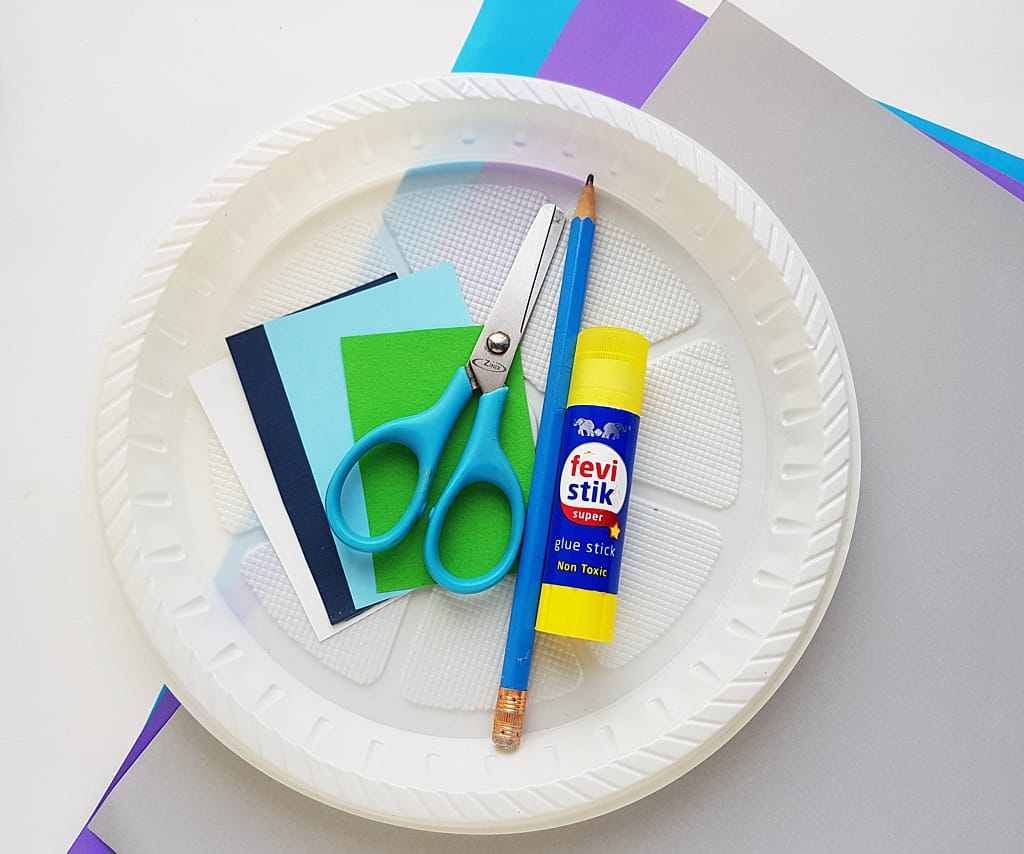
- Colored craft papers
- Paper plate
- Craft glue
- Pencil
- Scissors
- Template
Instructions:
Download and print out the Phases of the Moon template. Cut out all of the pattern pieces.
Select black and white craft papers for the moon phase pieces, select green and blue craft papers for the paper earth piece. Select a dark colored craft paper to cover the paper plate’s inner surface.
Trace 7 full circles on black paper and the moon phase pieces on white paper, along with 1 full circle from white paper.
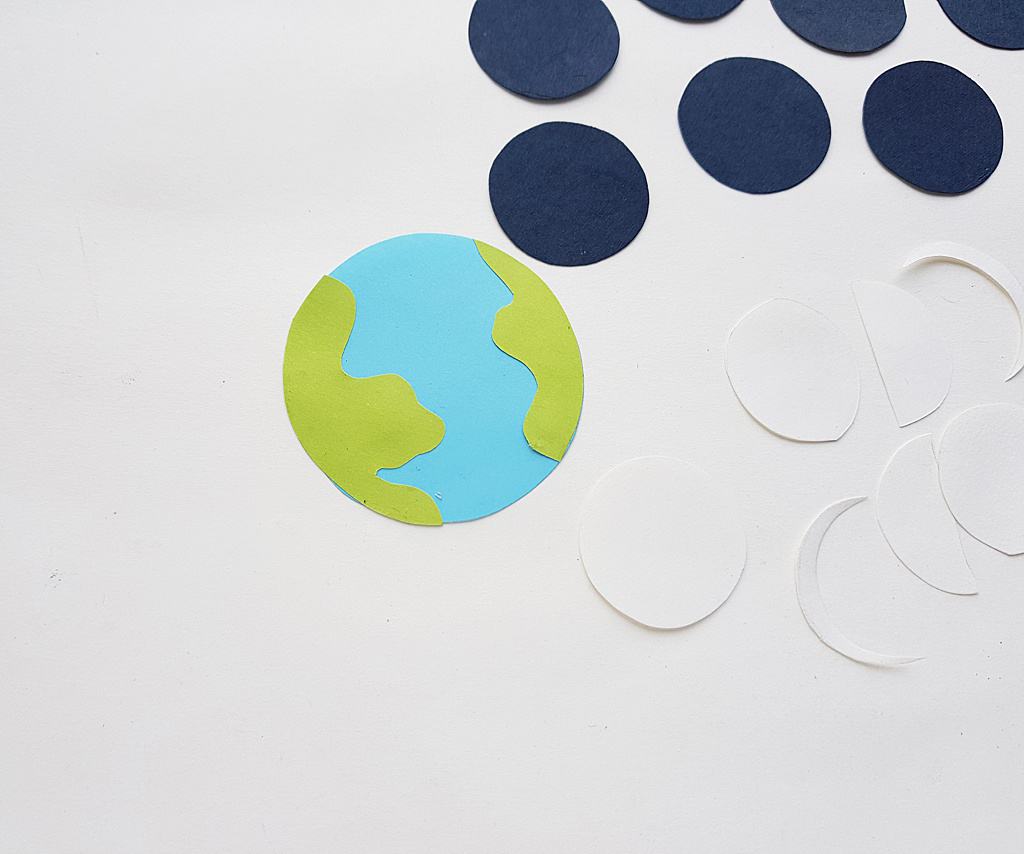
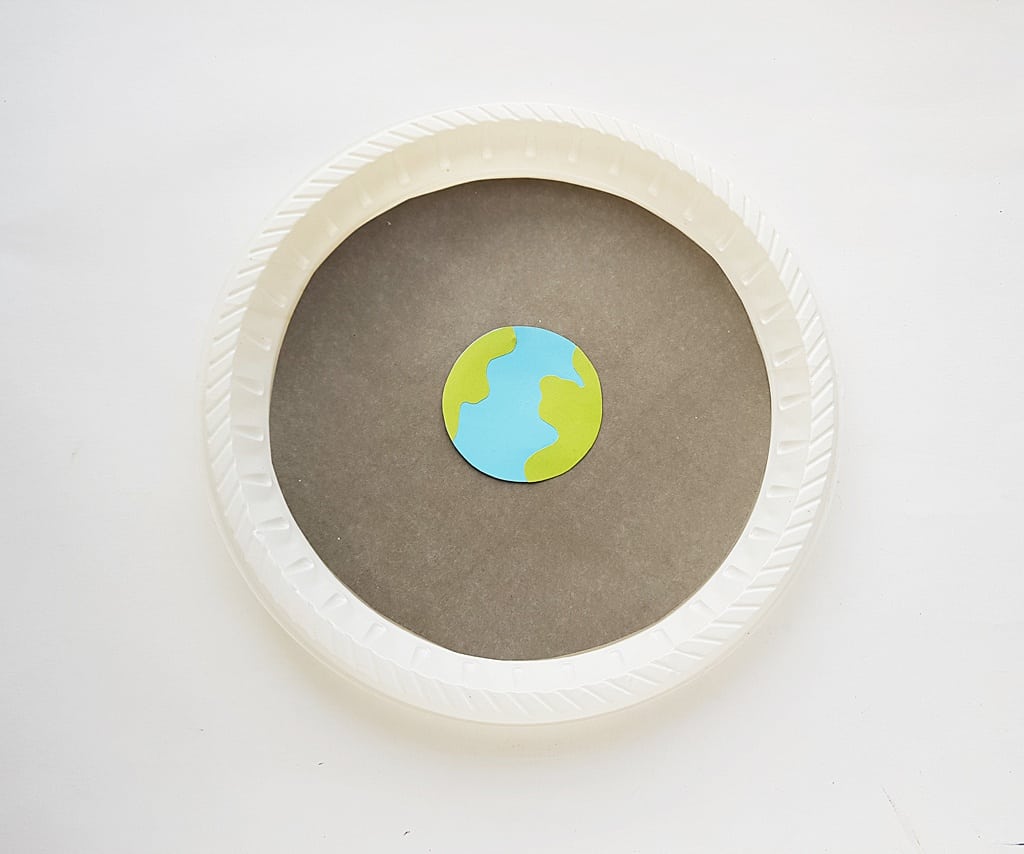
Trace the earth circle on blue paper and the land pieces on green paper.
After tracing all of the template patterns on the selected craft papers, cut them out.
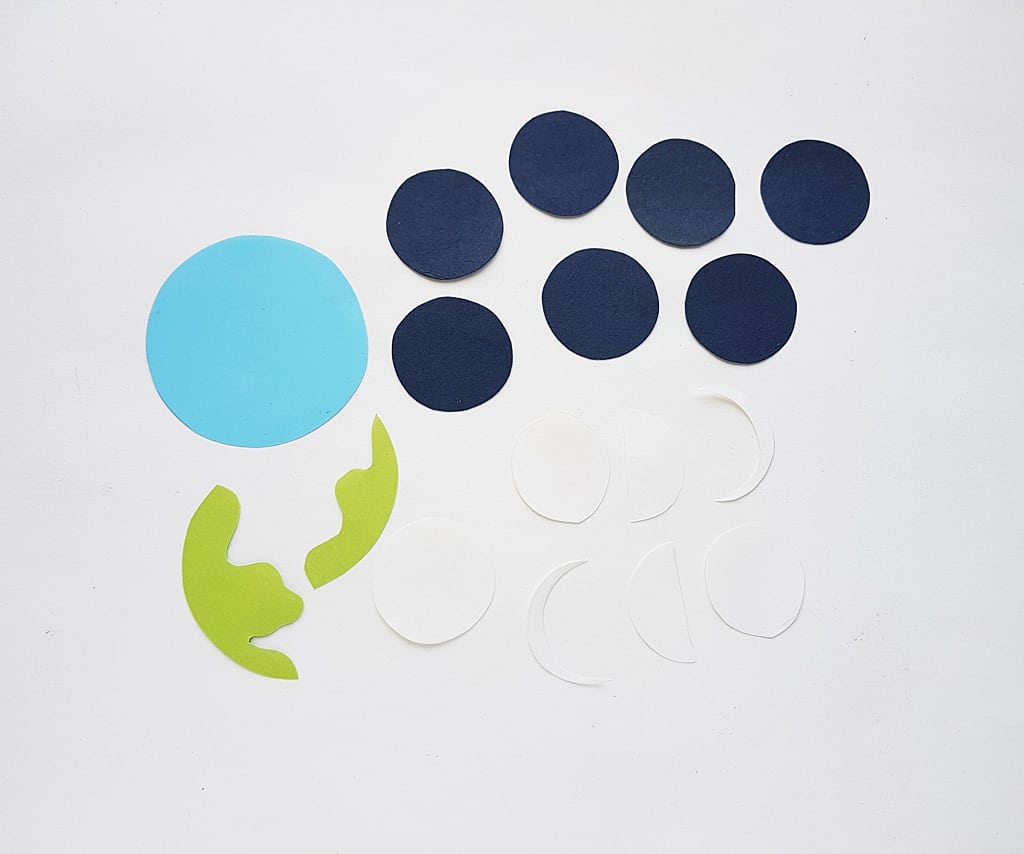
Glue the green paper cutouts on the blue round shaped cutout to complete the paper earth piece.
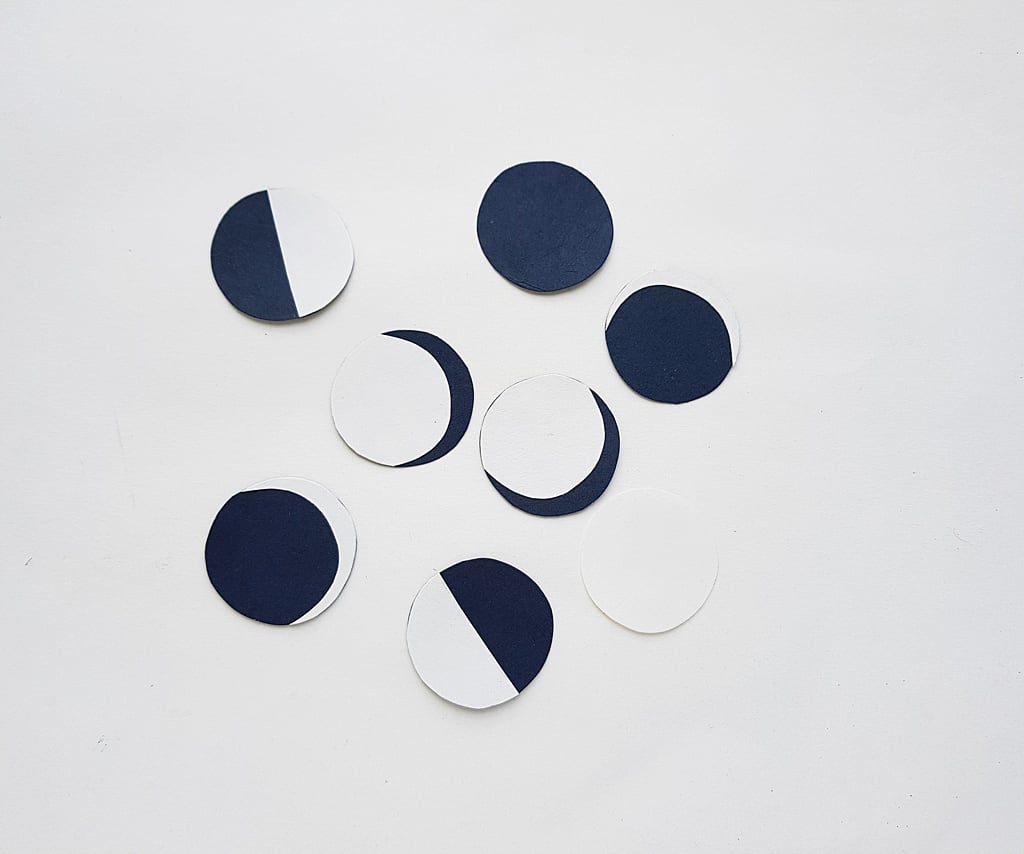
Glue each moon phase cutouts onto a round black cutouts.
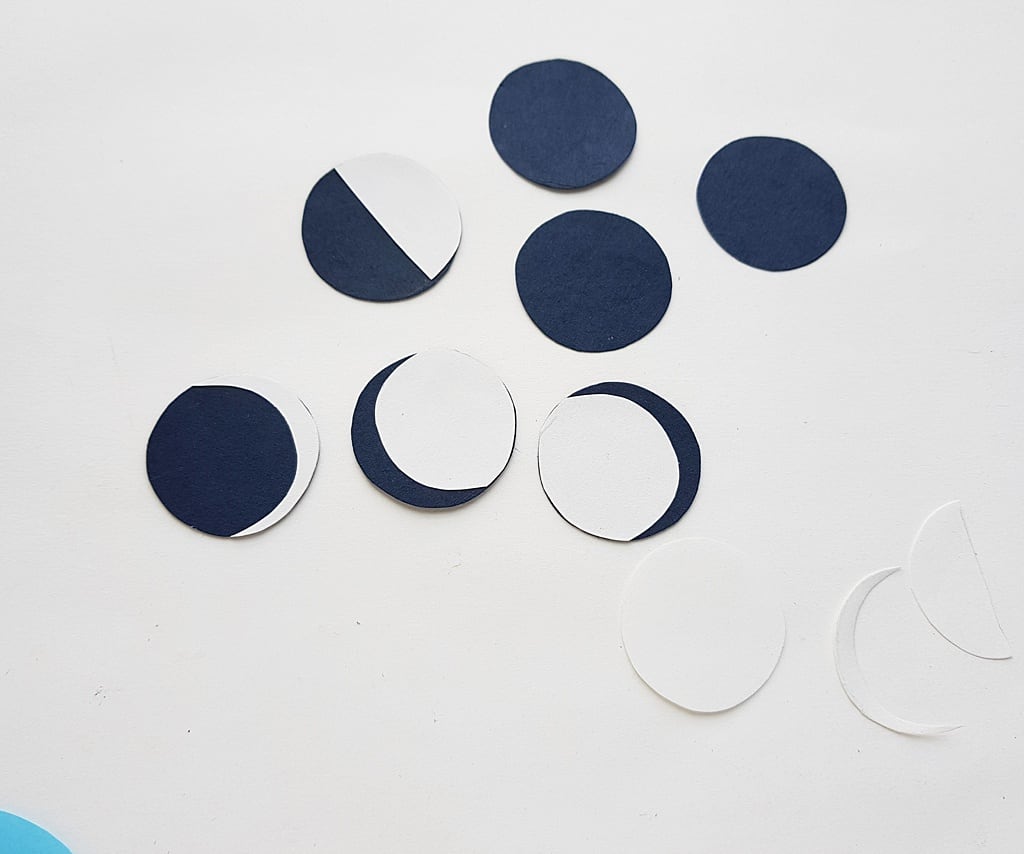
You’ll have one solid black circle and one solid white circle after glueing the other 6 moon phases onto black circles.
You should have 8 moon phase pieces.
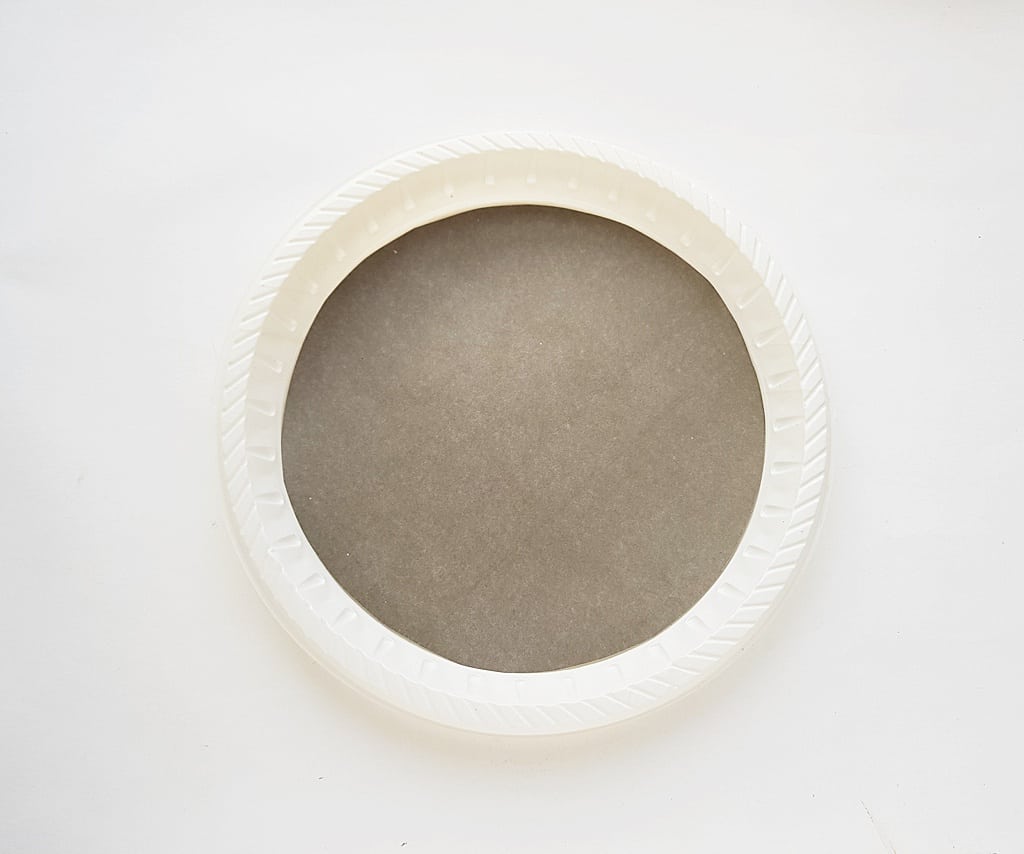
Trace the inner round surface of the paper plate and cut a dark colored paper to fit the inside.
Glue the circle cutout on the center of the paper plate.
Glue the paper earth in the center of the paper plate.
Glue the moon phases around the paper earth as shown below. Help children label the moon phases if you like.