
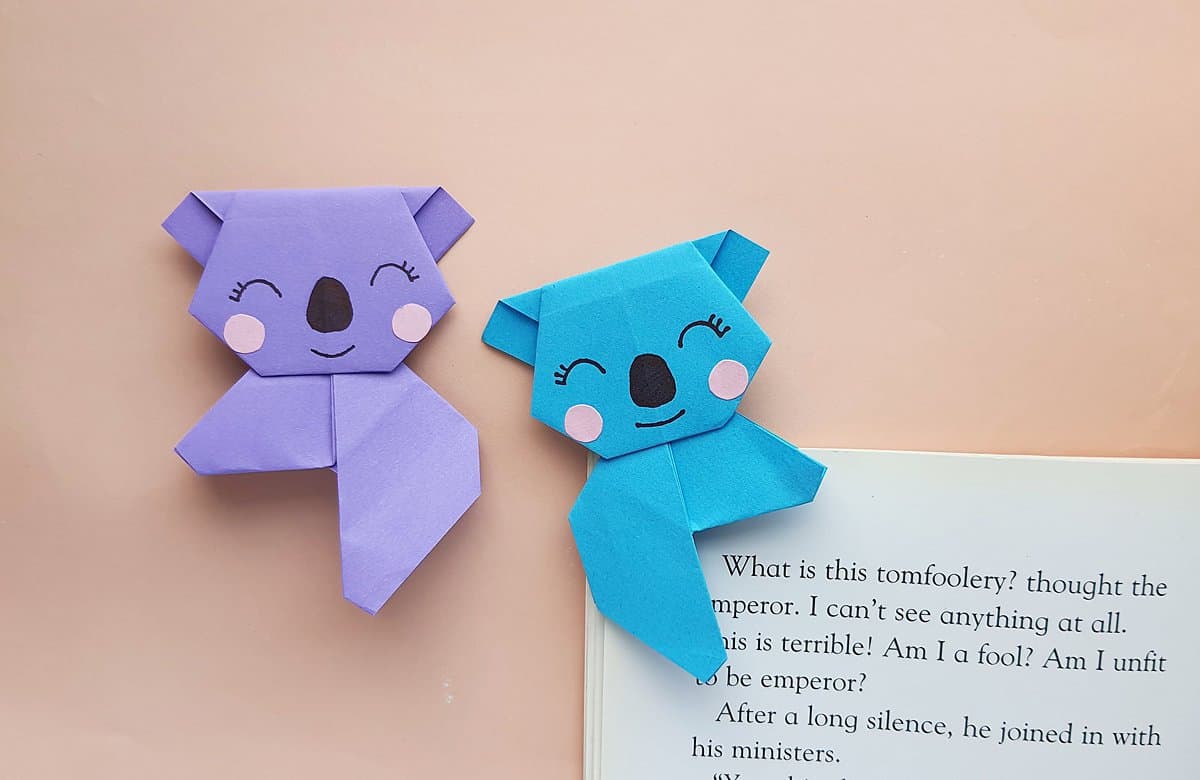
Origami Koala Bookmark
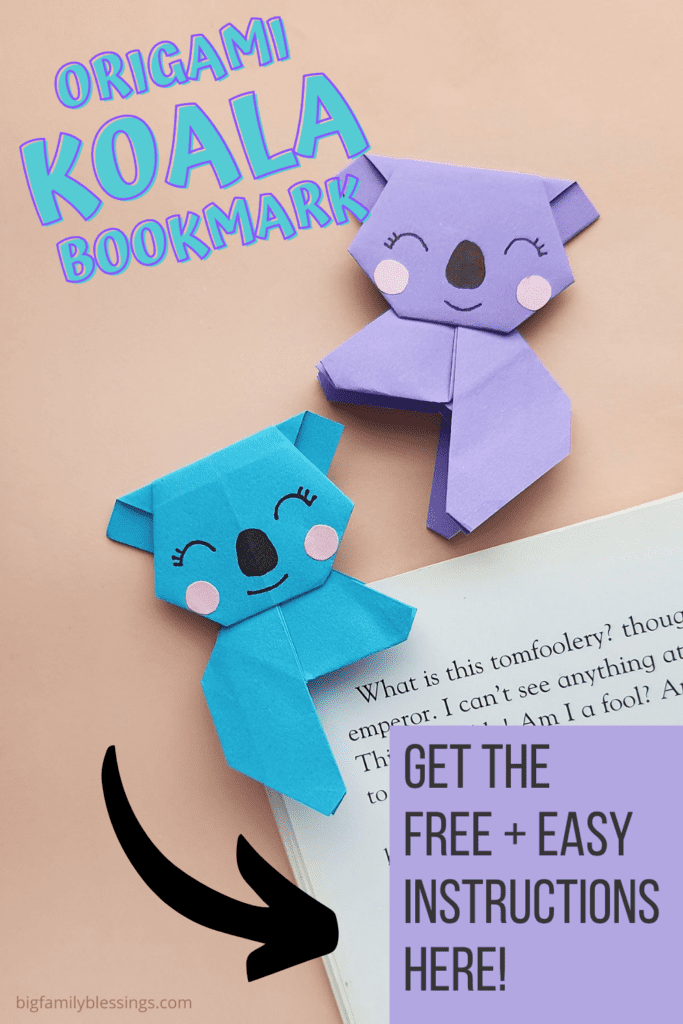
If your kids love origami and enjoy corner bookmarks, they’ve got to make this adorable origami koala bookmark.
It just doesn’t get any cuter than this Koala Corner Bookmark! You kids will love making them.
How to make an origami Koala Corner Bookmark
List of Supplies:
- Colored origami paper or light craft paper
- Marker
- Craft glue
Instructions:
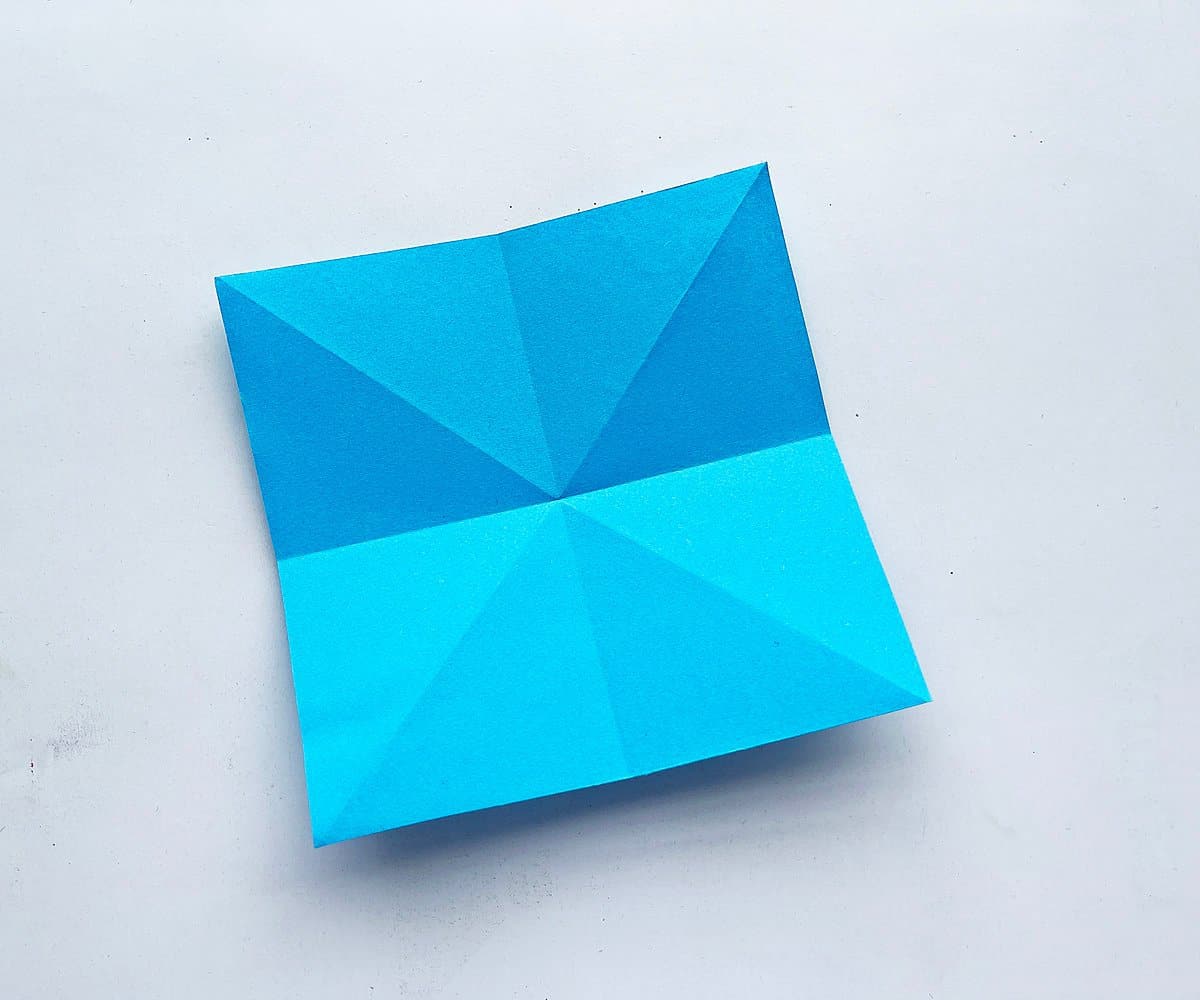
Step 1:
Take a piece of square paper (we used a 5 inch square). Fold the paper in half diagonally, from both sides. Unfold the diagonal folds.

Step 2:
Turn the paper to the other side. Fold the paper in half vertically and horizontally. Unfold again so they leave creases.
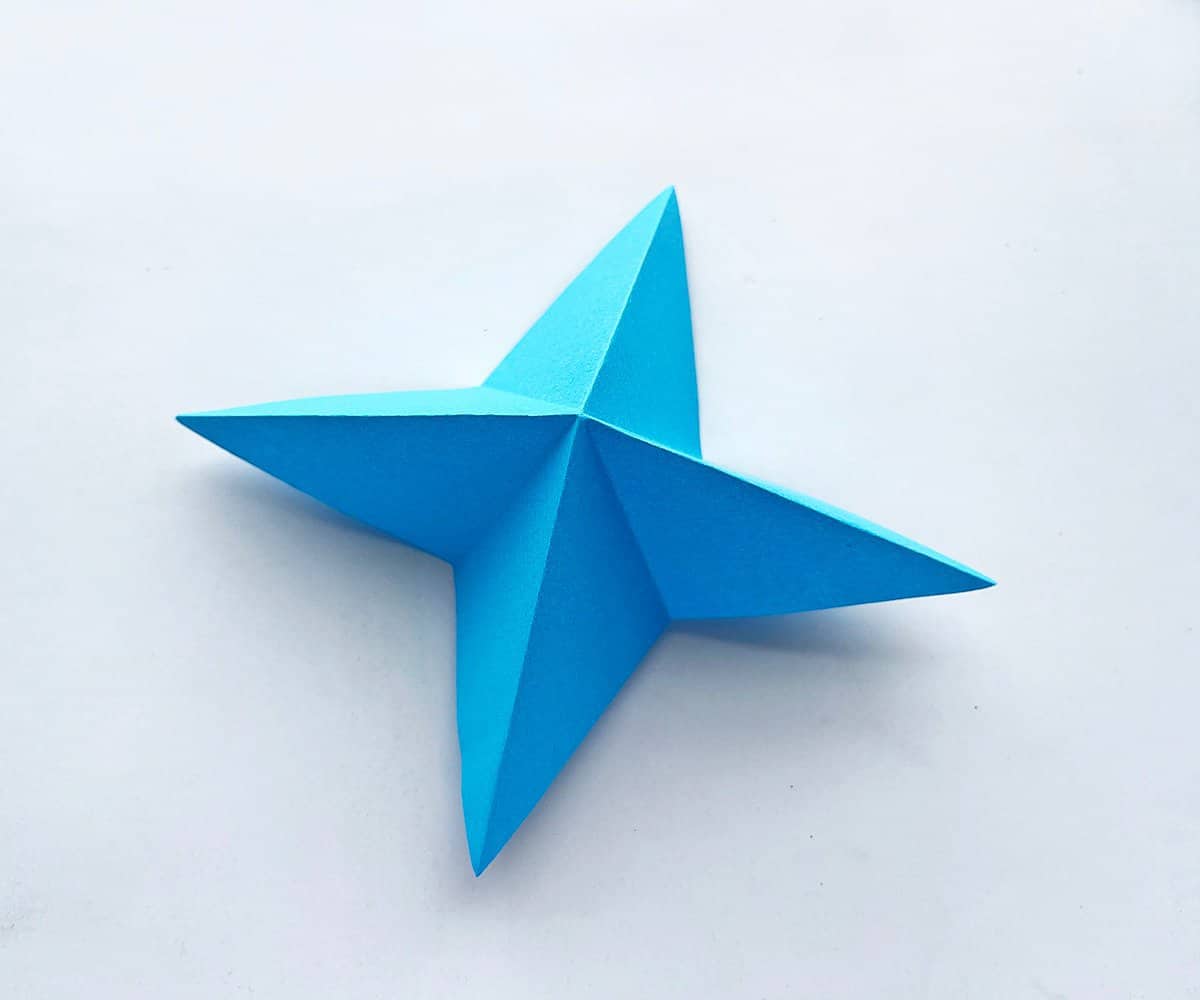
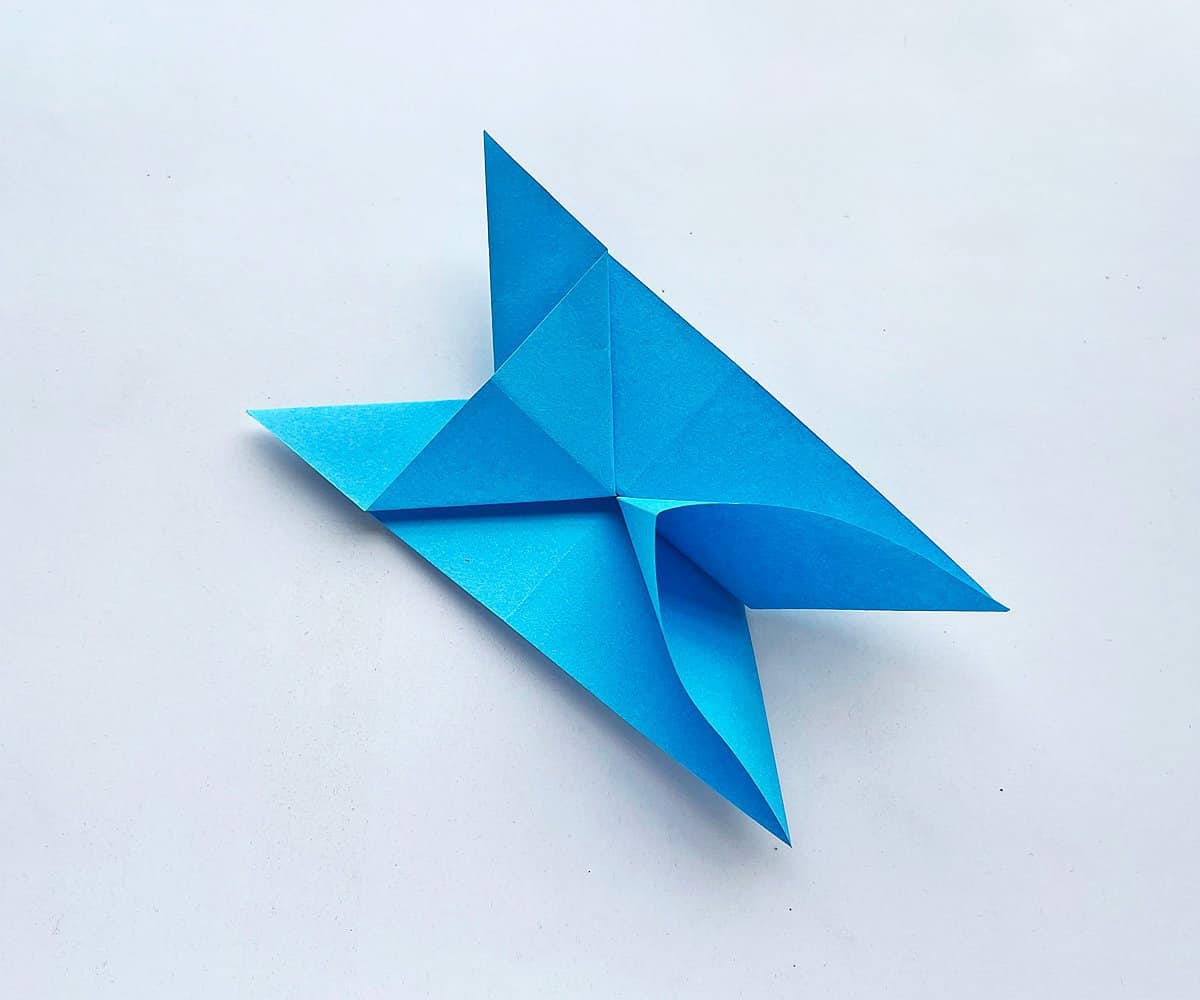
Step 3:
Keeping the diagonal creases facing up, fold in the horizontal and vertical creases. This will form a 4-point star-like shape.
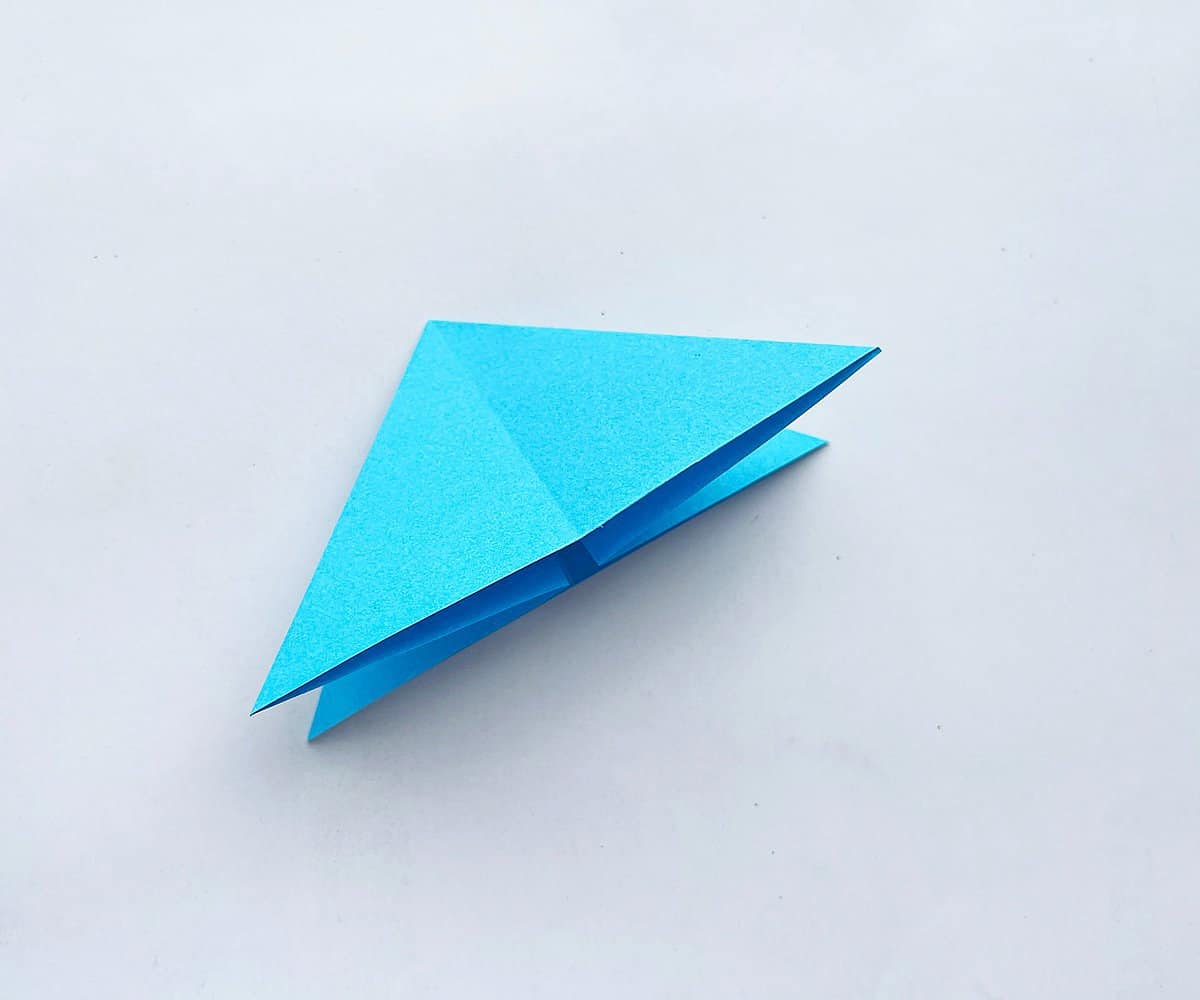
Step 4:
Flatten the current folds by aligning the diagonal folding lines together.
Now you should have 2 triangle flaps on each side.
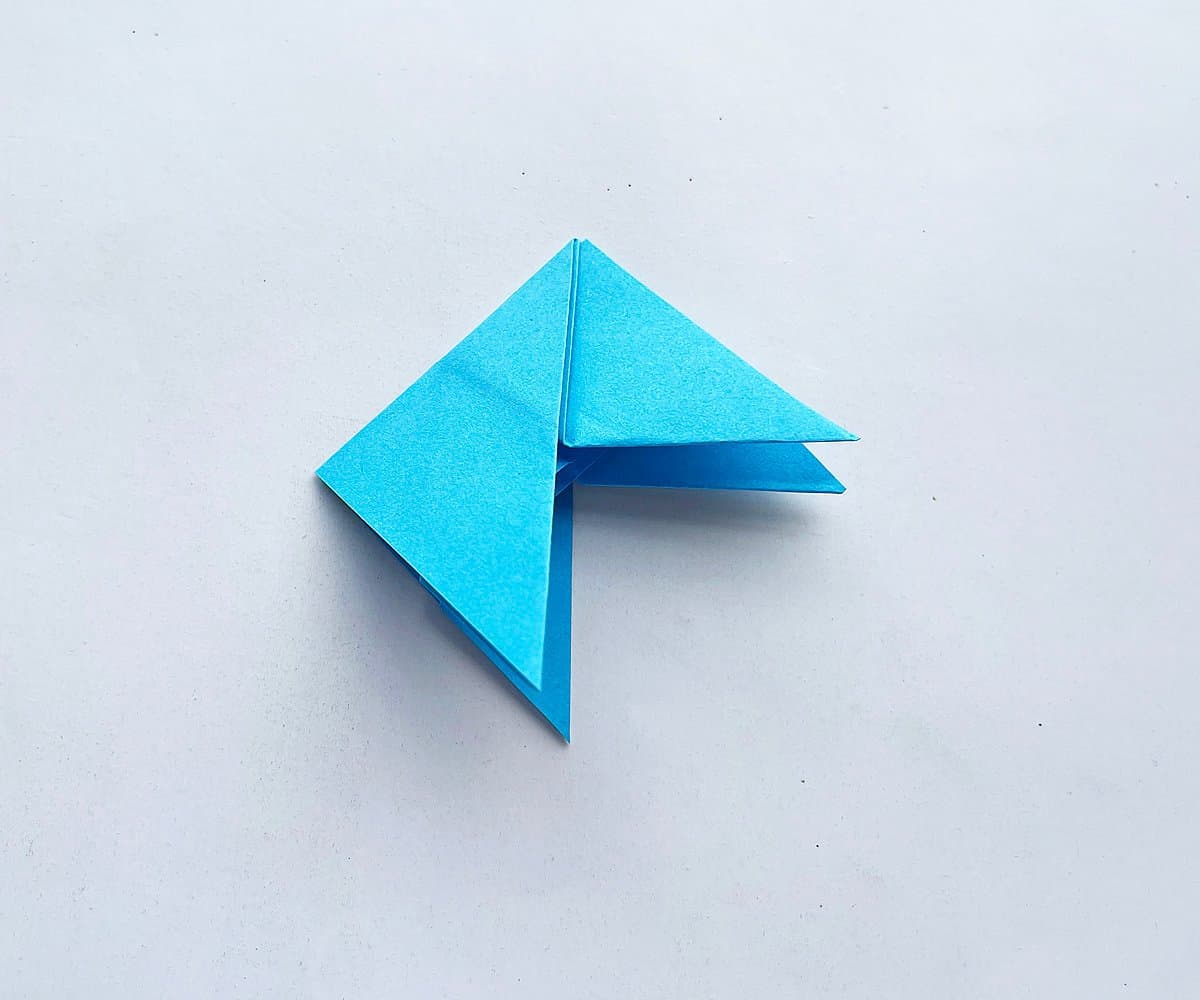
Step 5:
Fold the top of the triangle down, horizontally, halfway down he triangle.

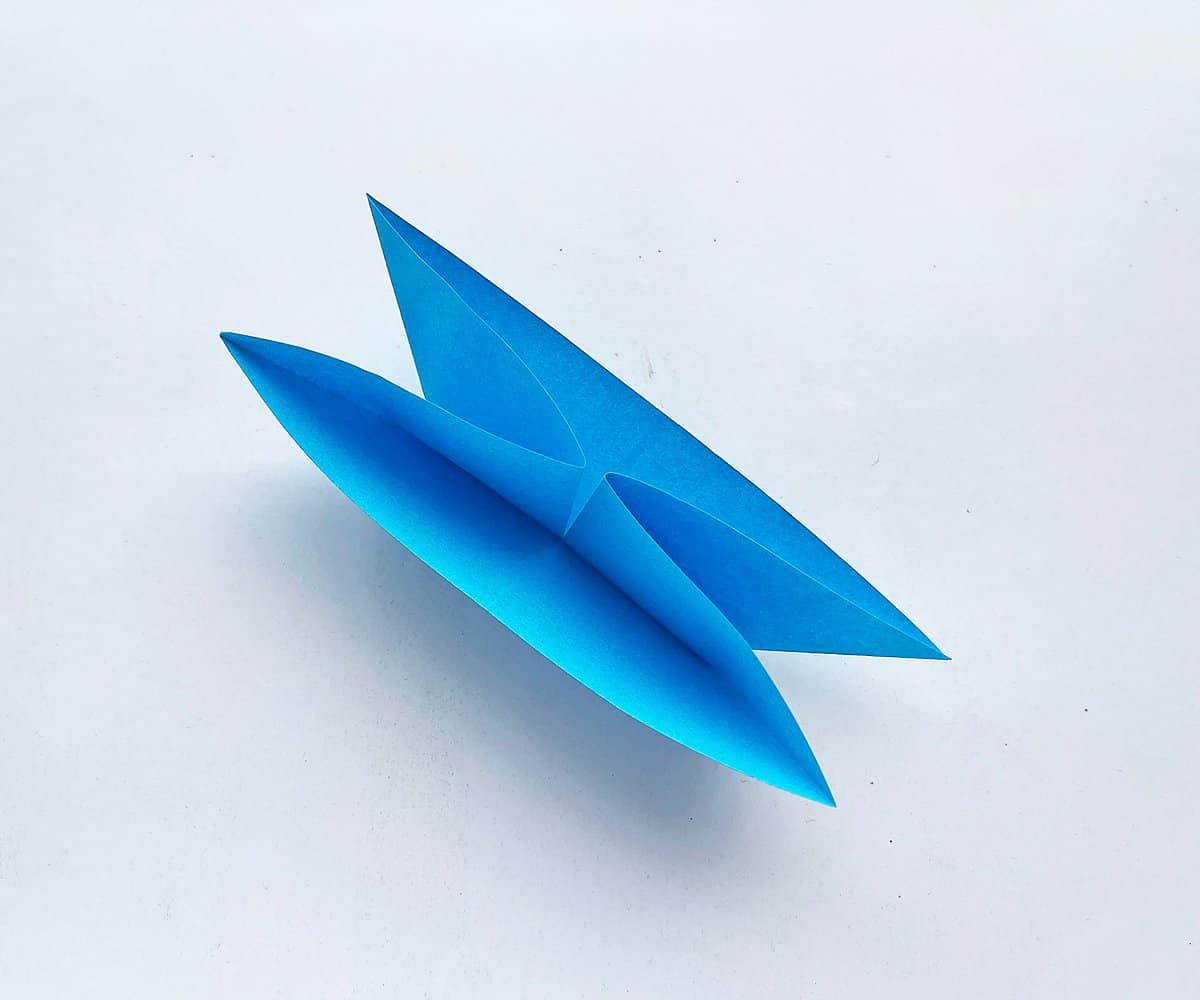
Step 6:
Keeping that half fold intact; open the bottom-open side of the large triangle.
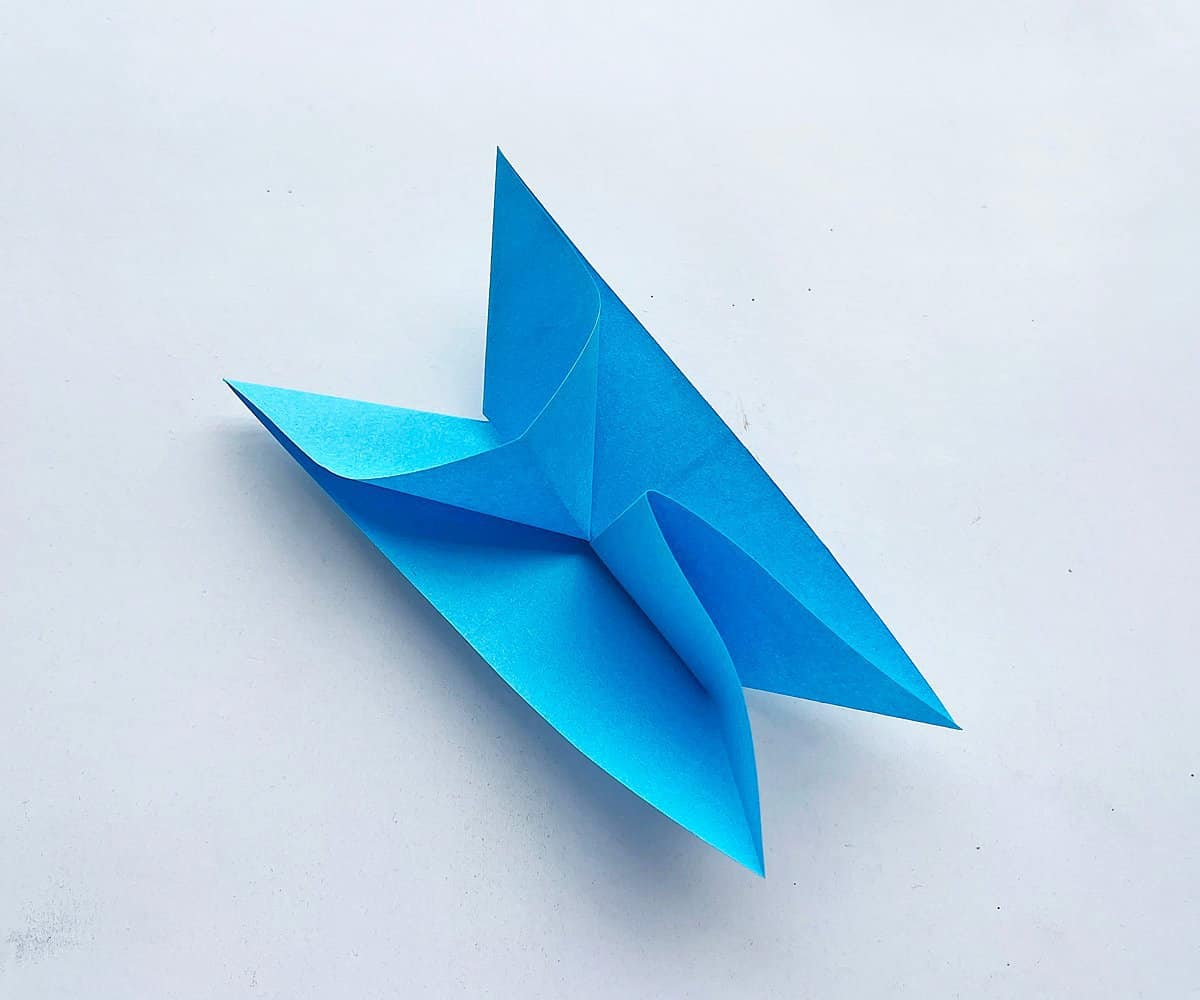
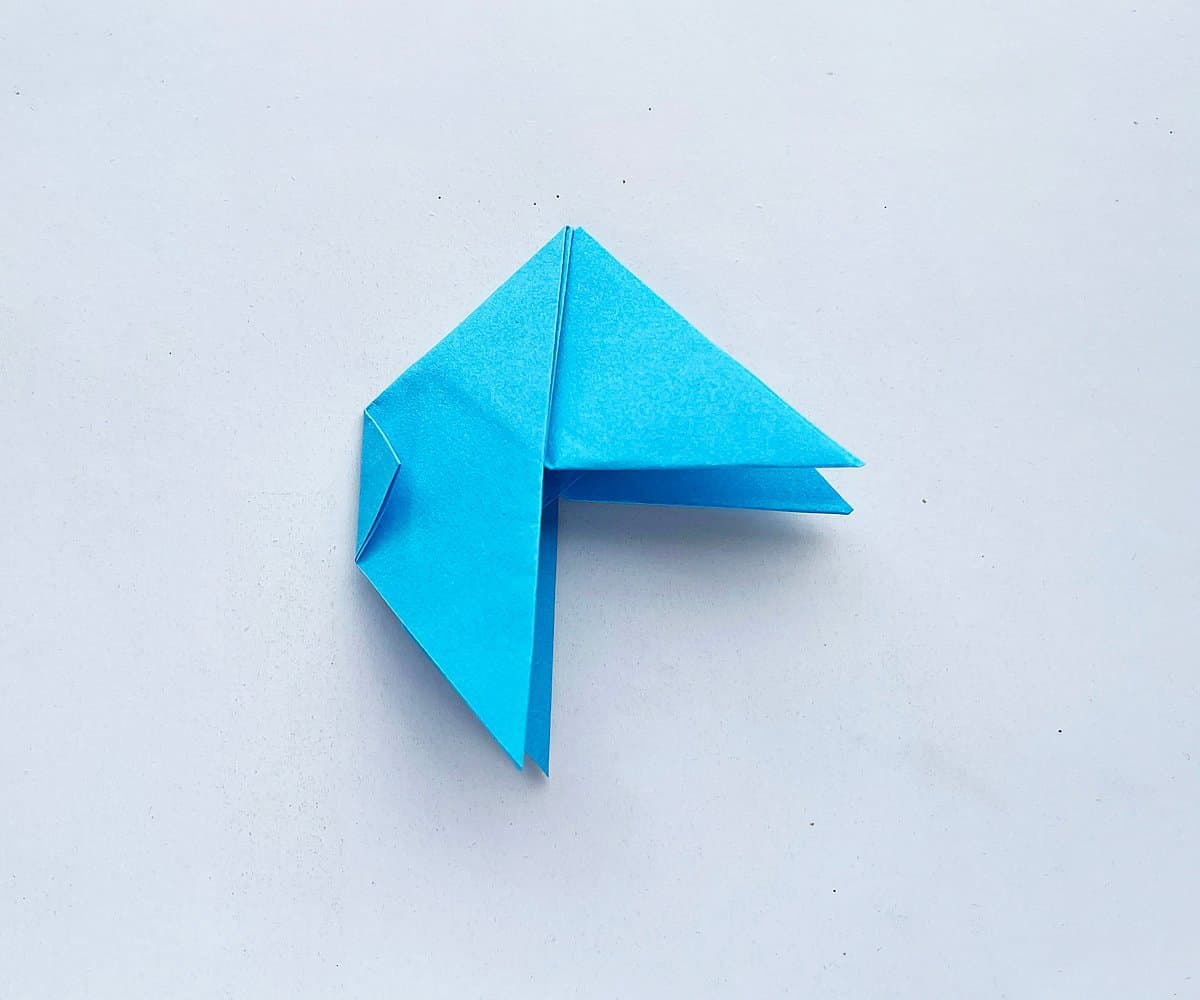
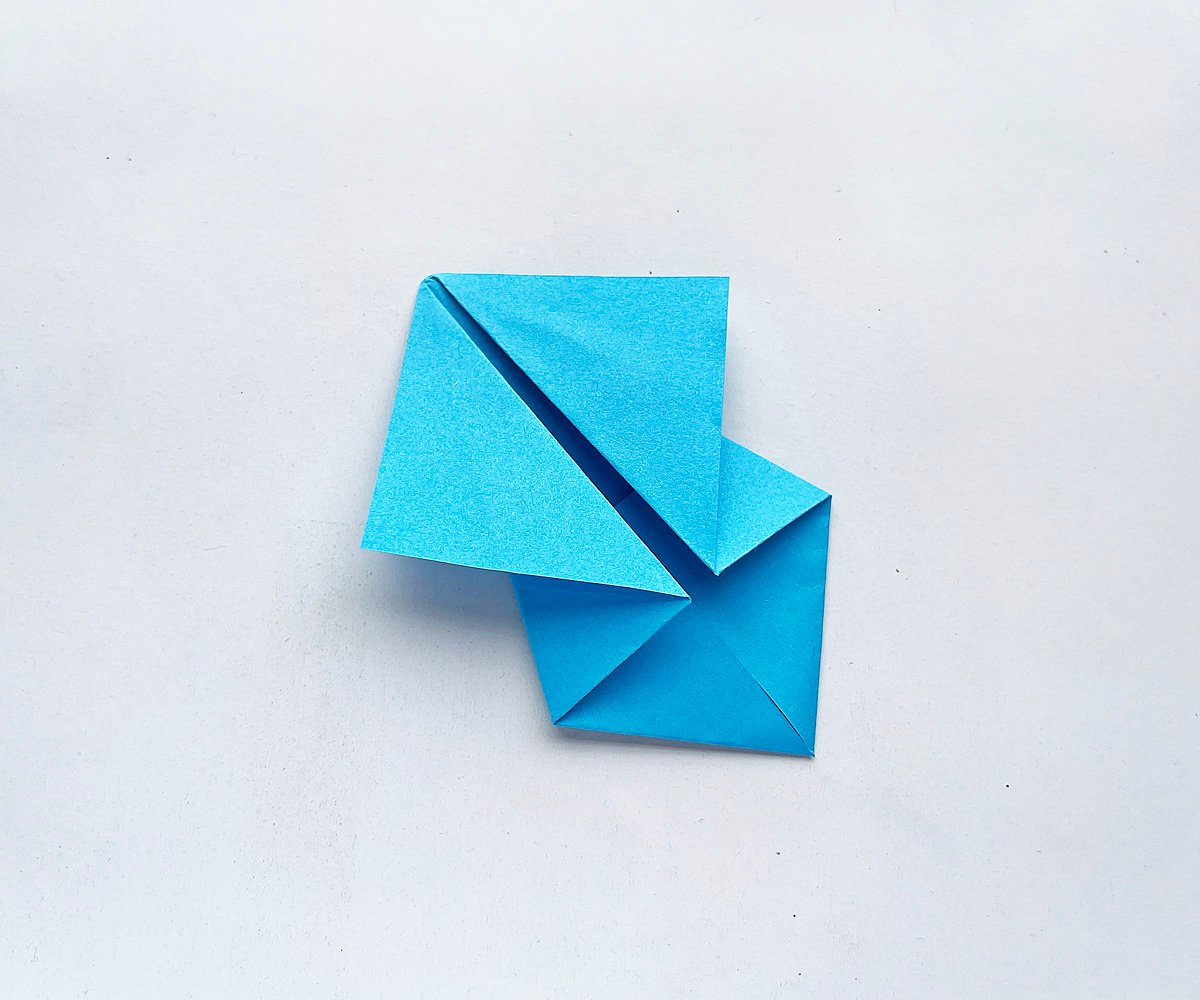
Step 7:
Open the middle layer of the triangle and begin to flatten the middle layer on only one side.
Step 8:
Flatten that side of the middle layer completely.
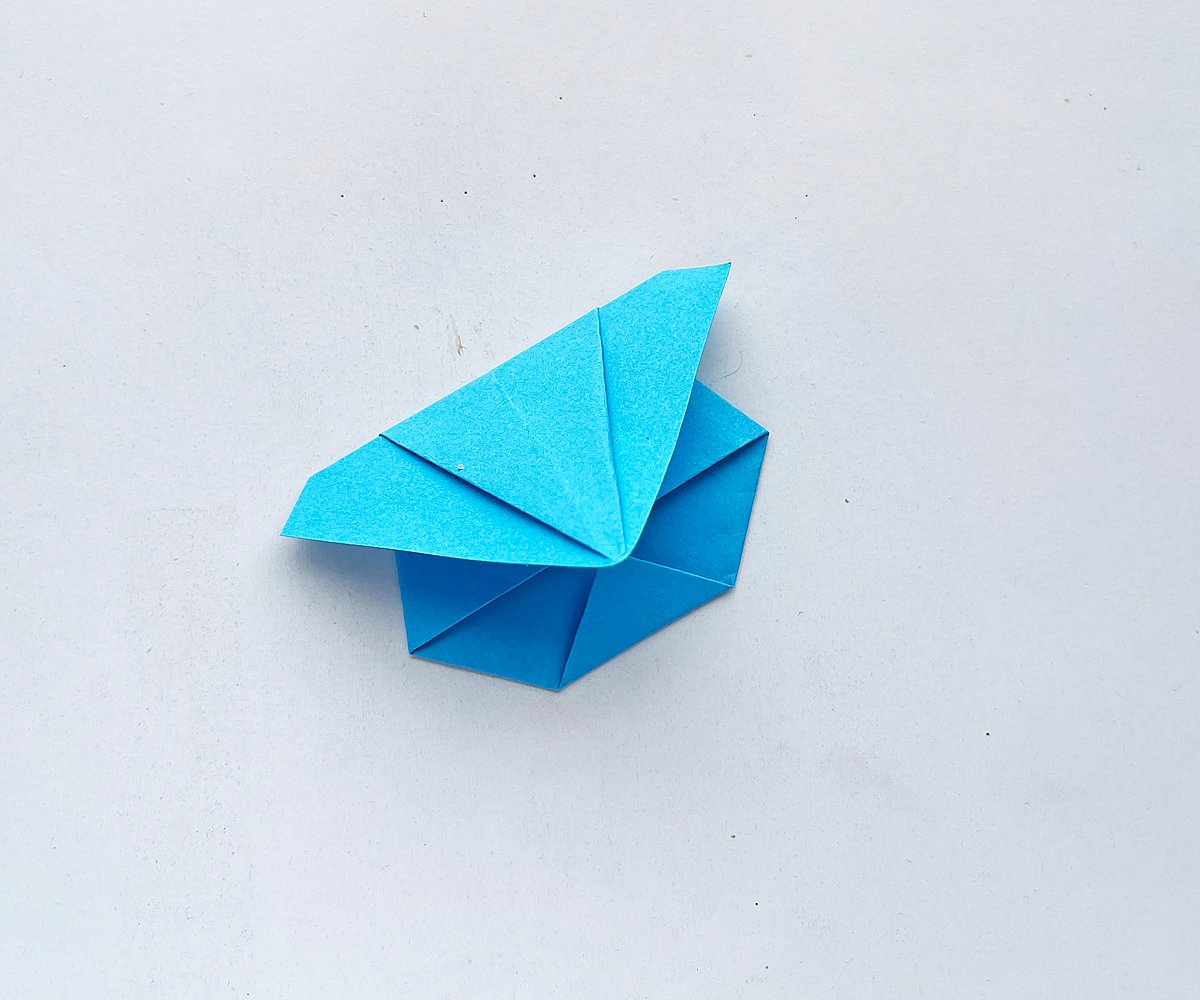
Step 9:
Now do the same thing on the other side, flattening the middle layer of the other side of the triangle.

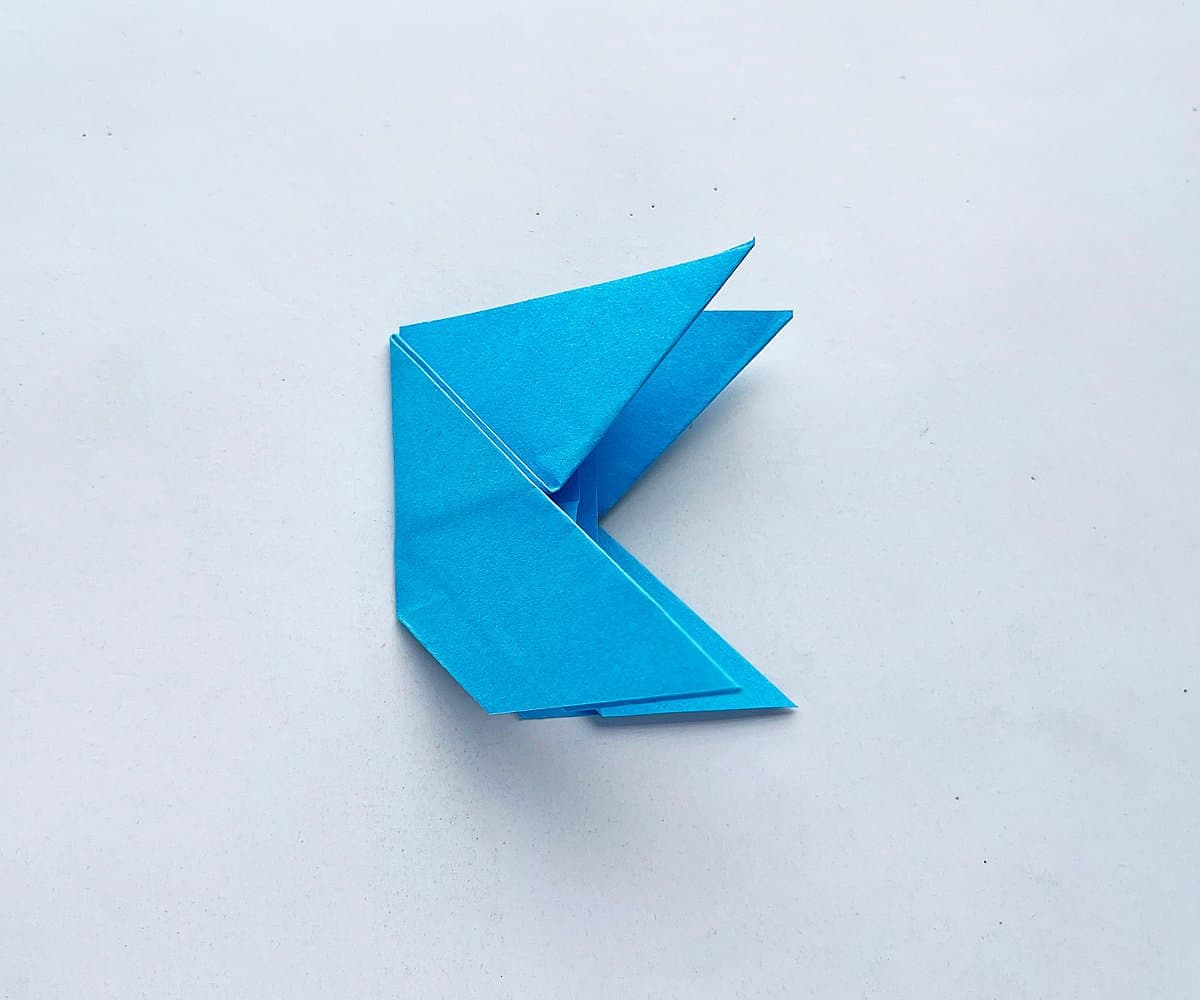
Step 10:
Fold the whole pattern in half, with the pointy sides of each aligned together.
Step 11:
Fold in a small corner, diagonally, on the outer edge.
Step 12:
Unfold that small fold and it should leave a crease.

Step 13:
Now fold that part inside, along the crease. This is the bottom side of the origami koala bear.
Step 14:
The 4 triangle parts are the legs and arms of the origami koala bear. Make small folds to create creases on the pointy ends.
Step 15:
Unfold the small folds and then fold those inwards. This will give the legs and arms a finished look.
Step 16:
Now, take another square paper, smaller than the previous one. It should be at least half an inch smaller than the first paper you worked with.

Step 17:
Create horizontal and vertical half creases on the square sheet.
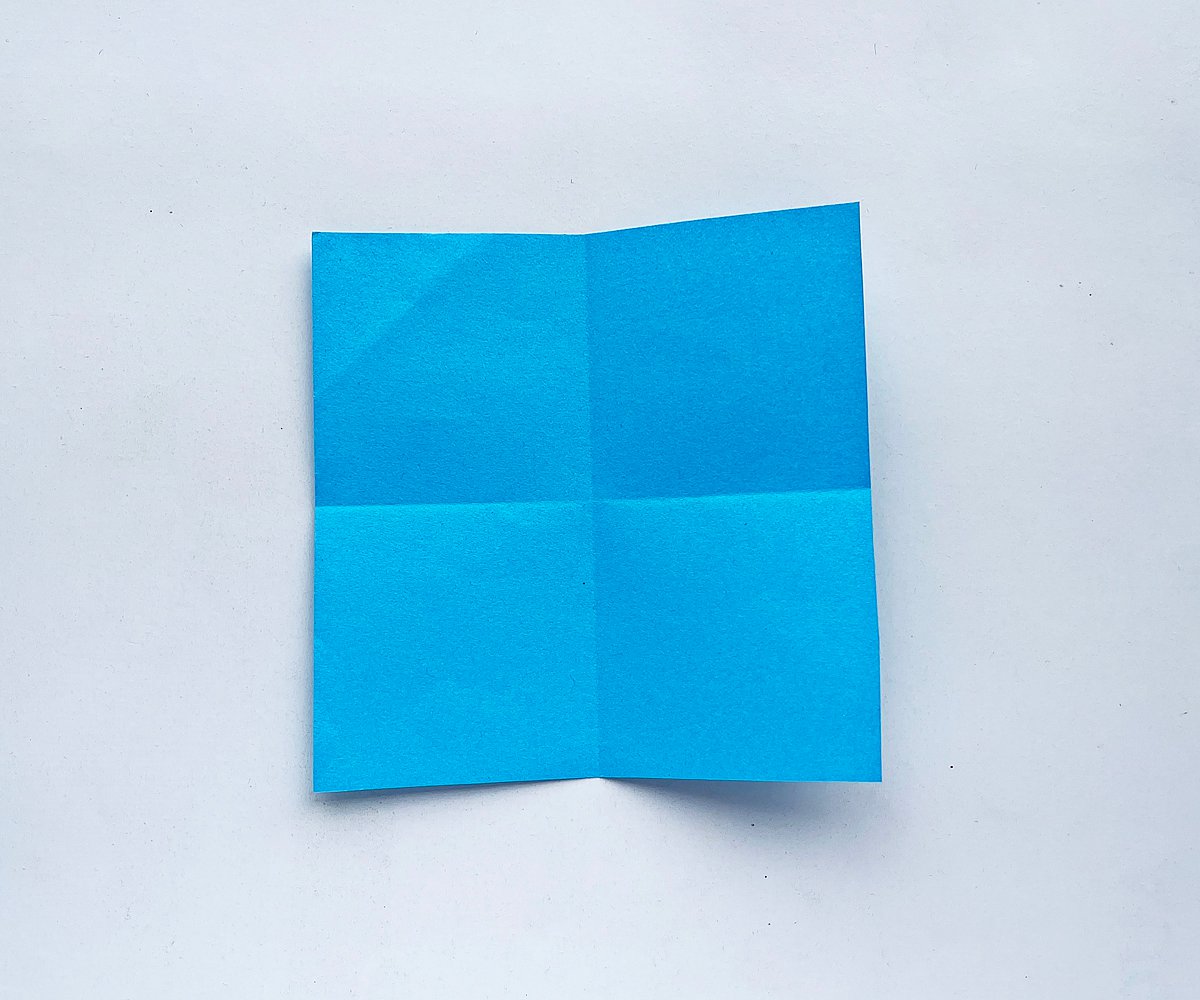
Step 18:
Bring all 4 corners of the square sheet to the center of the square. This will create 4 triangle flaps.
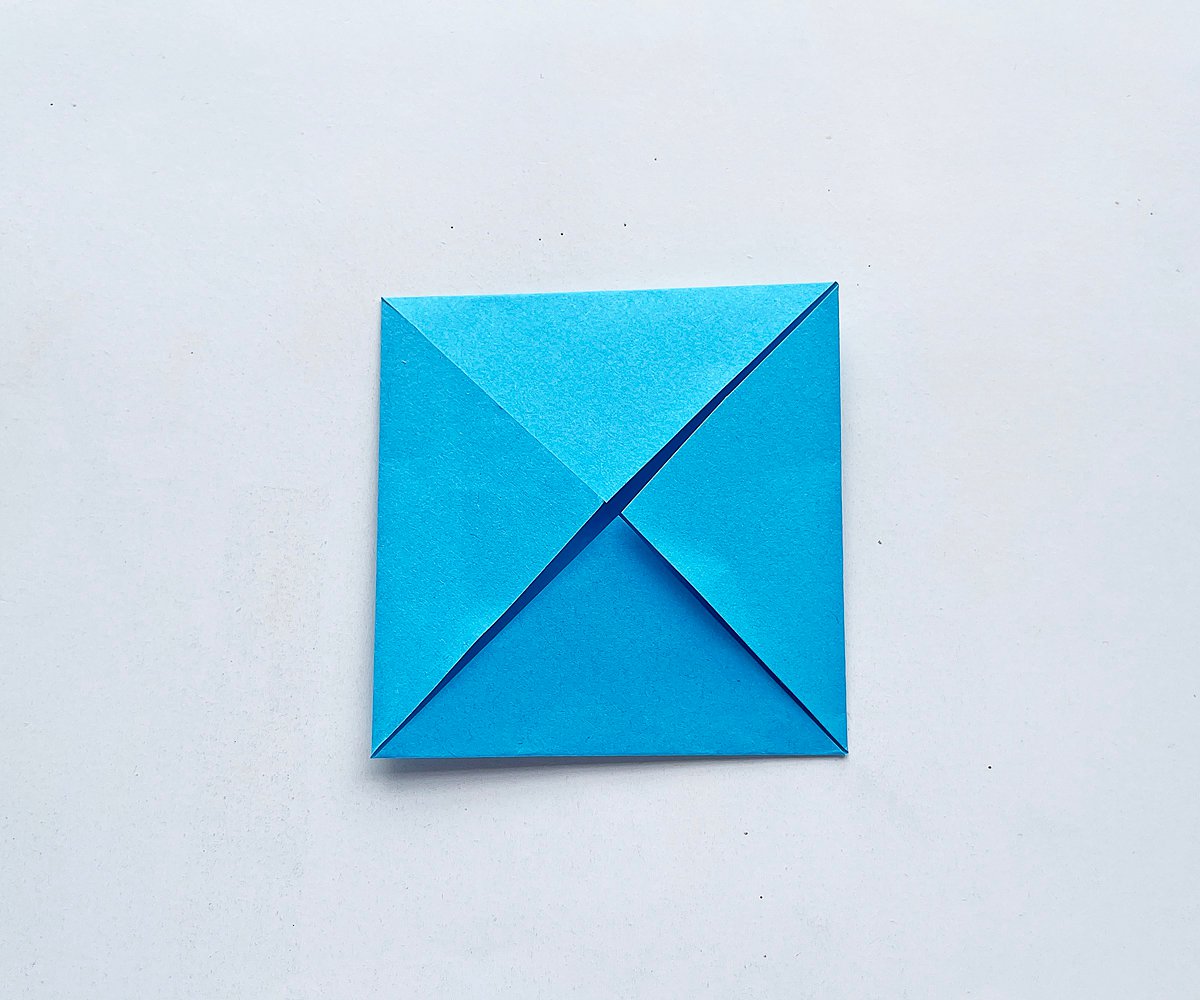
Step 19:
Fold any 2 adjacent triangle flaps to the other side of the square.

Step 20:
Fold the open side of the turned flaps along the middle of the square.

Step 21:
Similarly, fold the other side of the paper. This will again create 2 flaps on both sides of the paper.
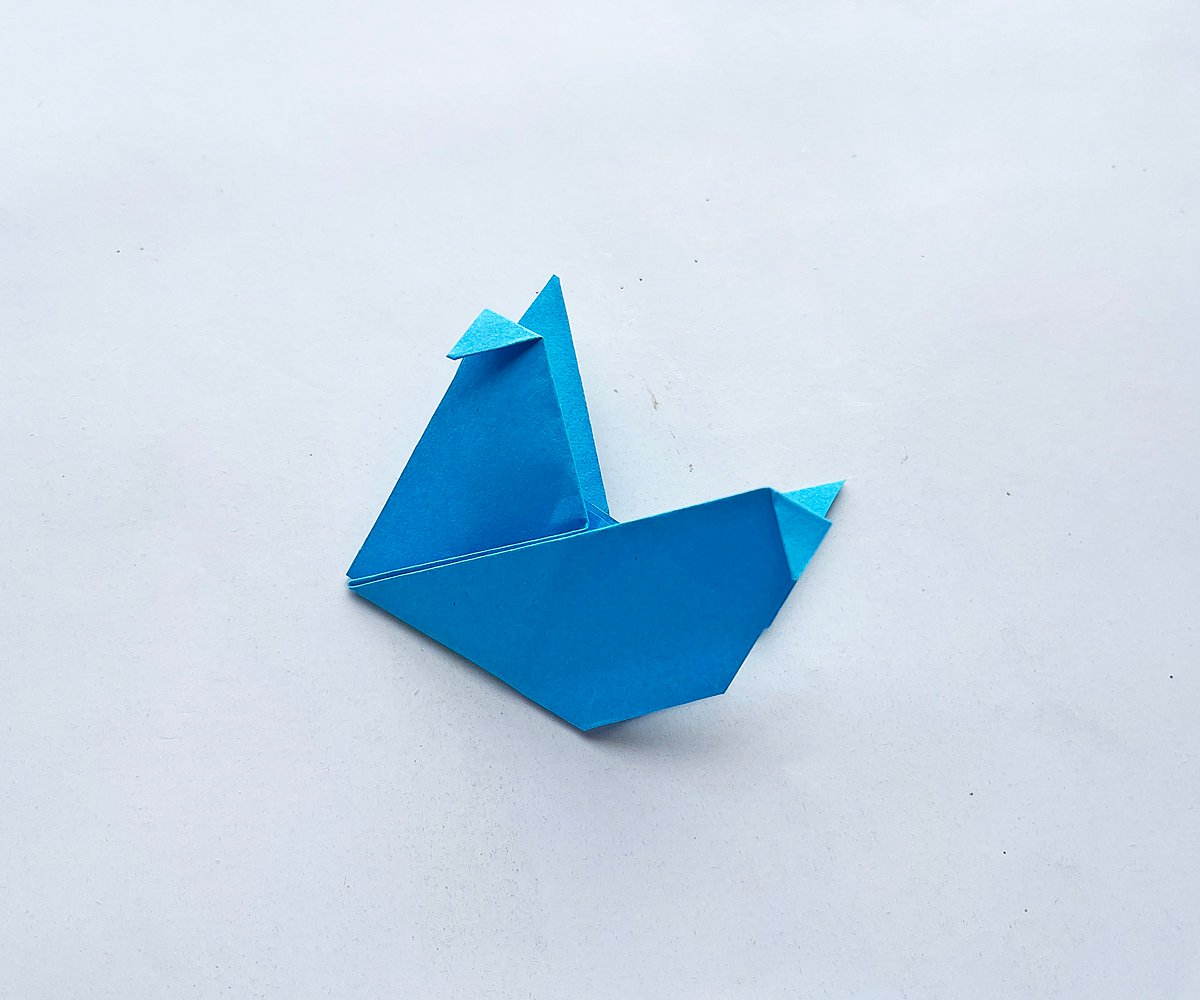
Step 22:
Notice the triangle part on the bottom side of the current pattern. Fold the triangle in half, up towards your other folds.

Step 23:
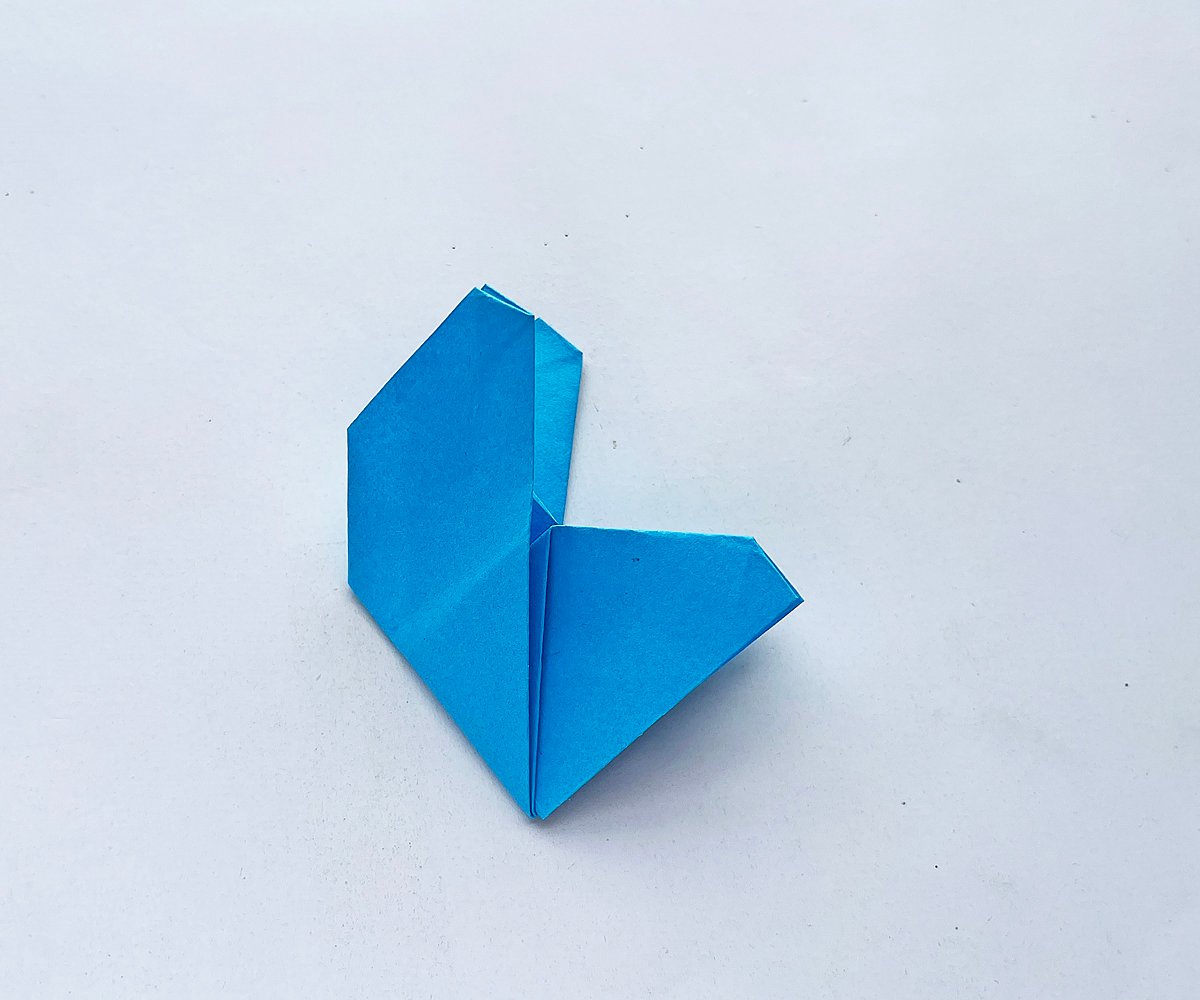
Fold the paper in half by joining the top pointy end with the middle of the bottom side.
Step 24:
Turn the paper to the other side.
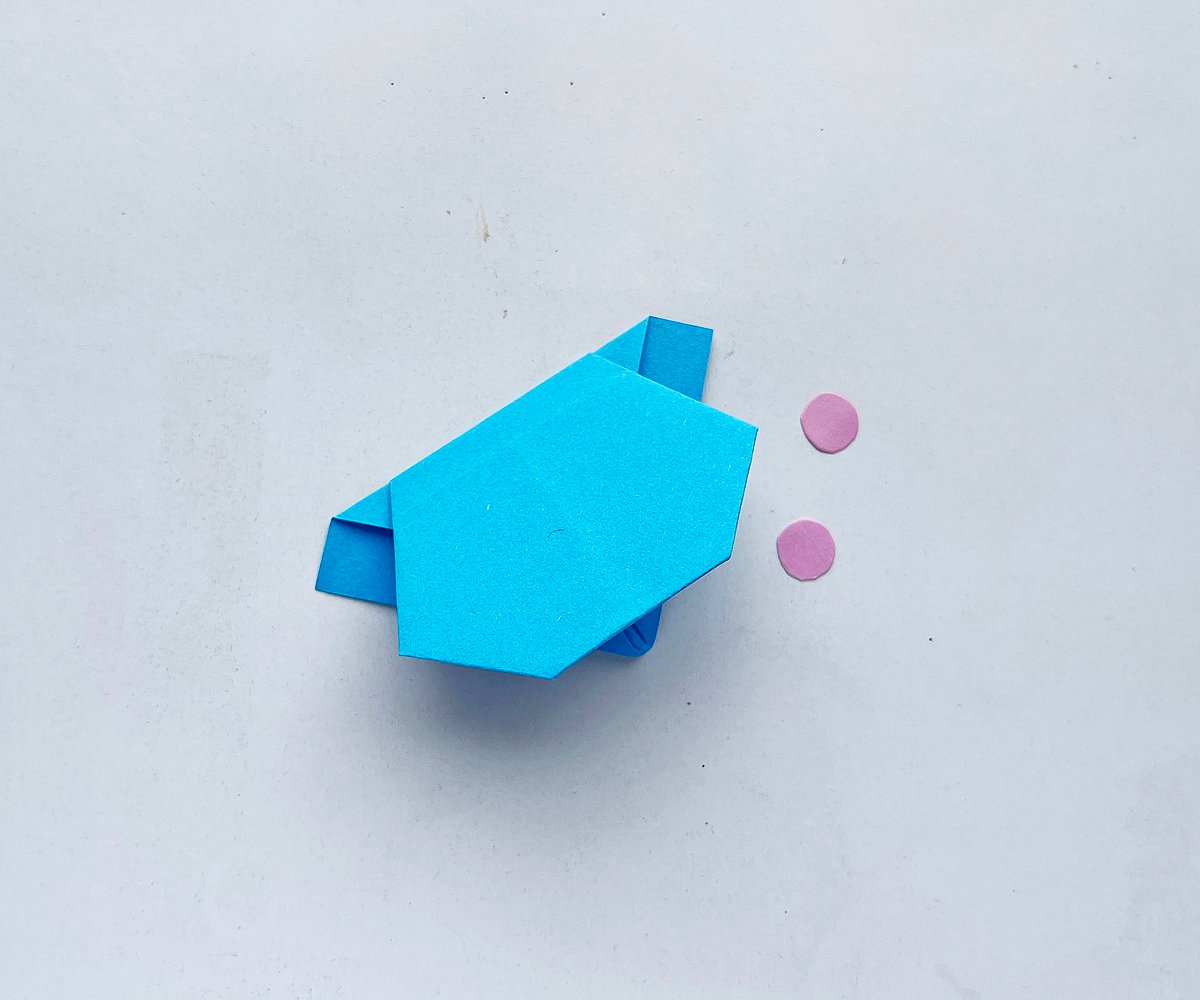
Step 25:
Attach the blush cutouts on the head pattern using glue (or draw two cheeks with a pink marker)and use a black gel pen or marker to draw the eyes, nose and mouth onto the koala bear’s face.
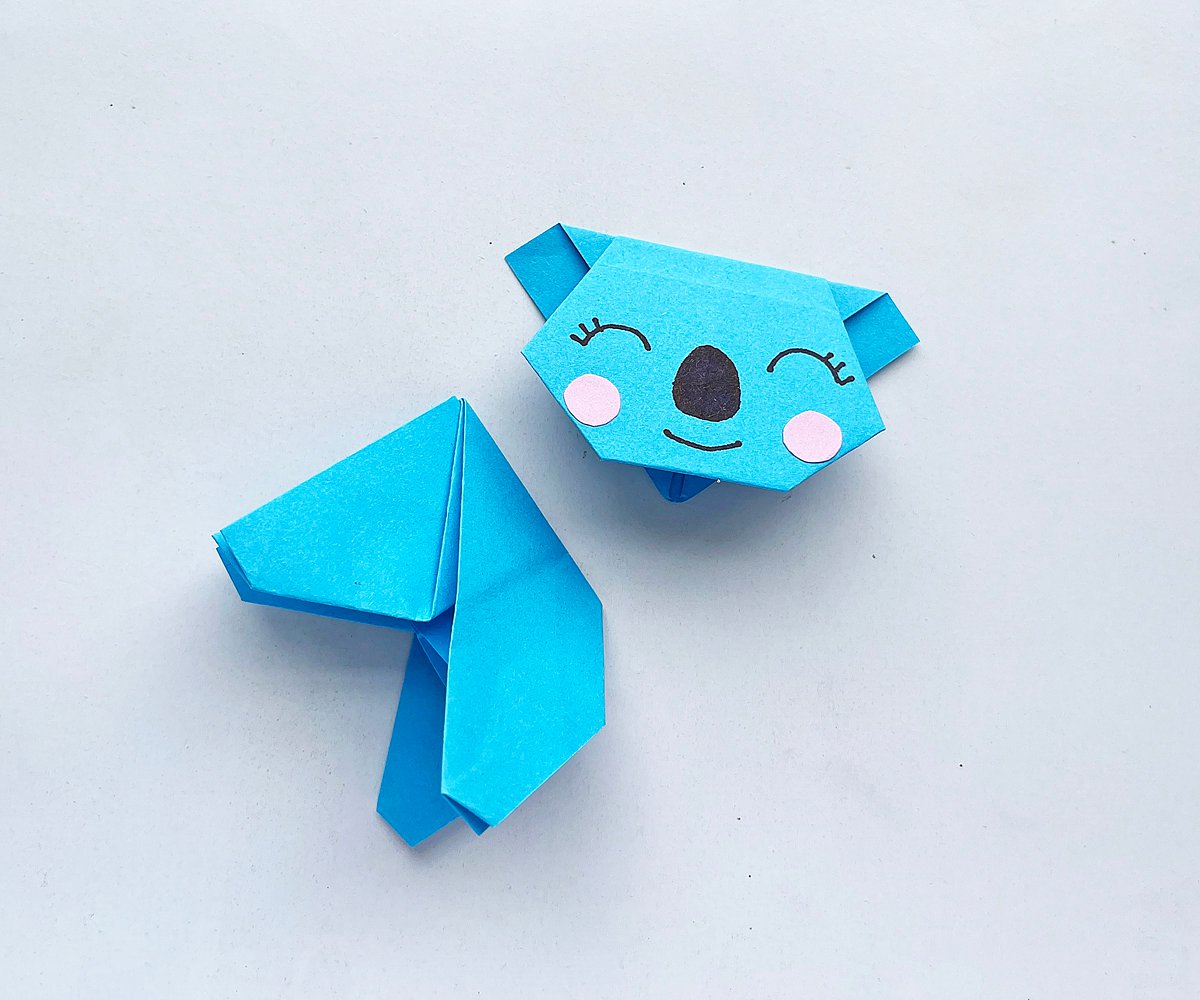
Step 26:
Attach the origami head with the origami body to complete the origami koala bear. You can apply glue to keep the pieces together.

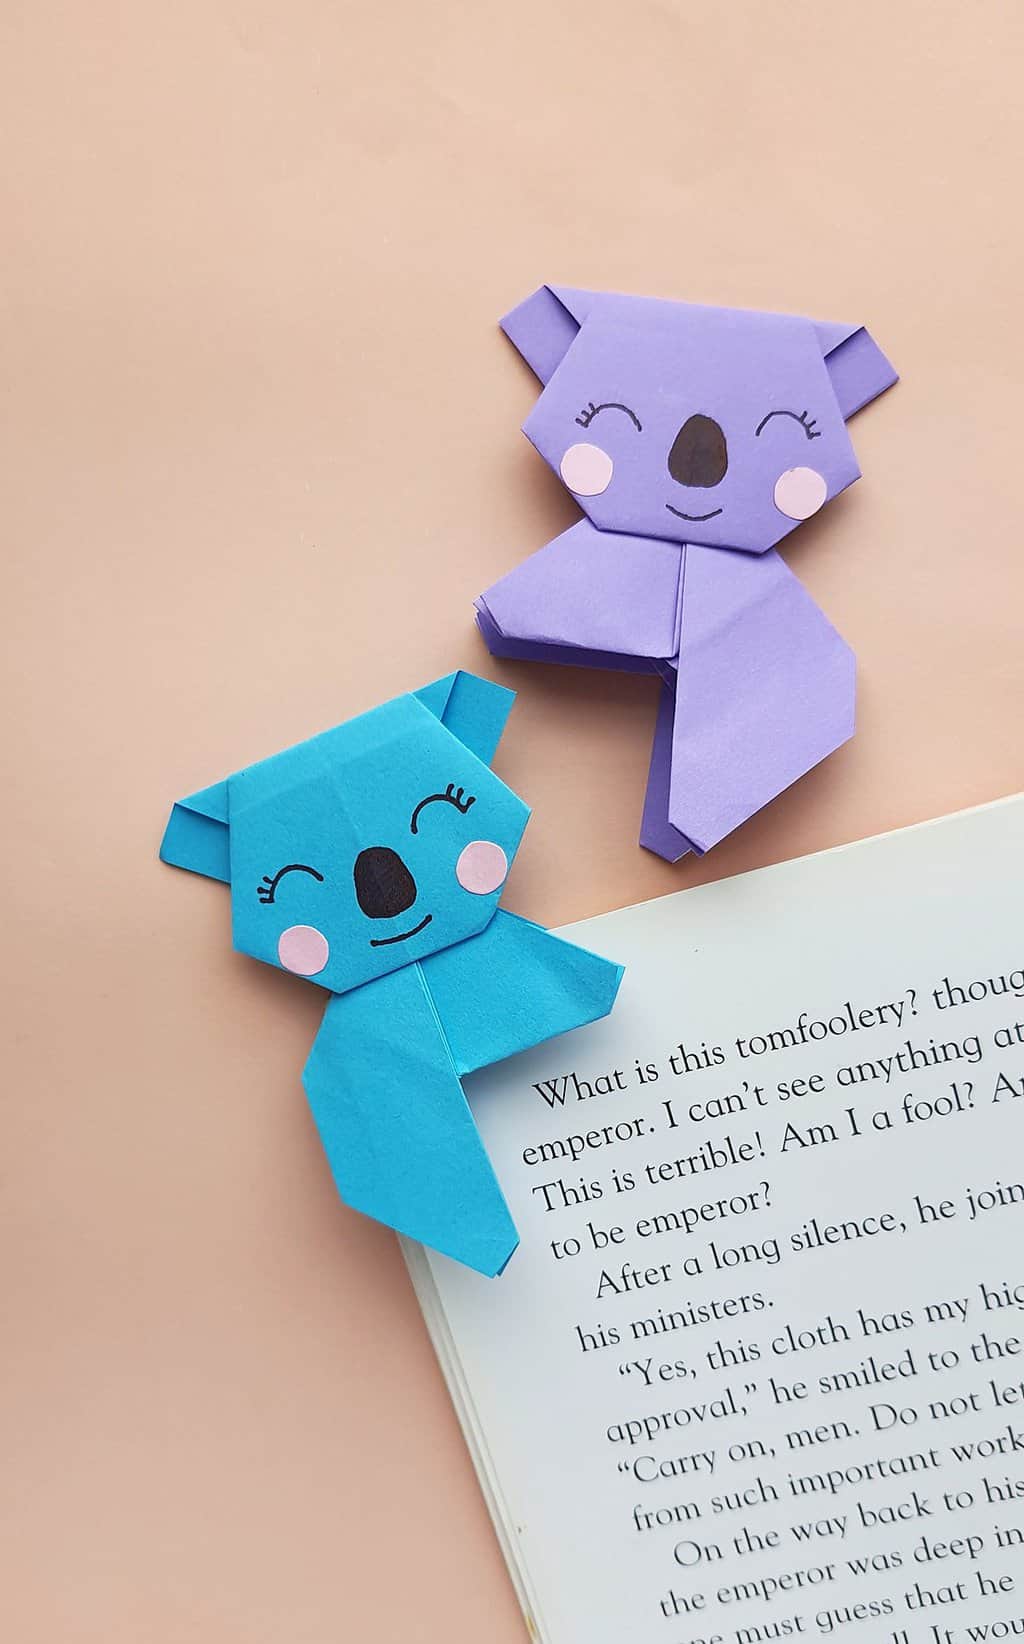
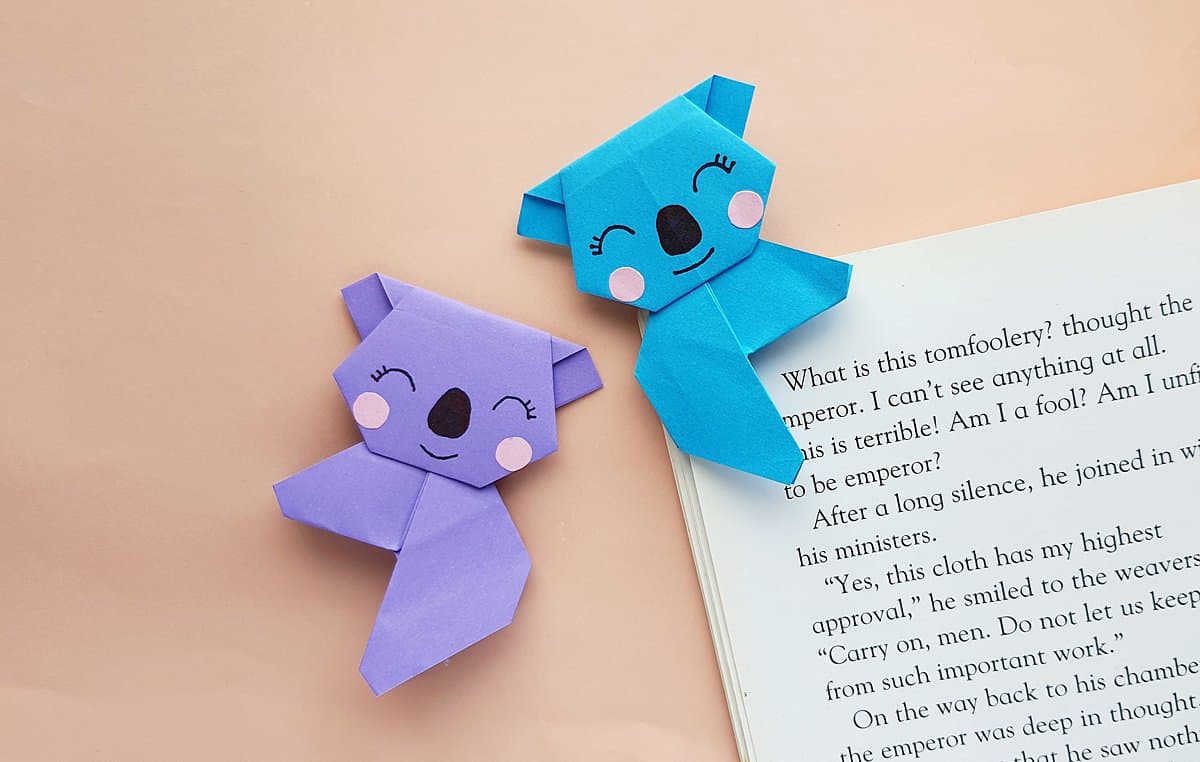
To use the origami koala as a bookmark, simply side a page in-between the Koala’s arms and legs.


Can white paper be used..?
Yes, white paper would work well.