Paper Plate Halloween Craft
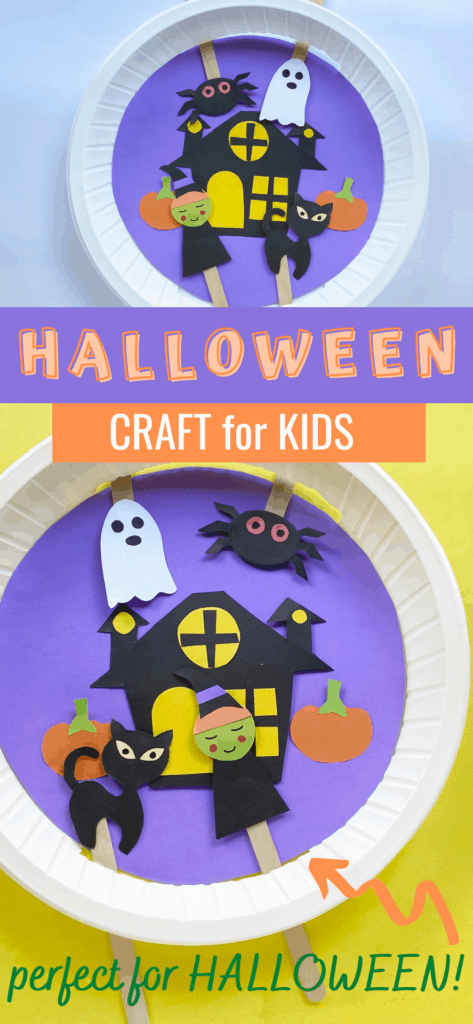
Make this adorable, interactive Halloween craft with your kids this year.
Kids will love creating, and then playing with this fun and imaginative Halloween scene craft!
How to make an Interactive Halloween Paper Plate Craft
Supplies:
- Paper plate
- Craft papers
- Pencil
- Scissors
- Glue
- Popsicle Stick
- Marker or pen
- Templates
Instructions:
Print and cut out the Halloween craft templates.
Cut out the pieces for the haunted house using the templates.
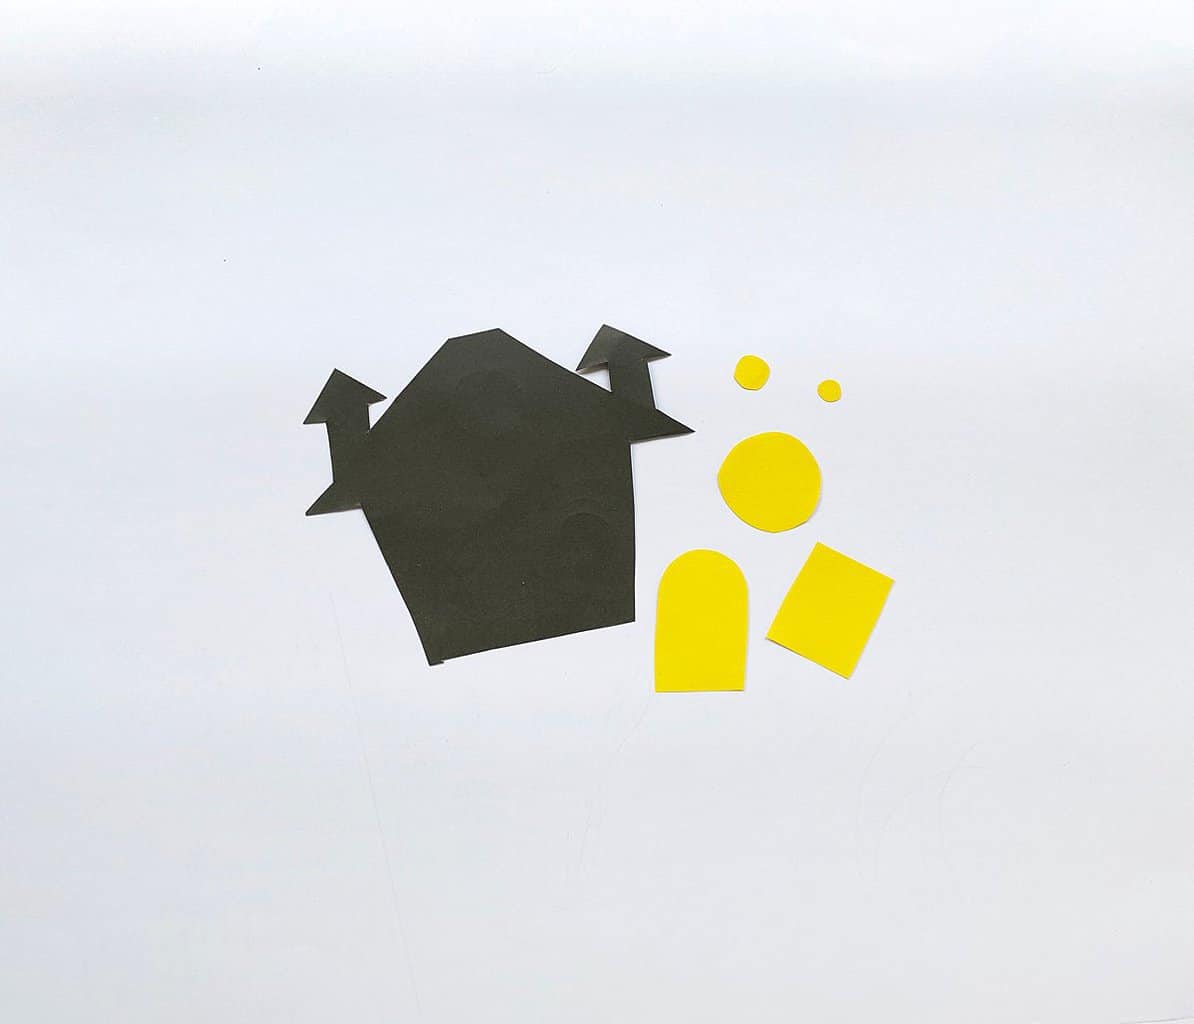
Glue the windows and the door onto the house.
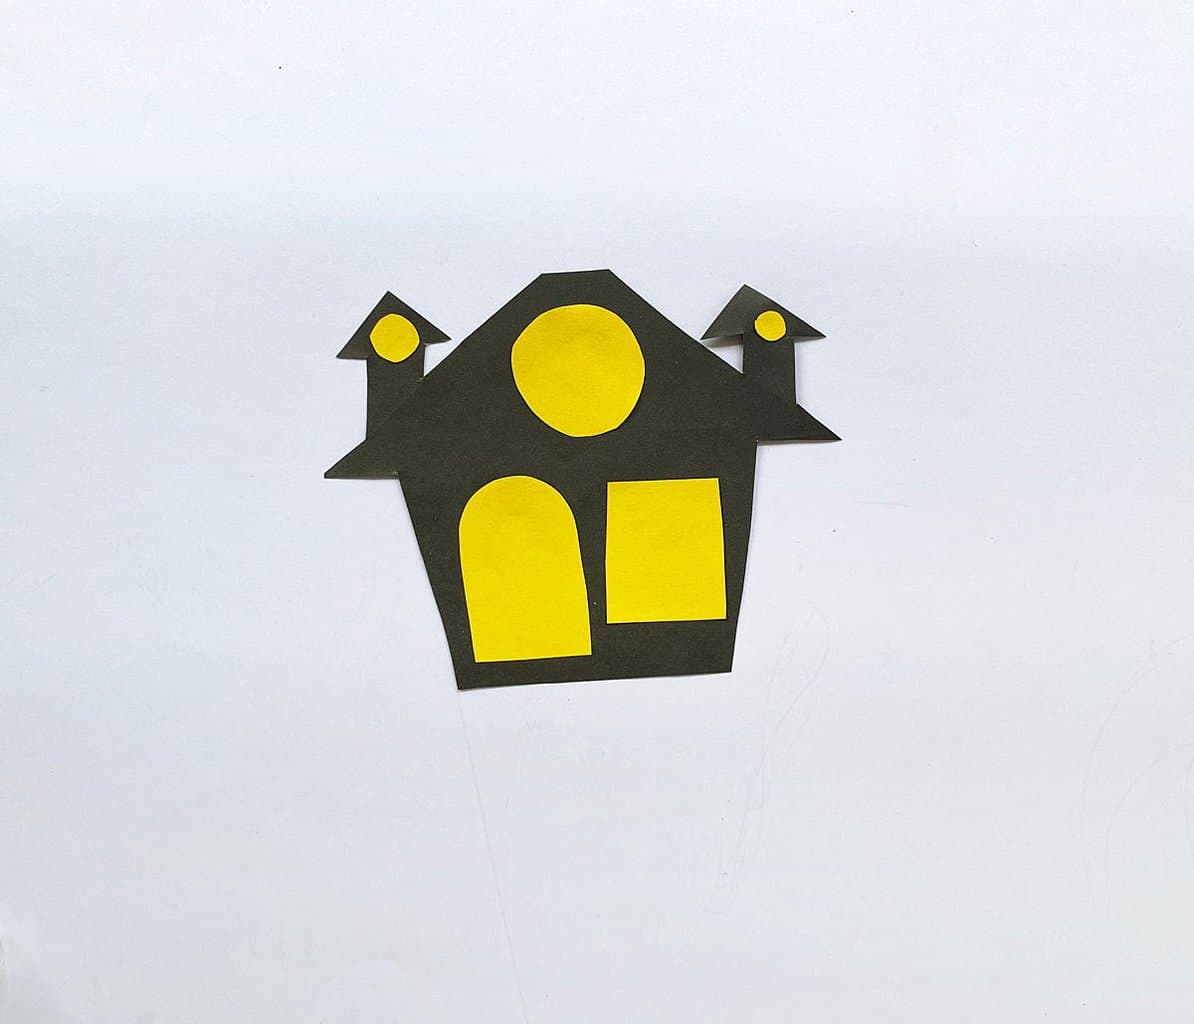
Draw some bars on the windows using marker pens or glue black paper strips onto the windows.

Cut out the pieces for the cat.

Glue the eyes on top of the head.

Use a black marker or pen to draw the eyeballs.

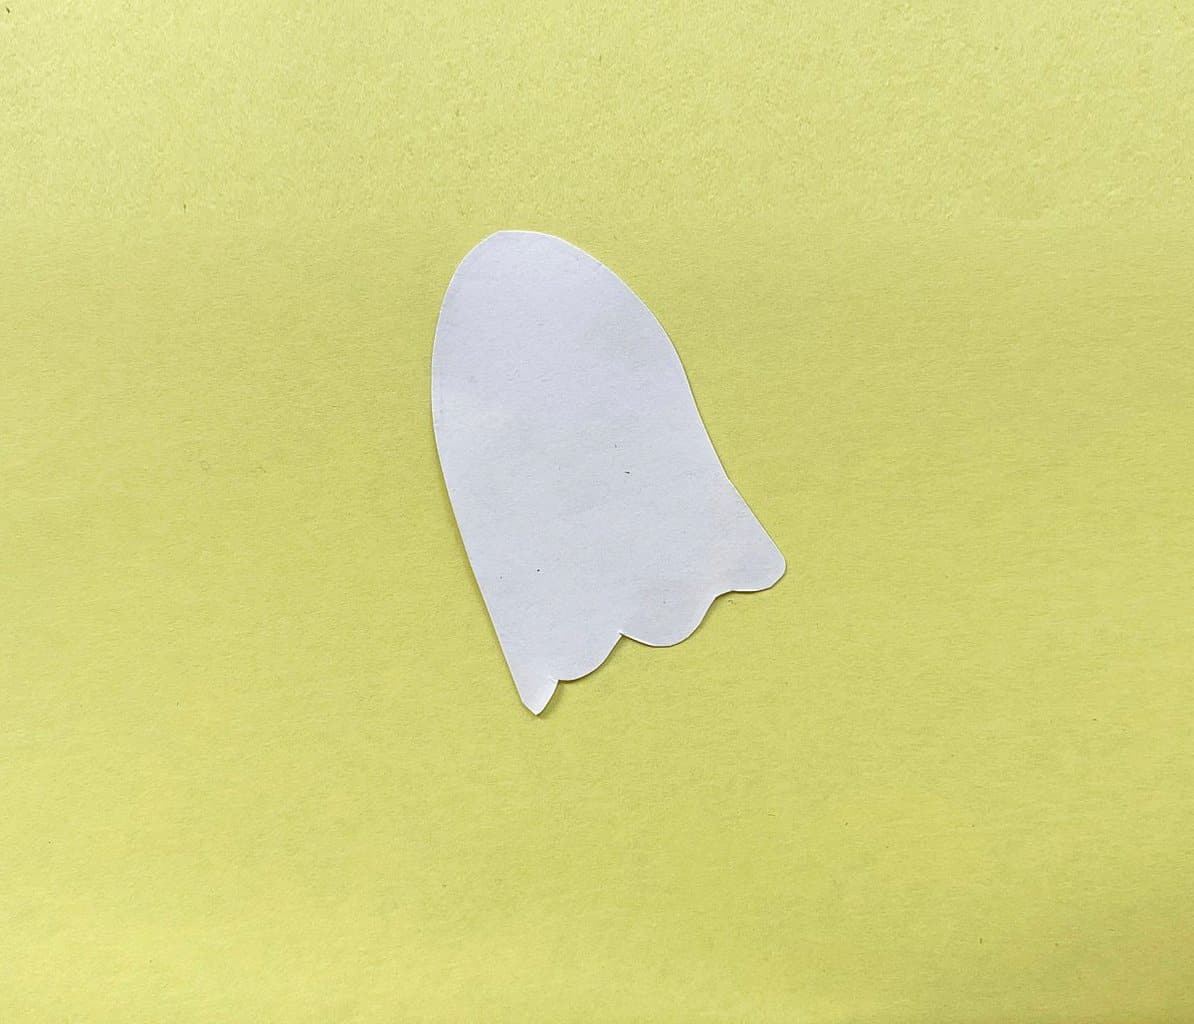
Cut out the ghost.
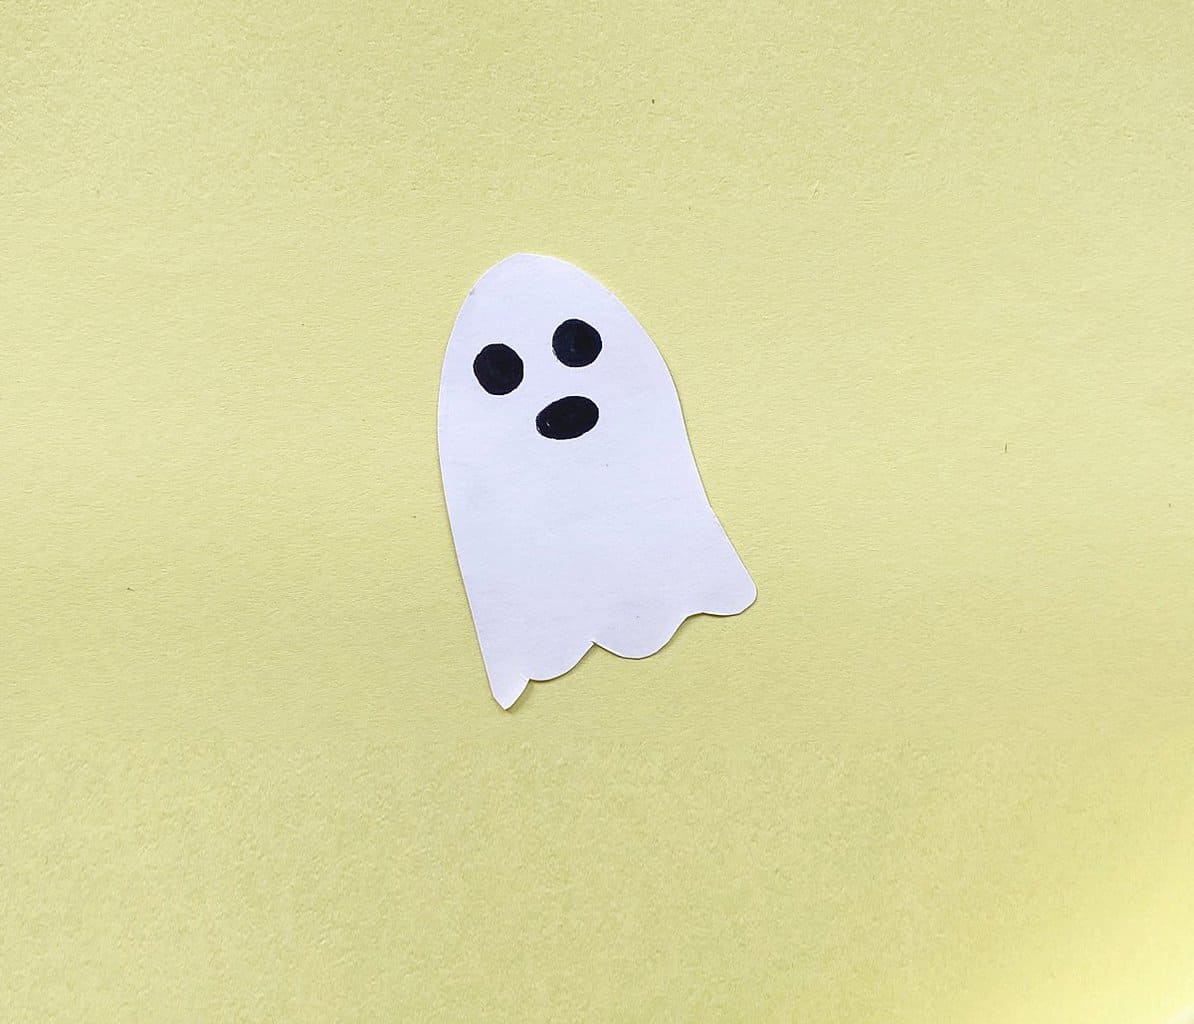
Daw the eyes and mouth on the ghost using a marker or pen.
Cut out the pieces for the spider.
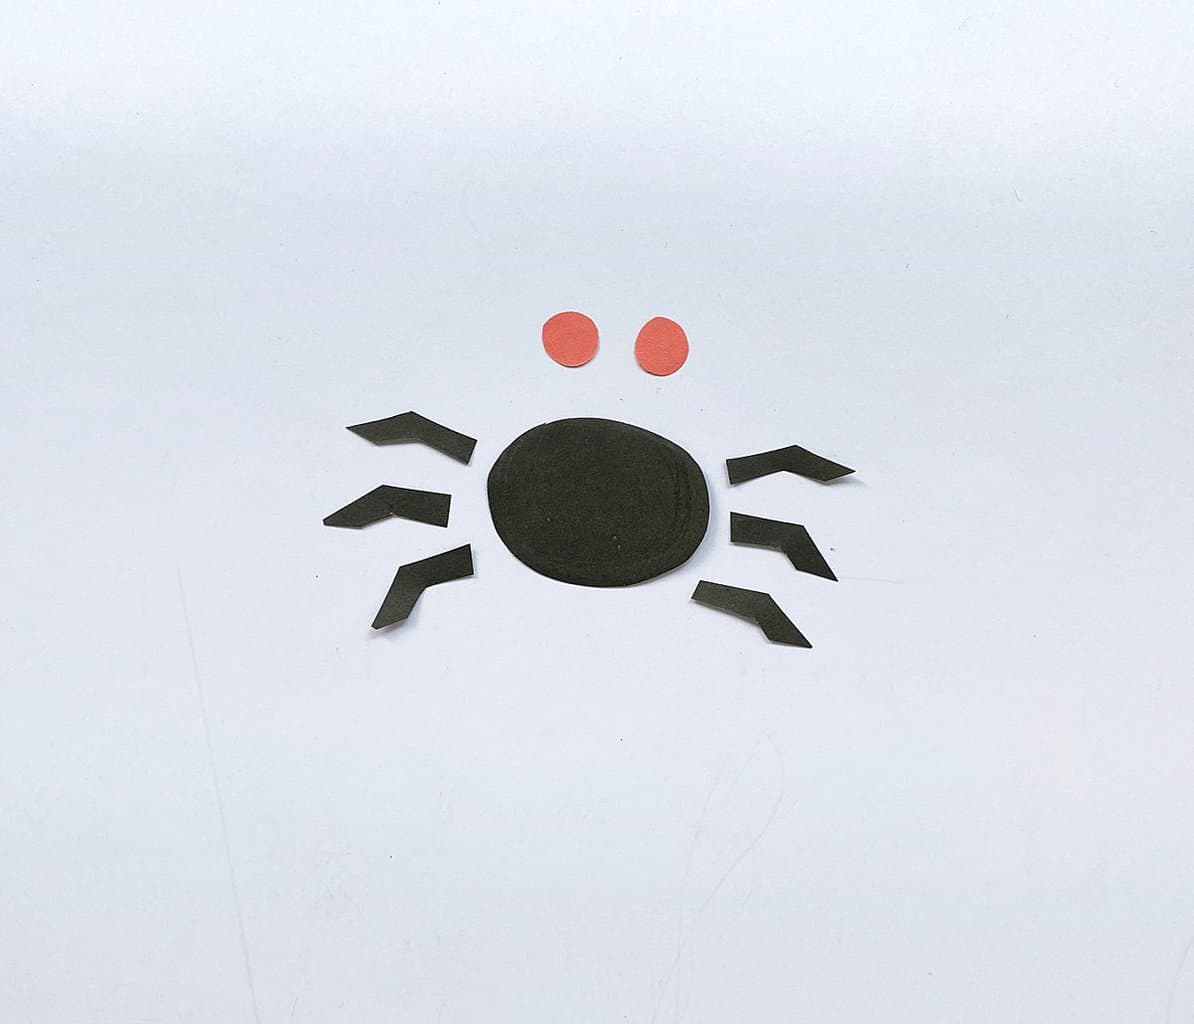
Glue the spider’s legs on both sides, and then glue the eyes on top.
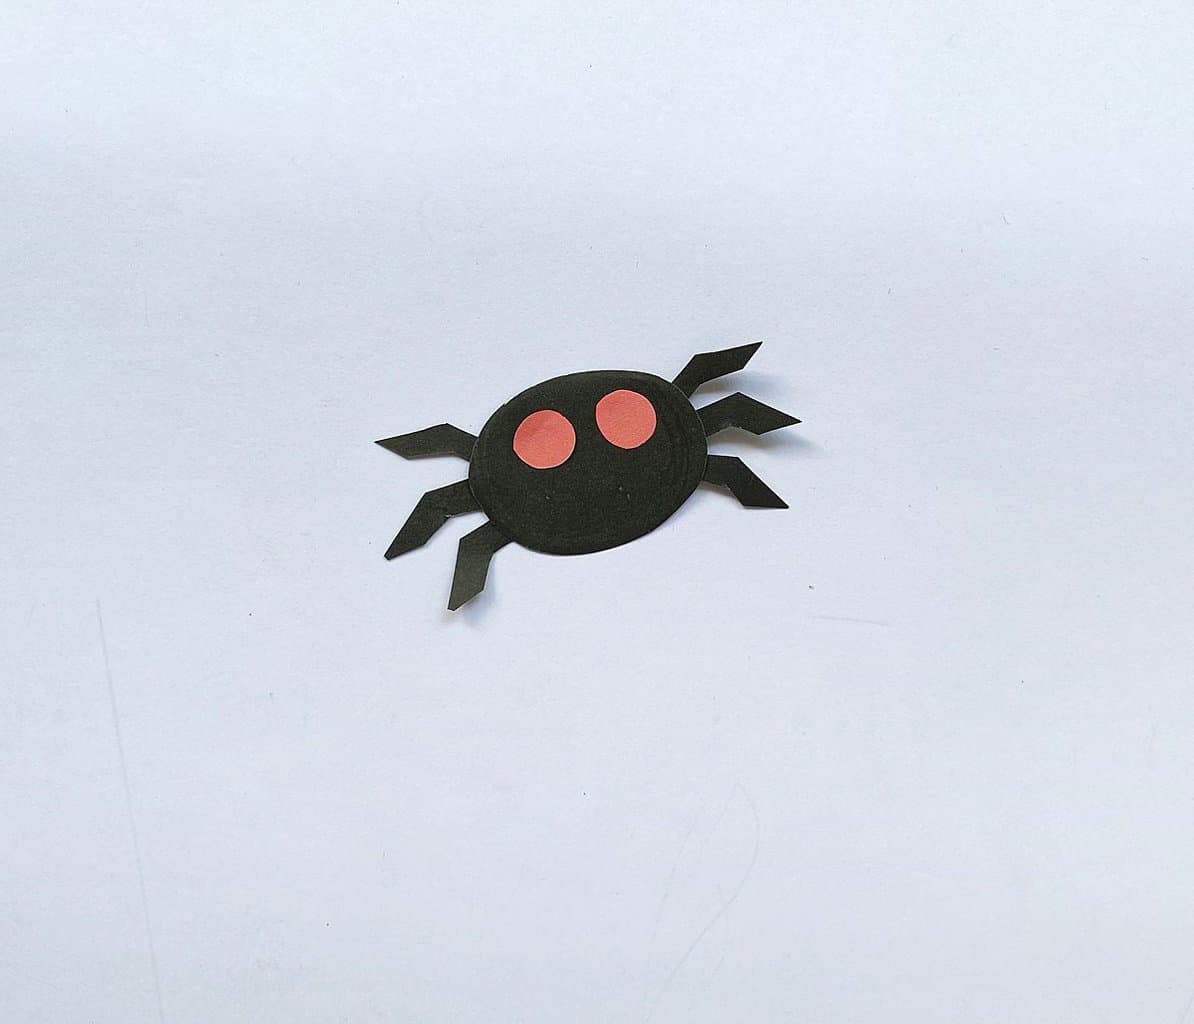
Draw the eyeballs using a black marker.

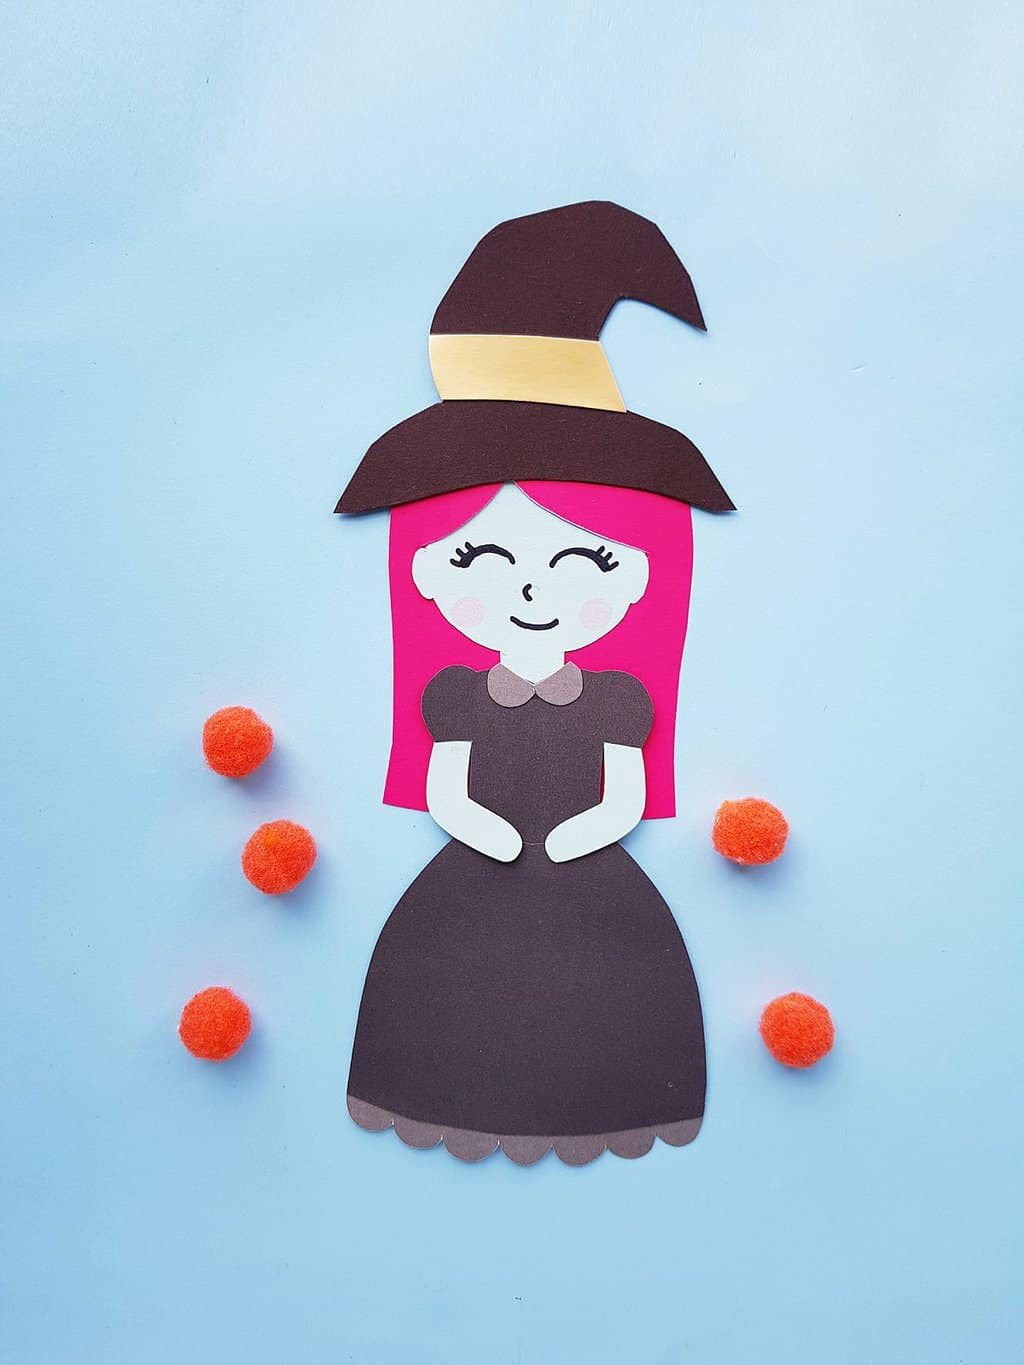
Now, cut out the pieces for the witch.
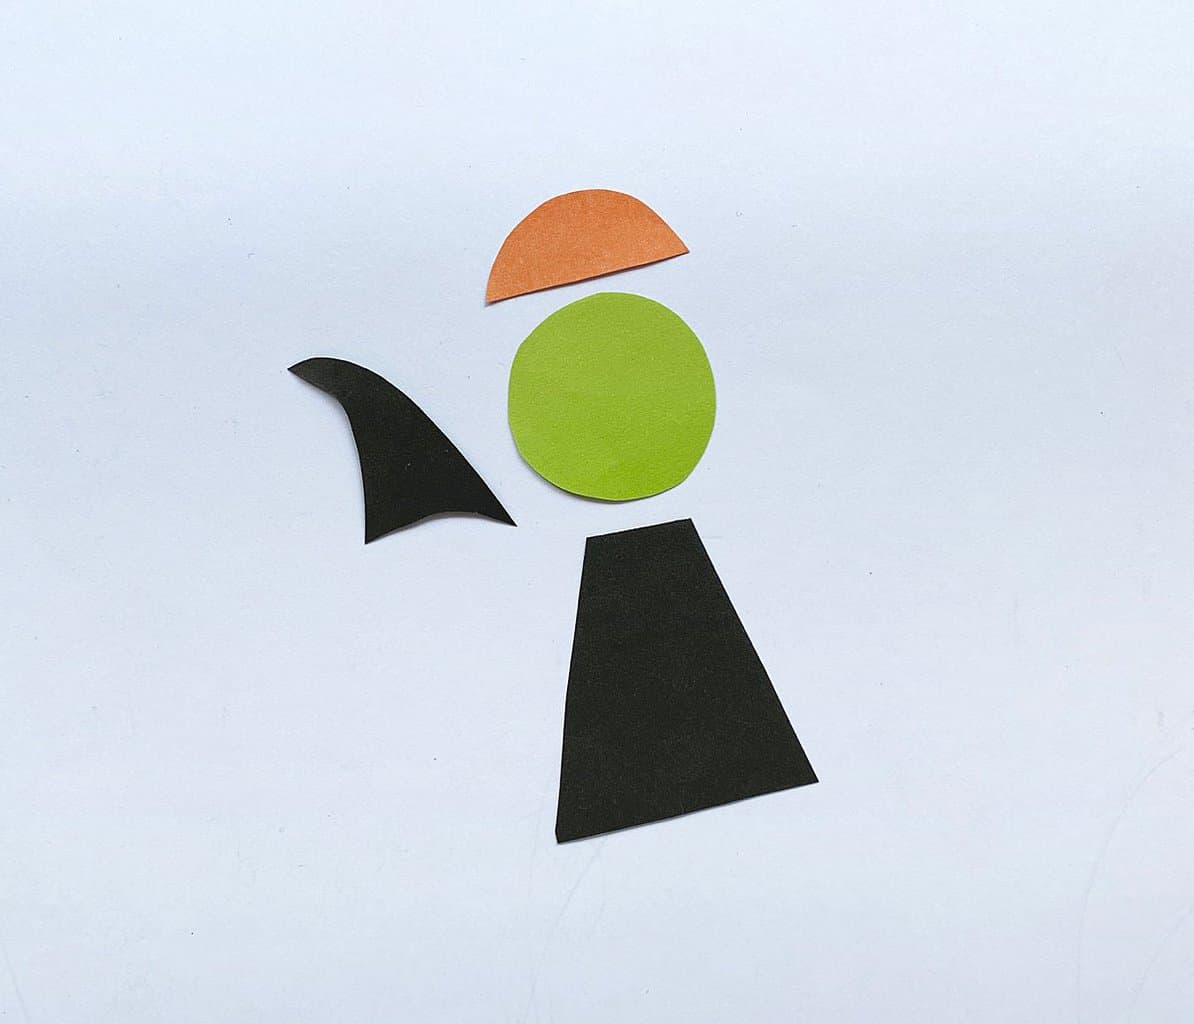
Glue the hair on top of the head, and then glue the head with the dress.

Glue the witch’s hat on top of the head and use markers to draw her face details.

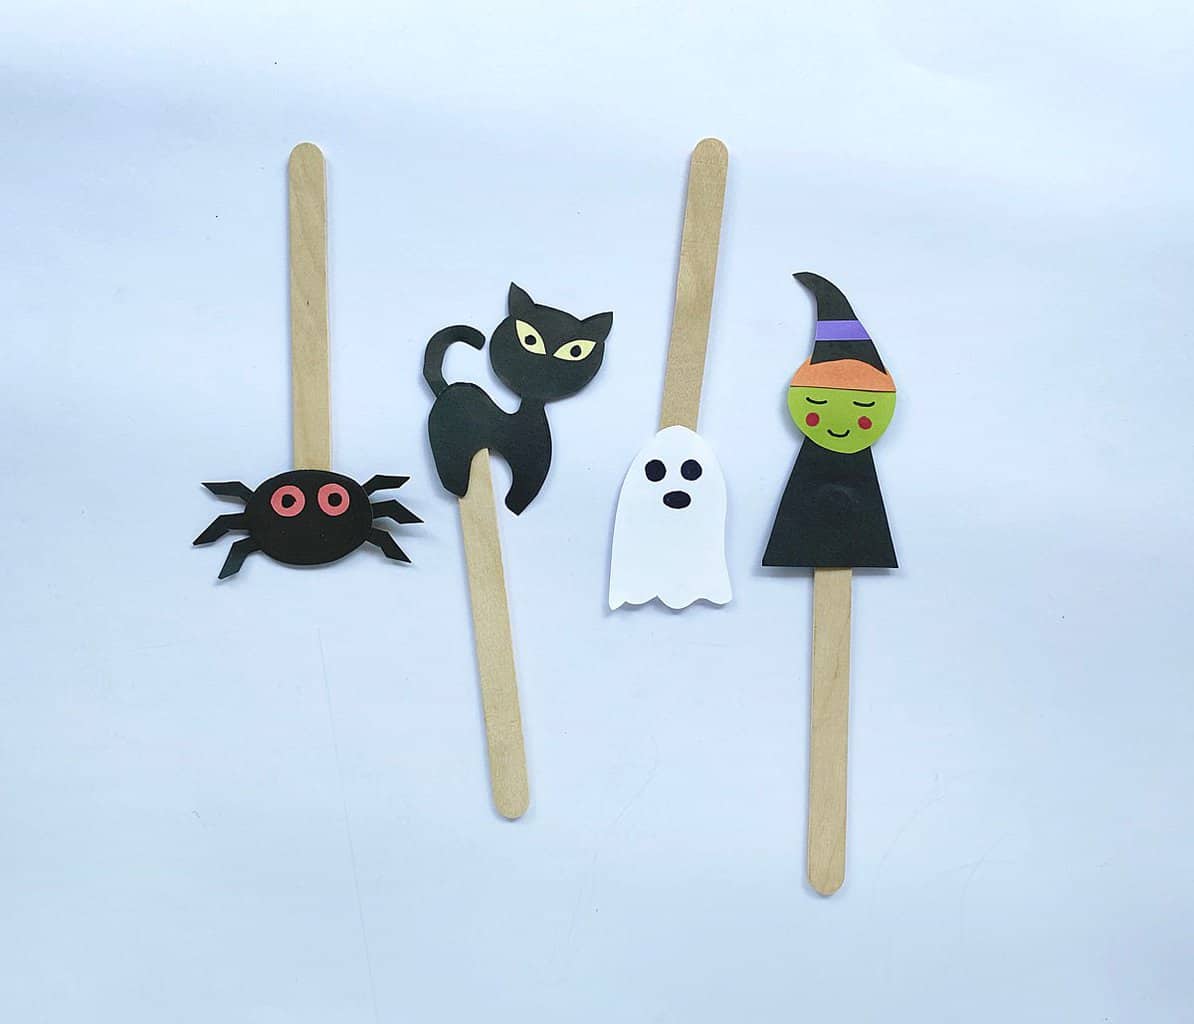
Glue popsicle sticks with the characters.
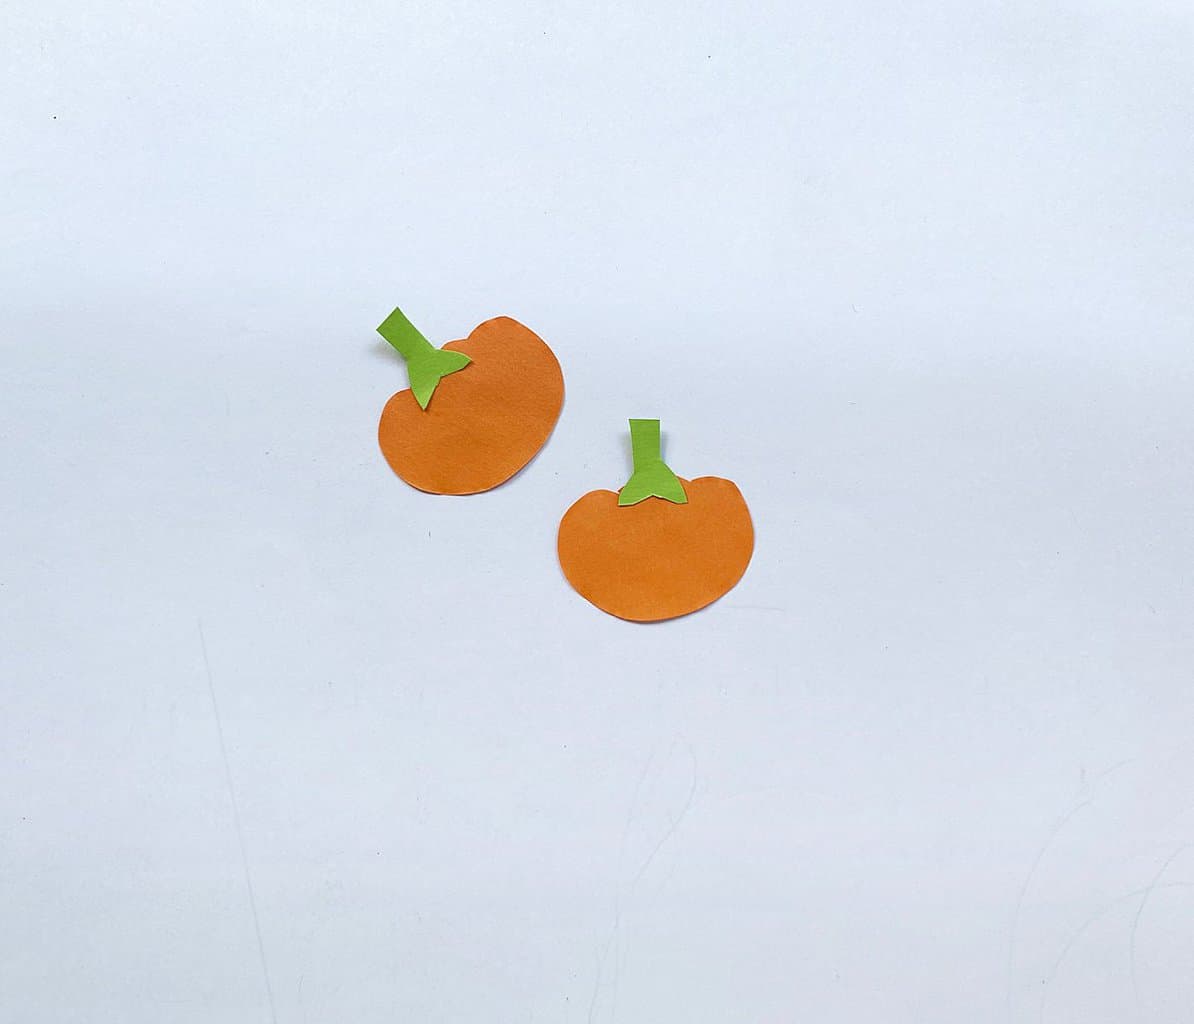
Cut out the pumpkins.

Glue the stems onto the pumpkins.
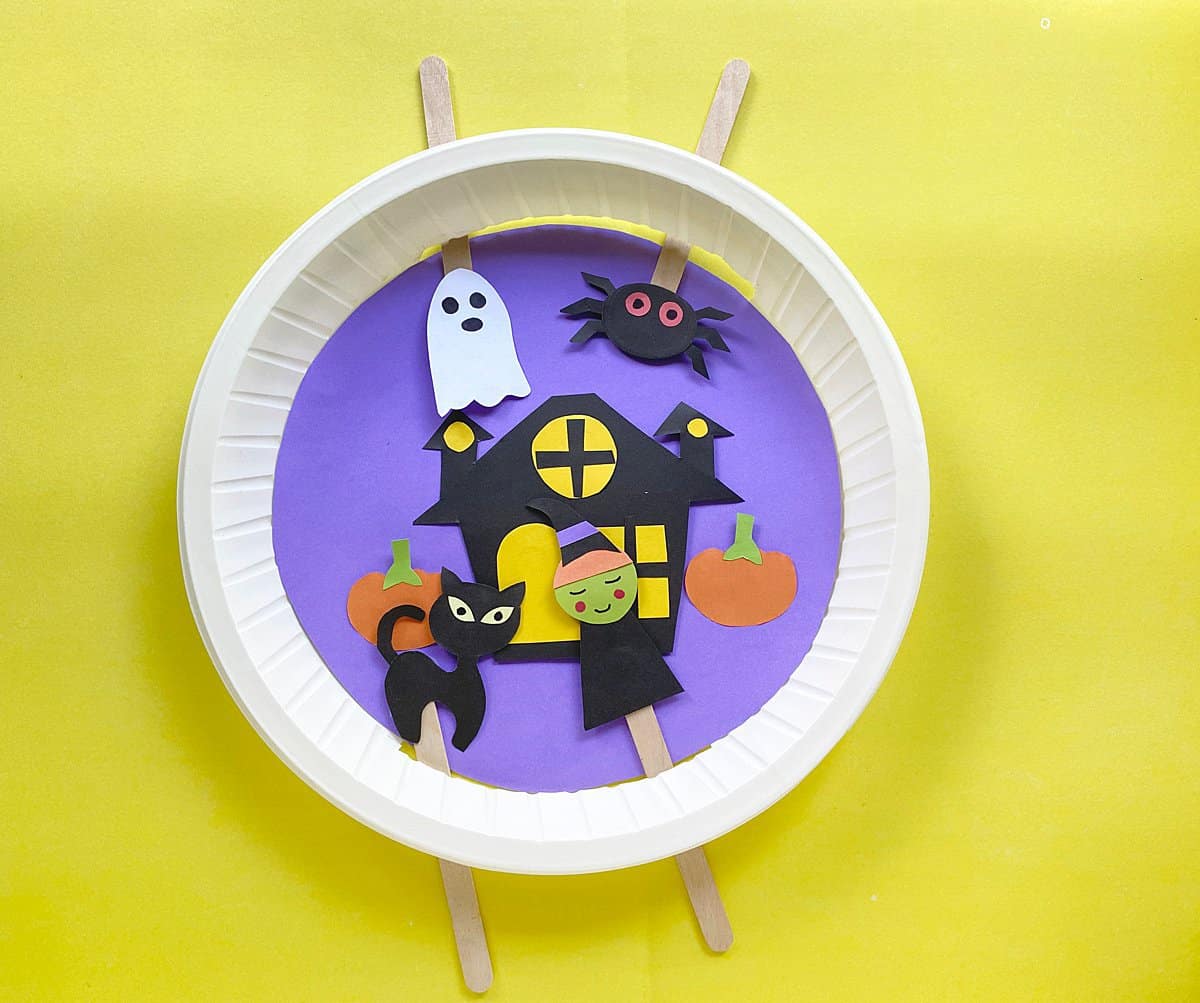
Now, create the paper plate background:
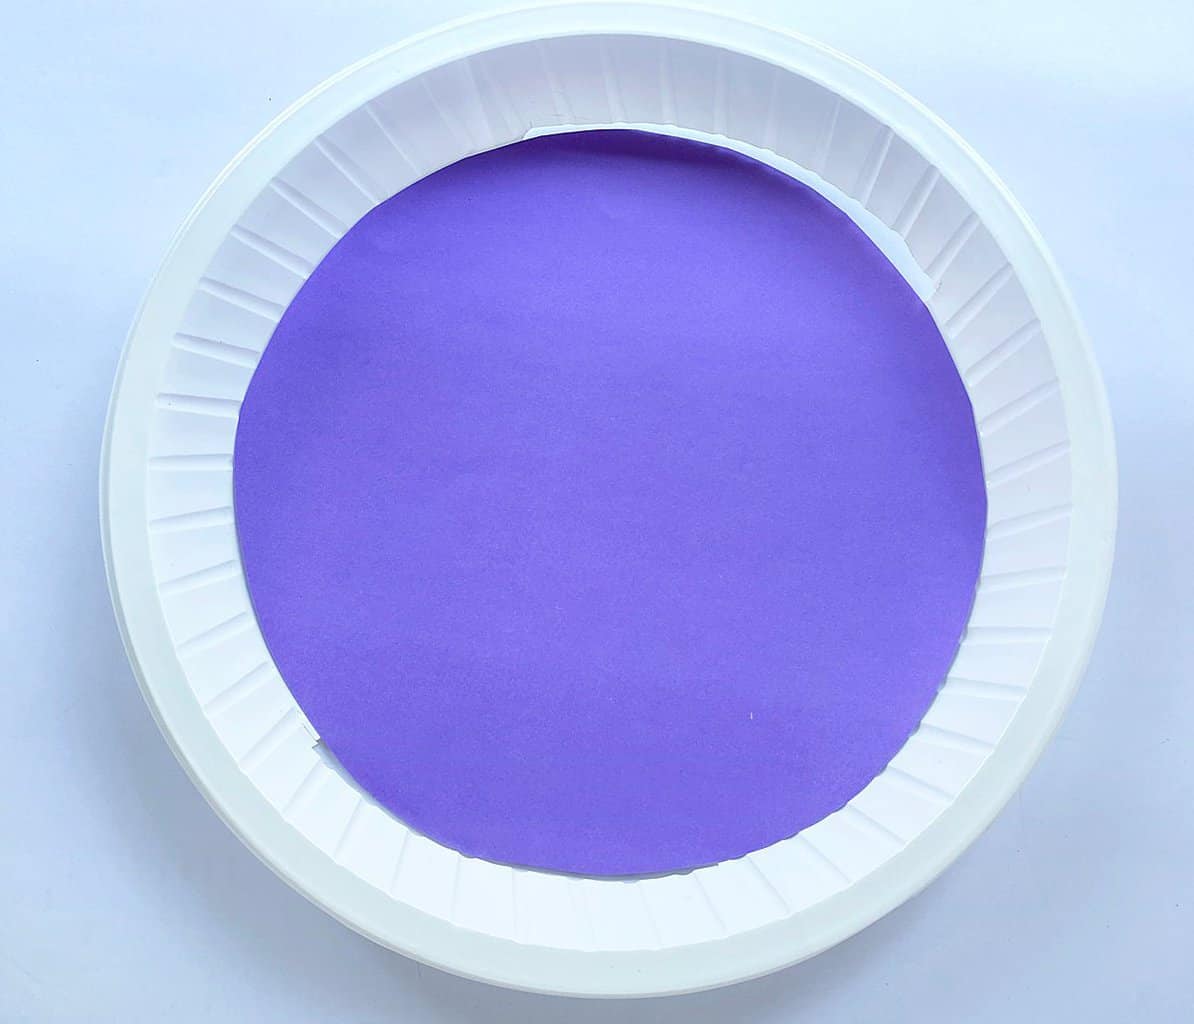
Select your paper plate.
Cut two slits on the bottom and top edges of the paper plate.
Cut out a background paper the same size as the background of your paper plate.
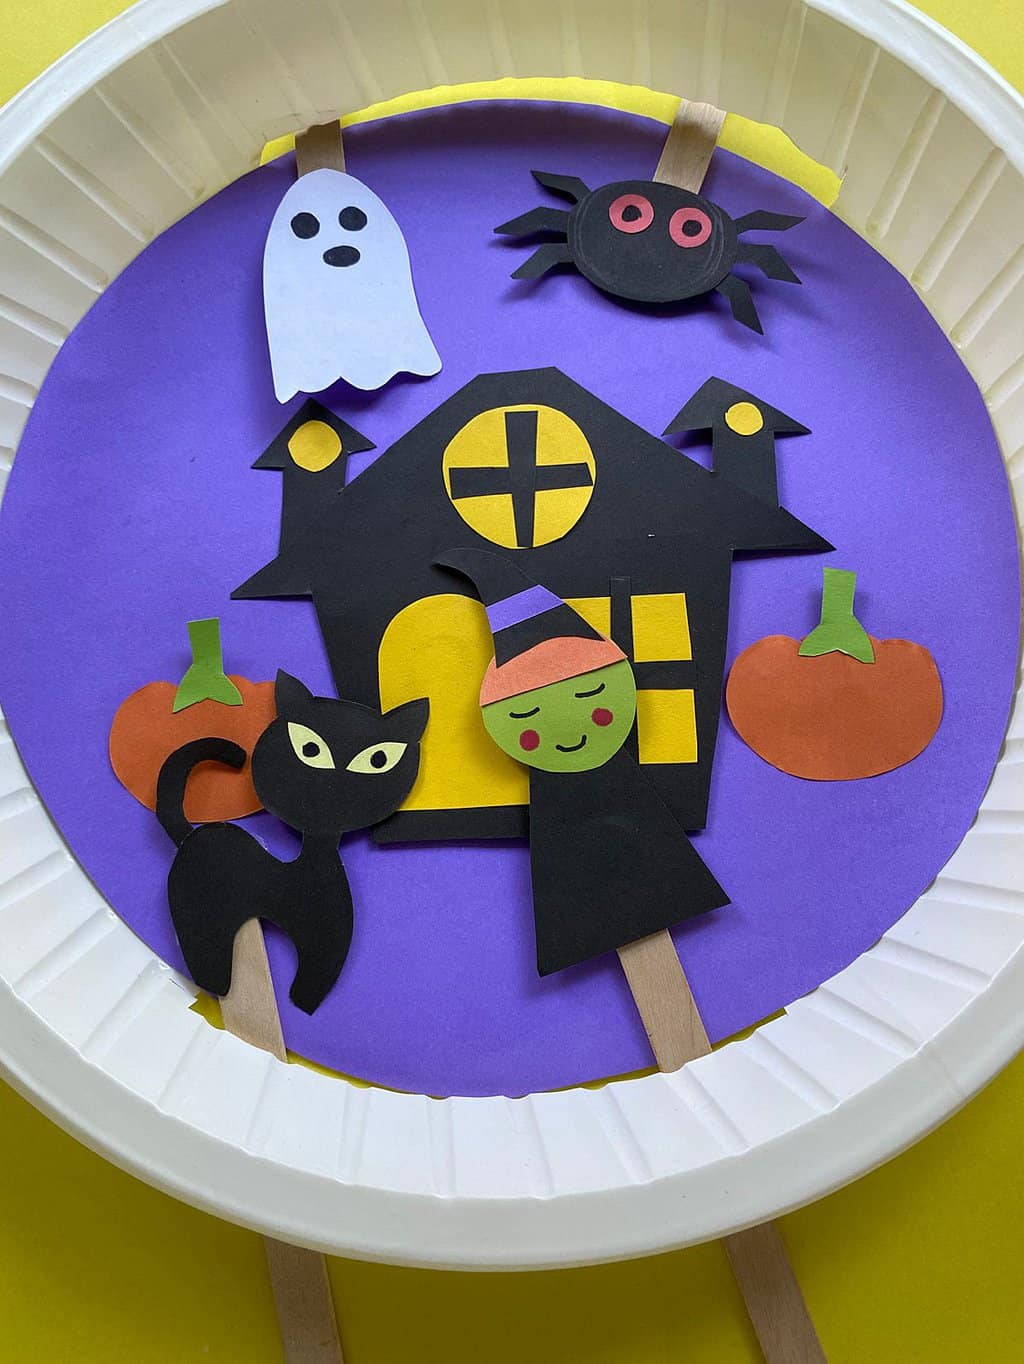
Now, glue the house and pumpkins inside the paper plate.
Then place the characters through the slits.
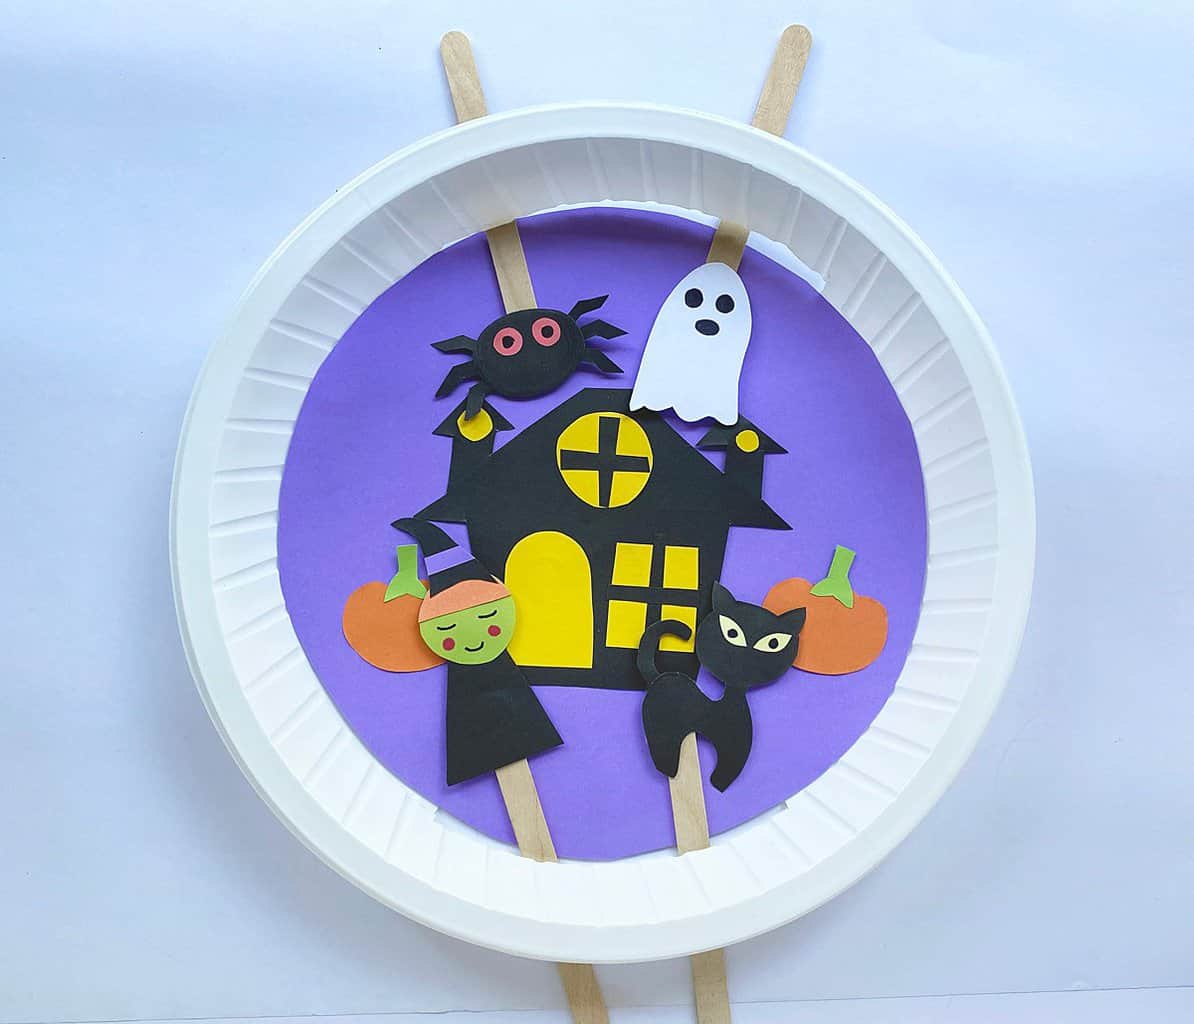
Your interactive Halloween scene is finished! So cute!